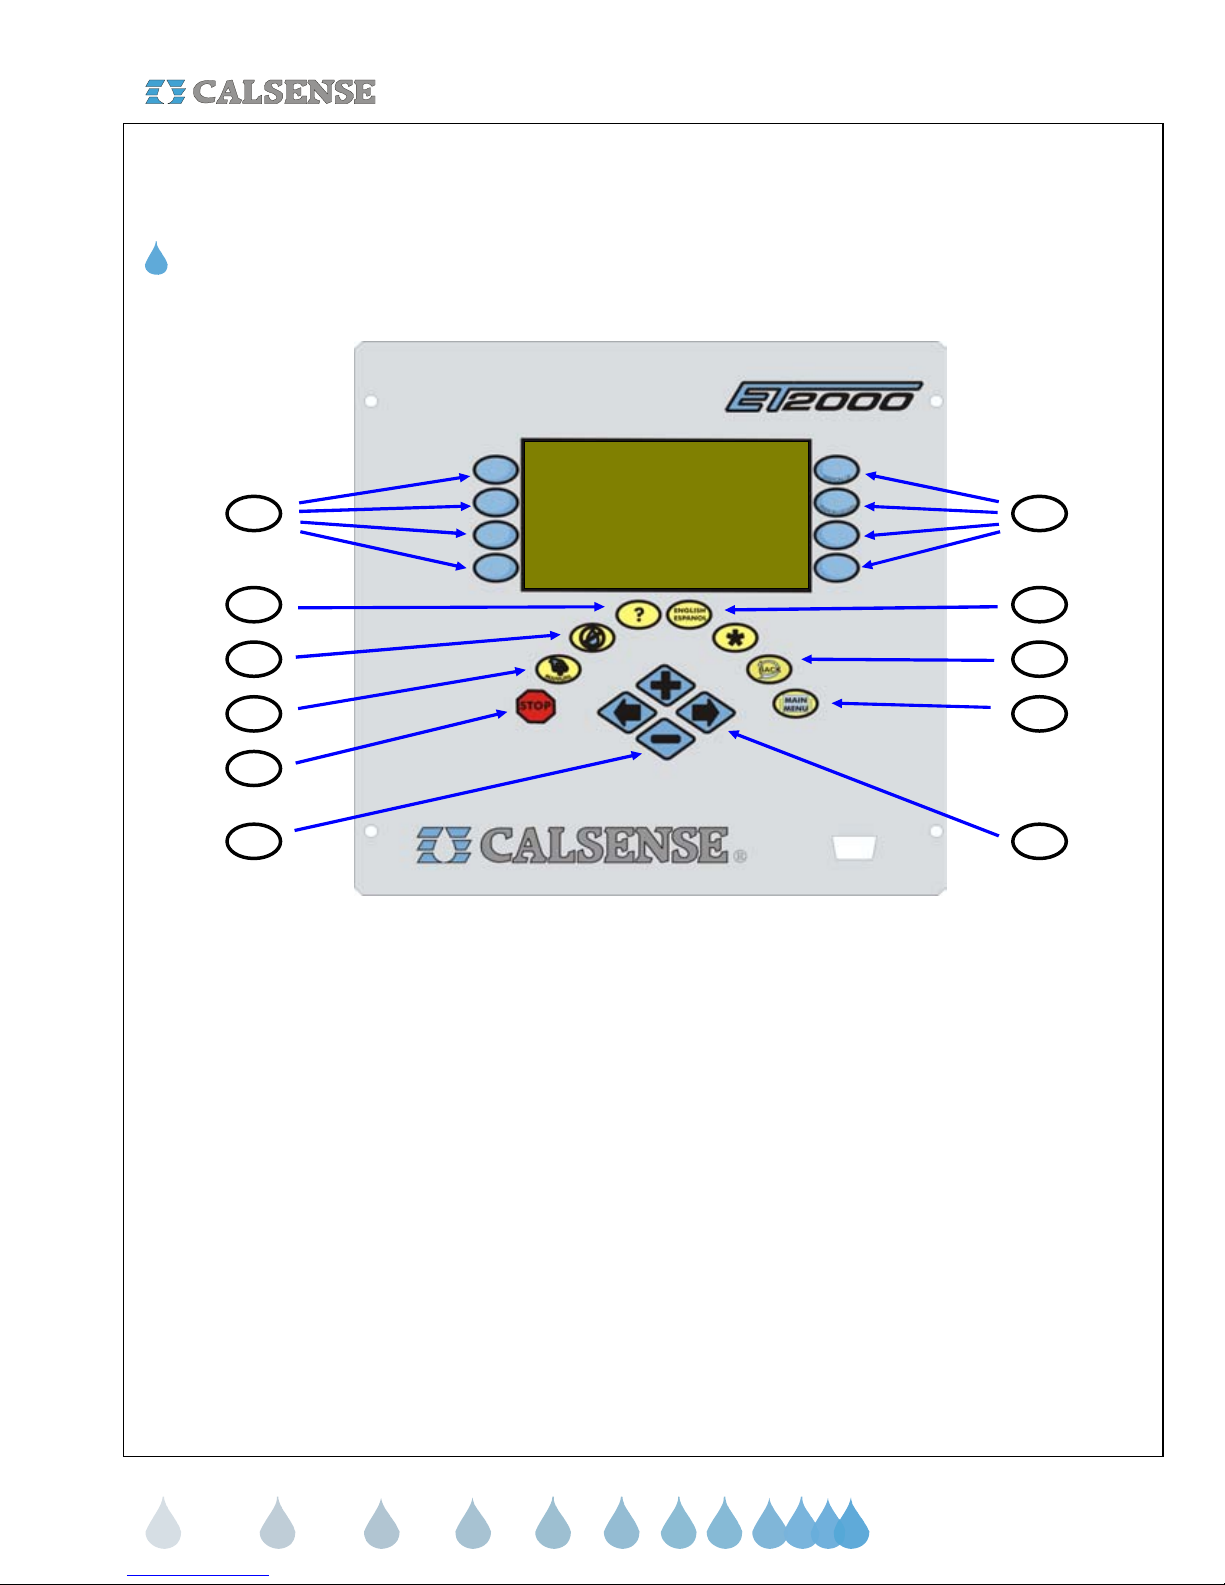
MOISTURE SENSOR SETUP ®
making
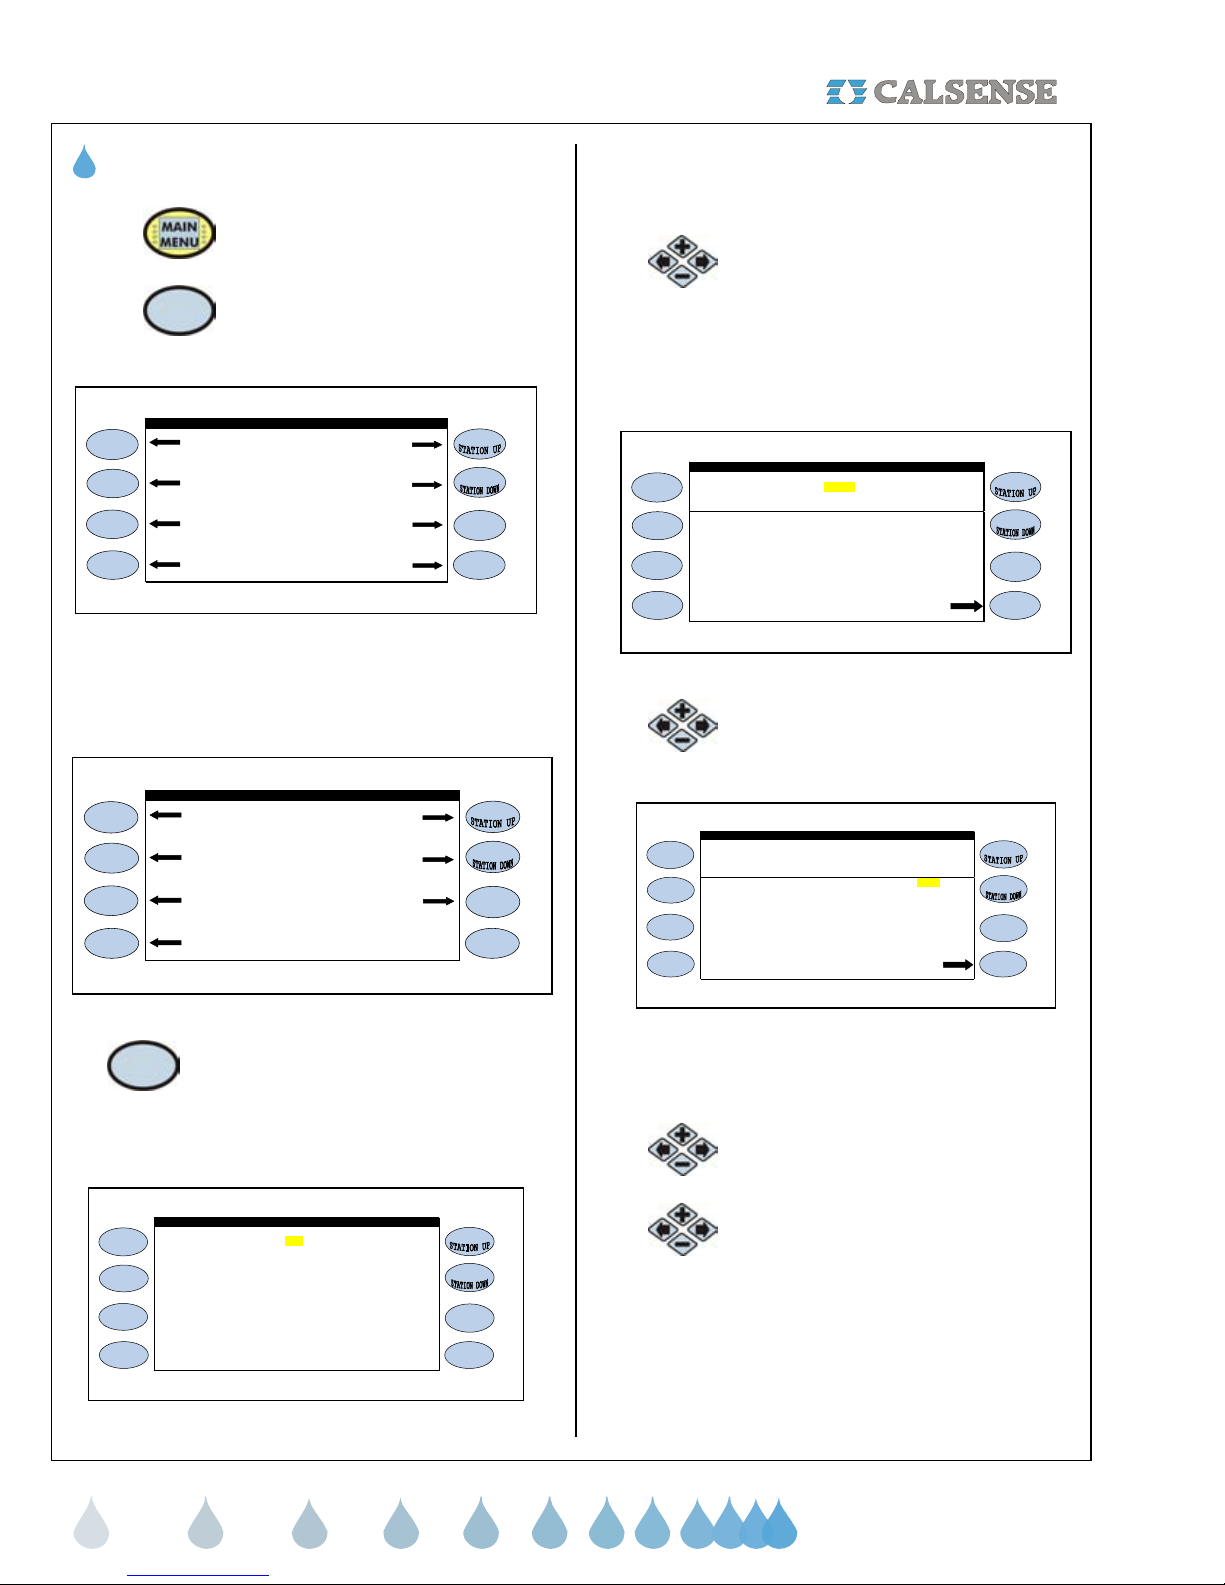
MAX DAYS: This entry is used to automatically
bypass the moisture sensors of individual stations,
separate program stations or all stations, for one to
thirty-one days. Stations will receive their maximum
programmed water time. The controller will display
the number of days remaining in override and can
be cleared at any time. After the programmed
Maximum Water has elapsed, the system will
automatically return to moisture sensing operation
(Figure 10).
Soak-In Time : 5 No Water Days 0
Station 1 . . . . . . . . . . . . . . . . . . . . . . . . . . . . PROG A
Figure 10
15. Press the PLUS or MINUS keys to
change the entry.
16. Press the Blue ARROW keys to
move the cursor to the MOIST SET
entry.
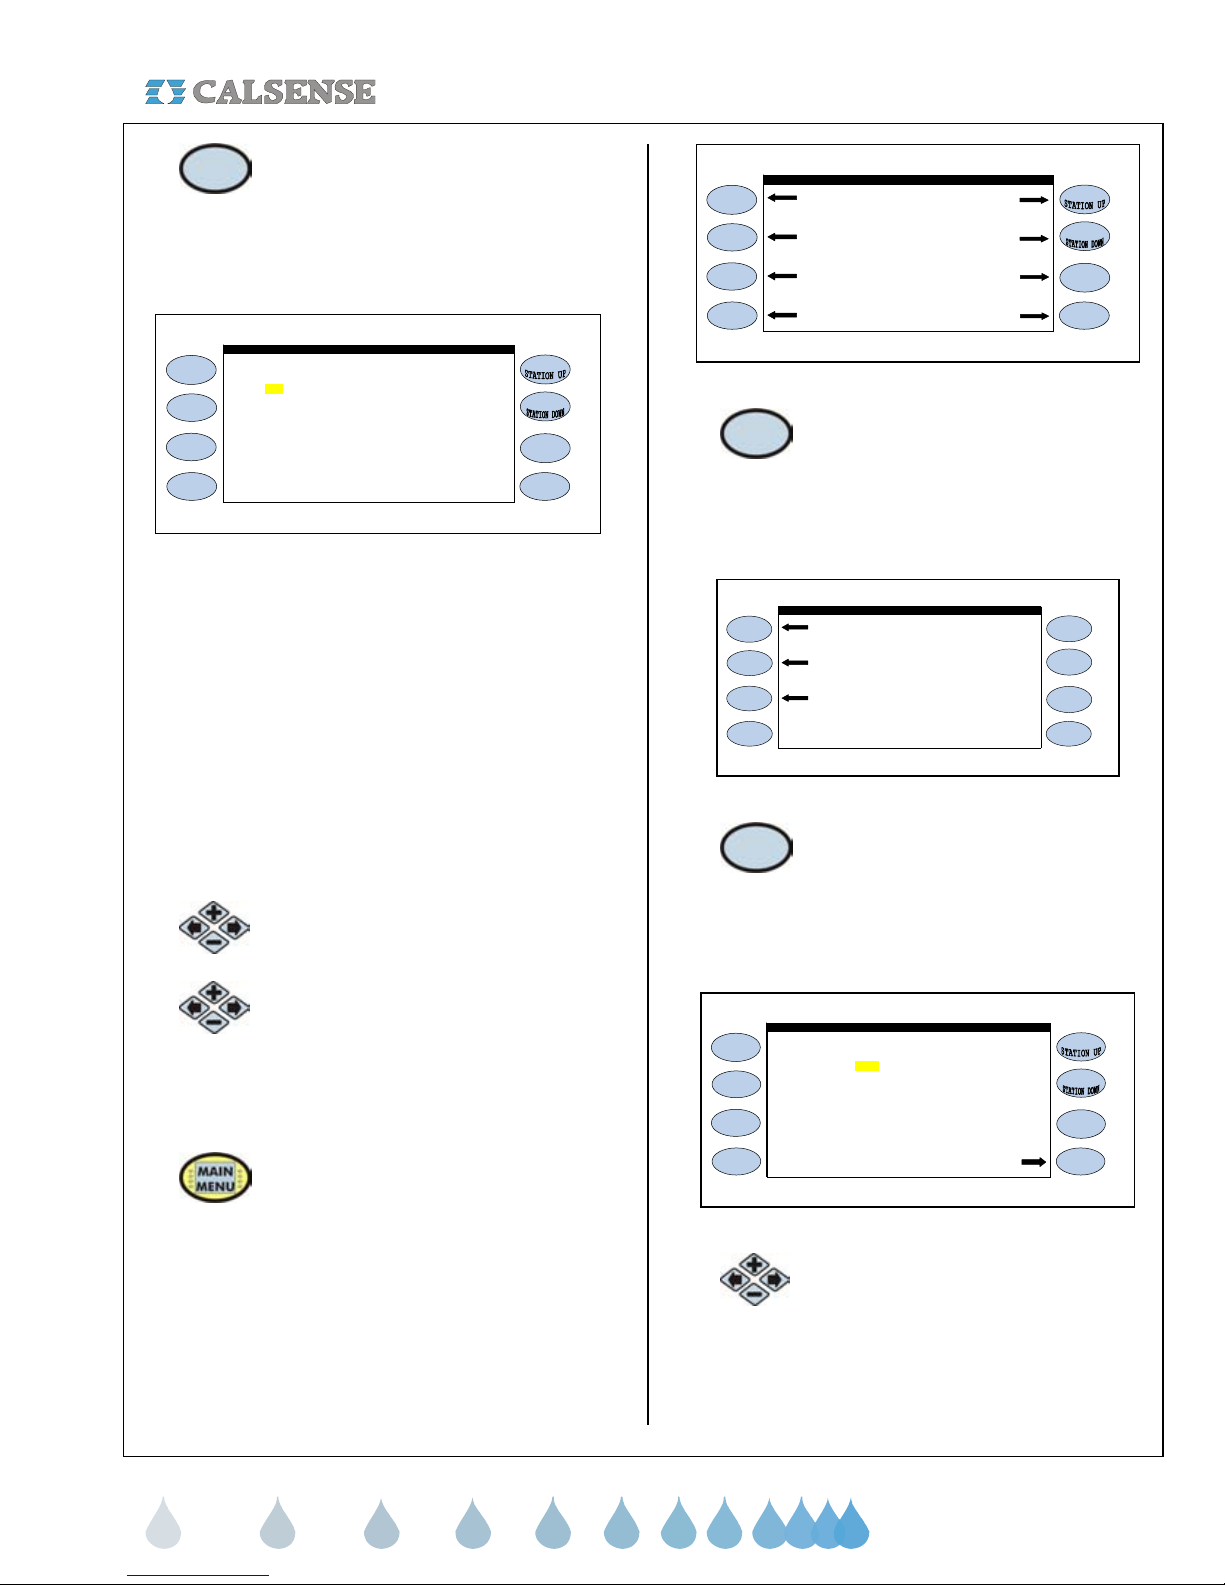
MOIST SET: The Calsense Moisture Sensor has it’s
own numerical system of moisture readings.
Typically it reads between the range of 45 (dry) to 85
(wet). By keeping moisture set points at 99, the
sensors are never allowed to read above the set
point value, and the controller waters the full
programmed time. This occurs for the Master station
as well as all slave stations assigned to the Master
Station. After a few weeks, the slave areas should
be checked and readjusted if necessary. If the slave
area is to dry, adjust it’s maximum time to 25%
more. If the area is to wet, decrease it by the same
percentage. In both cases, the area should be
rechecked after another few weeks, with
adjustments made until the proper irrigation level is
achieved (Figure 11).
Soak-In Time : 5 No Water Days 0
Station 1 . . . . . . . . . . . . . . . . . . . . . . . . . . . . PROG A
Figure 11
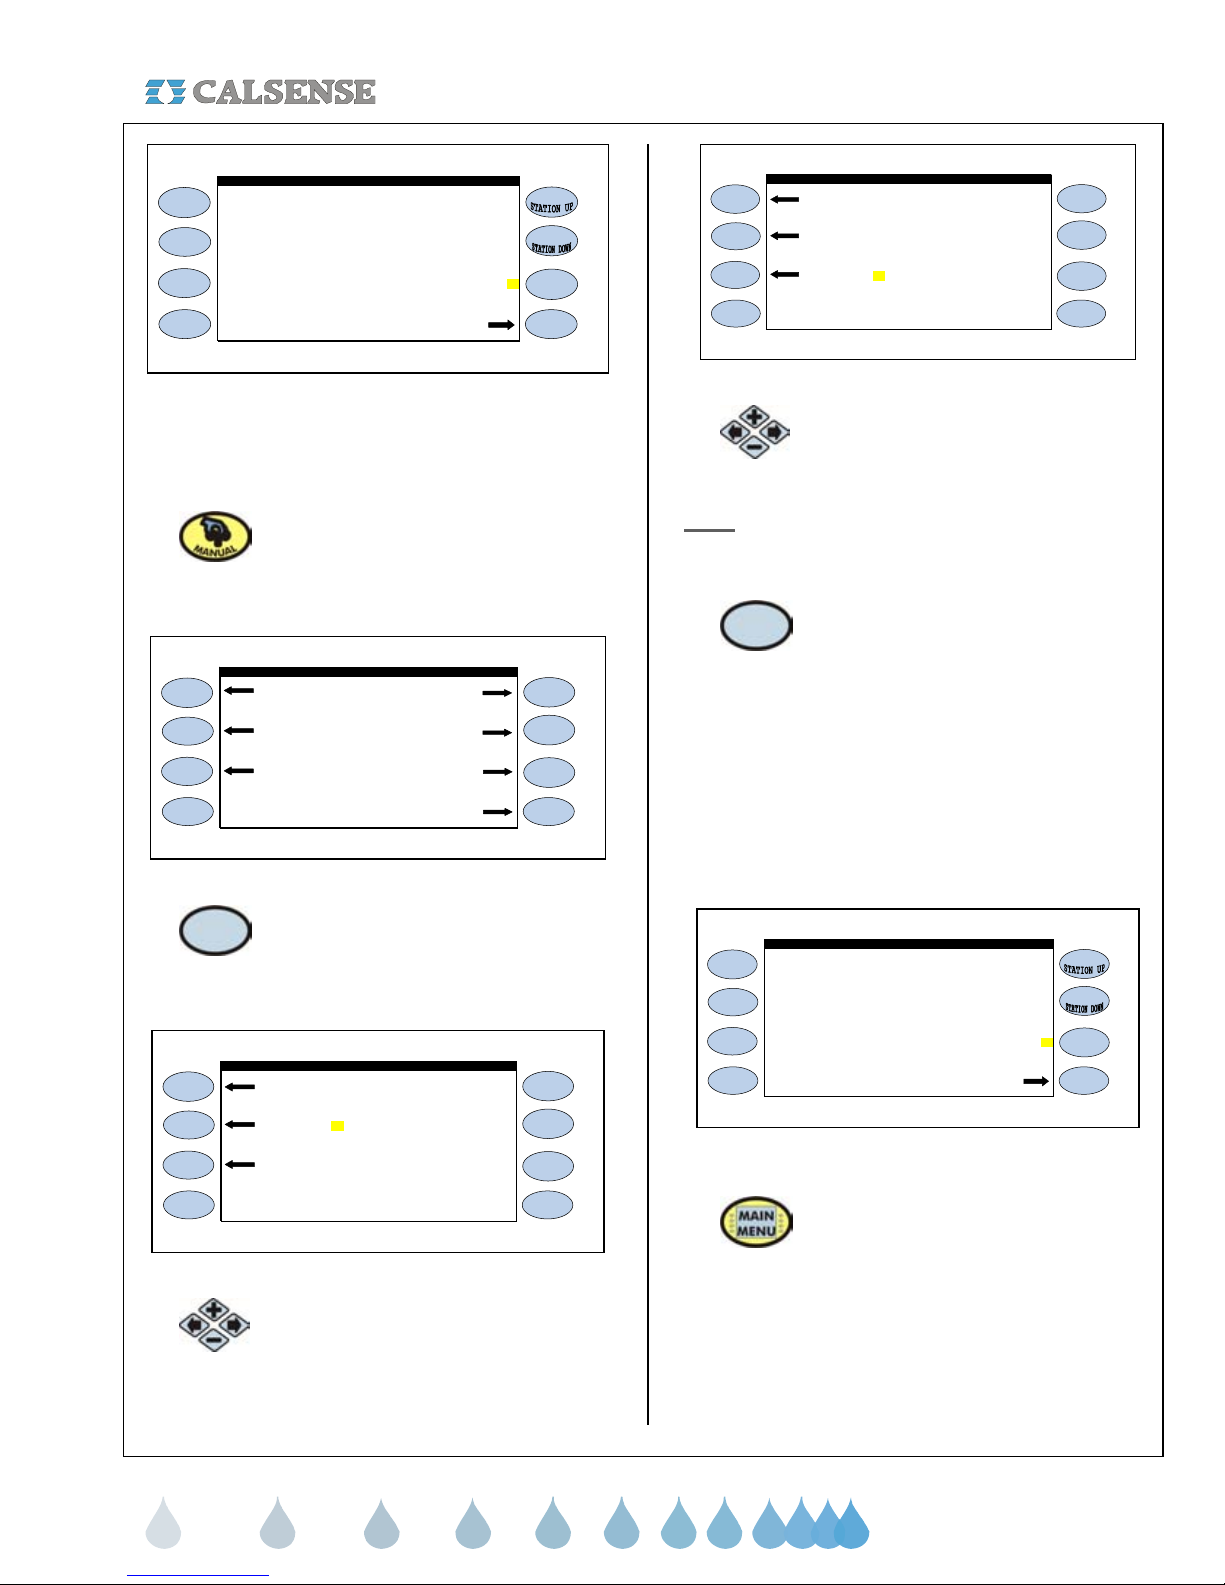
MOIST READ: This entry is non-changeable. The
Calsense Moisture sensor is not an On / Off switch.
It will never irrigate more than what is programmed
on the controller. As a moisture sensor reading goes
above the determined moisture set point, the
controller irrigates less of the programmed time until
it may not water at all.As the controller irrigates less,
the moisture level reading drops below the moisture
set point. Once this occurs, the controller
automatically begins to irrigate more of the
programmed time to where it may water the full
programmed amount (Figure 12).
Soak-In Time : 5 No Water Days 0
Station 1 . . . . . . . . . . . . . . . . . . . . . . . . . . . . PROG A
Figure 12
17. Press the TEST Menu key to test
the station that you are currently
on.
18. If you want to test a different station
press the STATION UP or STATION
DOWN keys to the right of the
display screen (Figure 13).
This will only test the station selected, but will not
get a reading from the moisture sensor.