manuals.online logo
Brands
  1. Home
  2. •
  3. Brands
  4. •
  5. Calspas
  6. •
  7. Outdoor Furnishing
  8. •
  9. Calspas Surround Series User manual

Calspas Surround Series User manual

Surround Collection Series
Assembly Guide
CONTACT IN FORMATION
For customer service, please contact your
authorized dealer immediately. If you need
additional information and/or assistance,
contact:
Lloyd’s Material Supply Company, Inc.
Customer Service Department
1462 East Ninth Street
Pomona, CA 91766.
Toll Free: 1-800-CAL-SPAS
Fax: 1-909-629-3890
LTR20091089
6/21/2023
1. Determine which pieces are included with surround as some may require pre-assembly before the surround can
be assembled around spa NOTE: Hardware is provided for both pre-assembly (short screws) of individual units
DO NOT mix pre-assembly hardware (short screws) with
When you get your disassembled Spa Surround, it will include hardware provided for you to
assemble the 7-piece surround for your spa. This hardware includes long and short screws.
Separate the short screws from the long screws (pictured below).
Please be careful to not mix the short screws which are (for pre-assembly)
1
These instructions will apply to the 7-foot, 8-foot, and 11-foot version of
the Cal Spas Surround Collections Series
2. Assemble Corner Bar (Item 3)
C. Slide a leg assembly into each end of corner bar
D. Use short screws to attach leg assemblies to corner bar
2
3. Assemble Bar 7FT (Item 4) 3. Assemble Bar 8FT (Item 4)
C. Place right and left leg assemblies into top, do not screw into place
D. Place cross bar in place between legs and use short screws to attach all pieces together.
3
E. Use short screws to attach legs to bar top
4. Assemble Bar 11FT (Item 7)
C. Place one side and center left leg assemblies into top
D. Place cross bar between them and use short screws to attach all
together but do not tighten at this time
4
E. Place other side leg into top then place cross bar between side leg and center leg
(11-foot model)
F. Use short screws to attach side leg and cross bar together and tighten all
other hardware
5
5. Pull out pre-installed LED extension cables from under the two front corners.
A. Reach under corner panel and carefully feel for cable.
approximately 30” of cable.
6. Once pre-assembly is complete and the LED extension cables have
been pulled out, begin staging all components in their approximate
locations.
6
7. All components with lighting are daisy chained together; they are powered by the LED extension
cables found under the front corner panels. Right corner panel cable powers all components on right
side, left corner cable powers left side components as shown in below drawing. For components with
lighting, route LED cables to rear of unit and connect all cables together. Leave loose, route and dress
when surround assembly has been completed.
7
A. When attaching components together it is recommended that you start at the corner and work
your way towards the rear of the spa.
B. Ensure components are square and level, then clamp together to ensure they do not shift when
screwing together.
*clamps are not included with the shipped hardware
8
8. Bar top components all get attached together using the long screws provided. Once all cables
have been connected together begin attaching surround components to each other.
C. Attach together using 4 long screws, one at each corner.
D. Continue attaching components together in the same manner until all bar tops are attached together.
9
A. Verify all connections between components have been made.
B. Route and dress cables using cable ties as required.
10
9. Once all bar tops are attached together open units with lighting
and neatly route and dress cables using cable ties as required.
*cable ties are not included with the shipped hardware
Surround Collection Series
Assembly Guide
CONTACT IN FORMATION
For customer service, please contact your
authorized dealer immediately. If you need
additional information and/or assistance,
contact:
Lloyd’s Material Supply Company, Inc.
Customer Service Department
1462 East Ninth Street
Pomona, CA 91766.
Toll Free: 1-800-CAL-SPAS
Fax: 1-909-629-3890
• Illustration is for the 8 foot model only. The 7 foot and 11 foot model may vary.
• Illustration shows a 5-piece setup. These include steps, one bar, the bench and two font corners.
• Optional bench on left side.
• Item / part number ACCT-03 cover lift can only be used on 5 foot spa only.
• Illustrations are of the 7 feet, 8 feet, and 11 feet spas with these options.
• Shimming will be required if foundation isn’t completely level.
• Cover lift can only be used on spas that have the 5-piece surround setup.
LTR20091089
6/21/2023

Other Calspas Outdoor Furnishing manuals

Calspas Woodcrest Series User manual

Calspas

Calspas Woodcrest Series User manual

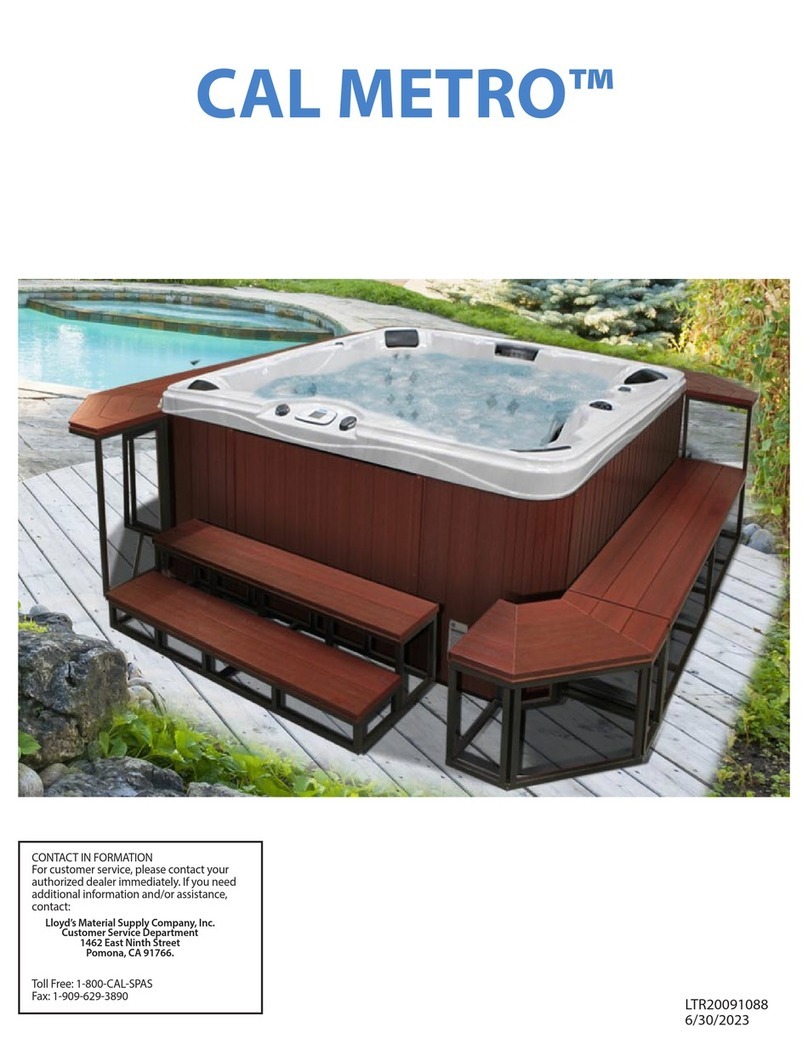
Calspas CAL METRO User manual

Calspas

Calspas CAL METRO User manual

Popular Outdoor Furnishing manuals by other brands

PHI VILLA THD7-326-4901 Use and care guide

PHI VILLA

PHI VILLA THD7-326-4901 Use and care guide

Costway OP70839 user manual

Costway

Costway OP70839 user manual

Forever Redwood PARQUET WOODEN BENCH Assembly instructions

Forever Redwood

Forever Redwood PARQUET WOODEN BENCH Assembly instructions

felton industries SELECT GRANDSTAND Assembling instructions

felton industries

felton industries SELECT GRANDSTAND Assembling instructions

KNOBLOCH FLASH DB7010 Mounting instructions

KNOBLOCH

KNOBLOCH FLASH DB7010 Mounting instructions

Walmart GFS00520F Assembly instructions

Walmart

Walmart GFS00520F Assembly instructions

Jula Hard Head 000-934 operating instructions

Jula

Jula Hard Head 000-934 operating instructions

Architectural Mailboxes Hamilton HM200 Series Mounting instructions

Architectural Mailboxes

Architectural Mailboxes Hamilton HM200 Series Mounting instructions

Backyard Discovery SOMERVILLE 10x14 PERGOLA 2006546 Owner's manual & assembly instructions

Backyard Discovery

Backyard Discovery SOMERVILLE 10x14 PERGOLA 2006546 Owner's manual & assembly instructions

tikamoon Olia CHA0010 quick start guide

tikamoon

tikamoon Olia CHA0010 quick start guide

Mirpol SONGO Assembly instructions

Mirpol

Mirpol SONGO Assembly instructions

Blumfeldt Darwin manual

Blumfeldt

Blumfeldt Darwin manual

Alpine BVK118 Assembling & Using Your Product

Alpine

Alpine BVK118 Assembling & Using Your Product

Jula Hard Head 005060 operating instructions

Jula

Jula Hard Head 005060 operating instructions

OVE FARMINGHAM Assembly instructions

OVE

OVE FARMINGHAM Assembly instructions

Amart Furniture SHADOW2 51392 Assembly instruction

Amart Furniture

Amart Furniture SHADOW2 51392 Assembly instruction

Royal garden URA03801A Use and care guide

Royal garden

Royal garden URA03801A Use and care guide

Deuba 101966 instructions

Deuba

Deuba 101966 instructions

manuals.online logo
manuals.online logoBrands
  • About & Mission
  • Contact us
  • Privacy Policy
  • Terms and Conditions

Copyright 2025 Manuals.Online. All Rights Reserved.