❷
❷
❷
beeeep
beep
beep
A
B
C
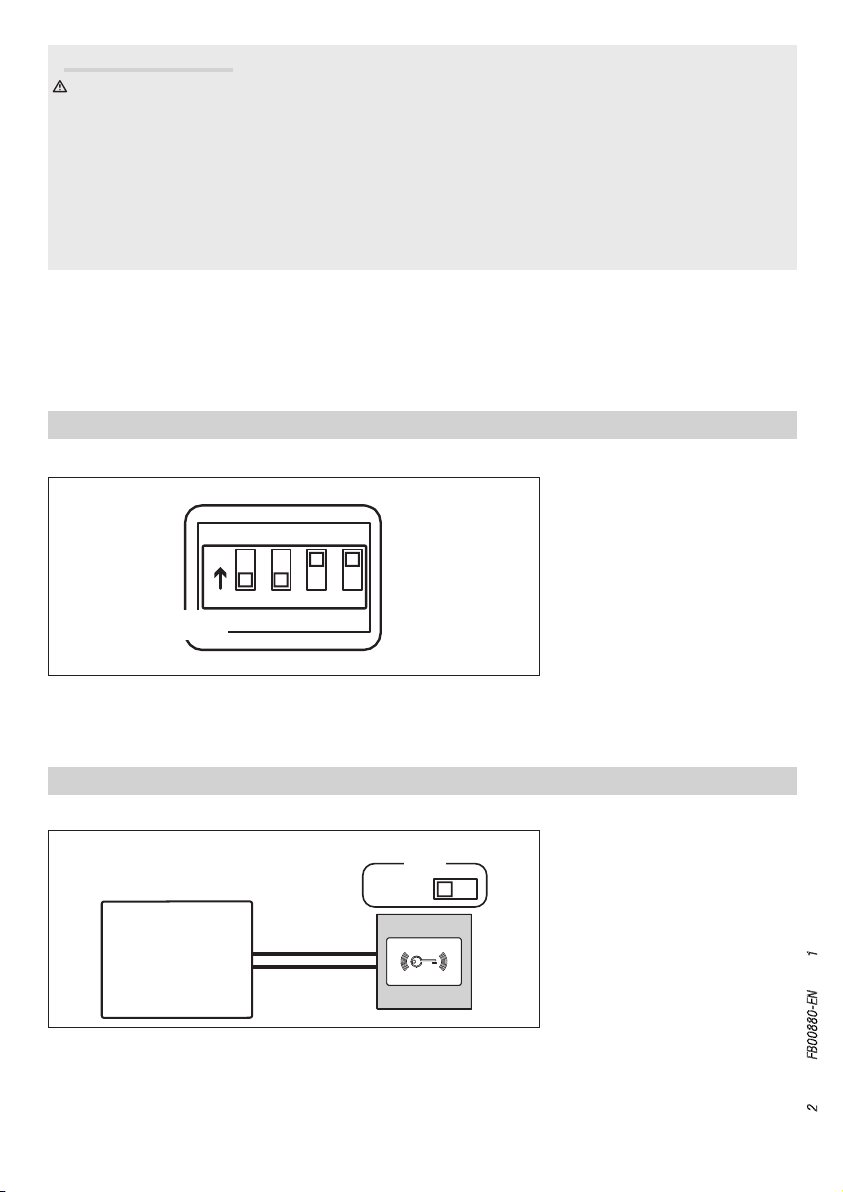
❶
❶
❶
❸
❸
❸
Pag. 3- Manuale FB00880-IT - ver. 1- 09/2017- © Came S.p.A. - I contenuti del manuale sono da ritenersi suscettibili di modifica in qualsiasi momento senza obbligo di preavviso.
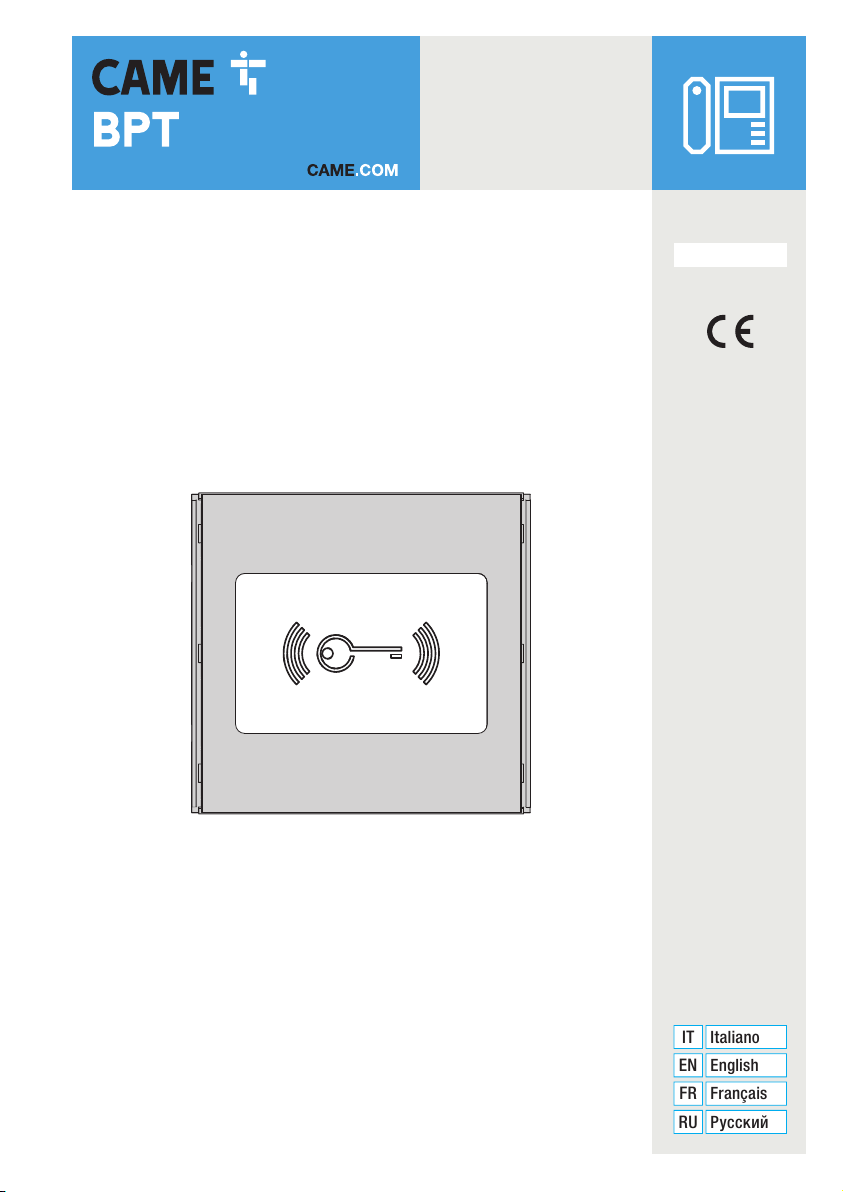
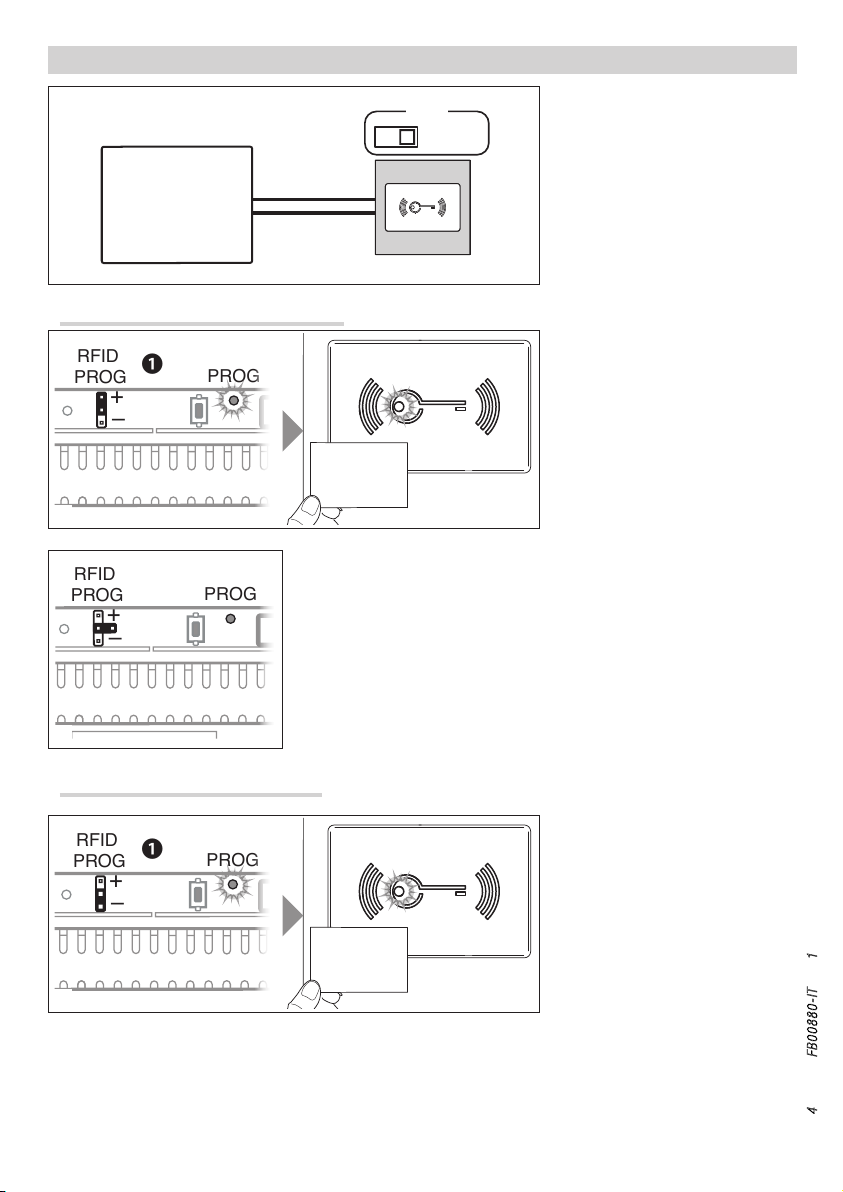
Associazione badge A
Questa procedura permette di associare un badge ad uno dei due relè presenti sul modulo MTMRFID:
ON Associazione badge al relè 1 (morsetto NC, NO, C1) OFF Associazione badge al relè 2 (morsetto NO, C2)
Per associare i badge al relè seleziona-
to, posizionare il DIP1 in ON ❶. Quando
il LED rosso del modulo MTMRFID inizia
a lampeggiare lentamente ❷ strisciare
i badge da associare vicino al lettore ❸.
Un beep lungo confermerà la corretta
procedura.
In caso di errore, questo verrà se-
gnalato da 3 beep veloci. Ripetere la
fase in modo corretto.
Al termine della programmazione ripo-
sizionare il DIP1 in OFF: il LED rosso si
spegne.
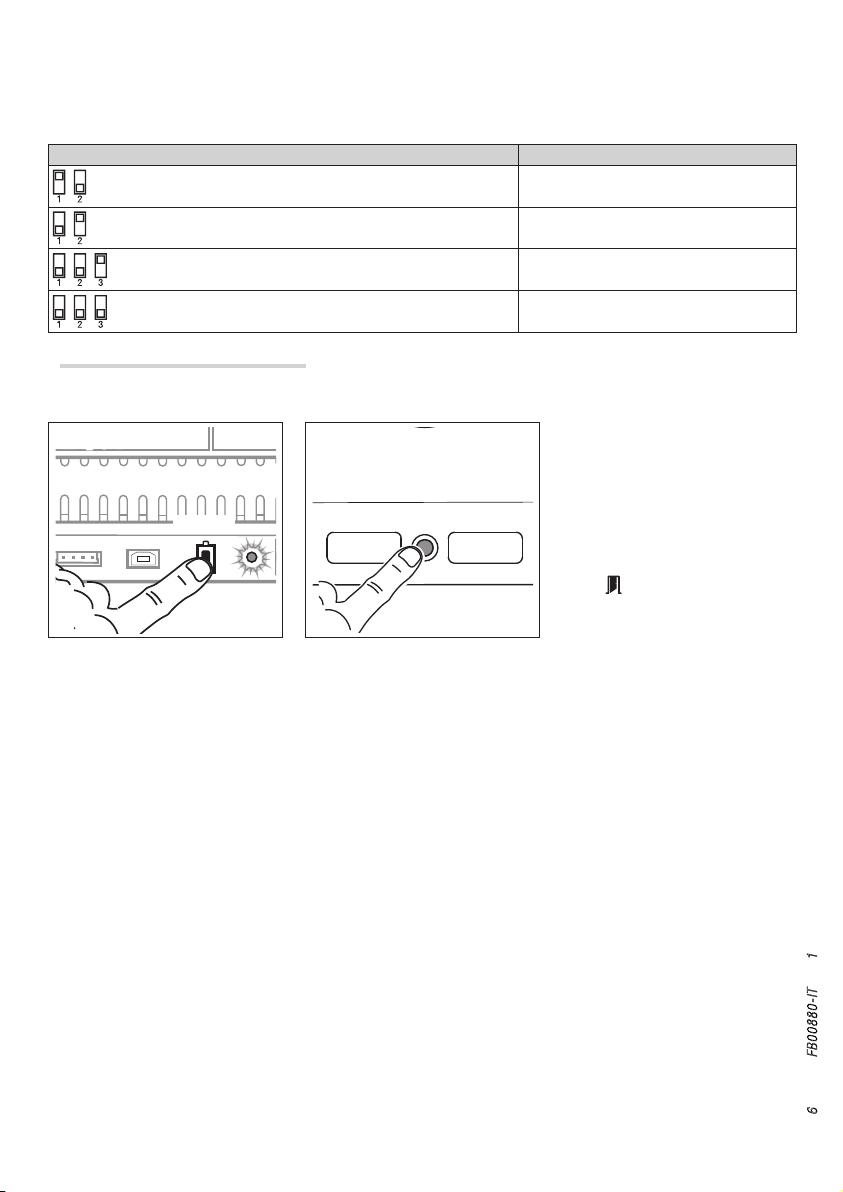
Rimozione badge B
Per rimuovere i badge al relè associato,
posizionare il DIP2 in ON ❶. Quando il
LED rosso del modulo MTMRFID inizia
a lampeggiare velocemente ❷ striscia-
re tutti i badge da rimuovere vicino al
lettore.
Un beep lungo confermerà la corretta
procedura ❸.
In caso di errore, questo verrà se-
gnalato da 3 beep veloci. Ripetere la
fase in modo corretto.
Al termine della programmazione ripo-
sizionare il DIP2 in OFF: il LED rosso si
spegne.
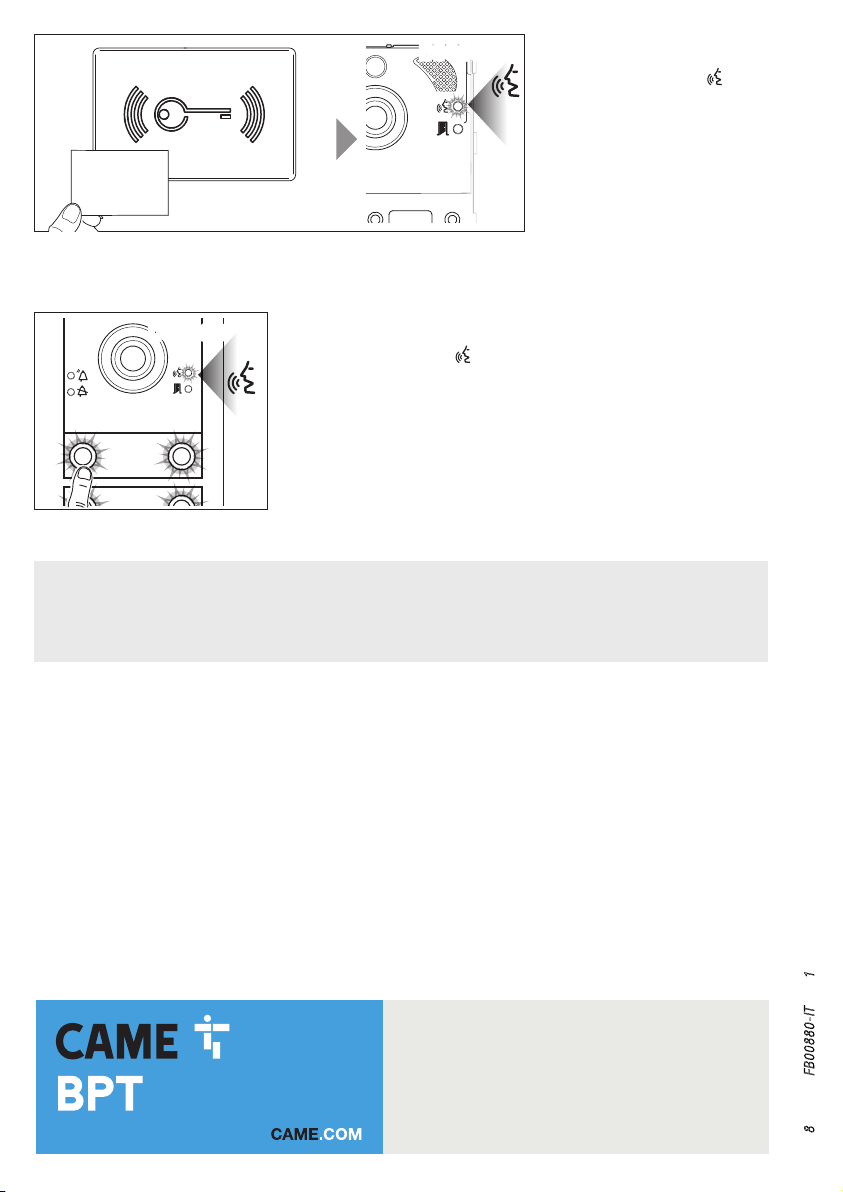
Rimozione badge smarriti C
Per rimuovere dei badge smarriti, po-
sizionare il DIP4 in ON ❶. Quando il
LED rosso del modulo MTMRFID rimane
acceso fisso ❷, strisciare tutti i badge
precedentemente acquisiti vicino al let-
tore.
Un beep confermerà la rimozione dei
badge programmati precedentemente
ma non acquisiti in questa fase ❸.
In caso di errore, questo verrà se-
gnalato da 3 beep veloci. Ripetere la
fase in modo corretto.
Al termine della programmazione ripo-
sizionare il DIP4 in OFF: il LED rosso si
spegne.
Perchè la procedura sia valida è
necessario passare almeno un badge
precedentemente acquisito.