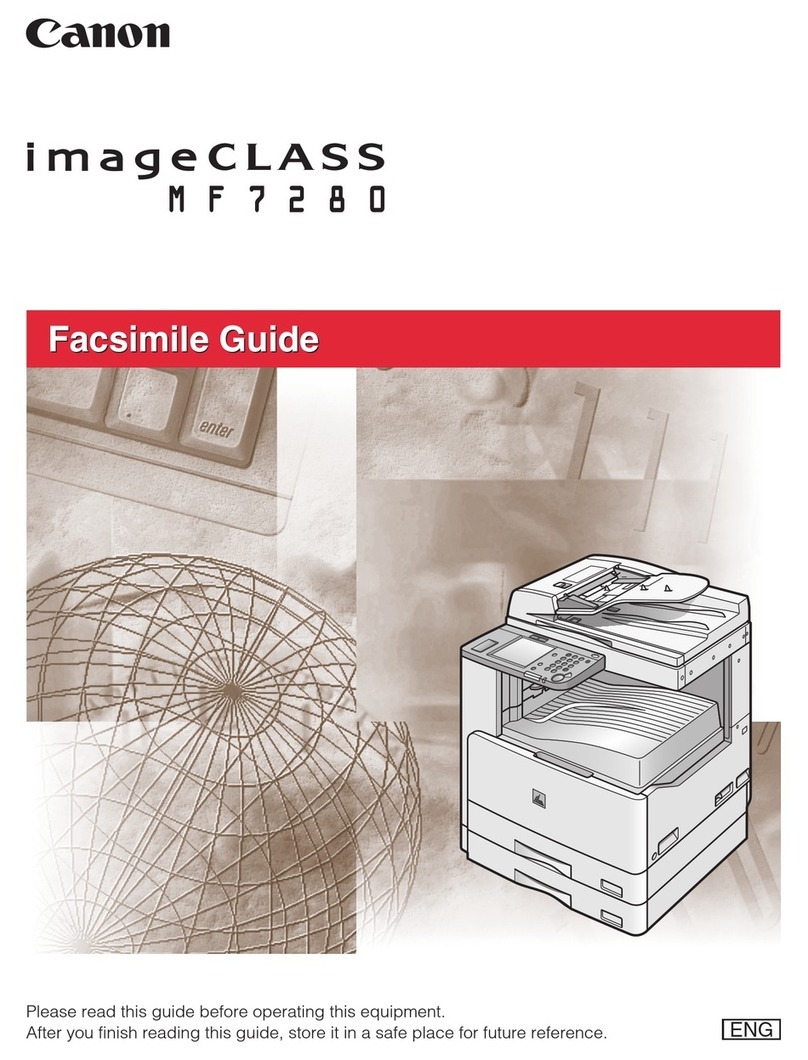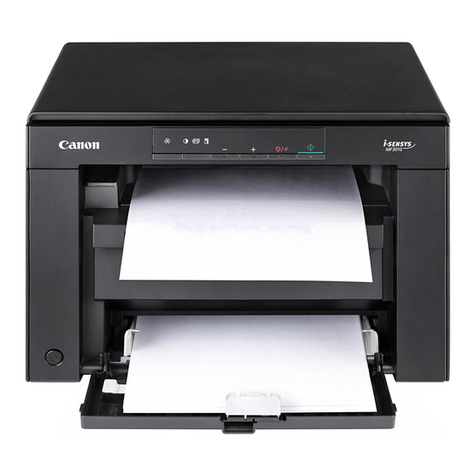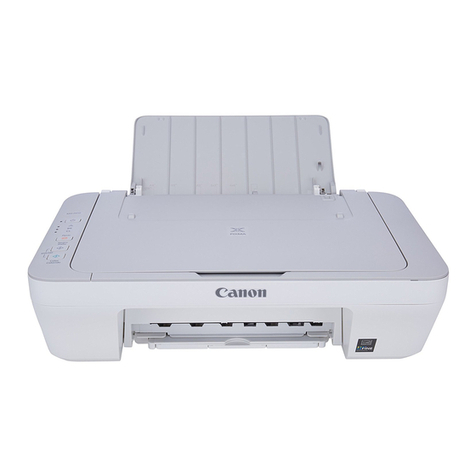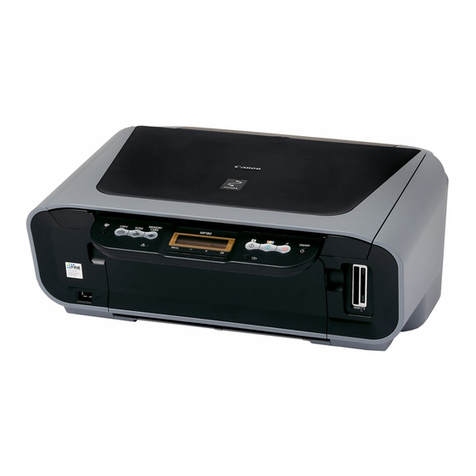
G3200
Quick Reference Guide
Copyright 2016 Canon ITS Training
Enable Direct Connection Mode
1. Press and hold the Wi-Fi button until
the ON lamp flashes.
2. Press the Color button.
3. Press the Black button.
The printer’s Direct Connection mode will be
enabled. The SSID and password will be on
the LAN details page. The default password
will be the printer’s serial number.
1. Press and hold the Wi-Fi button until
the ON lamp flashes.
2. Press the Wi-Fi button.
The LAN details page will be printed.
1. Press and hold the Wi-Fi button until
the ON lamp flashes.
2. Press the Color button.
3. Press the Black button.
4. Press the Wi-Fi button.
The printer’s Wireless LAN Mode will be
activated.
1. Press and hold the Wi-Fi button until
the ON lamp flashes.
2. Press the Color button.
3. Press the Wi-Fi button.
4. Make sure the Wi-Fi lamp flashes
quickly.
The printer is now waiting for Cableless Setup
connections from your other devices.
1. Press and hold the Wi-Fi button until
the ON lamp flashes.
2. Press the Black button.
3. Press the Wi-Fi button.
You will need to press the WPS button on the
router within 2 minutes.
Transporting the Printer
1. Turn on the printer with the cartridge (print head) left installed in the printer.
2. Hold down the Stop button until the Alarm lamp flashes seven times, then release it immediately.
The printer will power off when the operation completes.
3. Place the printer into a plastic bag before shipping.
Notes:
-Never remove the cartridges (print head). Transport the printer with the print head installed.
-Ensure the packed box remains flat and NOT turned upside down or on its side.
-A label will be attached to a plastic bag for packing the printer to advise customers to use the plastic bag for transporting the
printer and not discard it.
-Be sure to handle the printer with the right side up with care.
