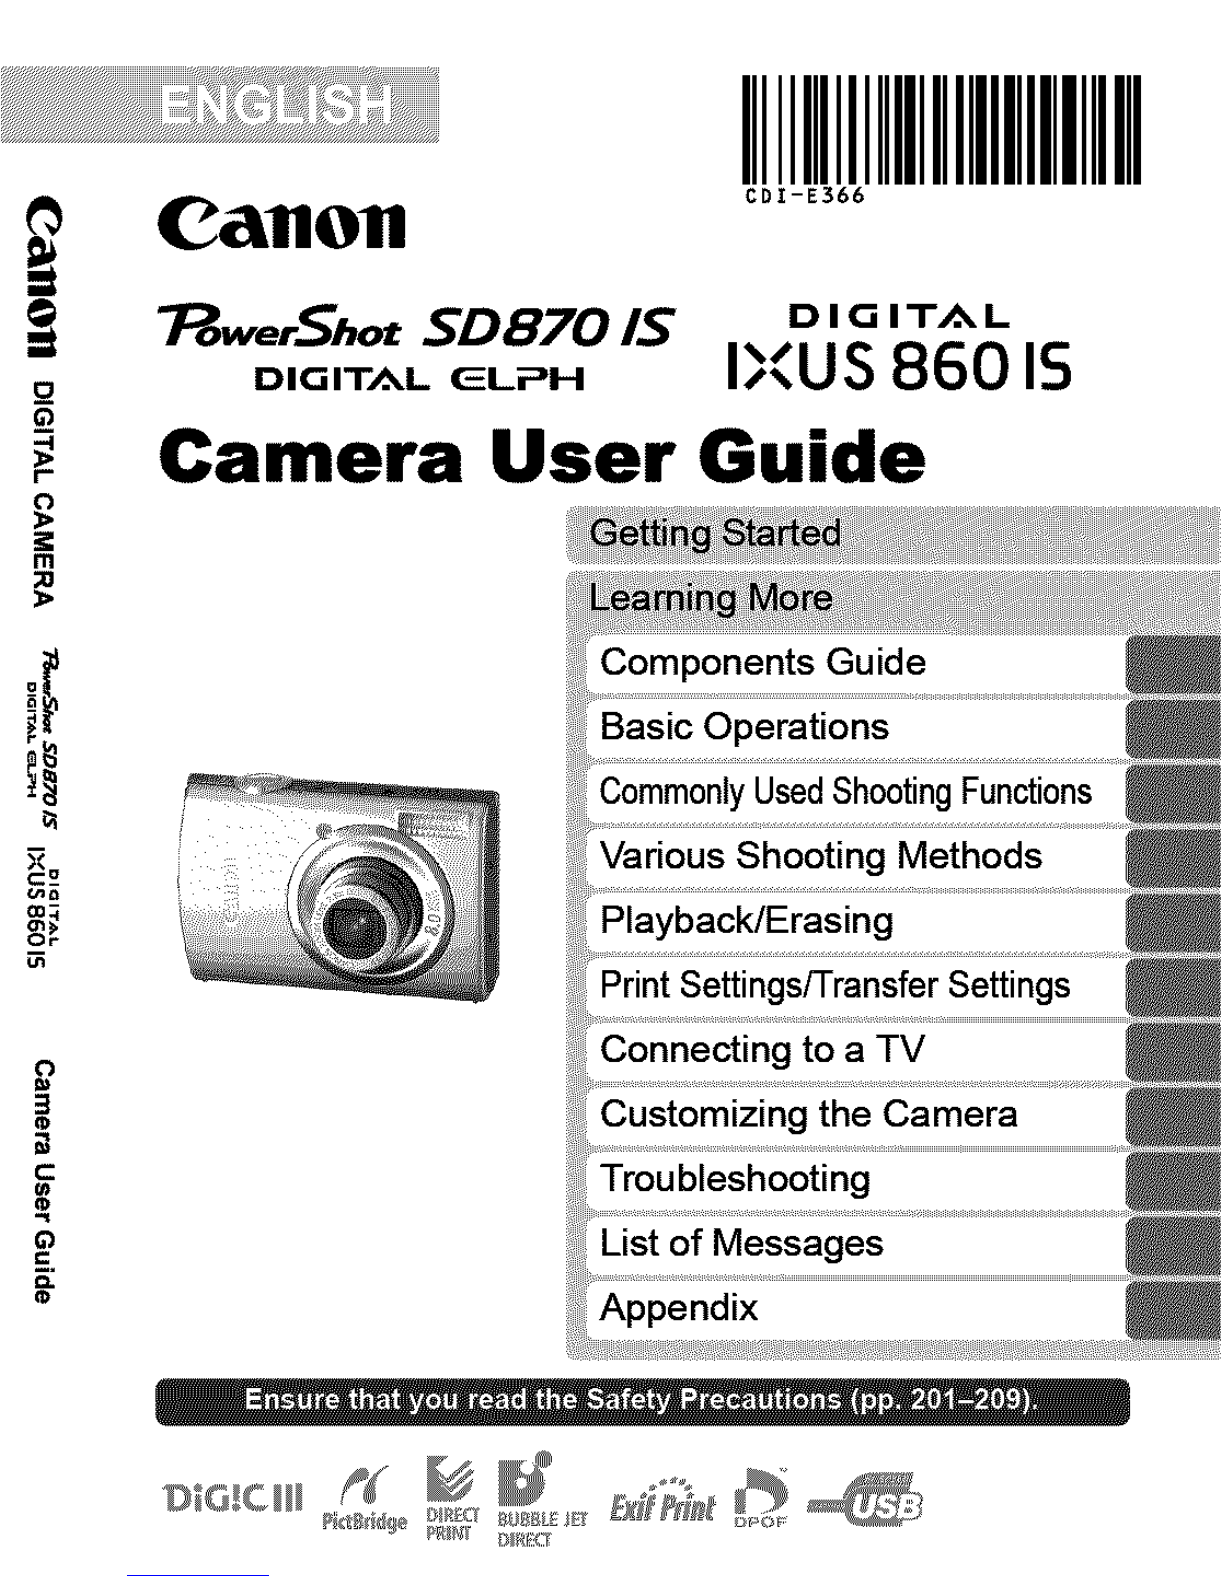
Canon POWERSHOT SD870IS User manual
Other Canon Digital Camera manuals

Canon
Canon EOS-1D User manual

Canon
Canon PowerShot SX60 HS Instruction Manual

Canon
Canon Digital REBEL 300D Instruction and safety manual
 User manual")
Canon
Canon EOS 80D (W) User manual

Canon
Canon DIGITAL IXUS 70 User manual

Canon
Canon PowerShot G7X Mark III User manual

Canon
Canon PowerShot TX1 - Digital Camera - Compact User manual

Canon
Canon Powershot SX40 HS User manual

Canon
Canon EOS 1200D Installation guide

Canon
Canon EOS 60D User manual

Canon
Canon EOS 4000D User manual

Canon
Canon VI-T User manual

Canon
Canon DIGITAL IXUS 430 Instruction Manual

Canon
Canon PowerShot SX160 IS User manual

Canon
Canon EOS 1D MkII User manual

Canon
Canon EOS Rebel T3i User manual

Canon
Canon EOS 1500D User manual

Canon
Canon A720 1S User manual

Canon
Canon Digital IXUS 990 IS User manual

Canon
Canon Ixy Digital 90 User manual