manuals.online logo
Brands
  1. Home
  2. •
  3. Brands
  4. •
  5. Cardinal
  6. •
  7. Computer Hardware
  8. •
  9. Cardinal 201 User manual

Cardinal 201 User manual

8400-0145-2M Rev A 201 PC Connectivity Setup Guide
1
201
PC CONNECTIVITY
SETUP GUIDE
8400-0145-2M Rev A
203 E. Daugherty, Webb City, MO 64870 USA
Printed in USA
01/14
Ph: 417-673-4631 Fax: 417-673-2153
www.cardinalscale.com
Technical Support: Ph: 866-254-8261 [email protected]
8400-0145-2M Rev A 201 PC Connectivity Setup Guide
2
8400-0145-2M Rev A 201 PC Connectivity Setup Guide
1
CONNECTING TO A PC –ETHERNET
For this configuration the PC and 201 will have to be assigned static IP addresses with the
same netmask. For example assign IP address 192.168.1.22 to the 201.
1. Press F1 and F2 together. The 201 display will show: 
2. Press F2 repeatedly to cycle the display to the Ethernet category.

3. Press F3 to configure the Ethernet options. The display will show: 
4. Press F3. The display will flash or. If it is not showing on press F2 to toggle the
selection to on. Press F3 to accept the setting.
5. The display will show: 
6. Press F3. The display will flash or. If it is not showing  press F2 to toggle
the selection to oFF. Press F3 to accept the setting.
7. The display will show: 
8. Press F3. The display will show a value with last digit flashing. If the number shown is
“192” press F3 to accept the value. Otherwise, press F1 twice to back up the cursor so
that the first digit is flashing. Press F2 repeatedly until the first digit is “1”. Press F3 the
cursor will move to the next digit to the right. Press F2 repeatedly until this second digit
shows “9”. Press F3. The cursor will move to the last digit. Press F2 repeatedly until
this digit shows “2”. Press F3.
9. The display will show: 
10.Press F3. If the number shown is “168” press F3 to accept the value. Otherwise, press
F1 twice to back up the cursor so that the first digit is flashing. Press F2 repeatedly until
the first digit is “1”. Press F3 the cursor will move to the next digit to the right. Press F2
repeatedly until this second digit shows “6”. Press F3. The cursor will move to the last
digit. Press F2 repeatedly until this digit shows “8”. Press F3.
11.The display will show: 
12.Press F3. If the number shown is “1” press F3 to accept the value. Otherwise, press
F1 twice to back up the cursor so that the first digit is flashing. Press F2 repeatedly until
the first digit is “0”. Press F3 the cursor will move to the next digit to the right. Press F2
repeatedly until this second digit shows “0”. Press F3. The cursor will move to the last
digit. Press F2 repeatedly until this digit shows “1”. Press F3.
201
PC / Laptop
Ethernet
8400-0145-2M Rev A 201 PC Connectivity Setup Guide
2
13.The display will show: 
14.Press F3. If the number shown is “022” press F3 to accept the value. Otherwise, press
F1 twice to back up the cursor so that the first digit is flashing. Press F2 repeatedly until
the first digit is “0”. Press F3 the cursor will move to the next digit to the right. Press F2
repeatedly until this second digit shows “2”. Press F3. The cursor will move to the last
digit. Press F2 repeatedly until this digit shows “2”. Press F3.
15.The display will show: 
16.Press F3. If the number shown is “255” press F3 to accept the value. Otherwise, press
F1 twice to back up the cursor so that the first digit is flashing. Press F2 repeatedly until
the first digit is “2”. Press F3 the cursor will move to the next digit to the right. Press F2
repeatedly until this second digit shows “5”. Press F3. The cursor will move to the last
digit. Press F2 repeatedly until this digit shows “5”. Press F3.
17.The display will show: 
18.Press F3. If the number shown is “255” press F3 to accept the value. Otherwise, press
F1 twice to back up the cursor so that the first digit is flashing. Press F2 repeatedly until
the first digit is “2”. Press F3 the cursor will move to the next digit to the right. Press F2
repeatedly until this second digit shows “5”. Press F3. The cursor will move to the last
digit. Press F2 repeatedly until this digit shows “5”. Press F3.
19.The display will show: 
20.Press F3. If the number shown is “255” press F3 to accept the value. Otherwise, press
F1 twice to back up the cursor so that the first digit is flashing. Press F2 repeatedly until
the first digit is “2”. Press F3 the cursor will move to the next digit to the right. Press F2
repeatedly until this second digit shows “5”. Press F3. The cursor will move to the last
digit. Press F2 repeatedly until this digit shows “5”. Press F3.
21.The display will show: 
22.Press F3. If the number shown is “000” press F3 to accept the value. Otherwise, press
F1 twice to back up the cursor so that the first digit is flashing. Press F2 repeatedly until
the first digit is “0”. Press F3 the cursor will move to the next digit to the right. Press F2
repeatedly until this second digit shows “0”. Press F3. The cursor will move to the last
digit. Press F2 repeatedly until this digit shows “0”. Press F3.
23.The display will show:
24.Press F3. If the number shown is “000” press F3 to accept the value. Otherwise follow
the same process as in step 22 to set the value to “000”. Press F3.
25.The display will show:
26.Press F3. If the number shown is “000” press F3 to accept the value. Otherwise follow
the same process as in step 22 to set the value to “000”. Press F3.
27.The display will show:
28.Press F3. If the number shown is “000” press F3 to accept the value. Otherwise follow
the same process as in step 22 to set the value to “000”. Press F3.
8400-0145-2M Rev A 201 PC Connectivity Setup Guide
3
29.The display will show:
30.Press F3. If the number shown is “000” press F3 to accept the value. Otherwise follow
the same process as in step 22 to set the value to “000”. Press F3.
31.The display will show:
32.Press F3. If the number shown is “000” press F3 to accept the value. Otherwise follow
the same process as in step 22 to set the value to “000”. Press F3.
33.The display will show:
34.Press F3. If the number shown is “000” press F3 to accept the value. Otherwise follow
the same process as in step 22 to set the value to “000”. Press F3.
35.The display will show:
36.Press F3. If the number shown is “000” press F3 to accept the value. Otherwise follow
the same process as in step 22 to set the value to “000”. Press F3.
37.The display will show:
38.Press F3. If the number shown is “000” press F3 to accept the value. Otherwise follow
the same process as in step 22 to set the value to “000”. Press F3.
39.The display will show:
40.Press F3. The display will flash or. If it is not showing on press F2 to toggle the
selection to on. Press F3 to accept the setting.
41.The display will show:
42.Press F3. If the number shown is “80” press F3 to accept the value. Otherwise follow
the same method as used in previous steps to change the value to “80” and press F3.
43.The display will show:
44.Press F3. The display will flash or. If it is not showing no press F2 to
toggle the selection to no. Press F3 to accept the setting.
45.Press F1 and F2 to save the settings.
46.The 201 will reboot “StatiC” then “P1=192”, “P2=168”, “P3=1”, and “P4=22”. If the
startup does not appear like this repeat the steps to make sure the settings are correct.
8400-0145-2M Rev A 201 PC Connectivity Setup Guide
4
Assign a Static IP Address to the PC.
The IP address assigned must be different from the IP assigned to the 201. In this example
we will use address 192.168.1.23.
1. Click the Windows “Start” button and then “Control Panel”.
2. Click “Network and Internet”.
3. Click “View Network Status and Tasks”.
4. Click “Change adapter settings”.
8400-0145-2M Rev A 201 PC Connectivity Setup Guide
5
5. Right-click “Local Area Connection” and select “Properties”.
6. Select “Internet Protocol Version 4 (TCP/IPv4)” and click properties.
7. Click “Use the following IP address” and type the appropriate values as shown.
8. Click Ok and then “Close”.
9. Open “Internet Explorer” and type in the address bar 192.168.1.22
8400-0145-2M Rev A 201 PC Connectivity Setup Guide
6
An alternative configuration is to connect the 201 to a switch or router and enable DHCP to
assign the IP address automatically if the DHCP enabled router or a DHCP server is on the
company network. In this case very little configuration is needed. Simply set the 201 to DHCP
“on” and watch the display on the 201 as it is powered up to see what IP address was
assigned automatically. Use this number in Internet Explorer.
8400-0145-2M Rev A 201 PC Connectivity Setup Guide
7
8400-0145-2M Rev A 201 PC Connectivity Setup Guide
8

Other manuals for 201

1

Other Cardinal Computer Hardware manuals

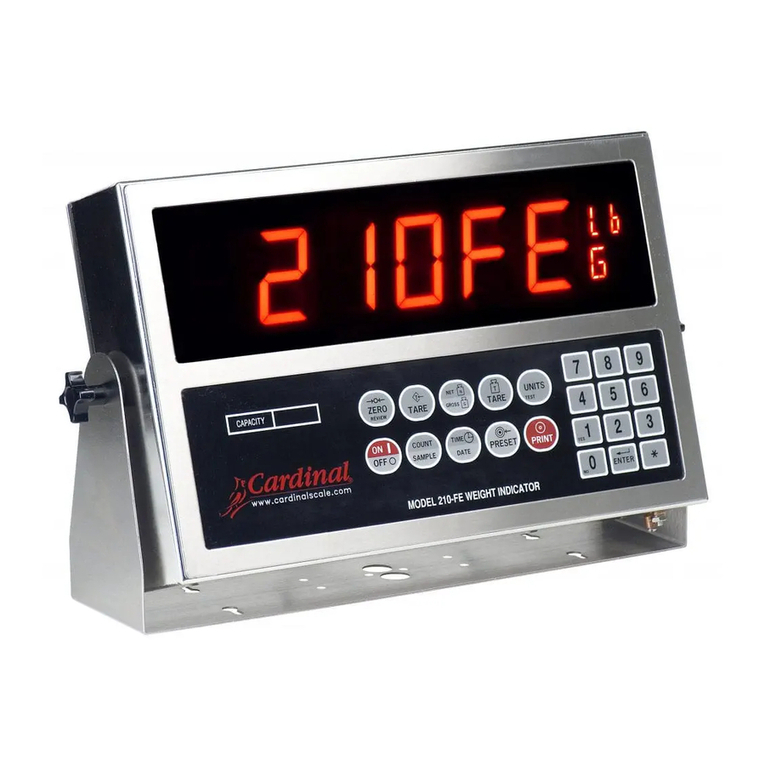
Cardinal 2XX-WIFI User manual

Cardinal

Cardinal 2XX-WIFI User manual

Cardinal 2XX-IP User manual

Cardinal

Cardinal 2XX-IP User manual

Popular Computer Hardware manuals by other brands

Navitar 1-62523 Dimensional drawing

Navitar

Navitar 1-62523 Dimensional drawing

Renkforce 1693204 operating instructions

Renkforce

Renkforce 1693204 operating instructions

Adaptec RAID 2405 Installation and user guide

Adaptec

Adaptec RAID 2405 Installation and user guide

VAIO VGF-UWA1 user manual

VAIO

VAIO VGF-UWA1 user manual

EE Tools EeRom-8U user guide

EE Tools

EE Tools EeRom-8U user guide

Waveshare E9 Hardware manual

Waveshare

Waveshare E9 Hardware manual

Whadda NEO-6M GPS SHIELD FOR RASPBERRY PI manual

Whadda

Whadda NEO-6M GPS SHIELD FOR RASPBERRY PI manual

LG D405 Service manual

LG

LG D405 Service manual

Ultra Products CPU Cooling Fans AMD Specification sheet

Ultra Products

Ultra Products CPU Cooling Fans AMD Specification sheet

Intel I3-530 Documentation update

Intel

Intel I3-530 Documentation update

SWEEX FW004 manual

SWEEX

SWEEX FW004 manual

CC&C WL-6200-V3 user guide

CC&C

CC&C WL-6200-V3 user guide

Keithley KM-488-ROM user guide

Keithley

Keithley KM-488-ROM user guide

Alphacool GPX-N 970-M10 instruction manual

Alphacool

Alphacool GPX-N 970-M10 instruction manual

KAE Systems FlexControl 14 user manual

KAE Systems

KAE Systems FlexControl 14 user manual

ADS Technologies PTV-305 Driver installation guide

ADS Technologies

ADS Technologies PTV-305 Driver installation guide

Leroy-Somer MD2 user guide

Leroy-Somer

Leroy-Somer MD2 user guide

Takstar EKX-808 user manual

Takstar

Takstar EKX-808 user manual

manuals.online logo
manuals.online logoBrands
  • About & Mission
  • Contact us
  • Privacy Policy
  • Terms and Conditions

Copyright 2025 Manuals.Online. All Rights Reserved.