EN
www.carlisleft.com Manual AC6-2216
(Revised 03/2021)
In this manual, the words WARNING, CAUTION and NOTE are used to emphasize important safety information as follows:
Read the following warnings before using this equipment
! WARNING
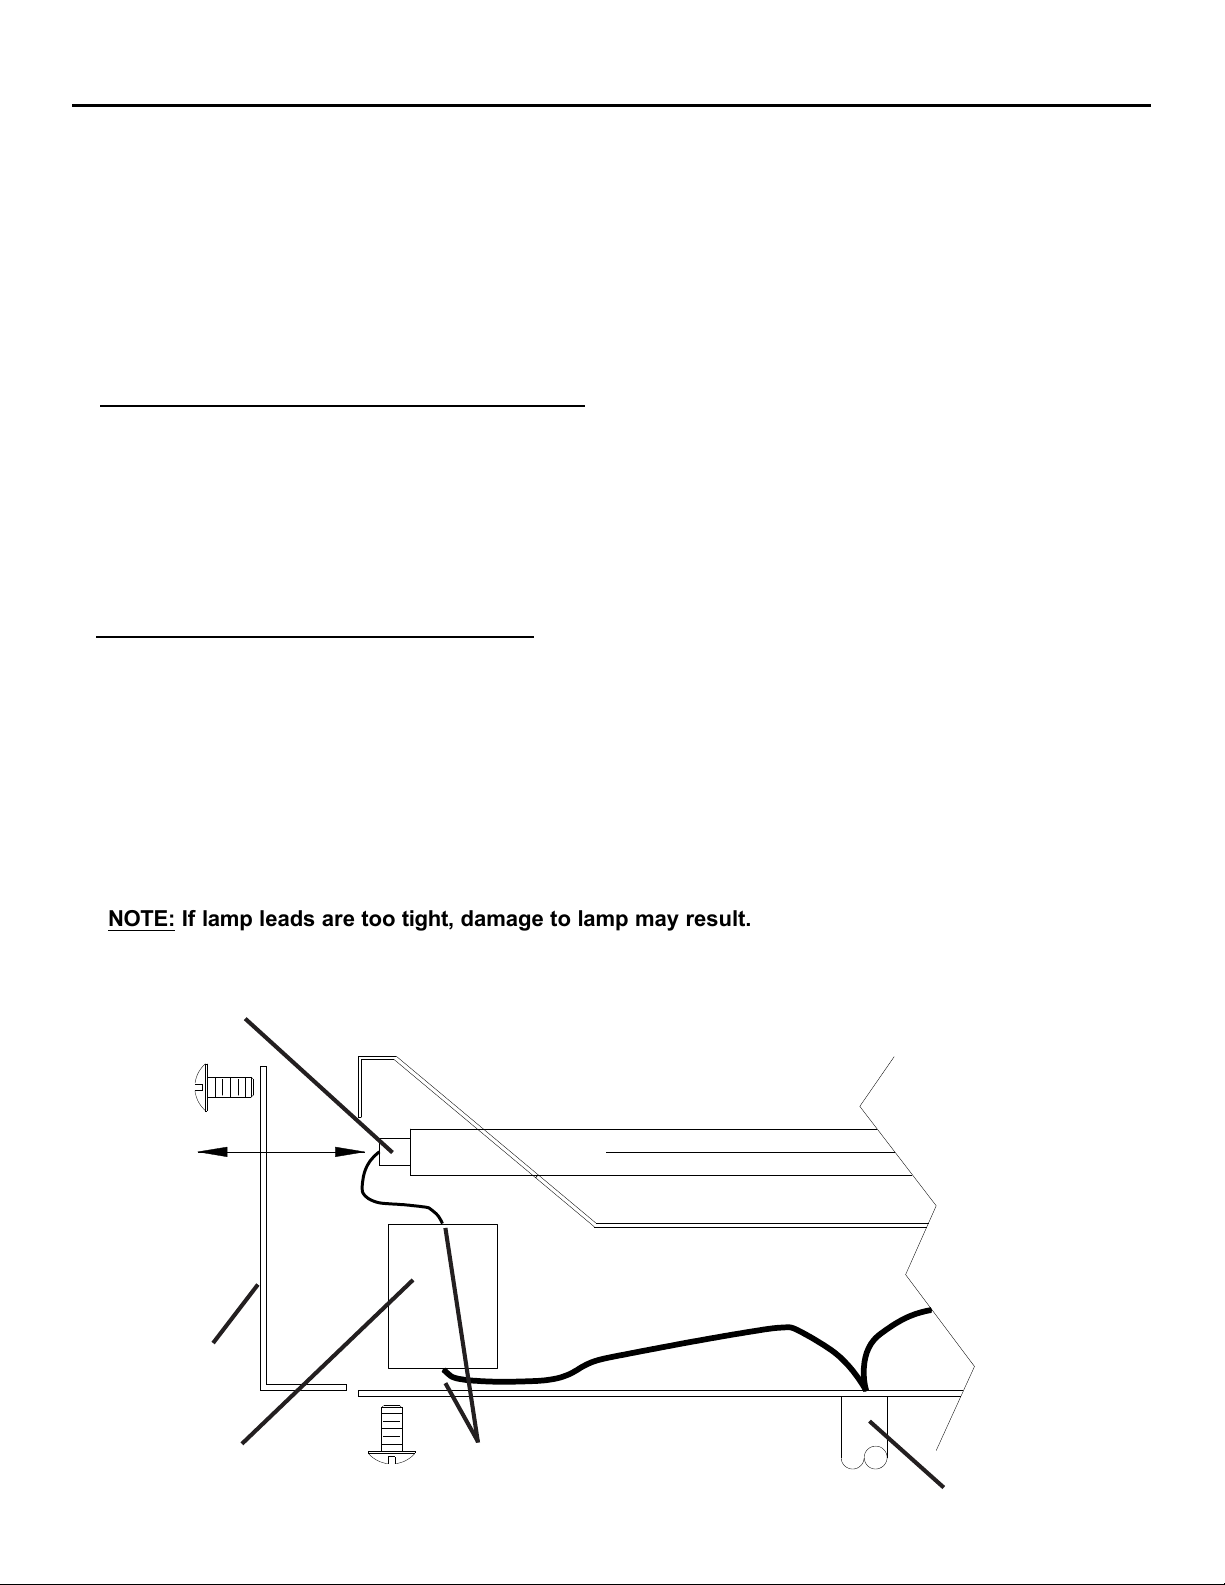
! WARNING NOTE
or
in
! WARNING
or
in minor
! CAUTION
AUTOMATIC EQUIPMENT
Automatic equipment may start suddenly without warning.
INSPECT THE EQUIPMENT DAILY
Inspect the equipment for worn or broken parts on a daily basis. Do not
operate the equipment if you are uncertain about its condition.
NEVER MODIFY THE EQUIPMENT
Do not modify the equipment unless the manufacturer provides written
approval.
NOISE HAZARD
You may be injured by loud noise. Hearing protection may be required when
using this equipment.
READ THE MANUAL
read and all safety,
and maintenance in the
TRAINING
All must be before equipment.
EQUIPMENT HAZARD
can cause the to or start
and result in injury.
LOCK OUT / TAG-OUT
Failure to de-energize, disconnect, lock out and tag-out all power sources
before performing equipment maintenance could cause serious injury or
death.
PRESSURE RELIEF PROCEDURE
Always follow the pressure relief procedure in the equipment instruction
manual.
KEEP EQUIPMENT GUARDS IN PLACE
Do not operate the equipment if the safety devices have been removed.
KNOW WHERE AND HOW TO SHUT OFF THE EQUIPMENT IN CASE
OF AN EMERGENCY
WEAR SAFETY GLASSES
Failure to wear safety glasses with side shields could result in serious eye
injury or blindness.
PROJECTILE HAZARD
You may be injured by venting liquids or gases that are released under
pressure, or flying debris.
STATIC CHARGE
Fluid may develop a static charge that must be dissipated through proper
grounding of the equipment, objects to be sprayed and all other electrically
conductive objects in the dispensing area. Improper grounding or sparks can
cause a hazardous condition and result in fire, explosion or electric shock and
other serious injury.
PROP 65 WARNING
WARNING: This product contains chemicals known to the State of California
to cause cancer and birth defects or other reproductive harm.
WEAR RESPIRATOR
Toxic fumes can cause serious injury or death if inhaled. Wear a respirator
as recommended by the fluid and solvent manufacturer’s Safety Data Sheet.
TOXIC FLUID & FUMES
Hazardous fluid or toxic fumes can cause serious injury or death if splashed in
the eyes or on the skin, inhaled, injected or swallowed. LEARN and KNOW the
specific hazards or the fluids you are using.
FIRE AND EXPLOSION HAZARD
Improper equipment grounding, poor ventilation, open flame or sparks can
cause a hazardous condition and result in fire or explosion and serious injury.
MEDICAL ALERT
Any injury caused by high pressure liquid can be serious. If you are injured or
even suspect an injury:
Go to an emergency room immediately.
Tell the doctor you suspect an injection injury.
Show the doctor this medical information or the medical alert card
provided with your airless spray equipment.
Tell the doctor what kind of fluid you were spraying or dispensing.
GET IMMEDIATE MEDICAL ATTENTION
To prevent contact with the fluid, please note the following:
•Never point the gun/valve at anyone or any part of the body.
•Never put hand or fingers over the spray tip.
•Never attempt to stop or deflect fluid leaks with your hand, body, glove
or rag.
•Always have the tip guard on the spray gun before spraying.
•Always ensure that the gun trigger safety operates before spraying.
It is the of the to this to the of the
For see the
PINCH POINT HAZARD
Moving parts can crush and cut. Pinch points are basically any areas where
there are moving parts.