manuals.online logo
Brands
  1. Home
  2. •
  3. Brands
  4. •
  5. Carnival King
  6. •
  7. Commercial Food Equipment
  8. •
  9. Carnival King 382CCM21CT User manual

Carnival King 382CCM21CT User manual

Cotton Candy Machine
with cart
www.CarnivalKingSupplies.com
Item # 382CCM21CT 08/2021
user manual
2
www.CarnivalKingSupplies.com .||||| info@carnivalking.com
COTTON CANDY MACHINE with cart MANUAL
General Safety Precautions
1. This manual will outline safety warnings and precautions, operating, maintenance and cleaning. The warnings and
instructions reviewed in this manual cannot cover all possible conditions and situations that may occur. Factors
such as caution and common sense cannot be built into this product and it is trusted the operator will follow these
measures.
2. This machine must never be modified and should only be used for its intended purpose.
3. Always check that the cotton candy machine is plugged into a grounded outlet with the appropriate electrical
supply. Ensure that the wall outlet being used is properly grounded. If it is not, you must install a grounded outlet.
Have the work performed only by a certified electrician who is properly qualified to meet local safety and electrical
codes.
4. Before disconnecting from the power source, be sure that all switches have been turned OFF. To unplug the
machine, firmly grasp the plug and remove from the outlet – never pull on the cord itself.
5. Ensure that the power outlet, plug and cord being used are in good, working condition. Damaged components
should be repaired by a certified electrician who is qualified to meet local safety and electrical codes. Even with a
properly functioning power cord, keep water away from the cord and avoid letting your power cord run over carpets
or heating devices.
6. If missing or broken components are found, leave the machine TURNED OFF. Do not attempt to use it. Contact a
qualified service technician to make all repairs.
Assembly & Operating Instructions
1. Unpack box and remove all components from protective wrap.
2. Connect each of the side shelves to the square base of the unit. If looking directly at the side with the Carnival
King design (front), the shelf with 3 holes for cones attaches to the left and the solid shelf attaches to the right.
3. Connect the 2 longest leg pieces to the bottom of the base directly under the solid shelf. The legs with wheels will
be underneath the shelf with the 3 holes.
4. Connect the other 2 legs to the opposite side and attach each of the cross axles between the legs.
5. Connect the wheels to the shorter legs. Once connected, roll the cart a few times. You may loosen/tighten the
wheels to ensure it rolls smoothly and stable.
7. No one under 18 should operate this machine unsupervised.
8. Keep hands, foreign objects, and loose clothing away from the spinning head while in use.
9. Always use the machine in a clean and dry area.
10. Operate your machine only if it is clean (see Cleaning Instructions below).
10. As the cotton candy accumulates, it will build up and come out through the top of the spinner head. You
will need to collect the cotton candy as it comes out of the top of the unit.
6. Install the bowl on top of the base. Make sure the bowl is not in contact with the heating head. Place floss bubble
shield (optional - sold separately) on top of the bowl.
11. To make more cotton candy, turn heat switch "OFF" before refilling the spinner head. Repeat steps 9-11.
12. Allow the machine to cool down for 15-20 minutes after an hour of continuous use.
7. Connect the power cord to the base and plug it into a grounded outlet.
8. Turn “ON” the motor switch. The switch will light up. While spinner head is turning, carefully fill spinner head
with sugar (use one full scoop). Do not overfill.
9. Now turn the heat switch "ON". The switch will light up. Cotton candy will begin to spin around the bowl as
the heating head warms.The initial cone will take 2-3 minutes.
3
www.CarnivalKingSupplies.com .||||| info@carnivalking.com
COTTON CANDY MACHINE with cart MANUAL
#382FB21
Floss bubbles help protect against airborne debris.
Simply set on top of your 21” Carnival King Cotton
Candy Machine and begin serving up delicious
cones of cotton candy to your customers!
(12) - 6 x 16mm Bolts
(8) - 6 x 35mm Bolts
(2) - M8 Covered Nuts
Floss Bubble Shield (sold separately)
Also available...
Cleaning and Maintenance
1. After use be sure to turn off and unplug the machine.
2. Allow all components to cool off to a temperature
that is safe to touch.
3. Wipe down the spinning head with water, a mild soap
such as 147SUNBRIGHT and a non-abrasive towel.
Then wipe with clear water. Dry Completely.
4. Remove the four screws from the top of the spinning head
and remove the bowl which holds the floss sugar.
5. Wires are now exposed. Cover the opening with a towel
to prevent any outside contaminants.
6. It may be necessary after heavy use to first soak the
bowl in hot water and mild soap prior to step 7.
7. Wipe down the bowl with water, a mild soap such as
147SUNBRIGHT and a non-abrasive towel. Rinse.
Dry Completely.
8. After all parts are completely dry, reassemble the machine.
Parts and Accessories
Cotton Candy Machine Specs
Item# 382CCM21CT
Overall Dimensions 35” x 20.5” x 35.75”
Bowl Dimensions 21” Diameter
Voltage 110V
Wattage 1050W
Yield 2 Cones/Minute
Certication
Part Name Replacement Part Item #
Wheel Axel 382PCCMAXLE
13” Wheel 382PCCMWHEEL
Carbon Brush 382PCCMBRSH
Floss Heating Head 382PCCMHHEAD
Hi-Limit Thermostat 382PCCMTEMPL
Fuse- 15A, 250V 382PCCMFUSE
Floss Bowl Stabilizer Net and Clips 382CCMNET
Floss Bubble 382FB21
Hardware Included

Other Carnival King Commercial Food Equipment manuals

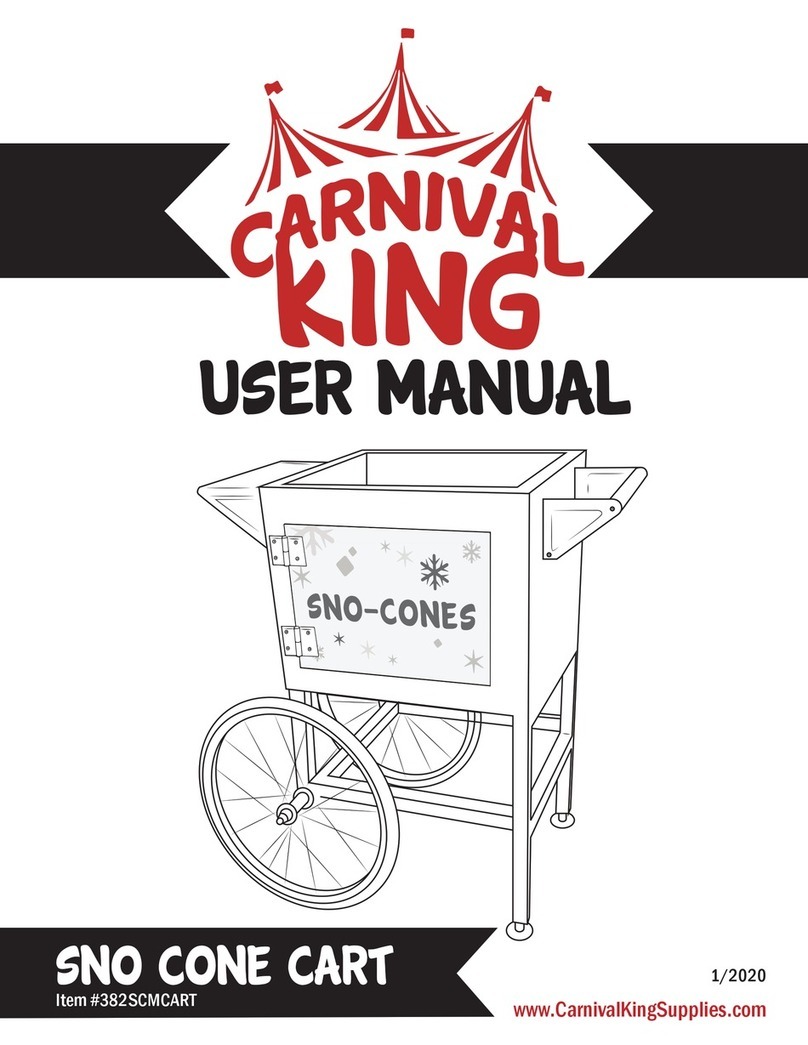
Carnival King SNO CONE CART User manual

Carnival King

Carnival King SNO CONE CART User manual

Carnival King 382HDRG12 User manual

Carnival King

Carnival King 382HDRG12 User manual

Carnival King 382CDPW3 Use and care manual

Carnival King

Carnival King 382CDPW3 Use and care manual

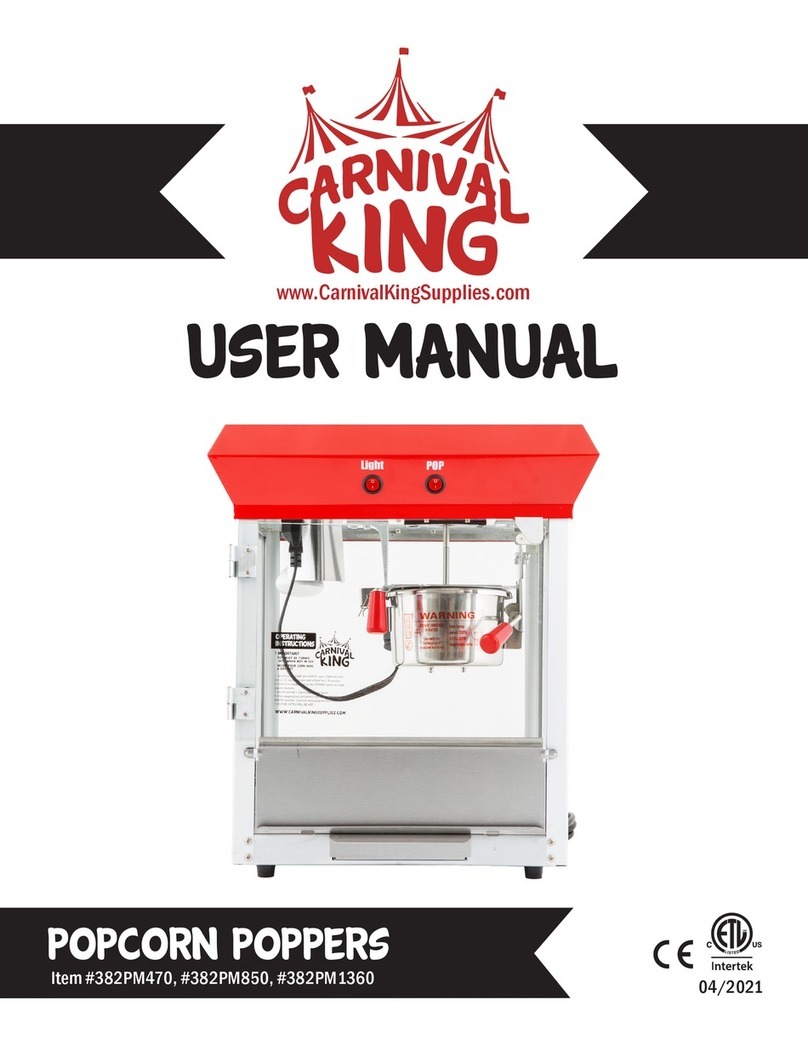
Carnival King 382PM470 User manual

Carnival King

Carnival King 382PM470 User manual

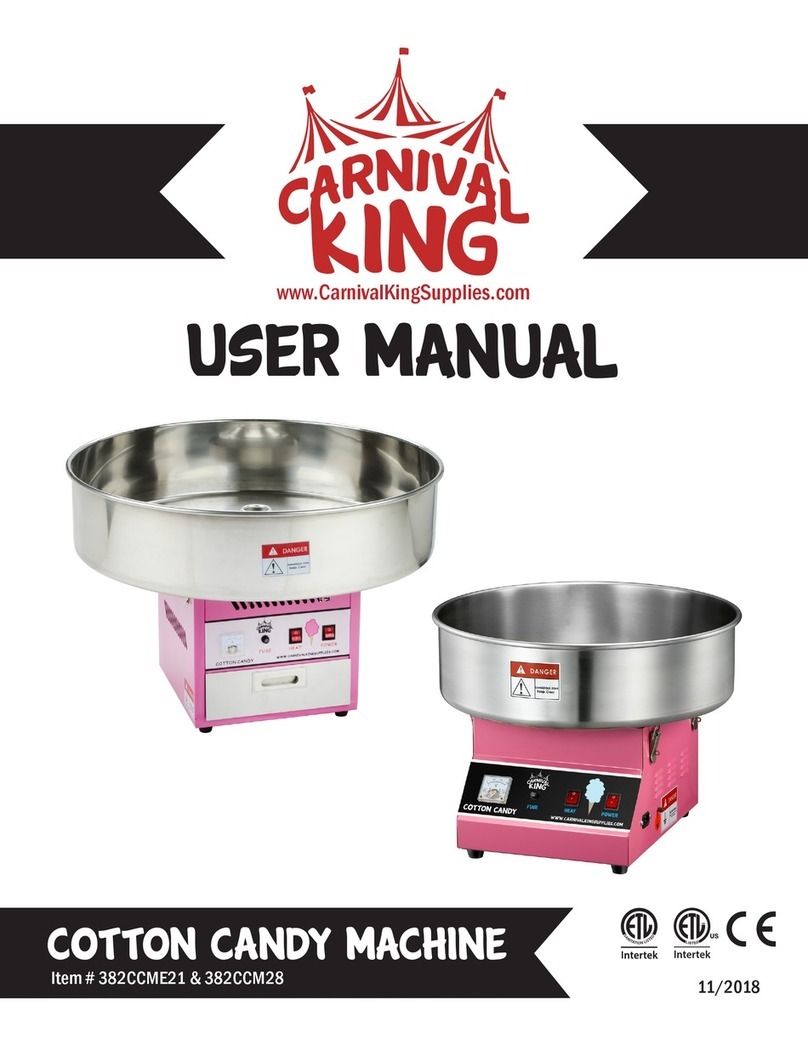
Carnival King 382CCME21 User manual

Carnival King

Carnival King 382CCME21 User manual

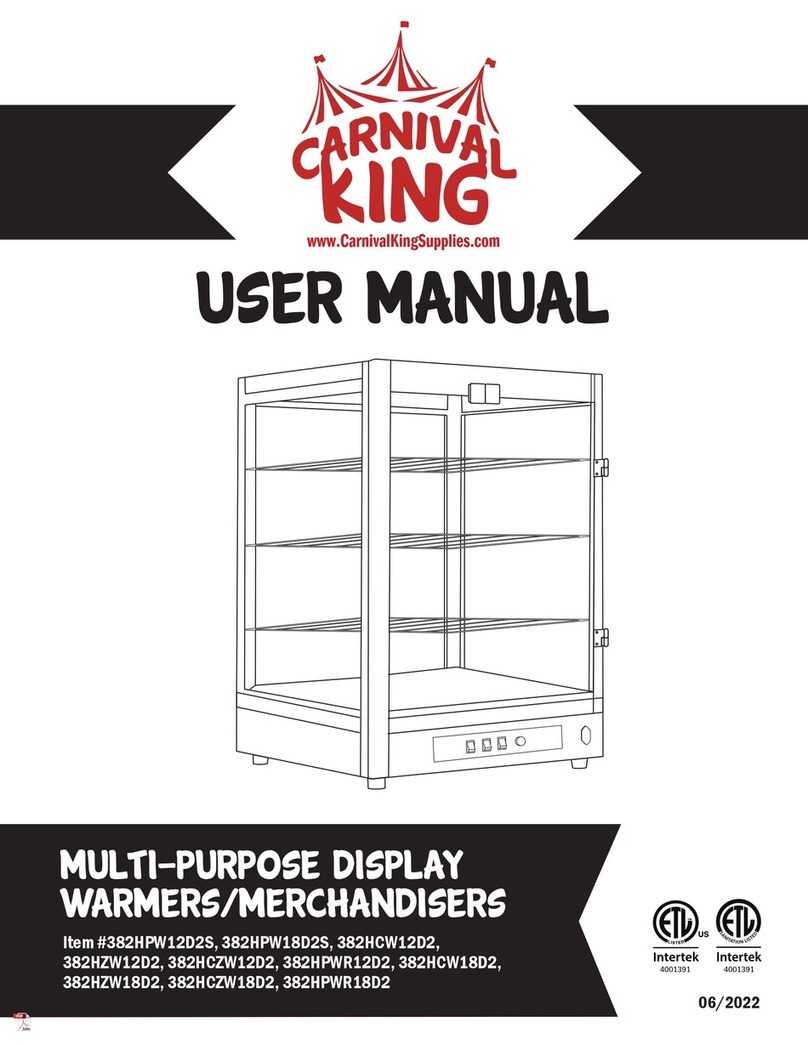
Carnival King 382HPW12D2S User manual

Carnival King

Carnival King 382HPW12D2S User manual

Popular Commercial Food Equipment manuals by other brands

Costco 5P-08WT manual

Costco

Costco 5P-08WT manual

Beper BT.651Y manual

Beper

Beper BT.651Y manual

Blue Seal EF30 Installation & operation manual

Blue Seal

Blue Seal EF30 Installation & operation manual

Tecfrigo Snelle 400 GS installation instructions

Tecfrigo

Tecfrigo Snelle 400 GS installation instructions

Follett PFT Series Operation and maintenance manual

Follett

Follett PFT Series Operation and maintenance manual

MEFE CAT 206 PTR User manual and maintenance

MEFE

MEFE CAT 206 PTR User manual and maintenance

Diamond AL1TB/H2-R2 Installation, Operating and Maintenance Instruction

Diamond

Diamond AL1TB/H2-R2 Installation, Operating and Maintenance Instruction

Salva IVERPAN FC-18 User instructions

Salva

Salva IVERPAN FC-18 User instructions

Allure Melanger JR6t Operator's manual

Allure

Allure Melanger JR6t Operator's manual

saro FKT 935 operating instructions

saro

saro FKT 935 operating instructions

Hussmann Rear Roll-in Dairy Installation & operation manual

Hussmann

Hussmann Rear Roll-in Dairy Installation & operation manual

Cornelius IDC PRO 255 Service manual

Cornelius

Cornelius IDC PRO 255 Service manual

Moduline HSH E Series Service manual

Moduline

Moduline HSH E Series Service manual

MINERVA OMEGA DERBY 270 operating instructions

MINERVA OMEGA

MINERVA OMEGA DERBY 270 operating instructions

Diamond OPTIMA 700 Installation, use and maintenance instructions

Diamond

Diamond OPTIMA 700 Installation, use and maintenance instructions

Diamond G9/PLCA4 operating instructions

Diamond

Diamond G9/PLCA4 operating instructions

Cuppone BERNINI BRN 280 Installation

Cuppone

Cuppone BERNINI BRN 280 Installation

Arneg Atlanta Direction for Installation and Use

Arneg

Arneg Atlanta Direction for Installation and Use

manuals.online logo
manuals.online logoBrands
  • About & Mission
  • Contact us
  • Privacy Policy
  • Terms and Conditions

Copyright 2025 Manuals.Online. All Rights Reserved.