manuals.online logo
Brands
  1. Home
  2. •
  3. Brands
  4. •
  5. Caroma
  6. •
  7. Plumbing Product
  8. •
  9. Caroma G Series Plus User manual

Caroma G Series Plus User manual

R
(SHEET 1 OF 2)
IS1592B(04/17)
3)Apply suitable lubricant to the 'O'Rings on the spigot of
connectors (15). Fit the adaptors (12) of the breech (11)
equally onto the spigots of connectors (15) until they
contact the connector front face then tighten screws (13)
using a 2.5mm allen key.
Remove locknuts (7) and fibre washers from
cartridges (8). Unscrew cartridges (8) from breech
bodies (10). Screw cartridge (8) (with red seal 9)
into left hand 'hot side' breech body (10). Using a
suitable spanner, tighten cartridge (8) until it
comes to a firm stop (DO NOT TIGHTEN
CARTRIDGE USING SPINDLE). Fit fibre washer &
then locknut (7) and tighten using a suitable
spanner, taking care not to damage the thread.
Fit cartridge (8) (with blue seal 9) into right hand
'cold side' breech body (10) in a similar manner.
5)
*All pipework must be thoroughly flushed prior to
installation, as foreign materials may block the flow
regulating device and reduce the flow of water.
Note: Aerator insert housing must be retightened to
prevent removal by hand.
Important Information
*
Not suitable for gravity feed systems.
*
The outlet is fitted with a flow regulated aerator insert.
Installation (Fig.1, 2 & 3 or 4)
G1/2B inlet nipples (16) must be square to wall/tile face
and mounted accurately with the correct distance
apart (Fig.1) to ensure a satisfactory installation.
*
Check that threaded nipples (16) are the correct length,
as shown (Fig.2). Cut to length if required ensuring end
face is square. Apply thread sealant or tape to the thread.
Important: Care must be taken that thread tape cannot
become dislodged and block the flow regulated device,
causing a reduction in water flow.
1)
Screw connector (15) onto each inlet nipple (16) using a
10mm allen key (not supplied). Each connector (15)
should be tightened equally until the correct centre
distance (Fig.1) is acheived & the breech (11) is
horizontal. Use the breech (11) to check for correct
installation & adjust the connectors (15) accordingly.
2)
It is recommended that the outlet (19) be fitted prior to
installing the breech (11). (see Fig.5, Sht 2).
*
4)Determine handle closing position.
Forward closing lever handles (ideal for opening using
elbows) (Fig.3). Proceed to step 6.
Outward closing lever handles (more suitable for
opening by hand) (Fig.4). Proceed to step 5.
PLUMBERS INSTALLATION INSTRUCTIONS
'G' SERIES PLUS- WALL SINK EXPOSED SET
WATER EFFICIENT TAPWARE
Hot and cold water inlet pressures should be equal.
Maximum hot water temperature : 80 C.
IMPORTANT
Pressure & Temperature Requirements.
Centre distance between inlet nipples :200 9mm
Deck Requirements
New Regulation :-500 kPa maximum static pressure
at any outlet within a building.(Ref. AS/NZS 3500.1)
Static inlet pressure range : 150 -1000 kPa
With cartridge spindles in the fully closed position (Fig.3 or 4), fit inserts (6) onto spindles then
check that lever of handles (1) are in correct alignment with each other when fitted to handle
inserts (6). For small adjustments to handle position, cartridge (8) can be rotated slightly in an
anti-clockwise direction until handles are aligned before tightening locknut (7). Remove handles
(1) then fit washers (5) & nuts (4) to thread of spindles and tighten to secure inserts (6). Align
handles (1) as before then engage with insert (6) & tighten screw (2) with 2mm allen key (3).
6)
200 mm
Fig.1 Front View
Fibre Washer
1
4
5
6
9
8
10
2
3
7
Spindle
11
Fig.4
Fully
Closed
Fully Open
Fully
closed
Fully Open
Hot Handle Cold Handle
Fig.3
Fully
Open
Fully Closed
Fully
Open
Fully Closed
Hot Handle Cold Handle
G1/2B
12 mm
4.5 mm
Wall/tile face
Offset
Fig.2 Side View
12
13
14
'O'Rings
Spigot
15
16
R
(SHEET 2 OF 2)
IS1592B(04/17)
PLUMBERS INSTALLATION INSTRUCTIONS
WATER EFFICIENT TAPWARE
'G' SERIES PLUS- WALL SINK EXPOSED SET
Installing the outlet (Fig.5)
Determine if the outlet (19) is to be fixed or swivel.
1) For a fixed outlet select the retainer (18a) or if 100 restricted
swivel is required select the smaller retainer (18b). Fit the
retainer (18a or 18b) into the spigot groove, as shown.
Ensure suitable lubricant is applied to the retainer &
'O'rings, then carefully slide the outlet (19) onto the spigot
of breech (11). Rotate the outlet (19) to align the hole in the
outlet with the threaded hole in the retainer (18a or 18b) then
fit screw (17a or 17b) and tighten using the 2mm allen key (3).
Important: The correct retainer/screw combination must be
used (18a/17a) or (18b/17b), as shown.
2)
Changing the indicator (Fig.6)
Loosen screw (2) using a 2mm allen key (3) & remove
handle (1). Remove screw (23) & washer (24) using a
3mm allen key. Push out retainer (26) & indicator (25).
1)
2)Push in new indicator (25) followed by retainer (26). Assemble
screw (23) with washer (24) then screw into the retainer (26) &
tighten with the 3mm allen key. Align handle (1) as before then
engage with insert (6) & tighten screw (2) with 2mm allen key (3).
Cleaning the Aerator Insert (Fig.5)
1) Carefully remove housing (20) from outlet tube (19), taking care
not to damage the decorative finish.
2) Remove 'O'ring (22) & aerator insert (21) from housing (20).
Check that housing is clean. Deposits of lime can be removed
by washing in a vinegar solution.
3) Fit aerator insert (21) into housing (20) followed by 'O'ring (22)
then screw assembly onto outlet tube (19) & tighten securely
(to prevent removal by hand).
Fig. 6
23
24
25
26
1
23
Fig. 5
11
18a
18b
19
20
21
22
Swivel outlet
'O'Rings
Spigot
OR
Wall/tile face
3
Fixed Outlet
17a
17b

Other Caroma Plumbing Product manuals

Caroma G Series Product manual

Caroma

Caroma G Series Product manual

Caroma SARACOM User manual

Caroma

Caroma SARACOM User manual

Caroma Liano 7.4 User manual

Caroma

Caroma Liano 7.4 User manual

Caroma CARE 800 EASY HEIGHT ARMREST User manual

Caroma

Caroma CARE 800 EASY HEIGHT ARMREST User manual

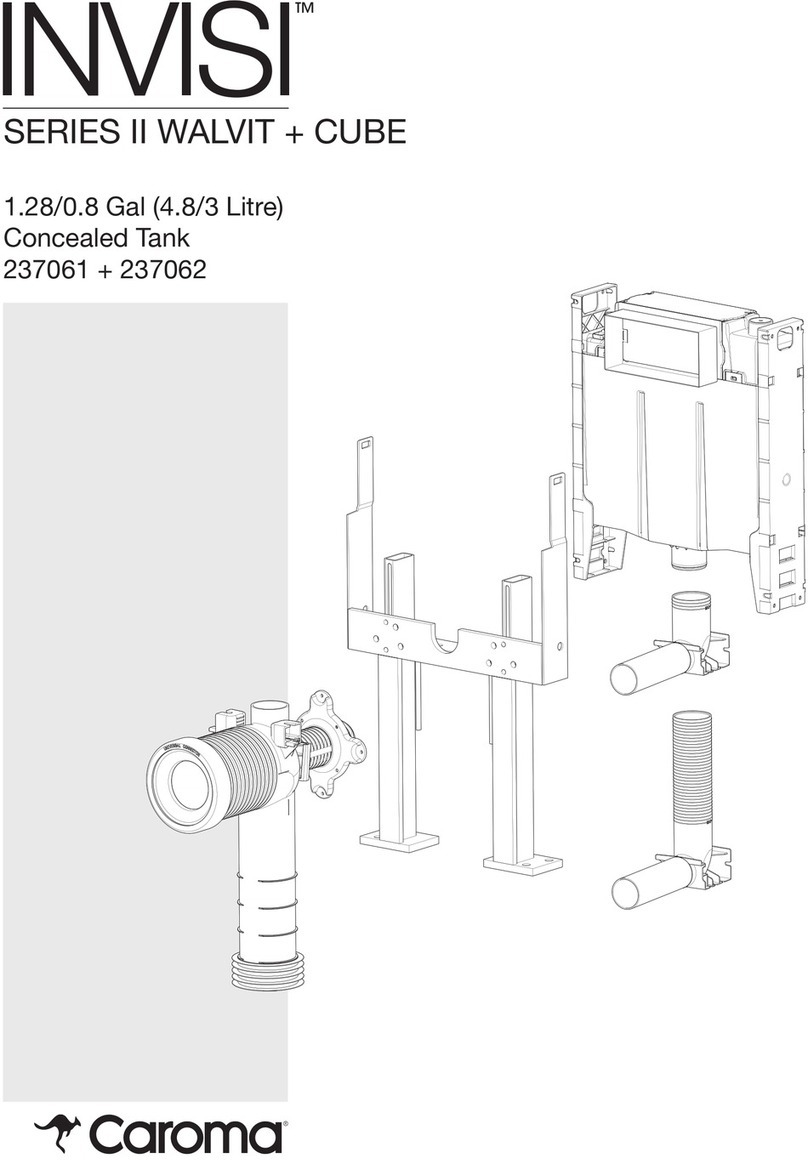
Caroma Invisi Series II User manual

Caroma

Caroma Invisi Series II User manual

Caroma AURA User manual

Caroma

Caroma AURA User manual

Caroma CONTURA User manual

Caroma

Caroma CONTURA User manual

Caroma LUNA User manual

Caroma

Caroma LUNA User manual

Caroma H2Zero Manual

Caroma

Caroma H2Zero Manual

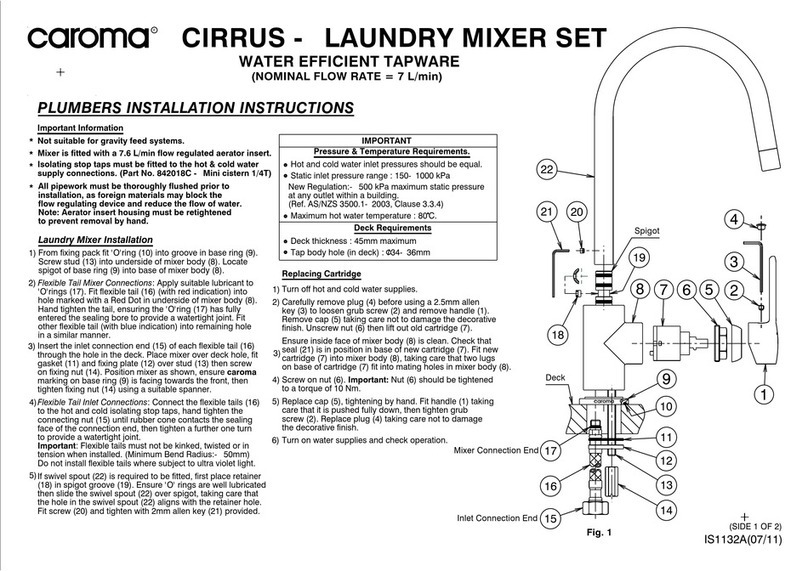
Caroma CIRRUS User manual

Caroma

Caroma CIRRUS User manual

Caroma SKANDIC User manual

Caroma

Caroma SKANDIC User manual

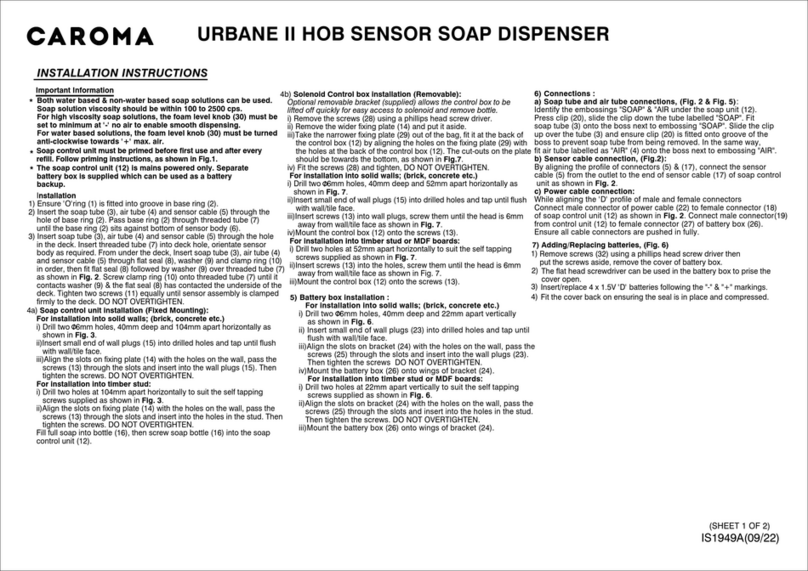
Caroma URBANE II HOB User manual

Caroma

Caroma URBANE II HOB User manual

Caroma Smart Command Eco Valve Quick start guide

Caroma

Caroma Smart Command Eco Valve Quick start guide

Caroma TITAN User manual

Caroma

Caroma TITAN User manual

Popular Plumbing Product manuals by other brands

Linki Sof 058 quick start guide

Linki

Linki Sof 058 quick start guide

Hans Grohe AXOR Starck V 12112 Series Instructions for use/assembly instructions

Hans Grohe

Hans Grohe AXOR Starck V 12112 Series Instructions for use/assembly instructions

Kohler SYMBOL 72641T installation instructions

Kohler

Kohler SYMBOL 72641T installation instructions

Hans Grohe Raindance Select 27113 Series Instructions for use/assembly instructions

Hans Grohe

Hans Grohe Raindance Select 27113 Series Instructions for use/assembly instructions

habitat et jardin Fresh 11 1365 93342 manual

habitat et jardin

habitat et jardin Fresh 11 1365 93342 manual

Cello Saga 800 instruction manual

Cello

Cello Saga 800 instruction manual

Rohl Myrina MY55D1 instruction manual

Rohl

Rohl Myrina MY55D1 instruction manual

Metalac Xgranit XVenera m Installation guidelines

Metalac

Metalac Xgranit XVenera m Installation guidelines

Elkay Pacemaker PFR2519 Specifications

Elkay

Elkay Pacemaker PFR2519 Specifications

Delabie TEMPOMATIC 4 443410 installation instructions

Delabie

Delabie TEMPOMATIC 4 443410 installation instructions

Sterling Plumbing 11850 Specification sheet

Sterling Plumbing

Sterling Plumbing 11850 Specification sheet

Dundalk LeisureCraft CTC22LU Assembly instructions

Dundalk LeisureCraft

Dundalk LeisureCraft CTC22LU Assembly instructions

American Standard Colony Single Control Kitchen Faucet... Specification sheet

American Standard

American Standard Colony Single Control Kitchen Faucet... Specification sheet

Gessi RETTANGOLO 20112 Bath Mixing Program

Gessi

Gessi RETTANGOLO 20112 Bath Mixing Program

Mira Bijou Installation & user guide

Mira

Mira Bijou Installation & user guide

Toto GB TBG10001U Installation and owner's manual

Toto

Toto GB TBG10001U Installation and owner's manual

ShowHouse Organic TS887BN Replacement parts

ShowHouse

ShowHouse Organic TS887BN Replacement parts

Crosswater Berea 11-02-T installation instructions

Crosswater

Crosswater Berea 11-02-T installation instructions

manuals.online logo
manuals.online logoBrands
  • About & Mission
  • Contact us
  • Privacy Policy
  • Terms and Conditions

Copyright 2025 Manuals.Online. All Rights Reserved.