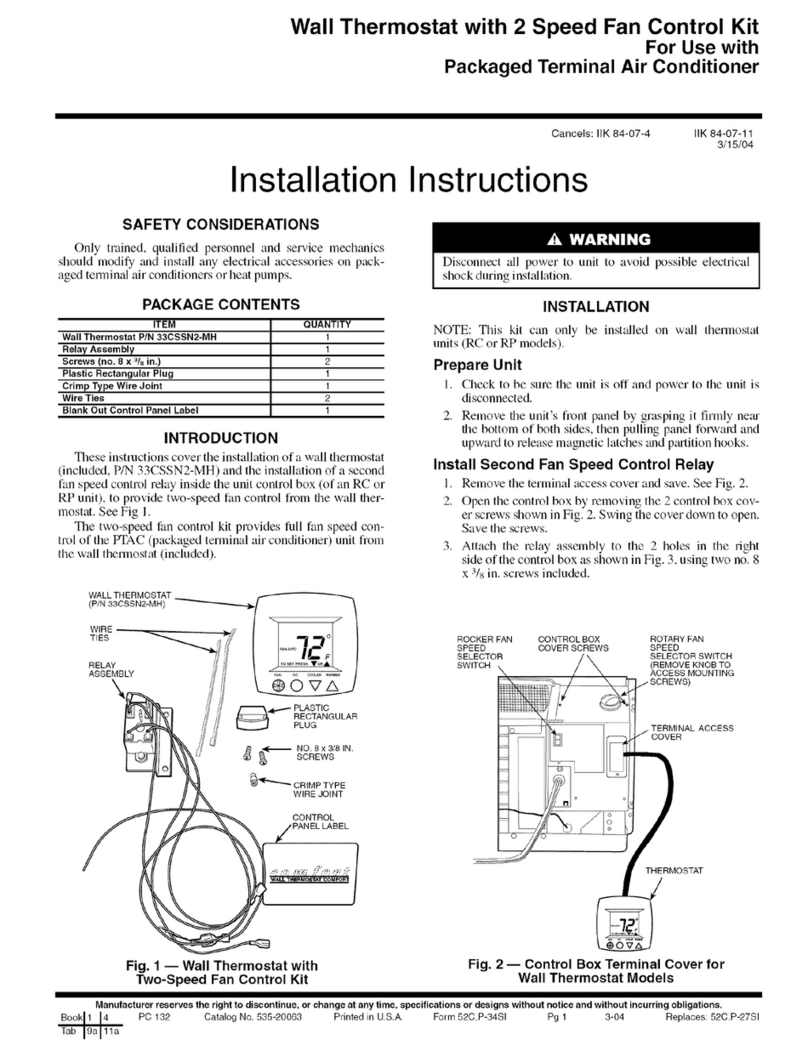
Carrier EQT1-4 User manual

E
Eq
qu
ui
ip
pm
me
en
nt
t
T
To
ou
uc
ch
h
U
Us
se
er
r
G
Gu
ui
id
de
e
CARRIER CORPORATION ©2014
A member of the United Technologies Corporation family · Stock symbol UTX · Catalog No. 11-808-516-01 · 4/9/2014


Table of Contents
What is the Equipment Touch? .................................................................................................................................. 1
Equipment Touch screens........................................................................................................................................... 2
Viewing alarms ..........................................................................................................................................................11
Viewing trends ...........................................................................................................................................................12
To view trends .................................................................................................................................................... 12
Viewing or creating schedules..................................................................................................................................13
To view schedules.............................................................................................................................................. 13
To create a schedule......................................................................................................................................... 14
To edit touchscreen settings.....................................................................................................................................16
CARRIER CORPORATION ©2014. All rights reserved throughout the world. I-Vu is a registered trademark of
Carrier Corporation. BACnet is a registered trademark of ASHRAE. All other trademarks are the property of
their respective owners.


The Equipment Touch is a touchscreen device that you can attach to a controller to view or change its property
values, schedule equipment, view trends, and more, without having to access the system's server.
What is the Equipment Touch?
Equipment Touch Carrier Proprietary and Confidential CARRIER CORPORATION ©2014
Rev. 4/9/2014 All rights reserved
1

Equipment Touch screens
The Equipment Touch will display the system screens below as well as custom-designed screens.
Screen name
Description
Standby
If included in the touchscreen file, a custom screen that displays when the Equipment
Touch has had no user activity for the time specified on the
Inactivity Timeout
screen. The
Standby
screen is not interactive, and as soon as you touch the screen, the
Home
screen
displays. If the touchscreen file does not include a Standby screen, the Home screen
displays after a period of inactivity.
Home
A custom screen for the Equipment Touch.
Login
Displays if the screen you selected requires a password. Enter your password, then touch
Done
.
Each screen is programmed with one of the following password levels:
A screen requiring this password level...
Can be accessed by...
User A user logged in with the
User, Admin, or Factory password
Admin A user logged in with the
Admin or Factory password
Factory A user logged in with the
Factory password
No password Anyone
NOTES
•You log out on the
Setup
screen.
•
You can change passwords on the Touchscreen Setup > Passwords screen (page 16).
Equipment Touch screens
Equipment Touch Carrier Proprietary and Confidential CARRIER CORPORATION ©2014
Rev. 4/9/2014 All rights reserved
2

Equipment Touch screens
Screen name
Description
System
Displays the BACnet device instance number, the controller's time, temperature read from
the controller's prime variable, and zone color. Touch a button to jump to the
Module
Status
,
Alarms
,
Trends
,
Schedules
,
Setup
, or
Browser
screen.
Module Status
Touch a button to see one of the following sections of a Module Status report:
Device
Data
,
Driver Data
,
Reset Counters
,
System Errors
,
Warnings
,
Information
,
Hardware,
Database
,
Network
.
For example, the screens below show examples of the Driver Data and Reset Counters
information.
Equipment Touch Carrier Proprietary and Confidential CARRIER CORPORATION ©2014
Rev. 4/9/2014 All rights reserved
3

Equipment Touch screens
Screen name
Description
Alarms
Lets you view alarms from the controller. See Viewing alarms (page 11).
Trends
Lets you view trends for points that have trending enabled. See Viewing trends (page 12).
Equipment Touch Carrier Proprietary and Confidential CARRIER CORPORATION ©2014
Rev. 4/9/2014 All rights reserved
4

Equipment Touch screens
Screen name
Description
Schedules
Lets you view, add, edit, or delete BACnet schedules in the controller. See Setting up
schedules (page 13).
Setup
Touch a button to jump to the
Module Setup
,
Touchscreen Setup
, or
Login
screen.
Equipment Touch Carrier Proprietary and Confidential CARRIER CORPORATION ©2014
Rev. 4/9/2014 All rights reserved
5

Equipment Touch screens
Screen name
Description
Browser
Touch a button to see that type of BACnet objects found in the controller. Each screen
shows a list of network-visible BACnet objects with BACnet Object Name, Current Value,
and BACnet Object Instance number.
Below is an example of AV BACnet objects in a controller.
Touch an object in the above screen to see the details shown below.
Equipment Touch Carrier Proprietary and Confidential CARRIER CORPORATION ©2014
Rev. 4/9/2014 All rights reserved
6

Equipment Touch screens
Screen name
Description
Module Setup
Touch a button to jump to the
Set Time and Date
,
Communication
,
Router
,
IP
, or
Time
Master
screen.
NOTE
A yellow value on a Module Setup screen indicates the value has been changed.
Set Time and Date
Touch the time or date field to edit it.
Equipment Touch Carrier Proprietary and Confidential CARRIER CORPORATION ©2014
Rev. 4/9/2014 All rights reserved
7

Equipment Touch screens
Screen name
Description
Communication
Lets you edit the information below for the controller. Touch a field to tap in new
information.
BACnet Device Instance
number
Auto Generate Device ID
–Enter No or Yes
You can edit the following fields that pertain to the controller's MS/TP network:
Max Masters
- Set this to the highest MAC address (up to 127) on the MS/TP network. If
you later add a device with a higher address, you must change this field to that new
address.
Max Info Frames
- Specifies the maximum number of information messages a controller
may transmit before it must pass the token to the next controller.
CAUTION
Increasing this number allows the controller to transmit more messages while it
has the token, but it also increases the overall time it takes for the token to pass through
the network.
•For a router, set this value to a high number such as 200.
•In non-router controllers, use the following formula to calculate this value:
[2 - (devices * (.002 + (80/baud))] / [(600/baud) * devices] = Max Info Frames
For example, if the network has 15 devices at 19200 baud, Max Info Frames would be
4.
NOTE
You may need to increase the result of the formula for controllers that need to
communicate many values to other devices.
Router
Lets you view or edit the router's ARC156, MS/TP, or Ethernet network number. Touch a
field to tap in the new number on the keypad.
Equipment Touch Carrier Proprietary and Confidential CARRIER CORPORATION ©2014
Rev. 4/9/2014 All rights reserved
8

Equipment Touch screens
Screen name
Description
IP
Lets you view or edit network addresses and the UDP Port. Touch a field to tap in the new
number on the keypad.
Time Master
If the controller can be a BACnet Time Master, this screen lets you configure how it sends
time synchronization broadcasts.
Time Sync Mode
- Tap in the number below that represents your selection:
•
0 = No Broadcast
- The controller will not act as Time Master.
•
1 = Local Broadcast
- If it doesn't already exist, a BACnet address with network number
and MAC address length both set to zero is added to the controller's
Time
Synchronization Recipients
list found on the driver's
Device
page in i-Vu®. The
controller will then send time broadcasts only to controllers on its ARCnet or MS/TP
network.
•
2 = Global Broadcast
- If it doesn't already exist, a global address with network number
set to 65535 and MAC address length set to zero is added to the controller's
Time
Synchronization Recipients
list found on the driver's
Device
page in i-Vu®. The
controller will then send time broadcasts to all its connected networks.
Time Sync Interval
- Enter how often local or global time broadcast should be sent (1-9999
minutes). If
Time Sync Interval
is set to zero, no time sync messages are sent.
NOTE
If the controller looks through its Time Synchronization Recipient List and finds an
entry with MAC address length set to zero and network number set to 65535, the
controller's BACnet Time Master mode is set for Global Broadcast. If there is no global
broadcast entry in the recipient list, the controller then looks for a local broadcast address
(MAC address length set to zero and network number set to zero or to the same network
number as the module's). If such an entry is found, the BACnet Time Master mode is set for
Local Broadcast. Otherwise, the mode defaults to Disabled/None.
Equipment Touch Carrier Proprietary and Confidential CARRIER CORPORATION ©2014
Rev. 4/9/2014 All rights reserved
9

Equipment Touch screens
Screen name
Description
Touchscreen Setup
Lets you edit the touchscreen settings (page 16).
Equipment Touch Carrier Proprietary and Confidential CARRIER CORPORATION ©2014
Rev. 4/9/2014 All rights reserved
10

Viewing alarms
When the controller generates an alarm, the following actions occur in the Equipment Touch:
•turns red. The button remains red as long as Active Alarms or Active Faults exist.
•An audible alarm sounds if the alarm was set up in ViewBuilder to generate a sound and if Alarm Sounds are
turned on in the
Touchscreen Setup
screen. Touch to silence the alarm.
•The alarm is added to the
Active Alarms
or
Active Faults
screen. See table below.
To view alarms, touch or touch
Alarms
on the
System
screen. The
Active Alarms
are displayed.
Touch , then touch...
To...
Active Alarms
See all alarms except those that are defined as Faults in the control program.
Active Faults
See alarms that are defined as Faults in the control program.
Return-To-Normal
See alarms that returned to a normal state.
Manually cleared
See alarms that you cleared using the
Clear Active
button.
Clear Active
Clear all active alarms and faults.
NOTE
The Equipment Touch can hold up to 100 alarms.
Viewing alarms
Equipment Touch Carrier Proprietary and Confidential CARRIER CORPORATION ©2014
Rev. 4/9/2014 All rights reserved
11

Viewing trends
A controller can read and store point values for any point in the control program that has trending enabled. On the
Equipment Touch, you can view trend data for up to 4 points on a trend graph.
To view trends
1 On the
System
screen, touch
Trends
.
2 The
Trend Selector
screen shows any points in the control program that have trending enabled. To select the
points you want to see on a trend graph (up to 4 points), touch the appropriate box for the point. For example,
for the zone_temp_1 analog point, touch the
Analog
box.
3 Touch
Next
.
4 The
Trend Scaling
screen displays the
Date/Time
of the oldest and newest trend samples in the controller for
the selected point(s). Touch a field to enter a new date or time.
5 Analog points only: The
Min Y
and
Max Y
fields show the range of the Y axis based on the lowest and highest
trend sample values for the selected point(s). Touch either field and edit the value to define a new range for
the Y axis.
6 Touch
Display Trends
.
Viewing trends
Equipment Touch Carrier Proprietary and Confidential CARRIER CORPORATION ©2014
Rev. 4/9/2014 All rights reserved
12

Viewing or creating schedules
To view schedules
1 On the
System
screen, touch
Schedules
.
2 If the controller has multiple control programs that have a time clock microblock, touch the schedule object
that you want to see.
3 Touch
View Schedule
, then:
Select...
To see...
Month View
(default view)
Which days in the current month have schedules (indicated by green boxes).
Week View
Which days of the week shown have schedules (indicated by green bars).
NOTE
If you see
Schedule editing disabled
at the bottom of the screen instead of
Add Schedule
, scheduling
is being done through another application and is disabled for the Equipment Touch.
Viewing or creating schedules
Equipment Touch Carrier Proprietary and Confidential CARRIER CORPORATION ©2014
Rev. 4/9/2014 All rights reserved
13

Viewing or creating schedules
4 Touch a day to see the schedule(s) for that day.
5 In the screen below, touch a schedule's name or green bar (not the
Effective Schedule
bar) to edit or delete
the schedule. See To create a schedule (page 14) for field descriptions.
NOTES
○The
Effective Schedule
is the combined result of the day's schedule(s).
○You cannot edit a schedule's
Type
(Dated, Weekly, Continuous), its
Priority
(Normal or Override), or
whether the schedule is an
ON Schedule
or
Off Schedule
. If you need to change any of these settings,
delete the schedule, and then make a new one.
To create a schedule
1 On the
System
screen, touch
Schedules
.
2 If the controller has multiple control programs that have a time clock microblock, touch the schedule object
that you want to add a schedule to.
3 Touch the plus sign to the right of
Add Schedule
.
4 Touch the
Schedule Name
field, and enter a name.
5 Select one of the following:
•
ON Schedule
for an occupied period
•
OFF Schedule
for an unoccupied period that is to override an ON schedule. For example, a holiday
schedule that is to override a weekly schedule.
6 Touch the
Type
field, then select one of the following:
Select...
To use the schedule...
Dated
For a specified period of time between a start and end date. For example, 7:00 am to
7:00 pm every day between July 1st and July 22.
Weekly
Every week on the specified days. For example, every Monday through Friday, 8:00 am
to 5:00 pm.
Continuous
Continuously between 2 specified dates/times, For example, a non-stop schedule that
starts June 1st at 12:00 am and ends August 31st at 11:50 pm.
Equipment Touch Carrier Proprietary and Confidential CARRIER CORPORATION ©2014
Rev. 4/9/2014 All rights reserved
14

Viewing or creating schedules
7 ON Schedule only–Select one of the following:
•
Normal
for a typical occupied period
•
Override
for a occupied period that is to override an OFF schedule.
8 Touch
Next
to define the criteria for the type of schedule you selected in step 6.
9 Touch
Save
when finished.
Equipment Touch Carrier Proprietary and Confidential CARRIER CORPORATION ©2014
Rev. 4/9/2014 All rights reserved
15

To edit touchscreen settings
1 On the
System View
screen, touch
Setup
>
Touchscreen Setup
.
2 Touch a button to jump to one of the following screens:
Screen
Description
About
Displays information about the touchscreen firmware.
Inactivity Timeout
Lets you define how long the Equipment Touch can have no activity before
returning to the Standby screen and logging out the user. Set to 0 to deactivate
this feature.
Sensor Setup
Lets the installer set up the Equipment Touch's temperature and humidity sensors.
Clean Screen
Displays a one-
minute countdown timer so that you can clean fingerprints from the
display window without touching something that would affect equipment operation.
Key Click Off/On
Touch
Key Click Off
to turn off the sound when you touch a field or button. Touch
Key Click On
to turn on the sound.
Alarm Sound Off/On
Touch
Alarm Sound Off
to turn off the alarm notification sound or touch
Alarm
Sound On
to turn
on the sound. An alarm will generate a sound only if it is set up in
ViewBuilder to do so.
Reload Firmware
Lets the installer update the firmware through the USB port. See "To update the
Equipment Touch's firmware" in the Equipment Touch Installation and Setup
Guide.
To edit touchscreen settings
Equipment Touch Carrier Proprietary and Confidential CARRIER CORPORATION ©2014
Rev. 4/9/2014 All rights reserved
16
Table of contents
Other Carrier Temperature Controllers manuals
Carrier
Carrier Room Controller User manual

Carrier
Carrier NSA-HH/CO2-R2-CP-C Programming manual

Carrier
Carrier Infinity SYSTXCCUIZ01 Instructions and recipes

Carrier
Carrier Atmosphera 42EM series Manual

Carrier
Carrier ZS Plus User manual

Carrier
Carrier Sensitech TempTale GEO Ultra User manual

Carrier
Carrier ZS Standard User manual

Carrier
Carrier ComfortChoice EDGE Instructions and recipes

Carrier
Carrier P/N 33CSSN2-MH User manual
Carrier
Carrier NSB-10K-2-O-BB2 Owner's manual