8
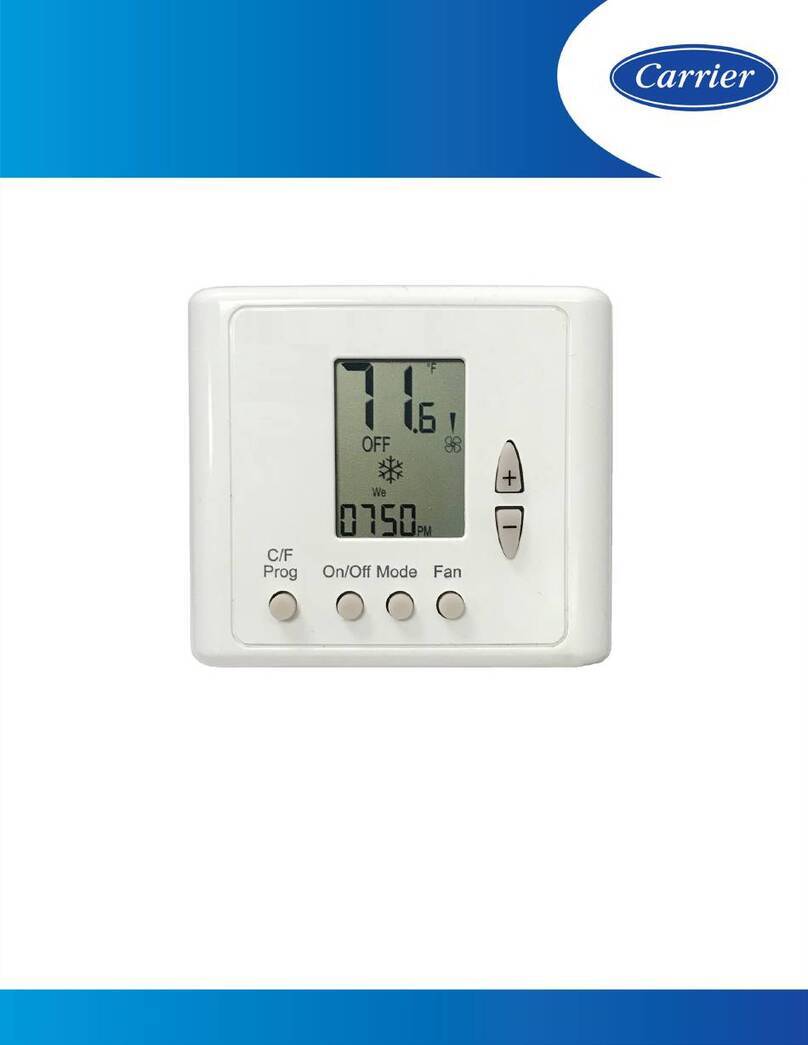
4. If hot water heat is available, press the Mode button
repeatedly until the Heat icon appears on the display. The
thermostat is now in Heating mode.
NOTE: The strip electric heat and cooling will be locked
out if hot water heat is available.
5. Press the UP ARROW button until the heating set point is
10 F (6 C) higher than the current room temperature. The
hot water valve will open or the strip heat will energize
and the fan should be energized.
6. If cold water cooling is available, press the Mode button
repeatedly until the Cool icon appears on the display. The
thermostat is now in Cooling mode.
7. Press the DOWN ARROW button until the cooling set
point is 10 F (6 C) lower than the current room tempera-
ture. The cold water valve will open and the fan should be
energized.
8. Press the UP ARROW button until the heating set point is
10 F (6 C) higher than the current room temperature.
Electric strip heating will be available if cold water is
sensed by the changeover sensor. The strip heater will
energize and the fan will run.
9. Press the Mode button repeatedly until the OFF icon
appears. The valve should be closed and the strip heat and
fan should be off.
10. If heating, cooling, or fan do not operate properly, check
wiring and consult Table 4.
Final Checklist
1. Put away tools and instruments. Clean up debris and
packaging.
2. Review Owner’s Guide with occupant or owner.
3. Leave the manuals with owner.
OPERATION
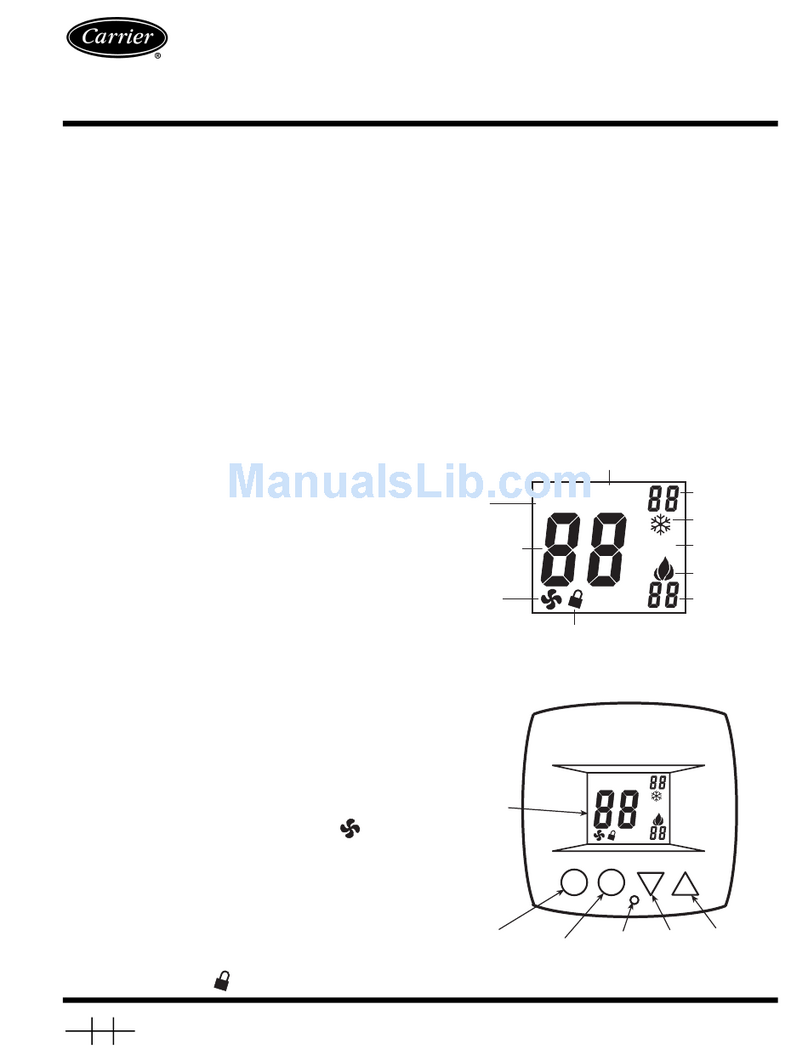
Select Desired Temperature — The UP and DOWN
ARROW buttons are used to adjust the heating and cooling set
points. Pressing the UP and DOWN ARROW buttons in Auto
mode will adjust both the heating and cooling set points. Press-
ing the UP and DOWN ARROW buttons in either Heat or
Cool mode will adjust only the heating or cooling set point.
NOTE: If the Single Set Point mode is configured, there will
be only one set point for both heating and cooling.
Four-Pipe Operation — The Mode button selects the
operating mode of the thermostat. If OFF is selected, the
thermostat will not enter Heating or Cooling mode. If HEAT is
selected, the thermostat will only enter Heating mode (if the
room temperature is below the heating set point). If COOL is
selected, the thermostat will only enter Cooling mode (if the
room temperature is above the cooling set point). If AUTO is
selected, the thermostat will enter Heating or Cooling mode
based on the room temperature and the heating and cooling set
points.
Two-Pipe Operation
HEAT ONLY — When the thermostat is configured for Heat
Only operation, only Heat and Off modes can be selected.
COOL ONLY — When the thermostat is configured for Cool
Only operation, only Cool and Off modes can be selected.
HEAT/COOL WITH CHANGEOVER SENSOR — When
the thermostat is configured for operation with a changeover
sensor, all modes are available for operation. If the water
temperature is changed during the year, the thermostat will
automatically lock out the incorrect mode. Heat or Cool modes
may not be available, depending on water temperature.
TOTAL OR AUXILIARY ELECTRIC HEAT — The Mode
button selects the operating mode of the thermostat. If OFF is
selected, the thermostat will not enter Heating or Cooling
mode.
If HEAT is selected, the thermostat will only enter Heating
mode (if room temperature is below the heating set point). For
total electric heat, a call for heat will activate the electric heater.
For auxiliary electric heat, a call for heat will either activate the
electric heater (if chilled water is in the coil), or open the coil
valve (if hot water is in the coil).
If COOL is selected, the thermostat will only enter Cooling
mode (if room temperature is above the cooling set point and
chilled water is in the coil).
If AUTO is selected, the thermostat will enter Heating or
Cooling mode based on the room temperature and the heating
and cooling set points.
Fan Operation — The Fan button is used to select fan
operation. When only the Fan icon is shown, the fan is in “Au-
to” mode and will run continuously (unless thermostat mode is
set to OFF or thermostat is in unoccupied mode and heating or
cooling are not active). The thermostat will increase or de-
crease the fan speed based on temperature demand.
Fan operation can also be set to always run at Low, Medi-
um, or High speeds. To set fan operation at Low speed, press
the Fan button until one bar is shown next to the Fan icon. The
fan will run continuously at Low speed (unless thermostat
mode is set to OFF or thermostat is in unoccupied mode and
heating or cooling are not active).
To set fan operation at Medium speed, press the Fan button
until two bars are shown next to the Fan icon. The fan will run
continuously at Medium speed (unless thermostat mode is set
to OFF or thermostat is in unoccupied mode and heating or
cooling are not active).
To set fan operation at High speed, press the Fan button
until three bars are shown next to the Fan icon. The fan will run
continuously at High speed (unless thermostat mode is set to
OFF or thermostat is in unoccupied mode and heating or cool-
ing are not active).
Keypad Lock — To prevent unauthorized use of the ther-
mostat, the front panel buttons can be disabled. To disable or
lock the keypad, press and hold the Mode button. While
holding down the Mode button, press the UP and DOWN
ARROW buttons simultaneously. The “Locked” icon will
appear on the display.
The thermostat is unlocked by performing the same proce-
dure. Press and hold the Mode button. While holding down the
Mode button, press the UP and DOWN ARROW buttons
simultaneously. The “Locked” icon will be removed from the
display.
Minimum Heat/Cool Temperature Differ-
ence — The heating and cooling set points will not be al-
lowed any closer to each other than the value set in Advanced
Setup Step 7. The minimum temperature difference is enforced
during Auto mode and Program On operation.
Single Set Point Operation — When the thermostat
is configured for single set point operation, the display on the
thermostat will change. Instead of displaying current room
temperature, the large number shown will be the user set point.
This set point is used for both heating and cooling.
To prevent short cycling in single set point mode, it is rec-
ommended that the deadband be set to a minimum of 2.
Press and hold the Mode button for 2 seconds to display
the room temperature. Press any button to return to the normal
display.
