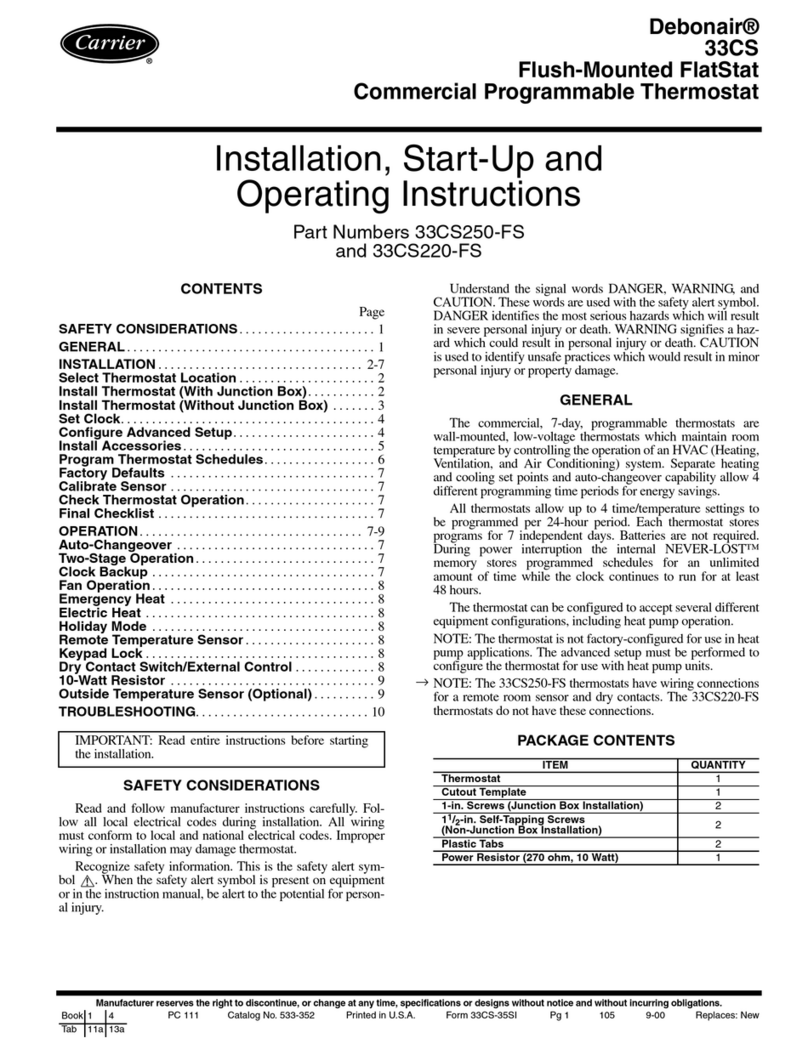
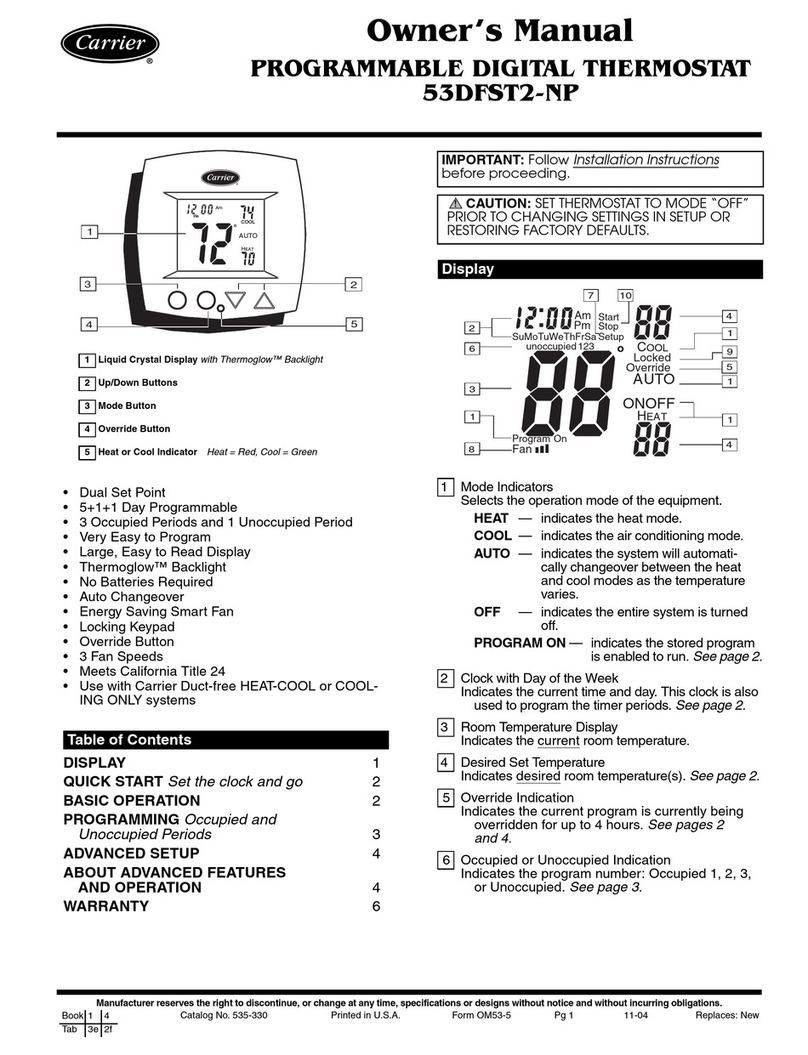
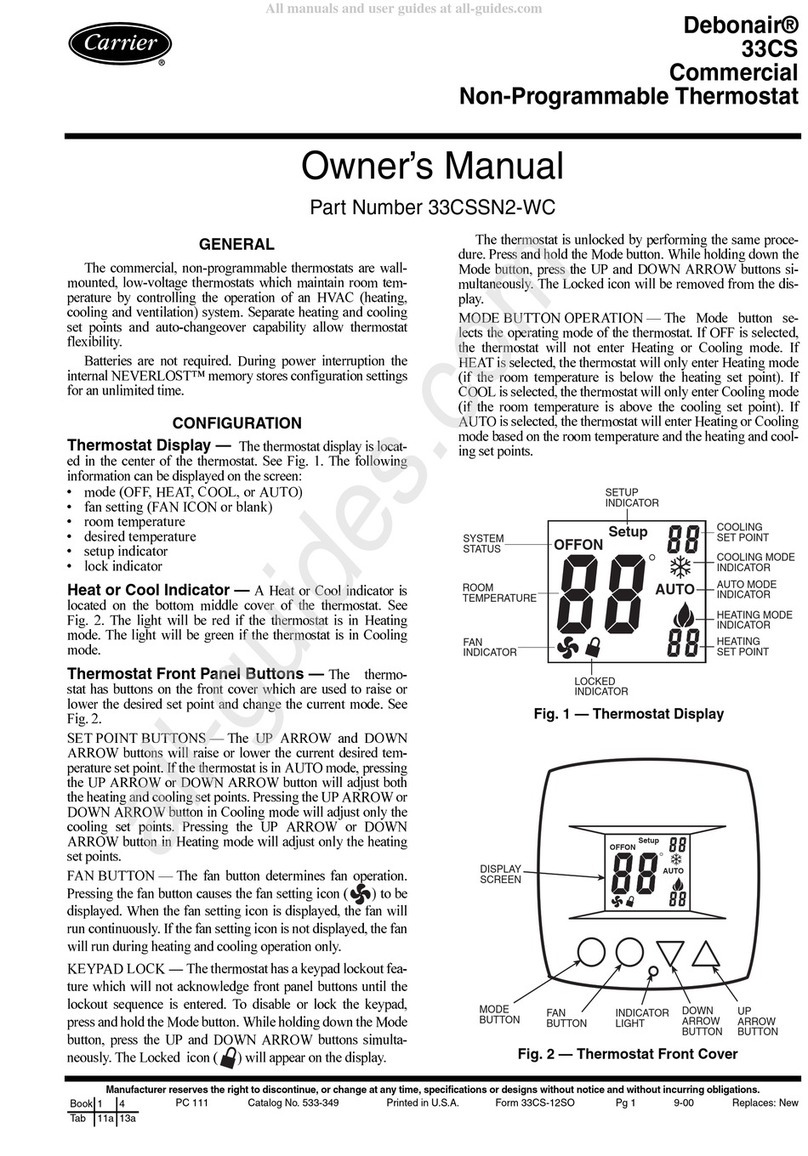
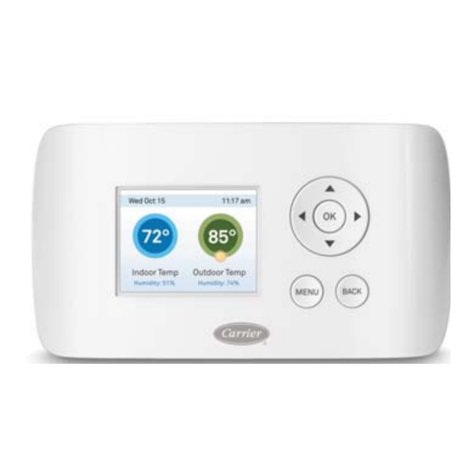
manuals.online logo
Brands
  1. Home
  2. •
  3. Brands
  4. •
  5. Carrier
  6. •
  7. Thermostat
  8. •
  9. Carrier TSTATCCPB101 User manual

Carrier TSTATCCPB101 User manual

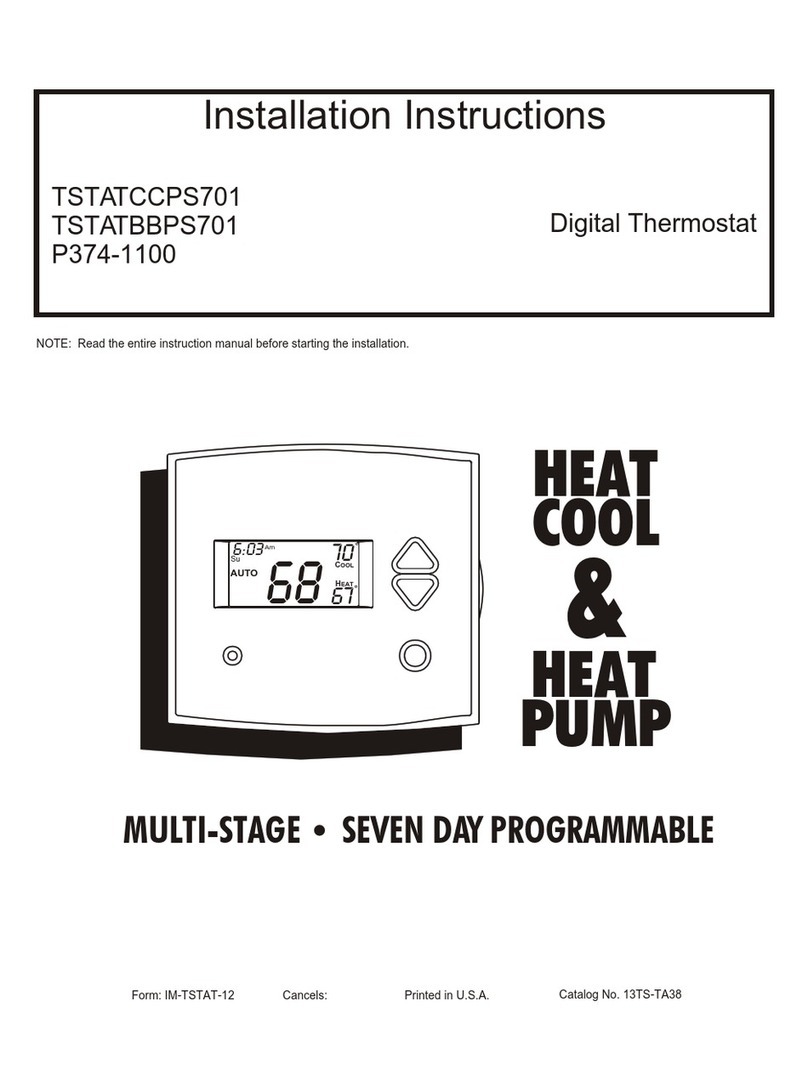
Installation Instructions
TSTATCCPB101
TSTATBBPB101
P474-1010 Digital Thermostat
NOTE: Re_d _ an_r_ kmauc_n n_kU Ee_oee iqllhv_ the ir_*ab_n.
0
HEAT
COOL
&
HEAT
PUMP
MULTI-STAGE• SINGLEDAYPROGRAMMABLE
Fonlt IM-TSTAT_7 Can_: _in U_. _NO-13T_TA43
PREPARATION 2
REMOVE OLD THERMOSTAT 3
INSTALL BACKPLATE & WIRE 4
WIRING DIAGRAMS 5
CALIBRATION 8
TEST OPERATION 9
TROUBLESHOOTING 10
CAUTION Followlnstallotlonlnsln_tion_carefully.
[_SCONNECT POWER TO THE HEATER -
AIRCONDITIONER BEFORE REMOVING
THEOLD THERMOSTATAND INSTALLING
THENEW THERMOSTAT. WARNING
Replacement Components Division _) Carder Corporation 4/01
This device complies with Part 15 ofthe FCC rules.
Operation is subject to the following2 conditions:
(1) This device may not cause harmful interference,
and (2) This device must accept any interference
received, including interference that may cause
undesired operation.
Fogel
@
@
@
Proper installation of the thermostat will be
accomplished by following these step
by step instructions. If you are unsure
about any of these steps, call a qualified
technician for assistance.
Assemble tools as shown below.
Flat B/ade
Screwdriver Wire cutter (when not using
& Stripper j-box)
Make sure your Heater/Air Conditioner
is working properly before beginning
installation of the thermostat.
@Carefully unpack the thermostat.
Save the screws, wall anchors, and
instructions.
Page 2
@
@
@
Turn off the power to the Heating/Air
Conditioning system at the main fuse
panel. Most residential systems have
a separate breaker for disconnecting
power to the furnace.
Remove the cover of the old thermostat.
If it does not come off easily check for
screws.
Loosen the screws holding the thermostat
base or subbase to the wall, and lift away.
@
@
Disconnect the wires from the old
thermostat. Tape the ends of the wires
as you disconnect them, and mark them
with the letter of the terminal for easy
reconnection to the new thermostat.
Keep the old thermostat for reference
purposes, until your new thermostat is
functioning properly.
Poge3
@
@
Remove the backplate connector from the
rear of the thermostat. Install wires as directed
below. When finished, snap thermostat on to
backplate.
Ifthe terminal designations on your old
thermostat do not match those on the
new thermostat, refer to the chart below,
or the wiring diagrams that follow.
Wire from the Install on the
old thermostat
terminal marked
GorF
Y1.YorC
Wl. Wor H
Rh. R. M. Vr./_
C
O/13
Y2
W2
RS+5
RS
RS G
CK1
CK2
Function
Fan
Cooling
Heating
Power
Common
Rev. Valve
2nd Stage Cool
2nd Stage Heat
RemoteSensor÷Svdc
RemoteSer-_ Sigttal
_emoteSensc_Gmum
DryConte_ swi_ 1
D_ Contact_itch 2
new thermostat
connector marked
G
Y1
Wl ,O.B
R
C*
Wl .O.B**
Y2
W2
*Cmay notbeusedon allsystems.
** O/B isusedifyoursystemisa HeatPump.
Pcge4
5 Wire, 1 Stage Cooling, 1 Stage Gas Heat
0
W2 Y2 R WlY1 G C
_Thermostat
ResidenfJalGas orElectricHeat*,
ElectricCool,spittsystems& package
24 vac common
fan relay
compressor relay _>_
units
I st staoe heat circuit )'_
24 vac return ;><
>-<
*If using electnc heat this option must he
selected on during advanced setup. >-<
L
E
C
G
YI
O
Wl
R
Y2
/42
4 Wire, 1 Stage Cooling, 1 Stage Gas Heat
0 Resideri_l Gas or_Heat",
W2 "(2 R Wl Y1 G C ElectricCool,splitsystems& package
_Thermostat units
fan mlav
compressor relay
x
x
x
1st staoe heat circuit
24 vac return
*ffusing e_ctric heat this option must he
selected on dutYngadvanced setup.
Poge5
>-<
>-<
>-<
L
E
C
G
Y1
O
N1
R
_2
6 Wire, 2 Stage Cooling, 1 Stage Heat
O
W2 Y2 W1 YI G C
ResidenSal 2 Stage Cooling, with
Gas or _Heat"
24 vac common
f_n ml_v
compressor relay
1st staae heat cJrcuit
24 vac retum
2nd staqe compressor relay
•if usingelectricheat, thisoptionmust
beselecteddu#ngadvancedsetup.
mL
>"< E
>._ C
>_ G
>_ Y1
XO
Wl
R
Y2
,.<W2
6 Wire, 1 Stage Cooling, 2 Stage Heat
0 Residen_aJ& comrnenSal1 StageCooling,
W2 Y2 R Wl YI G C **_th2 StageGas or ElectricHeat"
_ _ Thermostat
fr 24 vac common
fan mlav
comDP_sor reJav
1st staae heat circuit
24 vac mtum
_nd ._tRg_ hRAt rJrPJ dt
Poge6
L
E
>-< C
Y1
O
Wl
_>_ R
>..< Y2
>..< N2
7 Wire, 2 Stage Cooling. 2 Stage Heat Commerci_ Gas_" ElectricHeat*--,
ElectricCOC4,splitsystems& psc_ge units
O indudingCommeroalHeat Pumps
W2 Y2 R W1 YI G C
_ _ Thermostat
I
Commercial heat _umas do not have
b3e heat pump tumed on in _setup.
m
L
>-< E
24 vac common >_ C
fan mla_v _G
comDressor relay Y1
O
1st staae heat circuit _'_ Wl
24 vac return >_ R
2nd staqe compressor relay >K Y2
2nd _tR_n_ h_t PJrrJlff _'_ N2
_ffus_nge_ic heat,Fnisoptionmust
beselectedon duringadvancedsetup.
5 Wire, 1 Stage Cooling, 1 Stage Heat. Heat Pump*
O
RW_ylr_ rNoau.dlia_heat,residen_alHeatPumps,
W2 Y2 _splitsystems& packageunits
Thermostat
J
J24 vac common
fan relay
ComDressor relsv
reversino valve
"lf using_,l#_J heat pump, fNs op_on
mustbe seiectedofldudogadvancad_fup.
Poge7
24 vac return
L
>-<
XG
XY1
XO
>-< W1
R
Y2
XW2
6 Wire, 1 Stage Cooling, 2Stage Heat, Heat Pump *
0 Most residen_al split and package heat pumps
W2 Y2 Wl Y1 G C ",_ti_auxiliar/heat
*The heat pump op_on must be selected
on during advanced setup.
24 vac common
fan relay
comoressor relay
1st staae heat circuit
24 vac retum
2nd _t__n_ h_nt €_in_Jit
x
x
p.<
>-<
>-<
>-<
>-<
L
E
C
G
Y1
0
N1
R
t2
_2
Every thermostat iscalibrated before it leaves the factow.
Under normal circumstances there will never be a need to
recalibrate the thermostat again.
To accommodate specialneeds, the thermostat may be recalibrated
following these steps:
1. While holding the mode button in, press the down button for
2 seconds, After allthe icons in the display appear, release
the buttons.
2. Press the mode button.
3, Press the up or down buttons until the flashing number
equals the current room temperature.
4. Press the mode button to return to normal operation.
Page 8
Turn the on to the Heating/Air
power
Conditioning system.
@Press the MODE button repeatedly until
the HEAT icon appears on the display.
Press the up/down buttons until the set
temperature is 10 degrees above room
temperature. The furnace should turn on.
Press the MODE button repeatedly until
the COOL icon appears on the display.
Press the up/down buttons until the set
temperature is 10 degrees below room
temperature. The air conditioner should
turn on. NOTE: Most equipment has a
time delay of 5minutes between cool
cycles. This feature is defeatable on the
thermostaL Consult the Owner's Manual
under Setup, cycles per hour.
Press the MODE button to OFF. Press
the FAN button to Fan On. The fan
should tum on and run continuously.
Poge9
@
@
SYMPTOM: When using 4wires (R, G, W, Y),
the air conditioning or heat equipment tries
repeatedly to turn on, but cannot. At
times the display dims or disappears.
CAUSE: There is not enough power available
to "power share".
REMEDY: Connect a 270 ohm, 10 watt power
resistor at the furnace as shown below.
ForProblemA/C ForProblemHeat
•
SYMPTOM: The air conditioning does not
attempt to tum on.
CAUSE_."The compressor timer lockout may
prevent the air conditioner fTom
turning on, for a period of time.
REMEDY: Consult the Owner's Manual in
the Setup section to defeat the
cycles per hour and compressor
timeguard.
SYMPTOM: The display is blank.
CAUSE: Lack of proper power.
REMEDY: Make sure power is turned on to
the furnace and that you have 24vac
between R & W. If C is used, 24vac
between R & C.
Page I0
@
SYMPTOM: The air conditioning does not
attempt to turn on,
CAUSE: The cooling setpoint is set too
high.
REMEDY: Consult the Owner's Manual in
the Setup section to lower the
cooling setpoint limit.
SYMPTOM; The heating does not attempt
to turn on.
CAUSE: The heating setpoint is set too
low.
REMEDY: Consult the Owner's Manual in
the Setup section to raise the
heating setpoint limit.
Poge 11
@
@
SYMPTOM: When controlling a residential heat
pump, and asking for cooling, the heat
comes on.
CAUSE: Heat pump is not selected "on" in the
Advanced Setup.
REMEDY: Select heat pump on during Advanced
Setup programming. Consult the Owner's
Manual.
SYMPTOM: When calling for cooling, both
the heat and cool come on.
CAUSE: The Advanced Setup is configured
to control a heat pump, and the hvac
the thermostat is controllingis a
"conventional" (non heat pump)
system.
REMEDY: Consult the Owner's Manual in
the Advanced Setup section to turn
off the heat pump.
STAR TSTATCCPB101
( ( TSTATIBBI_101
P474-1010
v_U_F_ _rds
F_X_P_ME OR (_FK_ USE
4Z95
PIN 88-331
Poge 12

This manual suits for next models

1

Other Carrier Thermostat manuals

Carrier 33CS User manual

Carrier

Carrier 33CS User manual
Carrier Debonair 33CS250-01 User manual

Carrier

Carrier Debonair 33CS250-01 User manual

Carrier Programmable Thermostats Instructions and recipes

Carrier

Carrier Programmable Thermostats Instructions and recipes

Carrier 52M Performance Series User manual

Carrier

Carrier 52M Performance Series User manual

Carrier TSTATCCPF101 User manual

Carrier

Carrier TSTATCCPF101 User manual

Carrier Cor User manual

Carrier

Carrier Cor User manual

Carrier Infinity SYSTXCCWIC01-B User manual

Carrier

Carrier Infinity SYSTXCCWIC01-B User manual

Carrier TOTALINE GOLD P274-0150 User manual

Carrier

Carrier TOTALINE GOLD P274-0150 User manual

Carrier Infinity Control Home User manual

Carrier

Carrier Infinity Control Home User manual

Carrier PTACSTAT-NP-HP Installation instructions

Carrier

Carrier PTACSTAT-NP-HP Installation instructions

Carrier ComfortVu TBPL-24-H Operating instructions

Carrier

Carrier ComfortVu TBPL-24-H Operating instructions

Carrier 33CS User manual

Carrier

Carrier 33CS User manual
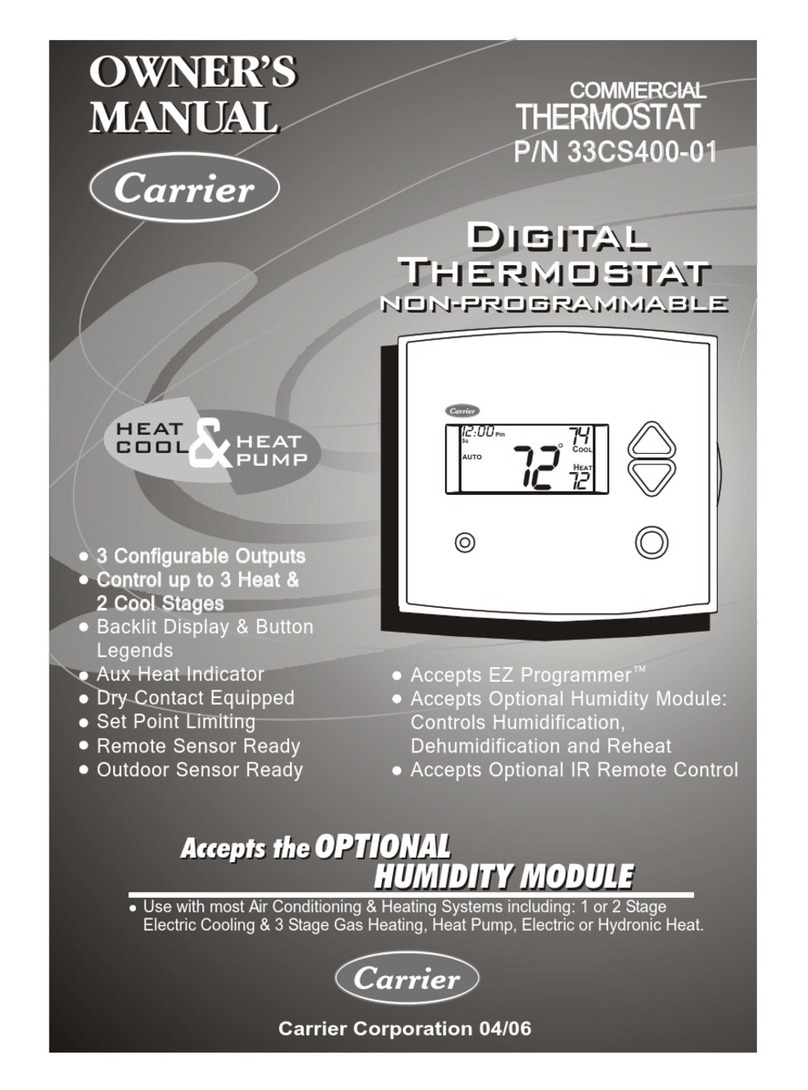
Carrier Infinity Control Home Assembly instructions

Carrier

Carrier Infinity Control Home Assembly instructions

Carrier ComfortVu TB-24-HM Operating instructions

Carrier

Carrier ComfortVu TB-24-HM Operating instructions

Carrier Debonair 33CS250-RC User manual

Carrier

Carrier Debonair 33CS250-RC User manual

Carrier 33CS420-01 User manual

Carrier

Carrier 33CS420-01 User manual

Carrier TSTATCCPSE01 Guide

Carrier

Carrier TSTATCCPSE01 Guide

Carrier 33CS450-01 User manual

Carrier

Carrier 33CS450-01 User manual

Carrier TC-PBO01-BLK User manual

Carrier

Carrier TC-PBO01-BLK User manual

Carrier Debonair 33CSSN2-WC User manual

Carrier

Carrier Debonair 33CSSN2-WC User manual

Carrier TC-PHP01-BLK User manual

Carrier

Carrier TC-PHP01-BLK User manual

Carrier 53DFST2-NP User manual

Carrier

Carrier 53DFST2-NP User manual
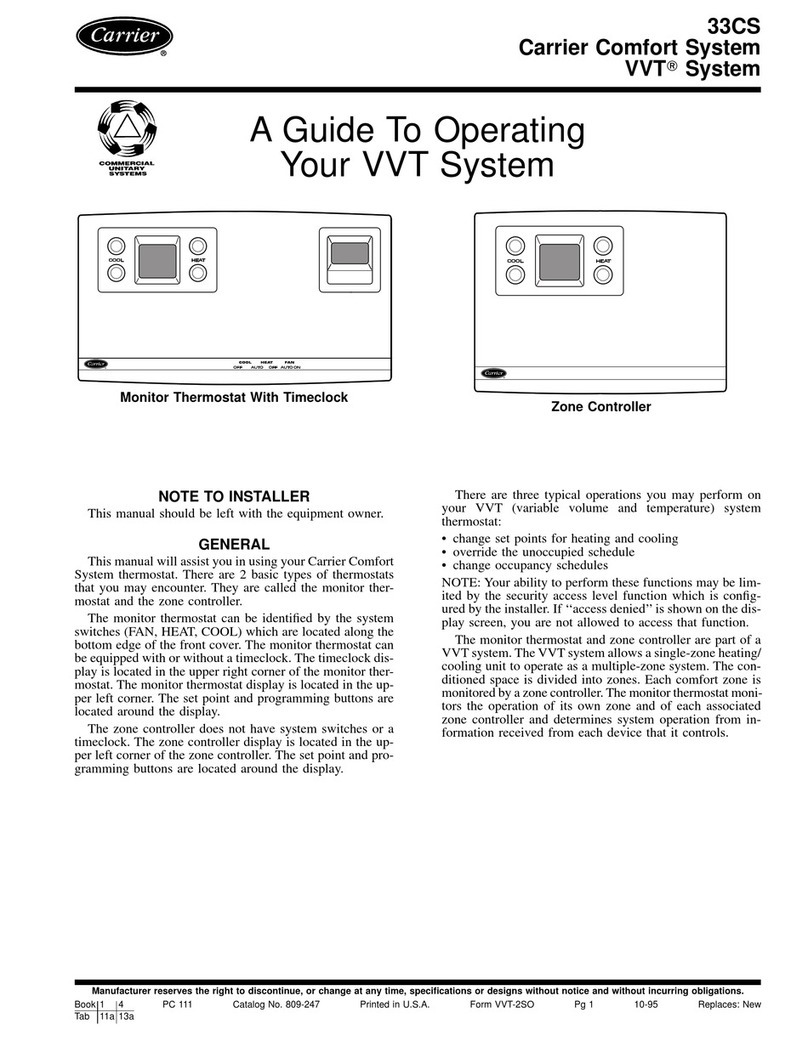
Carrier 33AW-CS1 User manual

Carrier

Carrier 33AW-CS1 User manual
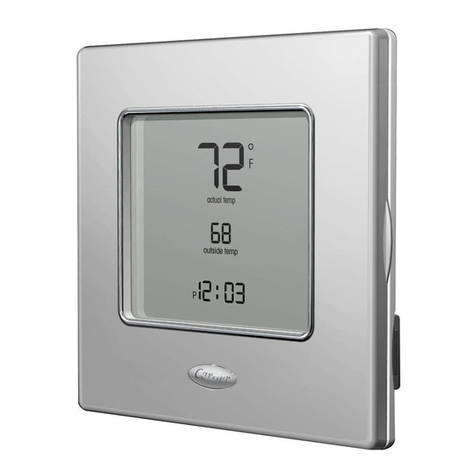
Carrier Infinity Control Home Assembly instructions

Carrier

Carrier Infinity Control Home Assembly instructions

Popular Thermostat manuals by other brands

Honeywell Home THR860S user manual

Honeywell Home

Honeywell Home THR860S user manual

nest T3007ES Welcome guide

nest

nest T3007ES Welcome guide

Amana 2246002 Installation, operation & application guide

Amana

Amana 2246002 Installation, operation & application guide

Comfort Sync A80DS2V Installer's guide

Comfort Sync

Comfort Sync A80DS2V Installer's guide

I WARM 730 User and installation manual

I WARM

I WARM 730 User and installation manual

Honeywell RTH2310 operating manual

Honeywell

Honeywell RTH2310 operating manual

Tech Controllers EU-R-8 PZ Plus user manual

Tech Controllers

Tech Controllers EU-R-8 PZ Plus user manual

Amana 2246007 user manual

Amana

Amana 2246007 user manual

Ferroli TE FC 3V Installation and user manual

Ferroli

Ferroli TE FC 3V Installation and user manual

Savant GE SST-W300 Deployment guide

Savant

Savant GE SST-W300 Deployment guide

Honeywell LYRIC T4R Quick start installation guide

Honeywell

Honeywell LYRIC T4R Quick start installation guide

OJ Electronics OCD6-1999 instructions

OJ Electronics

OJ Electronics OCD6-1999 instructions

Honeywell Home THR842DEU installation manual

Honeywell Home

Honeywell Home THR842DEU installation manual

enerstat DSL-100 operating instructions

enerstat

enerstat DSL-100 operating instructions

Robertshaw 9415 Specifications

Robertshaw

Robertshaw 9415 Specifications

Roth EnergyLogic Touchline Guidelines for the electrician

Roth

Roth EnergyLogic Touchline Guidelines for the electrician

ChiliTec 23214 Operation manual

ChiliTec

ChiliTec 23214 Operation manual

Nibe RMU S40 Installer manual

Nibe

Nibe RMU S40 Installer manual

manuals.online logo
manuals.online logoBrands
  • About & Mission
  • Contact us
  • Privacy Policy
  • Terms and Conditions

Copyright 2025 Manuals.Online. All Rights Reserved.