Using Mobile Link
with a Mobile Phone
While there is a Bluetooth connection
between the watch and phone, the watch time
setting is adjusted automatically. You can also
change the watch’s other settings.
Note
●This function is available only while
OCEANUS Connected is running on
the phone.
●This section describes watch and
phone operations.
X : Watch operation
Y : Phone operation
Getting Ready
To use your watch in combination with a
phone, you first need to pair them. Perform the
steps below to pair the watch with a phone.
●A Install the required app on your
phone.
In Google Play or the App Store, search for the
CASIO “OCEANUS Connected” app and
install it on your phone.
●B Configure Bluetooth settings.
Enable the phone’s Bluetooth.
Note
●For details about setting procedures,
see your phone documentation.
●C Pair the watch with a phone.
Before you can use the watch in combination
with a phone, you first need to pair them.
1. Move the phone to be paired with close to
(within one meter of) the watch.
2. Y Tap the “OCEANUS Connected” icon.
●If your phone is already paired with a
watch, tap , tap the item for
connecting with a new watch, and then
tap this watch’s name.
3. Y Perform the operation shown on the
screen of the phone to be paired with.
●If a pairing prompt message appears,
perform the operation shown on the
phone screen.
●If pairing fails for some reason, the
watch will return to the state in step 1 of
this procedure. Perform the pairing
procedure again from the beginning.
Note
●The first time you start up OCEANUS
Connected, a message will appear on
your phone asking if you want to
enable location information
acquisition. Configure settings to allow
background use of location
information.
Auto Time Adjustment
The watch will connect with a phone at preset
times each day and adjust its time settings.
●Using This Function
Your watch adjusts its time setting four times
a day according to a preset schedule. If you
leave your watch in the Timekeeping Mode, it
will perform the adjustment operation
automatically as you go about your daily life,
without any operation required by you.
Important!
●The watch may not be able to perform
auto time adjustment under the
conditions described below.
ー
While the watch is too far away from
its paired phone
ー
While communication is not possible
due to radio interference, etc.
ー
While the phone is updating its
system
ー
While OCEANUS Connected is not
running on the phone
Note
●If the watch does not indicate the
correct time even if it is able to connect
with a phone, adjust the hand and day
indicator positions.
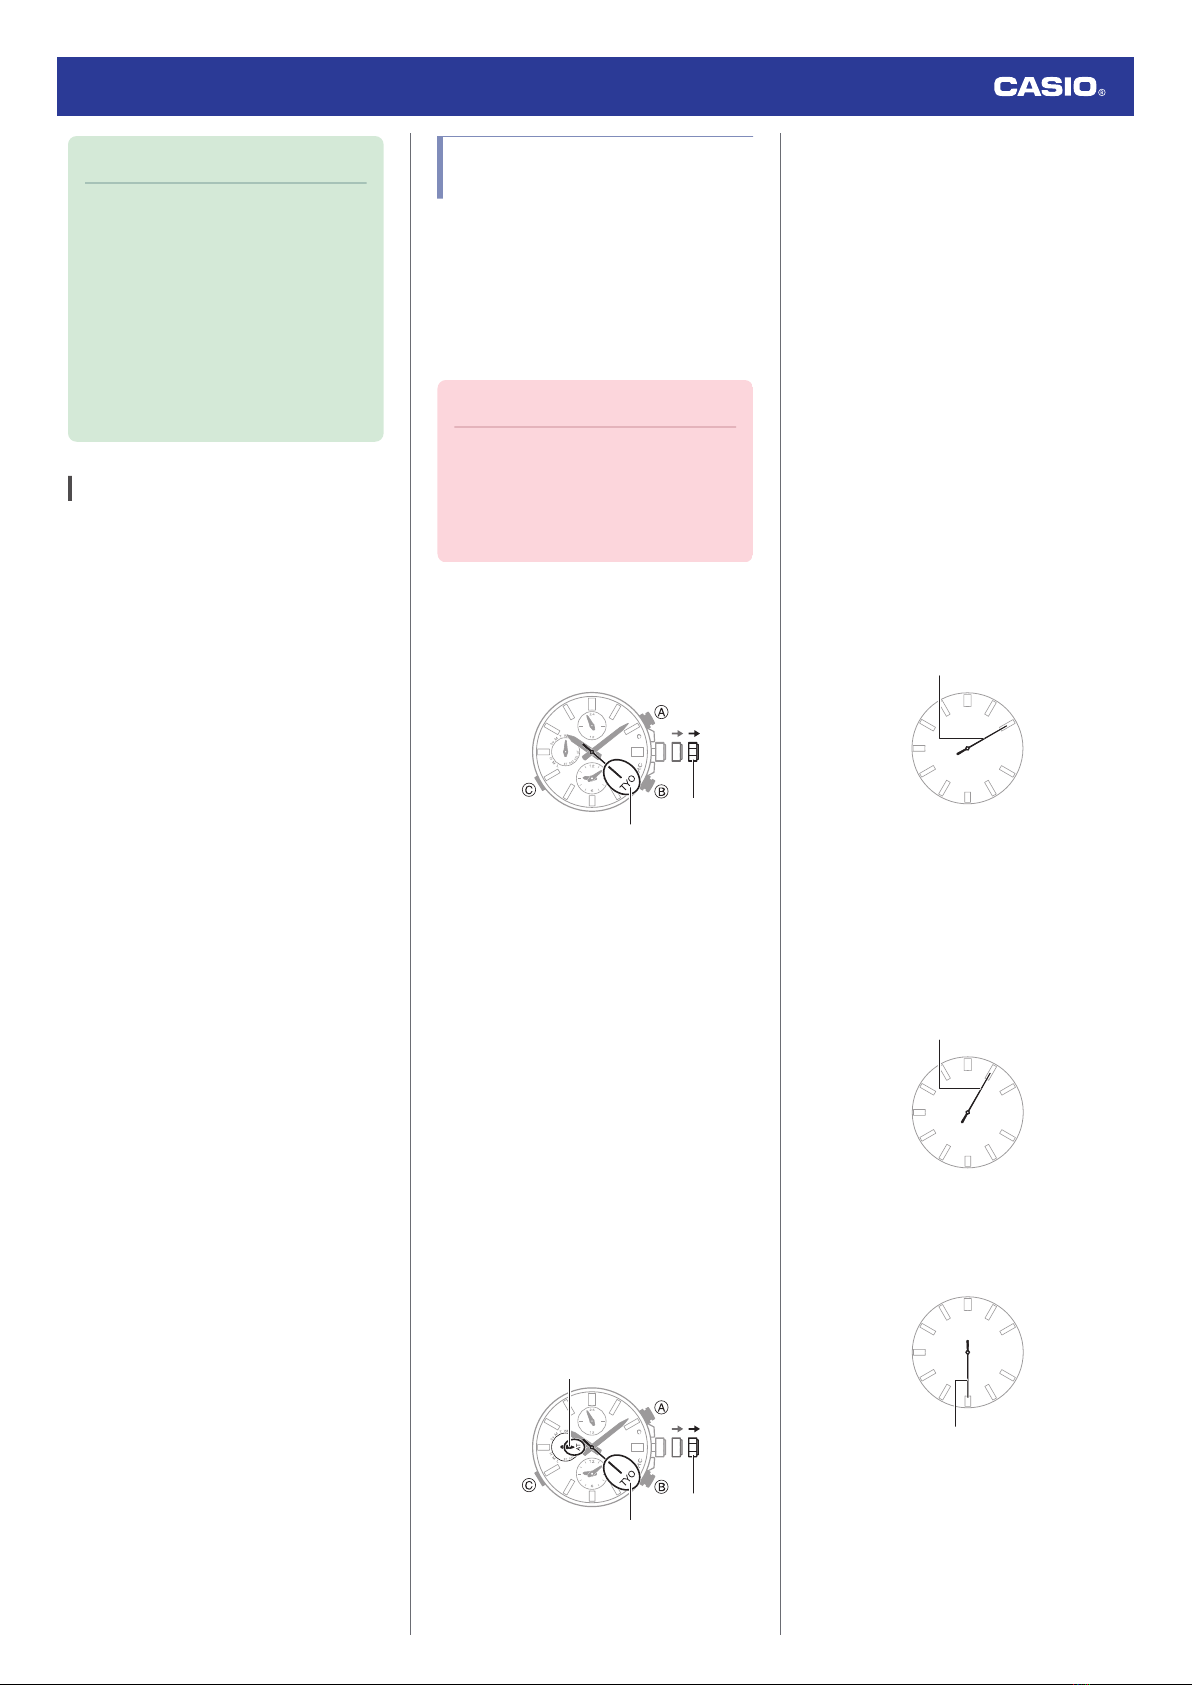
lAdjusting Hand and Day Indicator
Alignment
●If there is a World Time City specified
with OCEANUS Connected, its time
will also be adjusted automatically.
●The watch will connect with the phone
and perform auto time adjustment at
around 12:30 a.m., 6:30 a.m., 12:30
p.m. and 6:30 p.m. The connection is
automatically terminated after auto
time adjustment is complete.
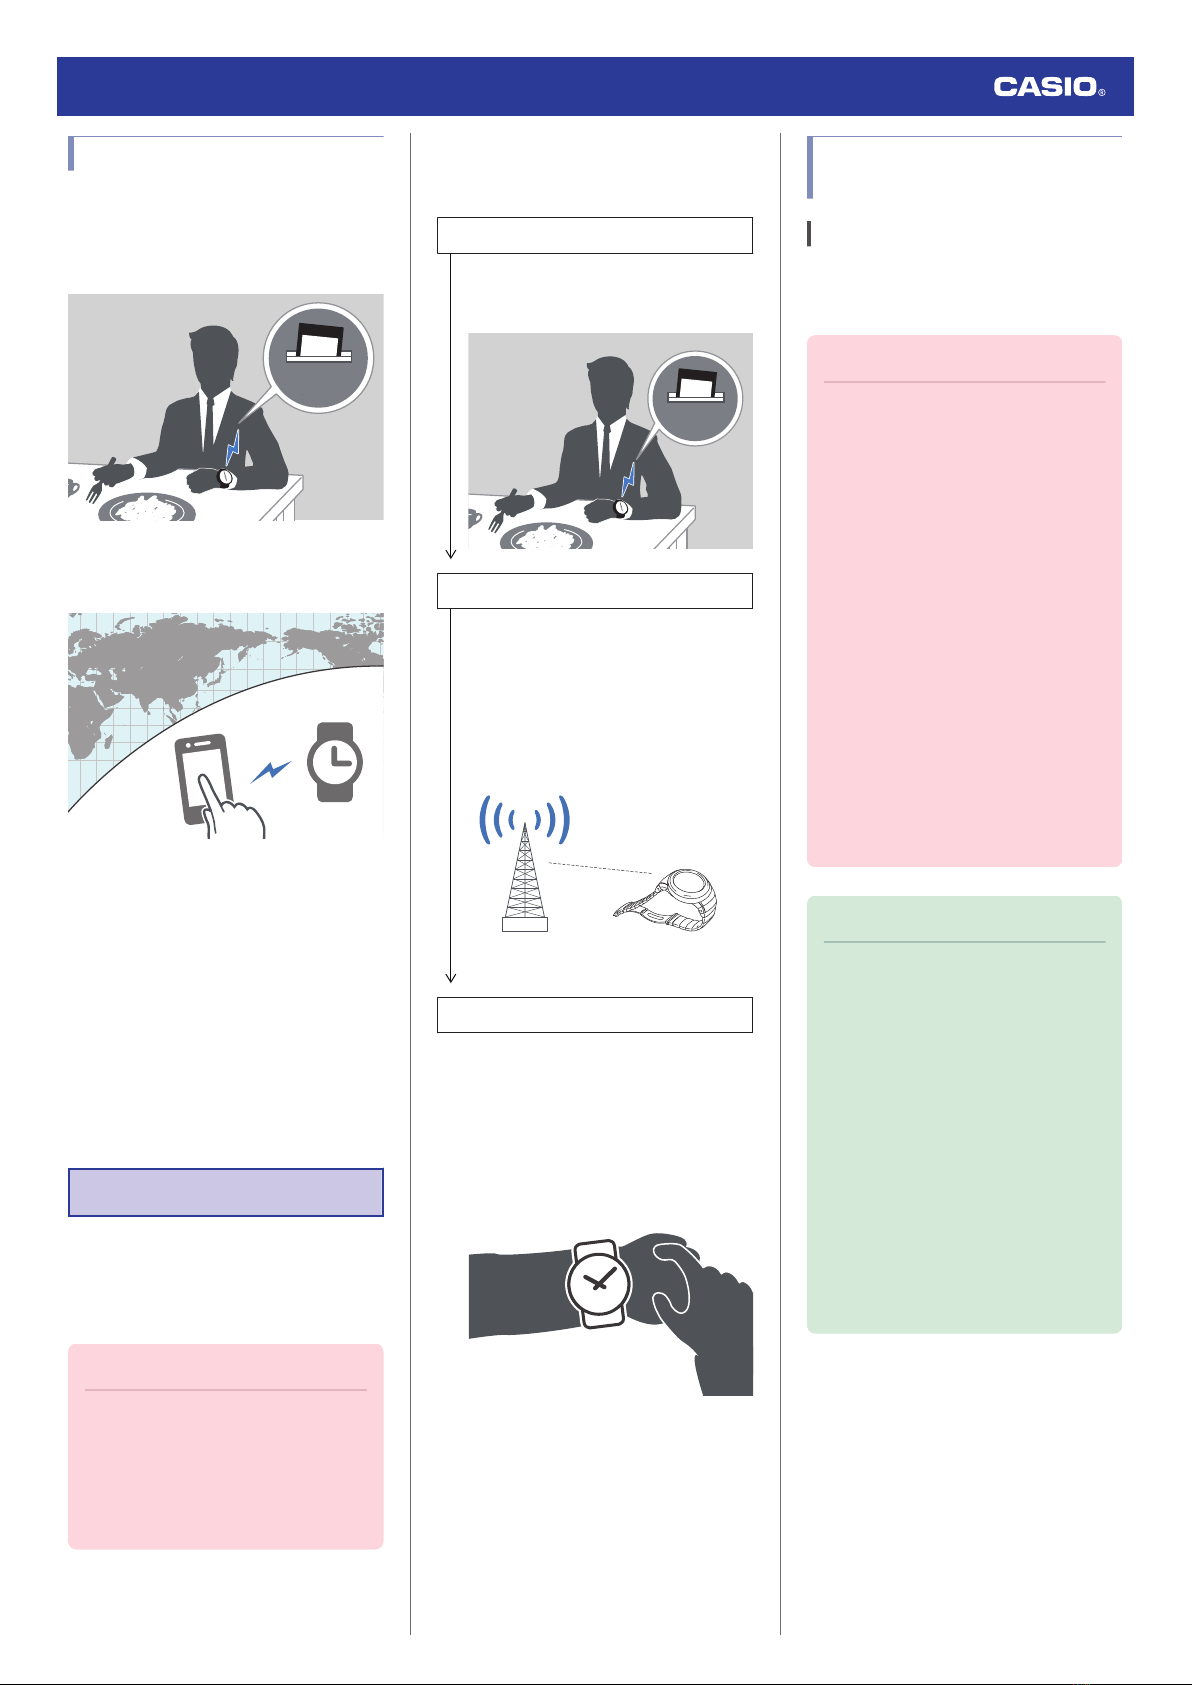
●Triggering Immediate Time Adjustment
The watch’s time setting will be adjusted
automatically whenever you establish a
connection between the watch and a phone.
Whenever you want to trigger immediate time
adjustment, perform the procedure below to
connect with a phone.
1. Move the phone close to (within one meter
of) the watch.
2. X Hold down (B) for at least 0.5 seconds
until the second hand points to [C].
Release the button as soon as the second
hand points to [C].
When the watch connects with a phone,
the second hand will normally move to
[Y(YES)] and then the watch’s time setting
will be adjusted.
●The connection is terminated
automatically after time adjustment is
complete.
Watch Operation Guide 5652
9