Operation Guide 5475
E-20
4. After all of the settings are the way you want, press Ato exit the setting screen.
Note
•For information about selecting a Home City and configuring the DST setting,
see “Configuring Home City Settings” (page E-14).
•While the 12-hour format is selected for timekeeping, a P(PM) indicator will
appear for times from noon to 11:59 p.m. No indicator appears for times from
midnight to 11:59 a.m. With 24-hour format, time is displayed from 0:00 to
23:59, without any P(PM) indicator.
•The watch’s built-in full automatic calendar makes allowances for different
month lengths and leap years. Once you set the date, there should be no
reason to change it except after you have the watch’s battery replaced.
•The day of the week changes automatically when the date changes.
•Refer to the pages shown below for more information on Timekeeping Mode
settings.
- Button operation tone on/off: “To enable or disable the button operation tone”
(page E-44)
- Illumination duration setting: “To change the illumination duration” (page E-40)
E-21
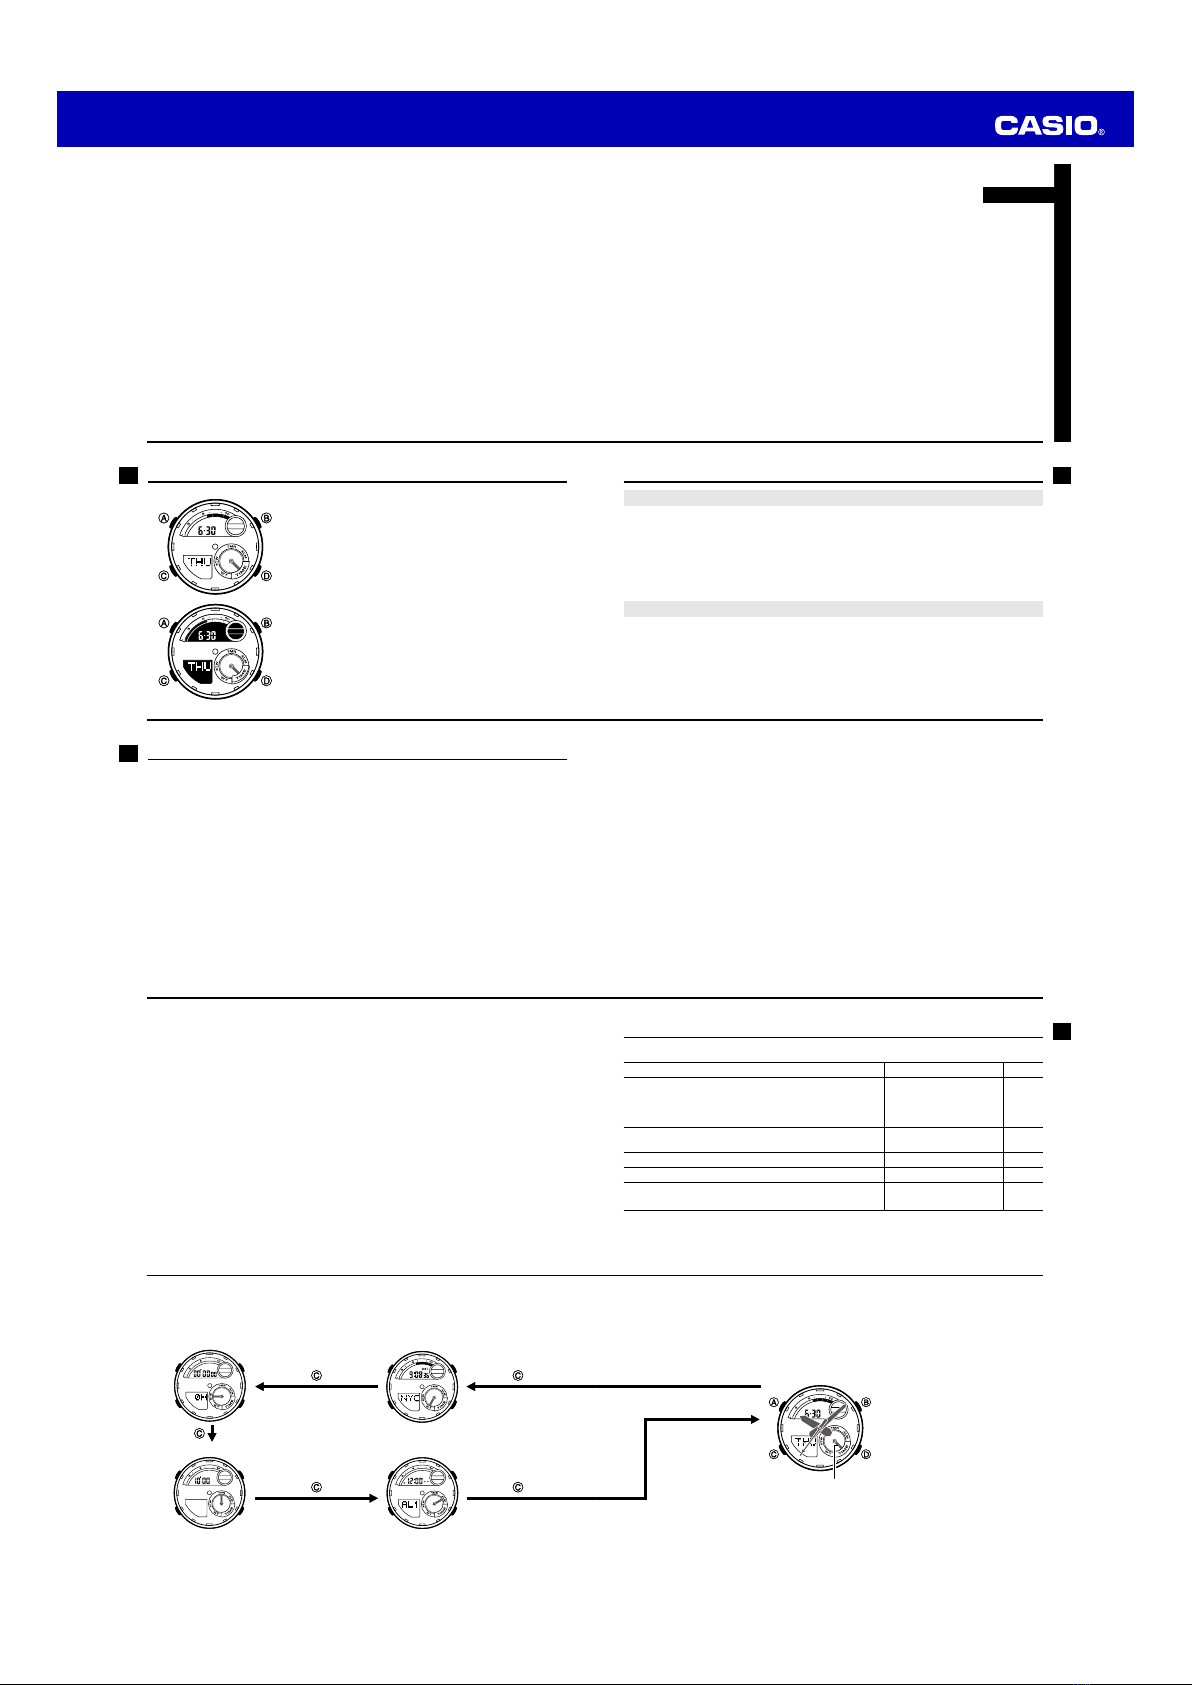
Hand Home Position Adjustment
Strong magnetism or impact can cause the hands of the watch to go out of alignment.
•Home position adjustment is not necessary when the analog time and digital time
are the same time in the Timekeeping Mode.
To adjust home positions
1. In the Timekeeping Mode, hold down Aand keep it
depressed for about five seconds until H.SET appears
on the lower display.
•When you release Aafter H.SET appears, the
second hand will move to 12 o’clock. This indicates
the second hand home position adjustment mode.
•Though ADJ will appear in the lower display about
two seconds after you hold down A, do not release
the button yet. Keep it depressed until H.SET
appears.
E-22
•Use the Cbutton to select a hand for adjustment. Each press of Ccycles
in sequences from the second hand, to the hour and minute hands, and then
the mode dial hand. Selecting a hand causes it to move to 12 o’clock and the
content of the upper display changes as shown in the table below.
Upper display Selected hand
Flashing 00 Second hand
Flashing 0:00 Hour and minute hands
Flashing Sub Mode dial hand
•If the selected hand does not move exactly to 12 o’clock, perform step 2 below
to adjust it.
•The watch will return to regular timekeeping automatically if you do not perform
any operation for about two or three minutes. Any changes you have made to
settings up to that point will be saved.
E-23
2. Use D(+) and B(–) to adjust the position of the currently selected hand.
•Holding down either button will cause the hand to move at high speed. Once
started, high-speed hand movement will continue even if you release the
button. To stop high-speed hand movement, press any button.
•The second hand and mode dial hand will automatically stop high-speed
movement after they complete one revolution. The minute hand will stop
automatically after 12 revolutions.
3. Press Ato exit home position correction and return to regular timekeeping.
Note
After performing home position adjustment, enter the Timekeeping Mode and check to
make sure that the analog hands and the upper display indicate the same time. If they
do not, perform home position adjustment again.
E-24
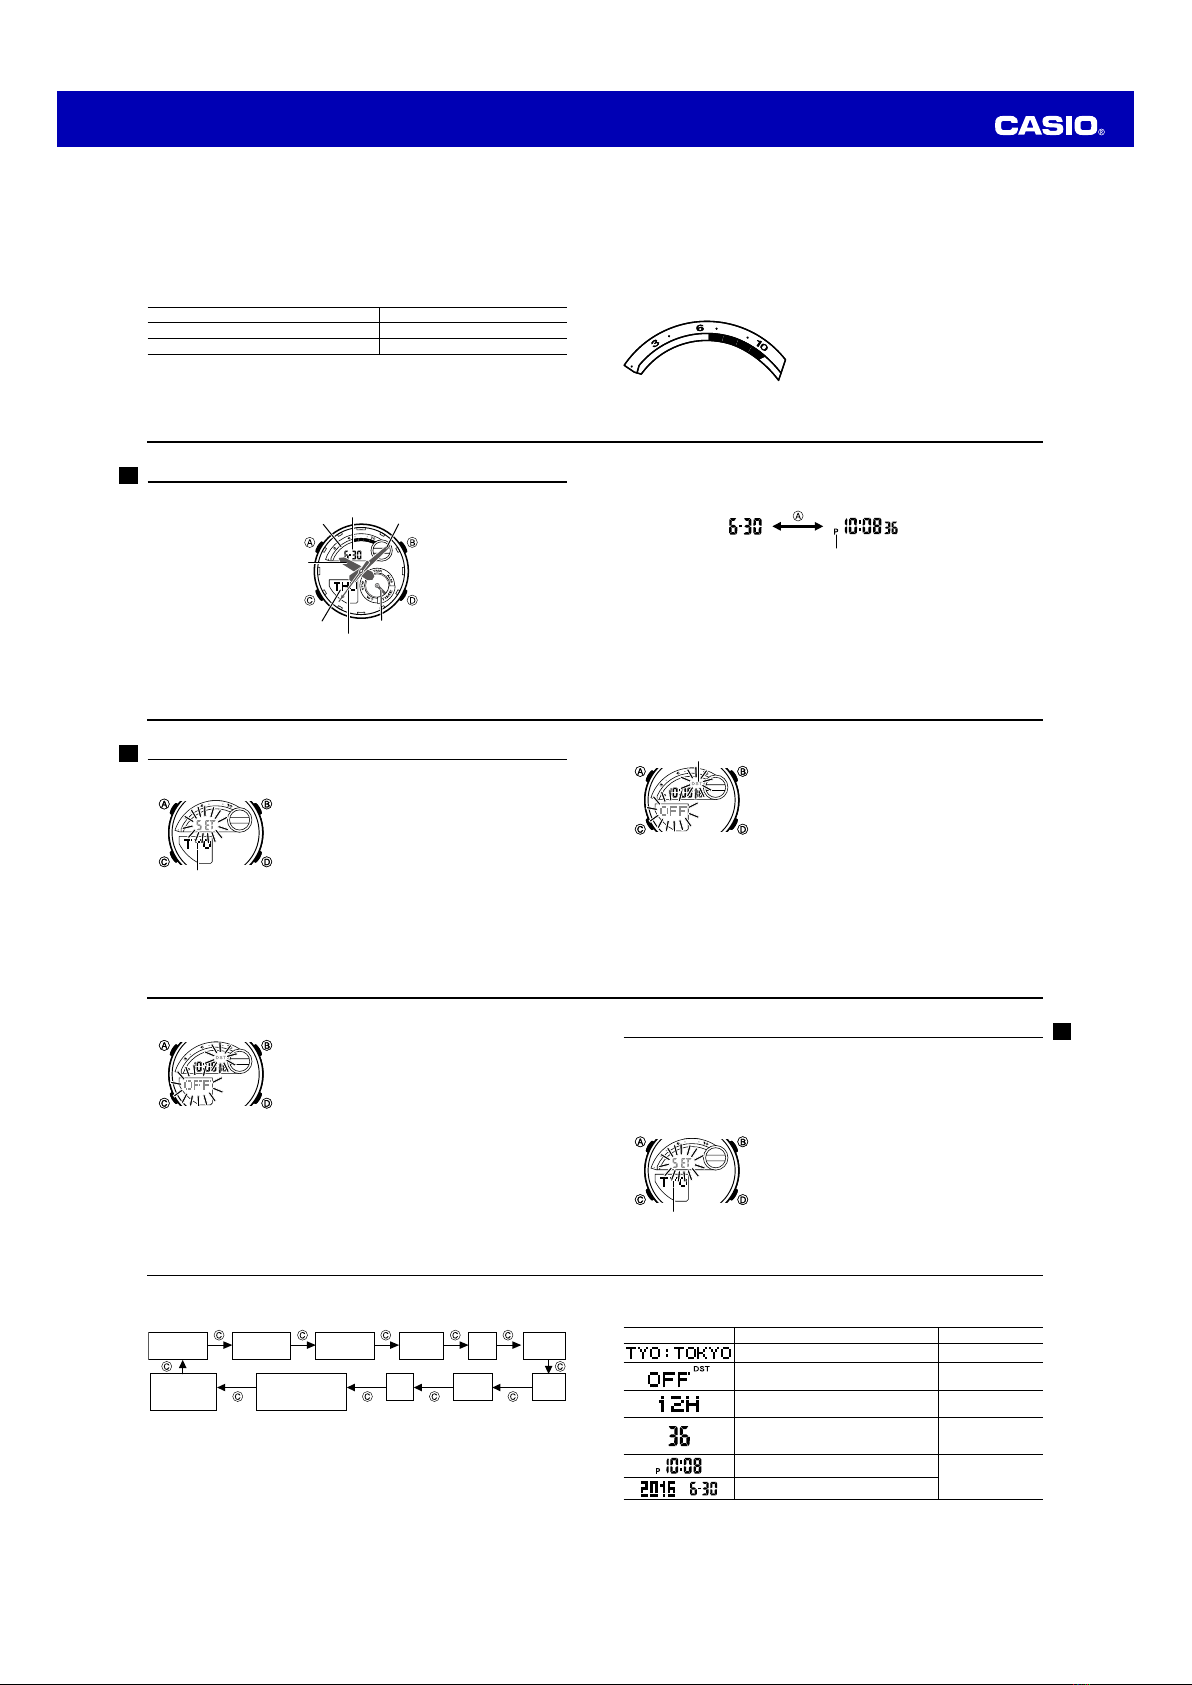
Checking the Current Time in a Different Time Zone
You can use the World Time Mode to view the current time in one of 31 time zones (48
cities) around the globe. The city that is currently selected in the World Time Mode is
called the “World Time City”.
•You also can swap the current World Time City and Home Time City in the World
Time Mode (page E-27).
E-25
To enter the World Time Mode
Use Cto select the World Time Mode as shown on page
E-8.
•The mode dial hand will point to WT, and the current
city code and city name will scroll across the lower
display. After that, the city code will remain shown in
the lower display. You can scroll the city code and city
name again by pressing A.
•The hour, minute, and second hands will indicate the
current Timekeeping Mode time.
Currently selected
World Time City
Current time in the currently
selected World Time City
Currently selected
World Time City
Current time in the currently
selected World Time City
E-26
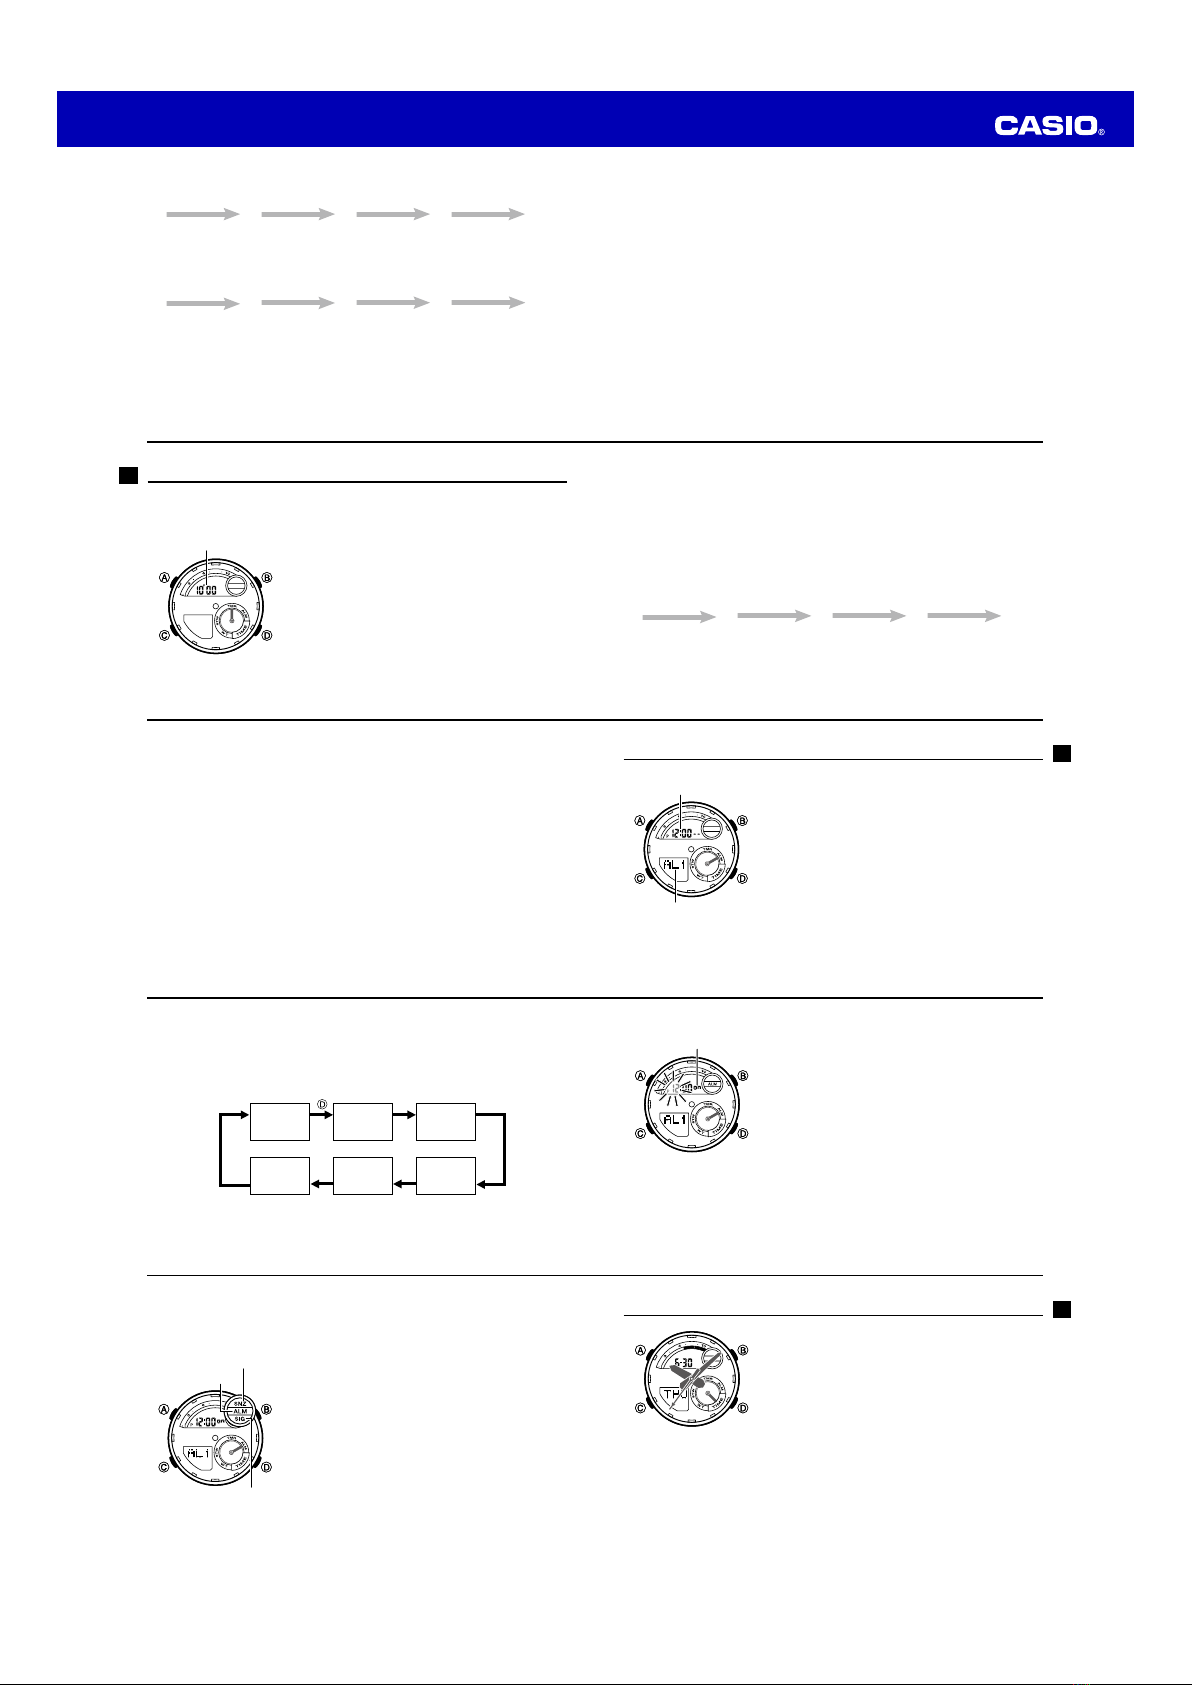
To configure World Time City and summer time settings
1. In the World Time Mode, use D(East) to scroll through
city codes.
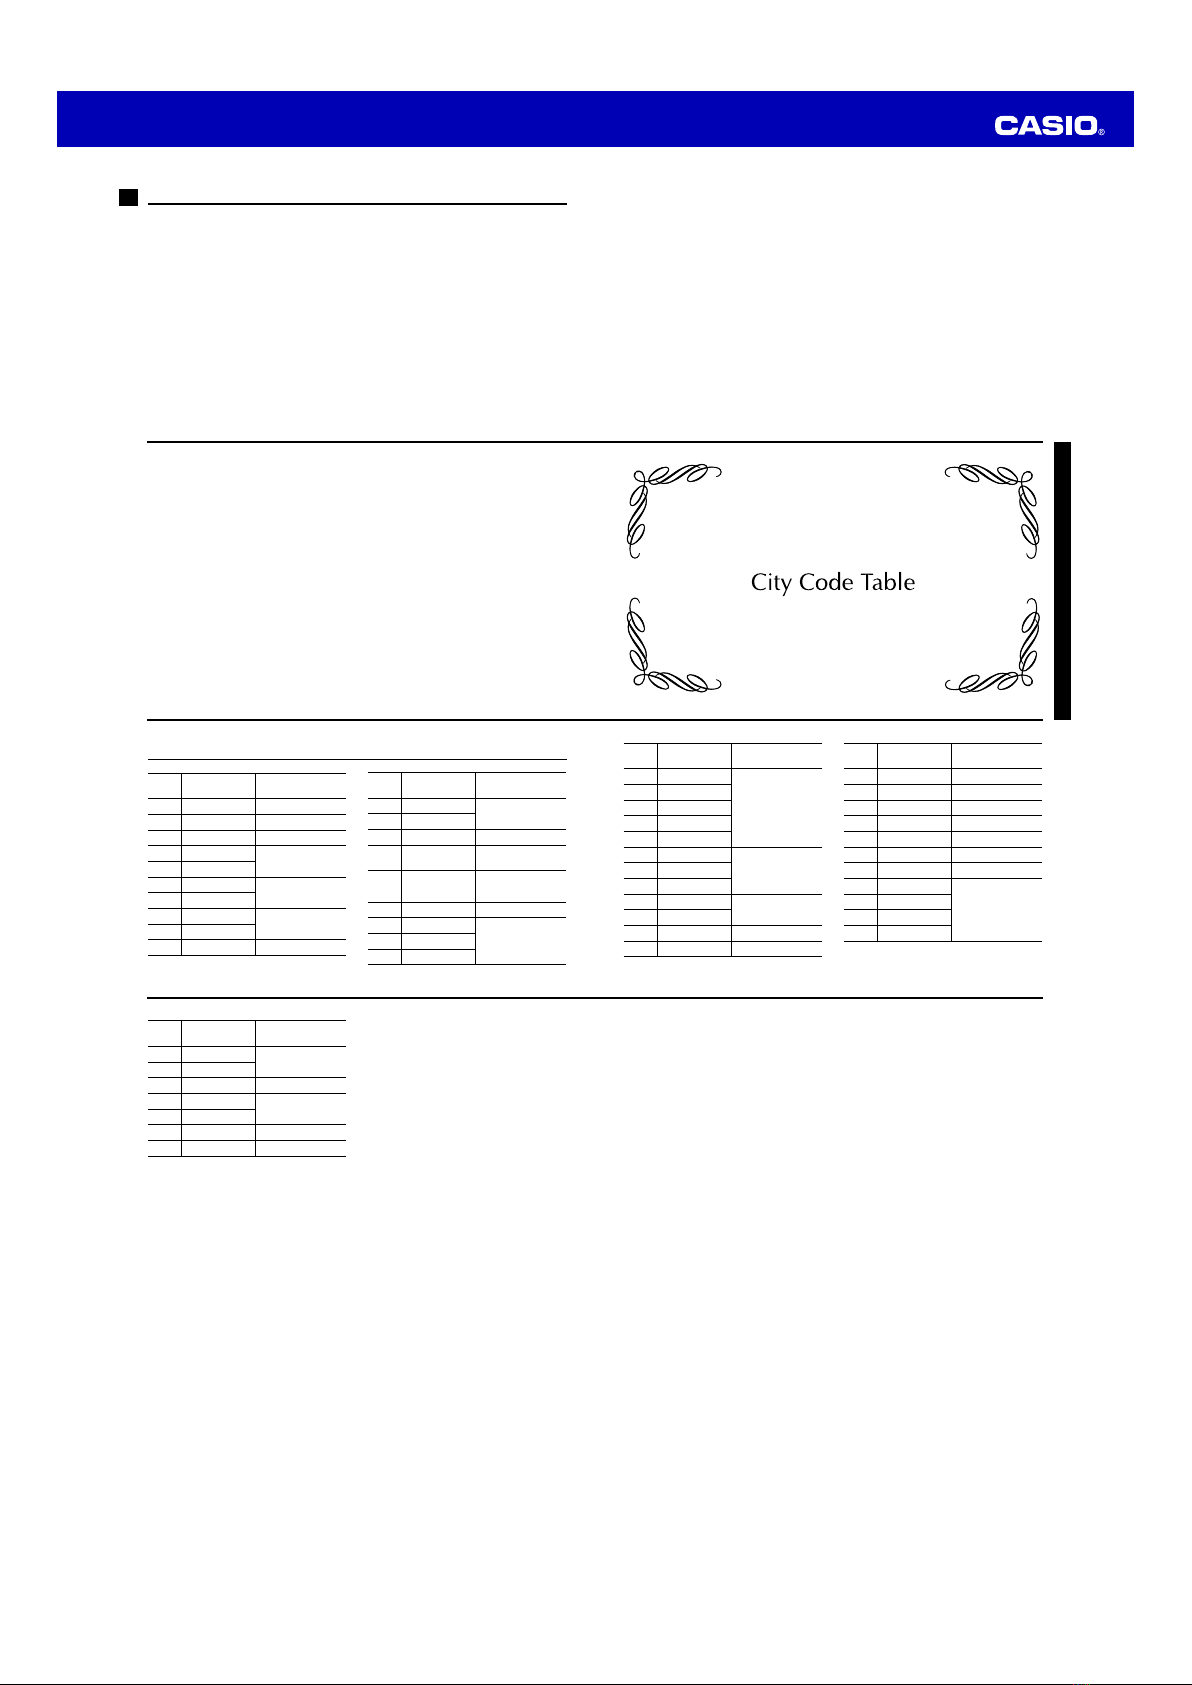
•For details about city codes, see the “City Code
Table” at the back of this manual.
•Pressing down Band Dat the same time will
jump to the UTC city code.
2. To toggle between summer time (DST in the upper
display) and standard time (DST not displayed), hold
down A.
•Using the World Time Mode to change the DST
setting of the city code that is selected as your
Home City also will change the Timekeeping Mode
time DST setting.
•Note that you cannot switch between standard time/
daylight saving time (DST) while UTC is selected as
the World Time City.
DST indicator
Hold down A
DST indicator
Hold down A
E-27
•Note that the standard time/daylight saving time (DST) setting affects only the
currently selected time zone. Other time zones are not affected.
Swapping the Home City and World Time City
You can use the procedure below to swap your Home Time City with your World Time
City. This function comes in handy for those who often travel between two different
time zones.
•You need to configure starting Home City and World Time City settings before
performing the procedure below.
To configure Home City settings (page E-14)
To configure World Time City and summer time settings (page E-26)
E-28
To swap your Home Time and World Time Cities
Press Aand Bat the same time.
•This causes the Home City time (indicated by the main hour and minute hands) and
the World Time City time (shown on the display) to be swapped with each other.
$and %
Home City [TYO] Time
Current World Time
City and Time
Home City [NYC] Time
New World Time
City and Time
E-29
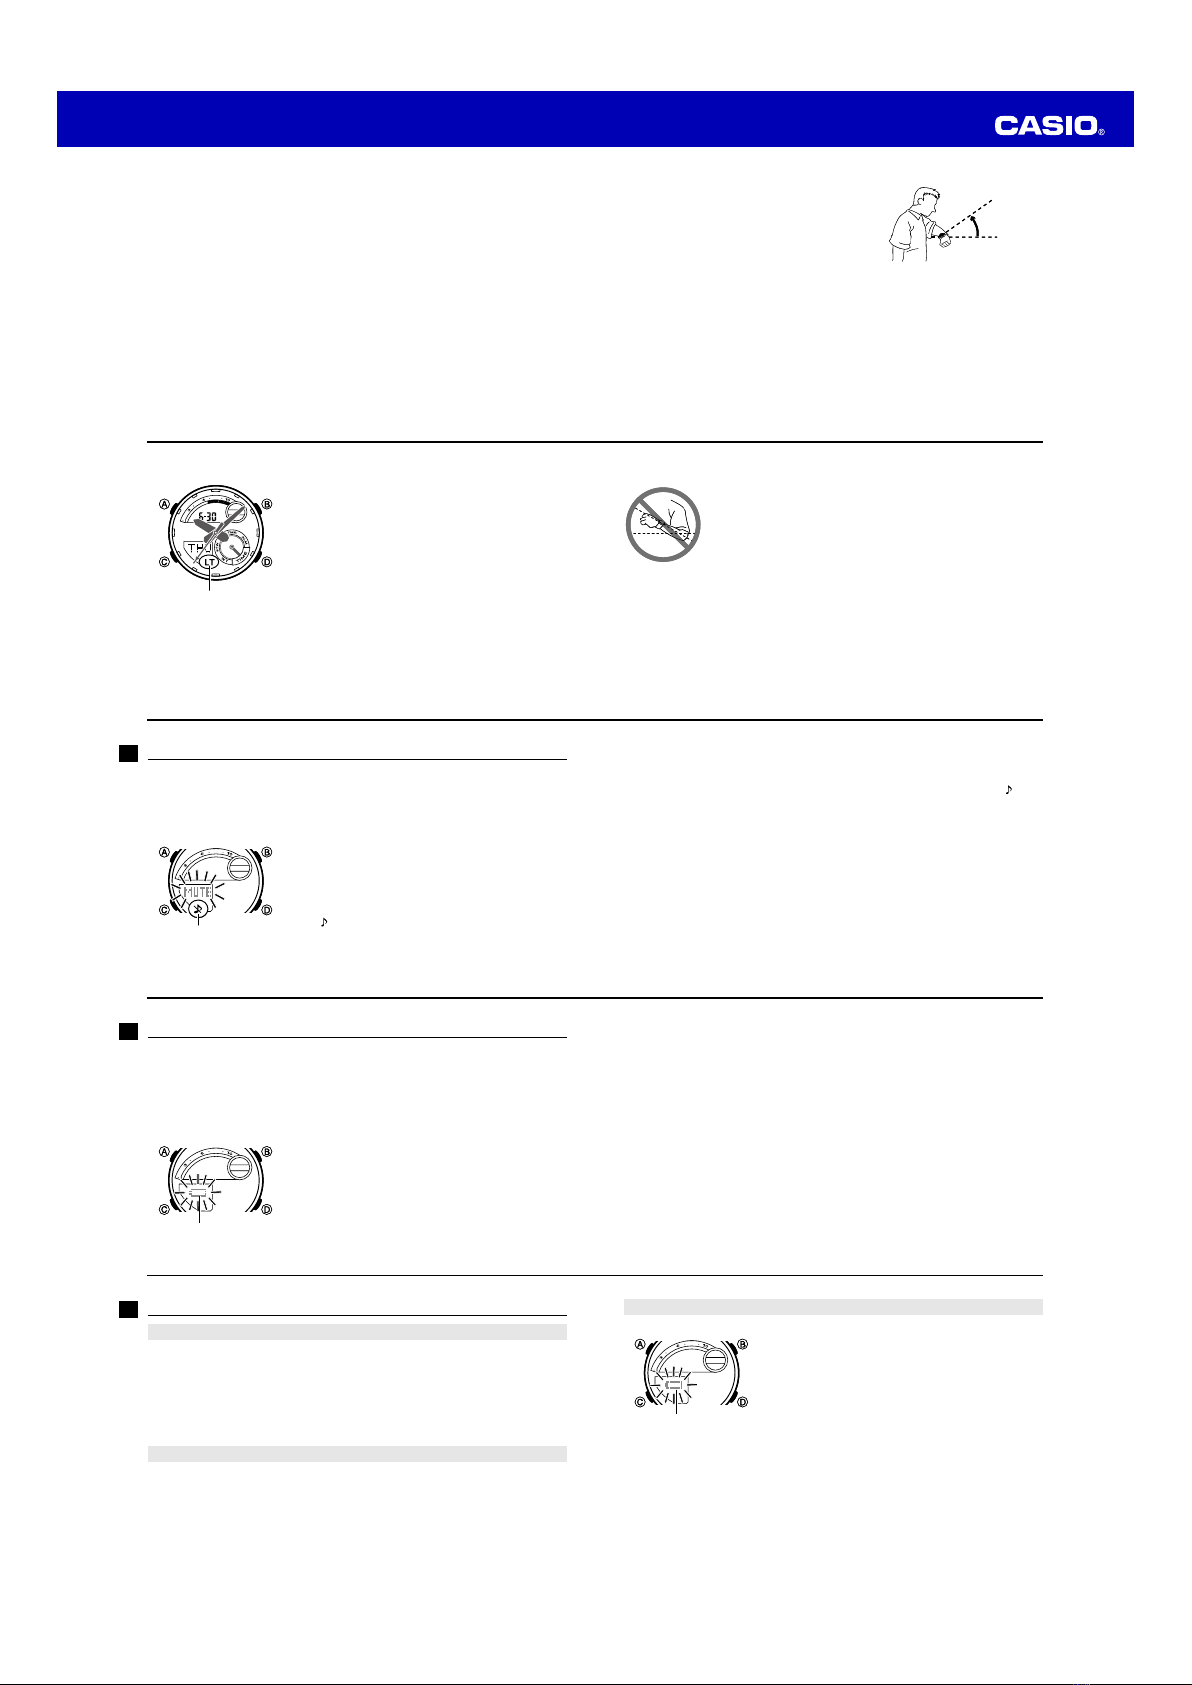
Using the Stopwatch
The stopwatch measures elapsed time, split times, and two finishes.
To enter the Stopwatch Mode
Use Cto select the Stopwatch Mode as shown on page
E-8.
The mode dial hand will move to STW.
To perform an elapsed time operation
DDD D A
Start Stop (Resume) (Stop) Reset
Hours
Seconds
Minutes
1/100
second
Hours
Seconds
Minutes
1/100
second