Care Instructions
While it’s likely that this is the most durable shelter you will ever own, some
care on your part is still required to ensure that your tent performs to its peak
potential for years to come.
• Follow all fire safety precautions from the reverse side of this label to ensure safety
and longevity.
• Avoid wearing boots inside your tent when possible.
• Make sure tent is dry before storing to avoid mildew and dry rot.
• Clean and dry tent after using. Spot clean with mild detergent and warm water.
Air dry.
• Prepare your campsite by clearing any sharp objects that might rip, snag, or
puncture tent fabric.
• Pack stakes, pegs, and/or poles carefully to avoid tearing or wearing of tent fabric,
especially mesh parts.
• Avoid exposure to sunlight for prolonged periods of time. Ultraviolet light is
damaging to tent fabric.
• This tent is not intended to be used as permanent shelter. Prolonged, consistent
exposure to elements will break down materials over time.
• When on the Trail, never store food in your tent. Wildlife will often force their way
into a tent to get your food.
• Handle poles, especially the joints with care and ensure pole sections are fully
engaged before bending. Keep the poles clean and free of silt, sand, and
saltwater.
• Store your tent in a cool, dry environment. Excessive heat and humidity can
destroy the waterproof coating.
• Do not use harsh chemicals on tent fabrics. Avoid spraying insecticides, bug
repellent, hair spray or aerosols anywhere near tent fabrics. These chemicals can
burn through tent fabrics and degrade waterproofing
• One of the keys to zipper longevity is to keep them free of sand and grit. When
pitching your tent, be careful to keep the door and window zippers out of the dirt.
Never step on the zipper. Clean zippers between trips with a garden hose and
pressure nozzle. Treating zippers with silicon lubricant from time to time can also
be helpful.
6101 Brewbaker Blvd. // Montgomery, AL 36116
Phone: 800.826.0446 // 334.286.0700
This product is made from materials which meet CPAI-84 specifications for flame
retardancy. It is not, however, fire-proof. Never place your stove, campfire, or other heat
or flame source in or near your tent. Never cook, light, or refuel a stove or any other heat
source inside your tent. Serious injury or death by burning or suffocation is possible.
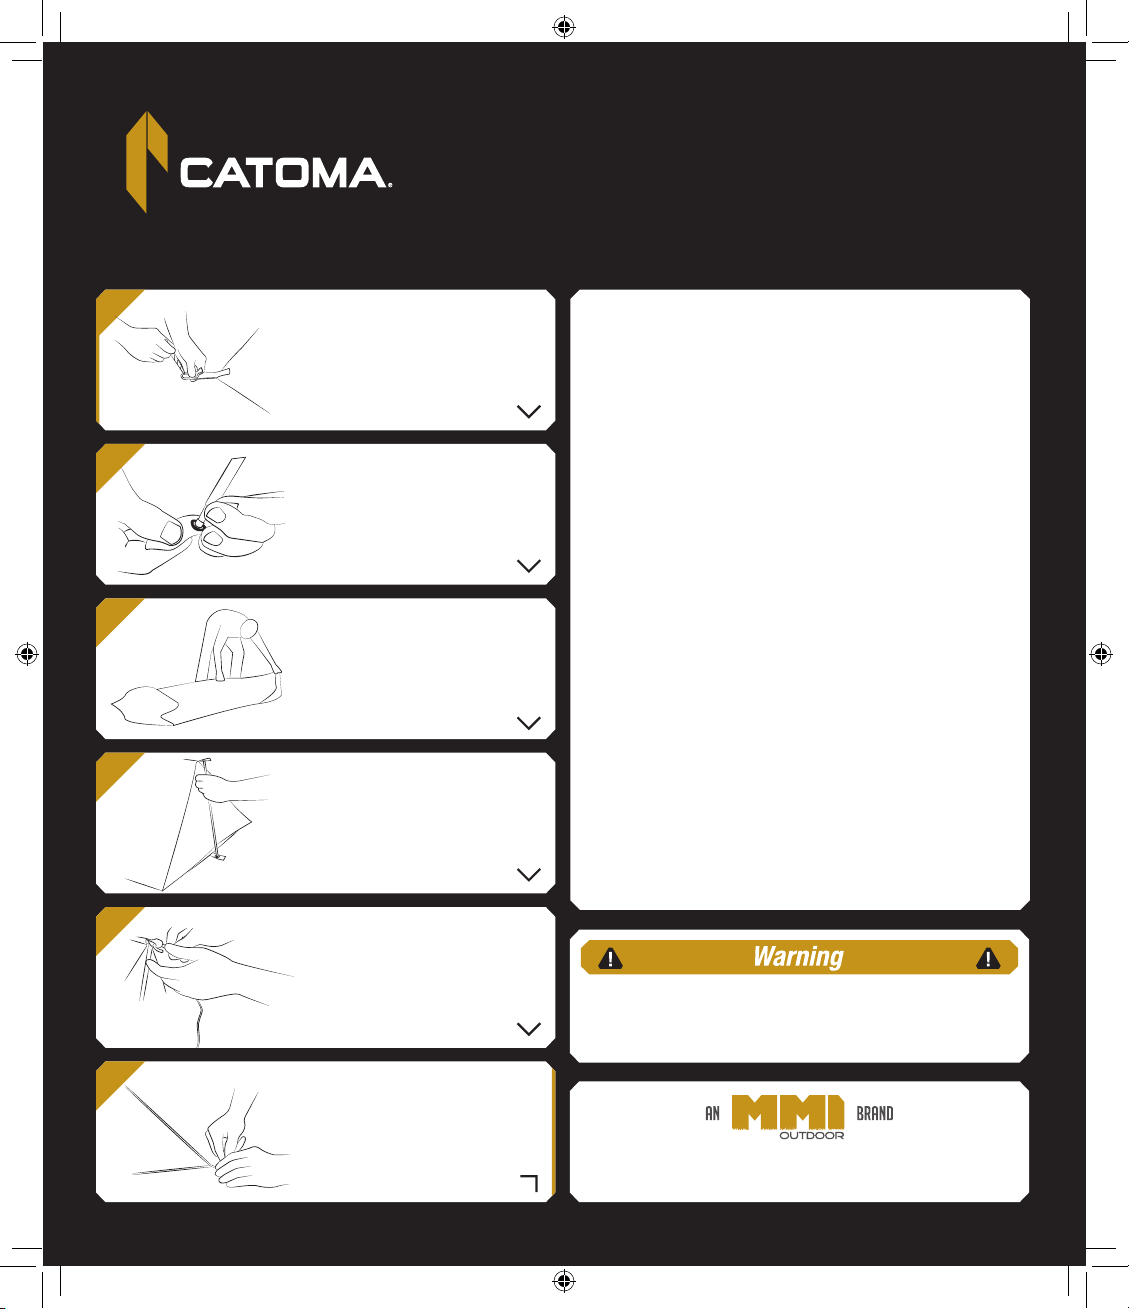
Raider Minimal Setup
Lay the groundsheet (sold
separately ) out flat on your
selected location. Stake it out
tightly in all directions.
Assemble the head pole - the
longer of the two poles - and
insert it’s ferruled ends into the
grommets at either side of the
wides part of the groundsheet.
Lay the rainfly over the ground
sheet and attach it to the head
pole using the velcro loops on the
underside of the fly.
Assemble the footpole - the shorter
of the two poles - and insert its
ends into the grommets at the foot
end of the groundsheet and the
foot of the rainfly.
Tie the Foot guyline -with hook
attached - to the tab at the foot
of the ground sheet and hook the
hook into the loop at the apex of
the foot of the rainfly.
Loop the foot guyline around one
of the stakes, pull tight, and drive
into the ground. This will tighten
the ridgeline of the tent, essentially
erecting the body using tension.
3
1
2
5
6
4
GROUNDSHEET AND RAINFLY
ONLY, NO TENT BODY
Catoma_RadierInstructionLabel.indd 2 3/10/17 11:20 AM


