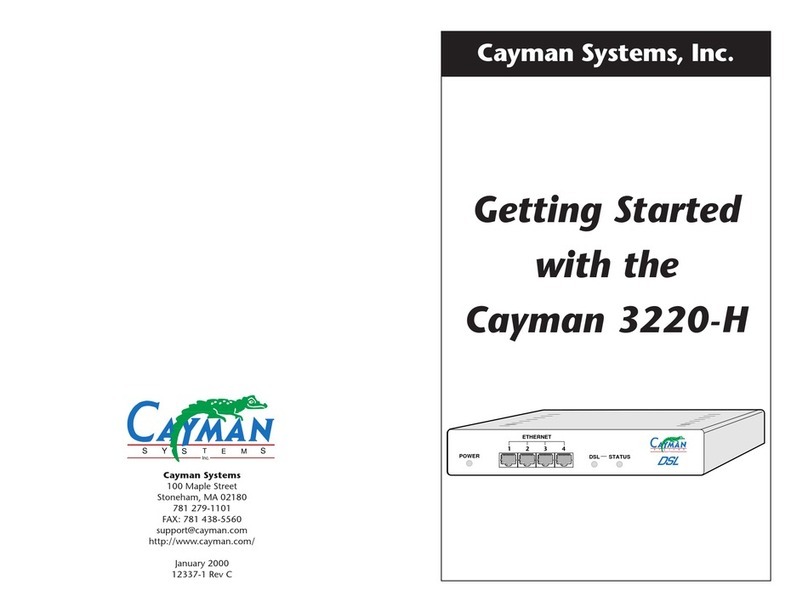
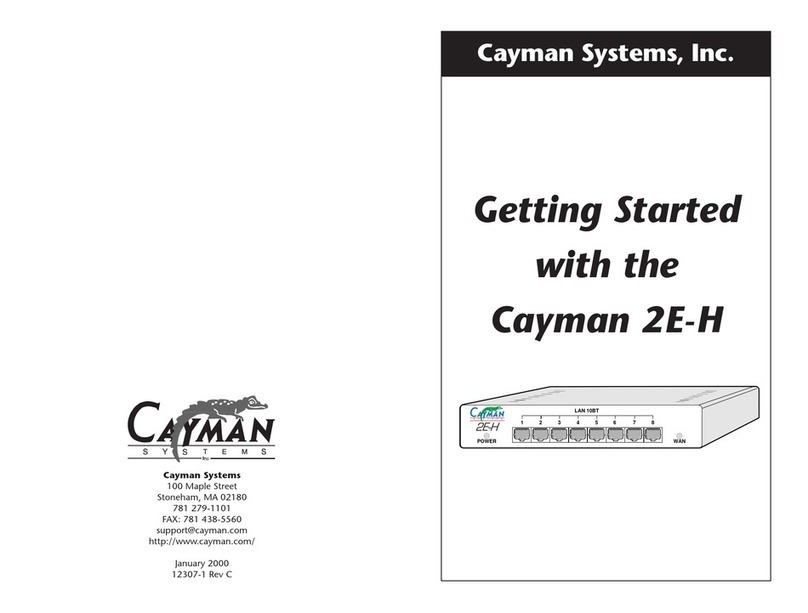
Cayman Systems 2E User manual

SYS
TEM
Inc.
S
Cayman Systems, Inc.
Getting Started
with the
Cayman 2E
Cayman Systems
100 Maple Street
Stoneham, MA 02180
781 279-1101
FAX: 781 438-5560
http://www.cayman.com/
January 2000
12302-1 Rev F
POWER
SYS
TEM
Inc.
S
2E
LAN WAN

Cayman Systems is a registered trademark of Cayman Systems, Inc. GatorSurf, SWIFT-IP,
SafetyNet, Zero Configuration, and the Cayman Systems logo are trademarks of Cayman
Systems, Inc.
Portions of this software copyright 1988, 1991 by Carnegie Mellon University. All rights
reserved. Permission to use, copy, modify, and distribute this software and its
documentation for any purpose and without fee is hereby granted, provided that the above
copyright notice and this permission notice appear in supporting documentation, and that
the name of Carnegie Mellon University not be used in advertising or publicity pertaining
to distribution of the software without specific, written prior permission.
CARNEGIE MELLON UNIVERSITY DISCLAIMS ALL WARRANTIES WITH REGARD TO THIS
SOFTWARE, INCLUDING ALL IMPLIED WARRANTIES OF MERCHANTABILITY AND
FITNESS. IN NO EVENT SHALL CMU BE LIABLE FOR ANY SPECIAL, INDIRECT, OR
CONSEQUENTIAL DAMAGES OR ANY DAMAGES WHATSOEVER RESULTING FROM LOSS
OF USE, DATA, OR PROFITS, WHETHER IN AN ACTION OF CONTRACT, NEGLIGENCE,
OR OTHER TORTIOUS ACTION, ARISING OUT OF OR IN CONNECTION WITH THE USE
OR PERFORMANCE OF THIS SOFTWARE.
UNIX is a registered trademark of UNIX System Laboratories, Inc. Ethernet is a registered
trademark of Xerox Corporation. Microsoft and Windows are registered trademarks of
Microsoft Corporation.
Mention of third-party products is for informational purposes only and constitutes neither
an endorsement nor a recommendation. Cayman assumes no responsibility with regard to
the performance or use of these products.
Copyright © 1997-2000 Cayman Systems, Inc.
All rights reserved.
Printed in the United States of America.
5
To Use Your Cayman 2E Documentation
Your Cayman 2E software includes a comprehensive on-line user manual that has been
designed to help you understand and use your Cayman 2E. To access the Cayman 2E
manual, run Adobe Acrobat Reader and open the 2e.pdf file. The Cayman 2E Installer
typically puts the 2e.pdf file in the C:\Program Files\Cayman Installer
directory on your personal computer.
To Contact Cayman Technical Services
If the Cayman 2E documentation does not provide answers to your questions, you can
contact Cayman’s Technical Services staff. Use one of the following to contact Cayman
Technical Services:
Voice: 781 279-1101 (Monday through Friday, 9AM to 5PM EST)
FAX: 781 438-5560
Internet: [email protected]
Web: http://www.cayman.com/
For More Information

4 1
The Cayman 2E is a two-port Ethernet router designed to connect workgroups on your
local area network (LAN) to your corporate network, wide area network (WAN) or the
Internet. Using the Cayman 2E to segment your workgroups ensures that the impact on
your corporate network is minimized while providing the bandwidth needed for
workgroup applications.
Cayman 2E features include the following:
•Installs in less than 10 minutes. Setting up the Cayman 2E consists of connecting it
to your networks and entering a few basic settings.
•Web-based browser configuration makes configuration and administration of your
Cayman 2E easy from anywhere on your network. The Cayman 2E also provides a
command line interface for configuring and monitoring the device over a Telnet
connection.
•Network Address Translation (NAT) support lets as many as 253 hosts on your
workgroup local area network share one IP address when communicating with hosts
on your corporate wide area network or the Internet.
•Dynamic Host Configuration Protocol (DHCP) client functionality lets a host on
your wide area network configure the IP address and other network settings for the
WAN interface on your Cayman 2E automatically.
•DCHP server functionality lets the Cayman 2E automatically configure the IP
addresses and other network settings for computers on your local area network.
•IP pinholes let you provide web services, mail services, or FTP services from your
local area network without compromising network security.
•Full-featured wide area network bridge supports a wide range of non-TCP/IP
protocols.
•Virtual Private Network (VPN) support, including interoperability with Assured
Digital, Inc. VPN switches.
•Bandwidth shaping lets carriers and service providers regulate the flow of traffic
through the WAN port in 64kbps increments.
IntroductionConfiguring Your Cayman 2E
To configure the Cayman 2E, you need a computer on the same TCP/IP network as the
Cayman 2E. Perform Steps 1 and 2 of “Configuring Your Computer” on page 3 for
information on how to configure your computer to use an IP address on the 192.168.1
network.
1. Determine whether your Internet Service Provider (ISP) has supplied you with
a Configuration Worksheet identifying the settings you are to use when
configuring your Cayman 2E.
• If you received a Configuration Worksheet, refer to it when configuring your
Cayman 2E.
• If you did not receive a Configuration Worksheet, your Cayman 2E has already
been configured, and no action on your part is needed. You can skip this section
or perform the steps to review your Cayman 2E configuration.
2. Run a Web browser application, such as Netscape Navigator or Microsoft
Internet Explorer, from the computer on the same network as the
Cayman 2E.
Refer to page 3 for information on how to configure your computer.
3. Open a session to your Cayman 2E.
Enter http://cayman-2e or http://192.168.1.254 in the Location text box. The browser
displays the Cayman 2E QuickStart window.
If your Configuration Worksheet tells you to use an IP address other than
192.168.1.254 to log in, enter http://<
ip-address
>.
4. Transfer the contents of each field on the Configuration Worksheet to the
corresponding field in the QuickStart window.
5. If you changed any of the fields in the QuickStart window, click the Save
button to save the modified Cayman 2E configuration. When you see the
Cayman 2E Home page, click the Restart Cayman-2E button to restart your
Cayman 2E with its new configuration settings.

3
2
Setting Up Your Cayman 2E
1. Unpack your Cayman 2E shipping carton.
2. Position the Cayman 2E.
You should put the Cayman 2E in a location where air can circulate freely around it.
Do not cover the vents on the top of the Cayman 2E.
3. Connect the LAN (Ethernet A) port on the Cayman 2E to your workgroup
Ethernet network.
4. Connect the WAN (Ethernet B) port on the Cayman 2E to your wide area
network.
For example, connect the WAN port to your cable modem, xDSL modem, or
backbone network.
9VDC
WAN 10BT MAINTENANCE
CONSOLE LAN 10BT
To Your
Local Area Network
9VDC
WAN 10BT MAINTENANCE
CONSOLE LAN 10BT
To Your
Wide Area Network
(Cable Modem, xDSL Modem)
5. Connect the power transformer to the power jack on the Cayman 2E back
panel. Plug the power transformer into an appropriate electrical outlet.
Note: At this point, if your Cayman 2E can obtain network information from a DHCP server on
its WAN interface, your Cayman 2E is completely functional. If a DHCP server is not available,
you must configure the IP address information on the Cayman 2E WAN port (see page 4).
Because the operating software for your Cayman 2E is installed during factory verification, you
do not need to run the Cayman 2E installer utility before using the device.
The following instructions assume that you want all devices on your workgroup Ethernet
network to use IP addresses on the 192.168.1.0 network. If your workgroup network must
use another network number, refer to the Cayman 2E documentation for information on
how to change the IP address of the LAN interface for the Cayman 2E.
1. Configure your computer to use an IP address on the same TCP/IP network as
the Cayman 2E.
•Windows 95/Windows 98/Windows NT
1 Open the Network Control Panel and select the TCP/IP service for the
Ethernet card in your computer (for example, TCP/IP ->3Com EtherLink III).
2 Open the Properties window.
3 Click the Gateways tab, and remove any installed gateways.
4 Click the DNS Configuration tab, and disable DNS.
5 Click the IP Address tab, and click the Obtain an IP Address Automatically
option button.
6 Click OK to save the modified TCP/IP settings.
•Macintosh – If your Macintosh uses Open Transport, open the TCP/IP Control
Panel and choose Connect via Ethernet. Choose Configure Using DHCP Server
and enter the IP address of the Cayman 2E (192.168.1.254) in the Name Server
Address text box.
If your Macintosh uses MacTCP, open the MacTCP Control Panel and select the
Ethernet interface icon. Enter 192.168.1.x(where xis any number in the range 1-
253) in the IP Address text field. Click the More button. Click the Obtain Address
Manually radio button. Enter 192.168.1.254 in the Gateway Address text field.
Pull down the Class dropdown list and choose C, which sets your subnet mask
to 255.255.255.0. In the Domain Name Server Information fields, enter your
Internet Service Provider’s domain name in the Domain text field and enter
192.168.1.254 in the IP Address text field.
2. Restart your computer.
3. Configure each computer that will use the Cayman 2E’s address sharing
feature to use DHCP, as described in Step 1, above.
Configure devices that will not use DHCP with static IP addresses on the same
network as the Cayman 2E. Restart each device after you have updated its TCP/IP
configuration.
Configuring Your Computer
Table of contents
Other Cayman Systems Network Router manuals

Cayman Systems
Cayman Systems 3220-H Series User manual

Cayman Systems
Cayman Systems 3220-H Series User manual

Cayman Systems
Cayman Systems 2E-H-W User manual

Cayman Systems
Cayman Systems 2E-H-W User manual

Cayman Systems
Cayman Systems 2E-H User manual

Cayman Systems
Cayman Systems 2E-W User manual

Cayman Systems
Cayman Systems 2E-H User manual
Popular Network Router manuals by other brands

Linksys
Linksys EFROU44 - EtherFast 10/100 Analog Router user guide

Bosch
Bosch GKF 600 Professional Original instructions

MOFI NETWORK
MOFI NETWORK MOFI4500 quick start guide

Westermo
Westermo DDW-02-B1 manual

Fujitsu
Fujitsu BroadOne LS110 Residential Femtocell user guide

TRENDnet
TRENDnet TEW21BRM user guide