[Type a quote from the document or the summary of an interesting point. You can position the text
box anywhere in the document. Use the Text Box Tools tab to change the formatting of the pull quote
text box.]
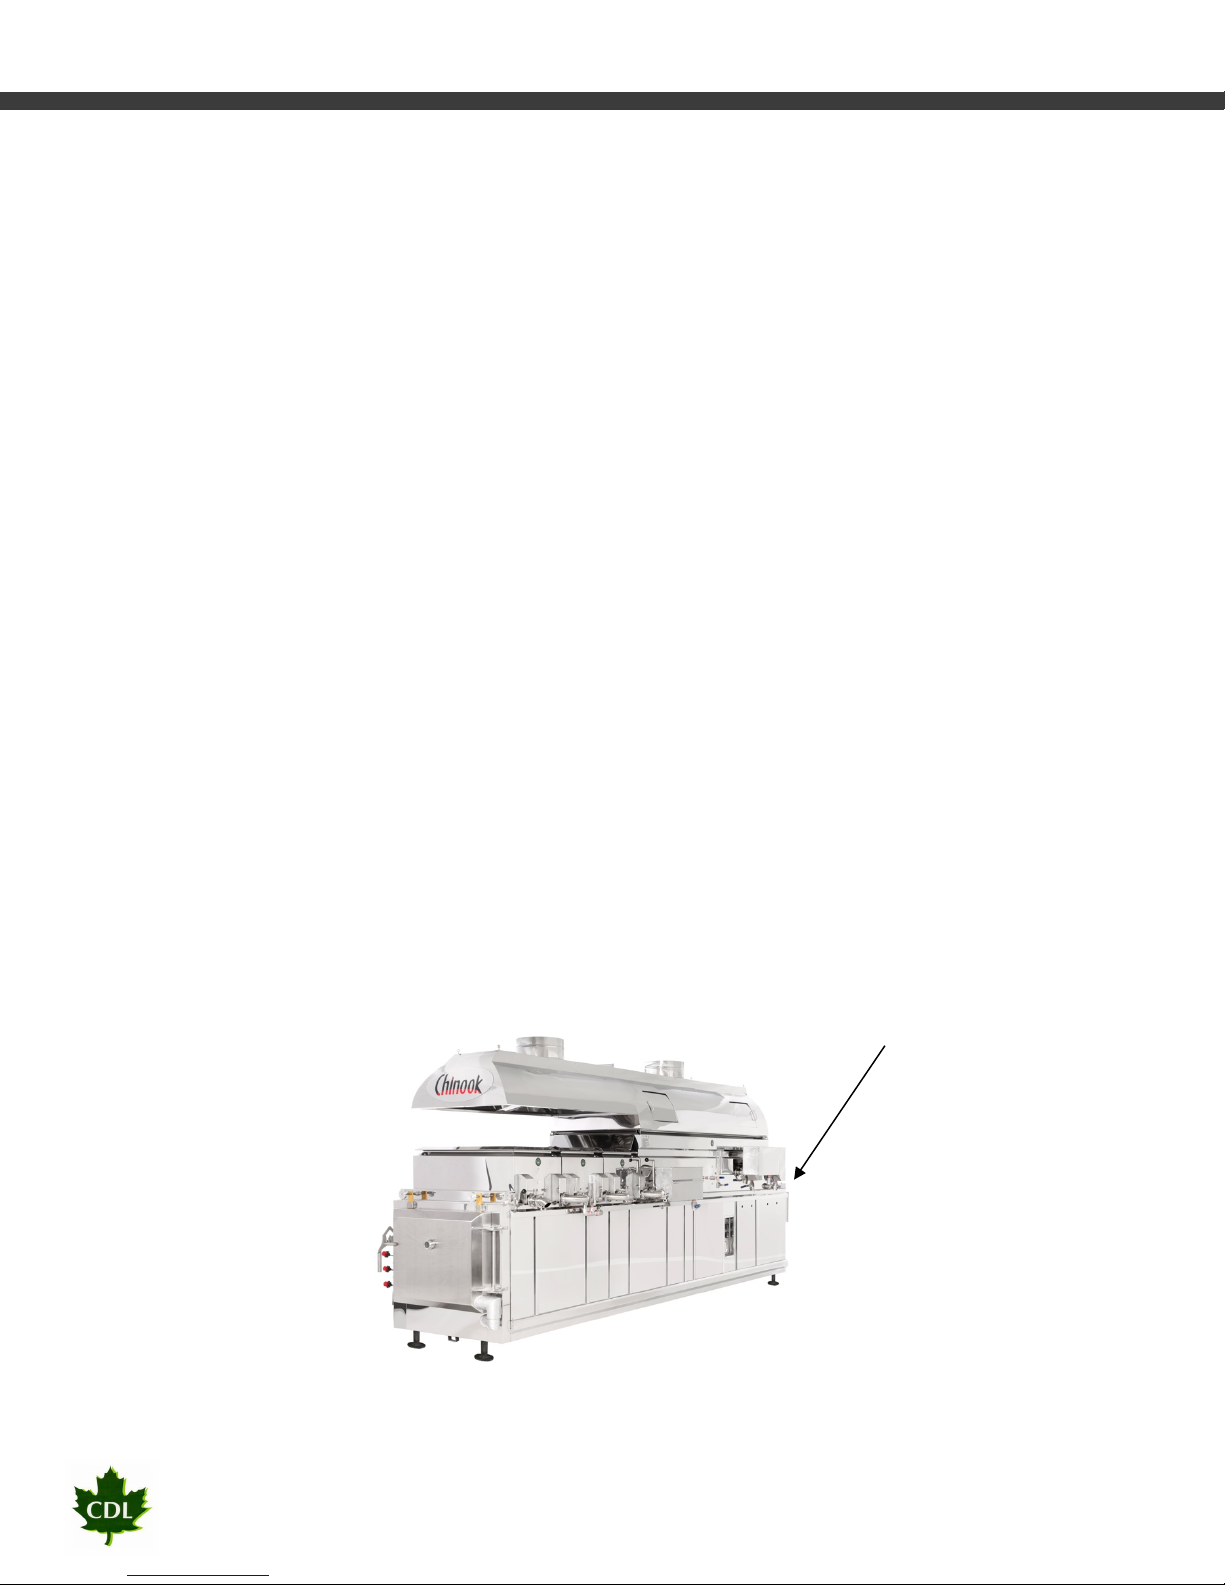
CDL Maple sugaring equipment
4.10 It’s highly recommended to cure the concrete. Follow the following
procedure for optimal results:
a) Air cure at ambient temperature (no less than 400F and no more than
1000F) for 24 hours, keeping surface damp with light water spray, curing
compound or covering with plastic
b) Elevate temperature to 2500F and hold for 1 hour per inch of thickness
c) Elevate temperature 500F per hour to 5000F and hold 1 hour per inch of
thickness
d) Elevate 1000F per hour to 10000F and hold for 12 hours
e) Elevate 1000F per hour until 15000F, and let the temperature gradually
come back to the ambiant temperature.
Note: if at any time during the heat up excessive steaming is noted, STOP
the procedure at that point until steaming slows. If steaming is during a
holding period and continues for more than 15 minutes, reduce
temperature by 1000F
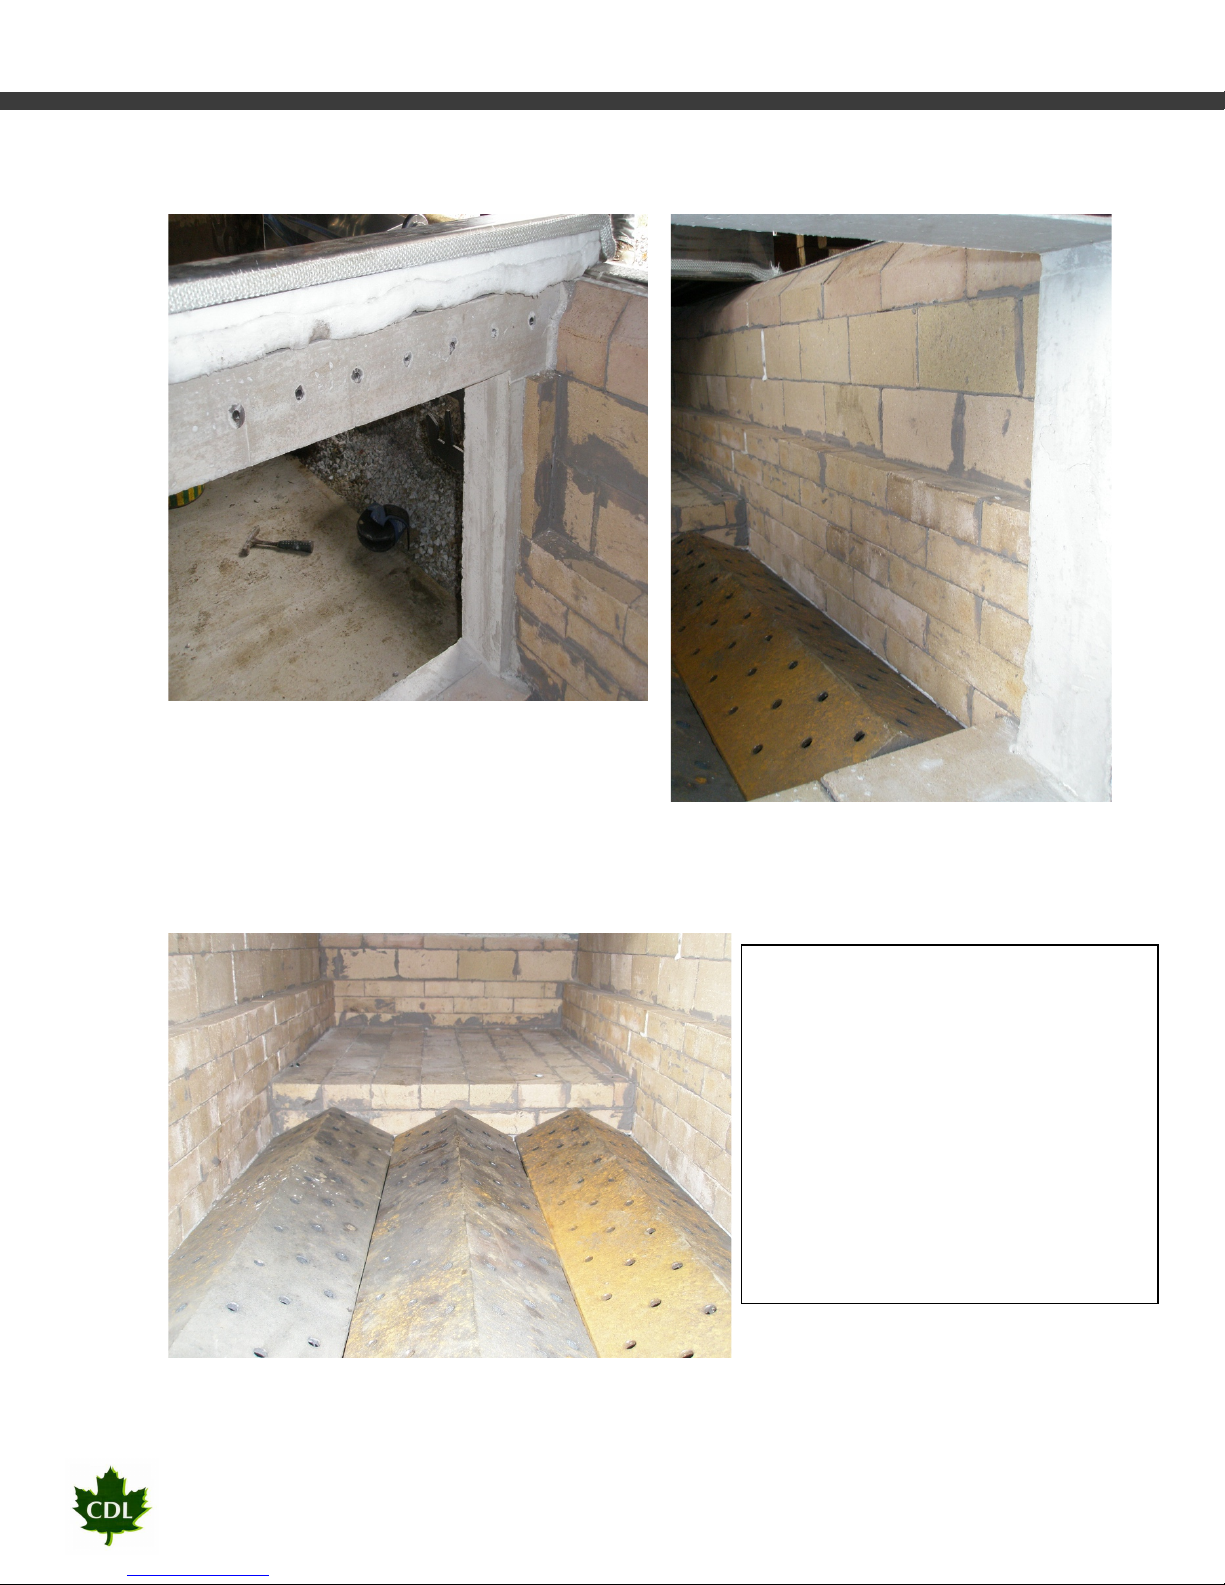
5) Place the pans on the arch. Start with the flue pan (the bigger one). Adjust it to the
back collar. Then install the syrup pan(s) on the front of the arch. Install the base
stack behind the flue pan and be sure that flue pan is levelled.
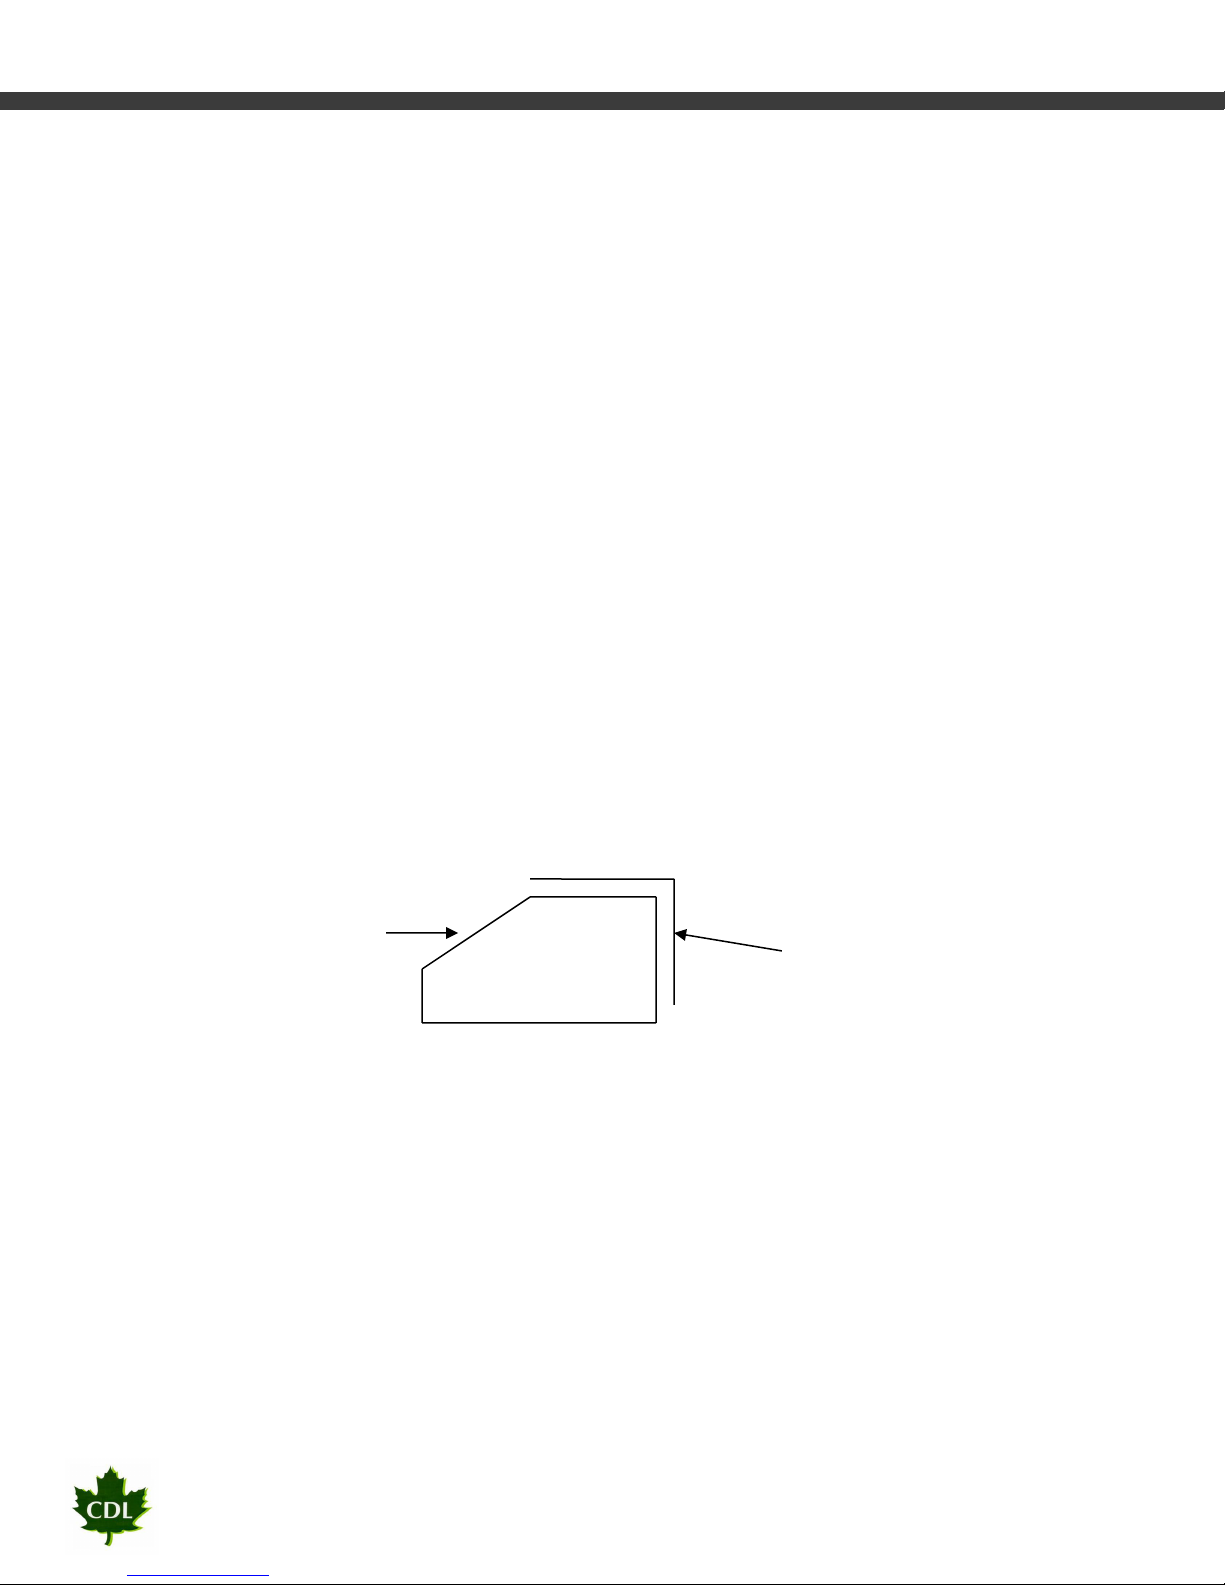
Don’t forget to install the insulation bars between each pan, they have to be
installed like this :
You don’t want the insulation to be touched directly by the flames.
6) Install the roof jack, base stack, stack pipe, collar and stack cover (please make sure
that the stack cover is installed, the cover has to be against dominant wind). Ideally,
have a rope coming down from the stack cover to a place where it is easy to operate.
7) If you have a drop flue pan, you need to raise the front of the pan (3/16”) to help
drainage.