CellScale BioTester User manual

BioTester User Manual
BioTester
Biaxial Test System
User Manual
version 7.6

BioTester User Manual
Mechanical measurement and analysis of biomedical materials
CellScale provides scientific and medical researchers with turn-key systems for
measuring the mechanical properties of biomaterials.
Our focus is soft tissue –including skin, ligaments, blood vessels, heart valves,
sclera, membranes and scaffolds. We provide user-friendly software, an easy-to-
use patented attachment system, and effective data analysis tools.
Our foundation was laid at one of the world’s leading research institutions –the
University of Waterloo. We understand research and aim to provide effective
solutions at a reasonable price.
Explore our web site www.cellscale.com or contact us to learn more about our
measurement systems.
© 2017 CellScale. All rights reserved. This material may not be reproduced,
displayed, modified or distributed without the express prior written permission of the
copyright holder. For permission, contact CellScale Biomaterials Testing at
info@cellscale.com.
Sales and Support
CellScale Biomaterials Testing
564 Weber St N, Unit 11,Waterloo, Ontario
Canada N2L 5C6
Phone: 519.342.6870

BioTester User Manual
Table of Contents
1. General Information............................................................................................................... 1
Environmental and Electrical Specifications.............................................................................. 1
System Assembly..................................................................................................................... 1
Power Connections................................................................................................................... 1
Safety Warnings ....................................................................................................................... 1
Approvals and Certification....................................................................................................... 1
Manual Operating Controls....................................................................................................... 2
Software ................................................................................................................................... 2
General Maintenance................................................................................................................ 2
2. Testing Terminology.............................................................................................................. 3
Multiphase Test Cycles............................................................................................................. 3
Phases, Cycles, and Test Sequences....................................................................................... 4
Test Phases: The Smallest Unit of Testing ............................................................................... 5
Control Modes .......................................................................................................................... 5
Control Functions...................................................................................................................... 6
3. System Overview .................................................................................................................. 7
System Components................................................................................................................. 7
Software Overview.................................................................................................................... 8
Output Files and Data Structures.............................................................................................. 9
4. Setting Up & Starting a Test.................................................................................................10
Overview..................................................................................................................................10
Step 1: Start a New Test..........................................................................................................10
Step 2: Reset the Actuators.....................................................................................................11
Step 3: Move the Actuators to a Specified Size........................................................................12
Step 4: Zero the Load Cells (occasionally)...............................................................................12
Step 5: Modify Testing Parameters (optional) ..........................................................................13
Step 6: Mount the Specimen....................................................................................................15
Step 7: Execute the Test..........................................................................................................17
Step 8: Terminate the Test Prematurely (optional)...................................................................17
5. Additional Settings................................................................................................................18
Configuring Output Data Files..................................................................................................18
Advanced System Settings Dialogue.......................................................................................19
Range Limits............................................................................................................................21
Configuring the Live Charting Graphs......................................................................................22
6. Reviewing Test Results........................................................................................................24

BioTester User Manual
Overview..................................................................................................................................24
Selecting Images.....................................................................................................................25
Image Playback Options..........................................................................................................25
Image Tracking: Overview .......................................................................................................26
Image Tracking: The Points Display Option .............................................................................28
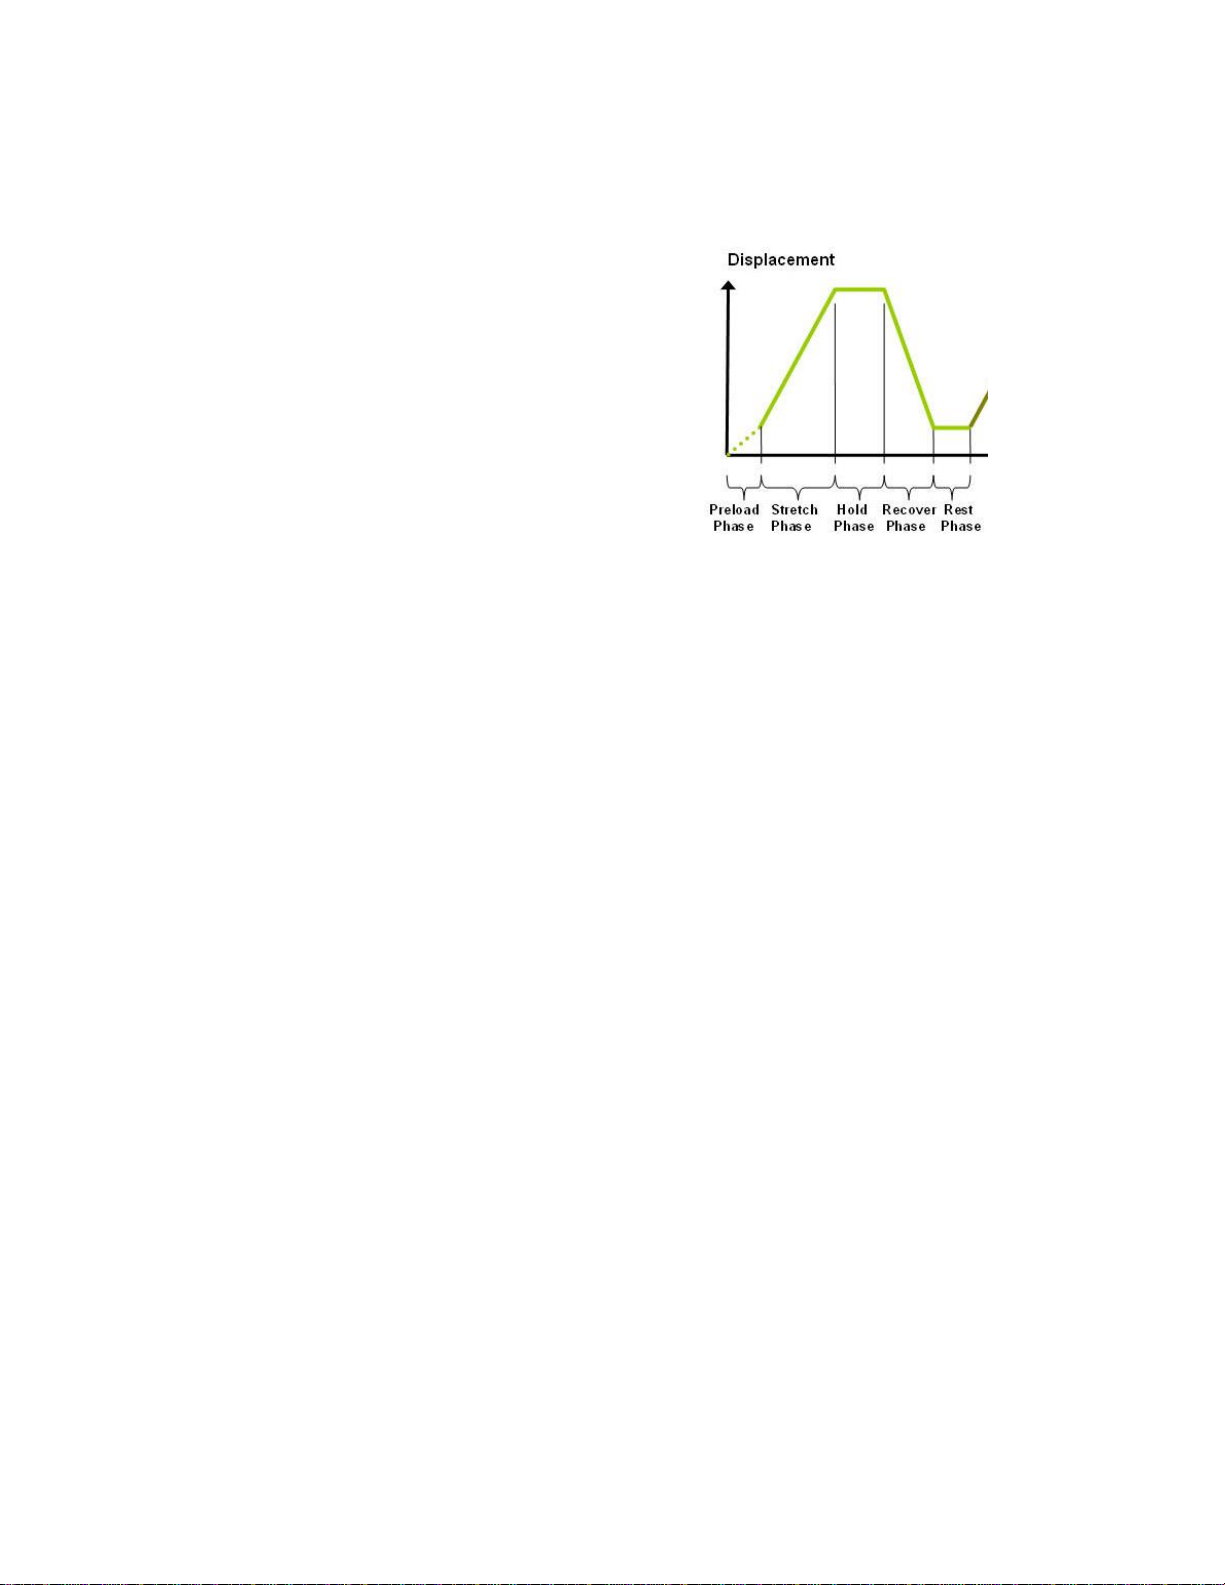
Image Tracking: The Displacement Option ..............................................................................29
Image Tracking: The Strains Option.........................................................................................30
Data Overlay............................................................................................................................31
Exporting Tracked Data...........................................................................................................32
Exporting Images and Movies..................................................................................................33
Importing and Analyzing Non-BioTester Images......................................................................33
7. System Hardware Settings...................................................................................................34
Controller.................................................................................................................................34
Camera....................................................................................................................................34
Load Cells................................................................................................................................35
Actuators and Motors...............................................................................................................35
Temperature............................................................................................................................36
External Sync Pulse.................................................................................................................37
8. System Calibration and Advanced Tools..............................................................................38
Load Cell Calibration................................................................................................................38
Snap Image Feature................................................................................................................40
Adjusting the Camera Position and Image Magnification .........................................................41
Update Firmware .....................................................................................................................43
9. Troubleshooting....................................................................................................................44
10. Appendix A: Initial System Setup..........................................................................................45
Tools........................................................................................................................................45
Fasteners & Parts....................................................................................................................45
Unpack System........................................................................................................................46
Remove the BioTester from the shipping container ..............................................................46
Attach Camera Mast................................................................................................................47
Place Fluid Chamber on Riser Stage.......................................................................................49
Install Camera Lens.................................................................................................................50
11. Appendix B: Software Installation.........................................................................................51
12. Appendix C: Install Load Cells / Perform Camera and Gooseneck Alignment ......................57
Attach the Load Cells to the Goosenecks ................................................................................57
Attach the Load Cell Brackets to the Actuators........................................................................61
Attach the Goosenecks to the Actuators..................................................................................62

BioTester User Manual
Stow Cables and Plug in the Load Cells ..................................................................................65
Attach the Temperature Probe.................................................................................................67
Attach the Knob to the Pull Rod...............................................................................................67
Turn on the BioTester..............................................................................................................67
Launch the LabJoy Software....................................................................................................68
Perform Camera Alignment......................................................................................................71
Perform Vertical Gooseneck Alignment....................................................................................74
Perform Transverse and Axial Gooseneck Alignment..............................................................76
Install Actuator Covers.............................................................................................................80
Perform Load Cell Calibration..................................................................................................80
13. Appendix D: Mechanical Grip Usage....................................................................................81
Installing Grips.........................................................................................................................81
Sample Mounting.....................................................................................................................82
Changing Grip Springs.............................................................................................................84
14. Appendix E: Fixed Focal Length Lens..................................................................................86
Install Camera Lens.................................................................................................................86
Adjusting Camera Position and Image Magnification ...............................................................87
15. Appendix F: Protocol for Tying and Cutting Sutures for Biaxial Testing ................................89

BioTester User Manual
1
1.General Information
The BioTester is a precision test instrument specifically designed for the measurement and
analysis of small biological specimens. The system includes a compact biaxial test station and an
integrated software interface to run and analyze test results. The system is intended for indoor
use only.
Environmental and Electrical Specifications
Electrical Input
100-240VAC, 50-60Hz
Current Rating
2.5 Amp
Environmental Conditions
Maximum Operating Temperature 25ºC
0% - 95% Relative Humidity
Installation Category
Category II
Pollution Degree
Degree 2
Maximum Altitude
2000m
Data Connections
1 –USB 3.0 for camera/PC communication
1 –USB for controller/PC communication
System Assembly
The BioTester unit requires some assembly. See Appendix A and C.
Power Connections
Connect power supply into properly grounded 100-240VAC power source to ensure safe
operation. Ensure that the power cord is easily accessible at all times. The use of an
Uninterruptible Power Supply (UPS) is recommended to protect against data loss.
The mains supply voltage fluctuations should not exceed 10% of the nominal supply voltage.
Safety Warnings
This equipment must be used in accordance with the procedures outlined in this manual to
prevent injury and/or damage.
System Alert
The plastic covers must remain on this unit at all times to prevent injury and/or damage.
This equipment must not be disassembled by the user or modified in any way.
Approvals and Certification
This product conforms to EN61010-1:2001 and EN61326-1.

BioTester User Manual
2
Manual Operating Controls
There are a few manual controls on the unit. The camera housing contains two adjustment knobs
that are used for fine adjustment of the horizontal camera position, and the camera lens has
focus, zoom, and iris rings which can be set by the user.
BioTester Tip: Setting Camera Controls
The camera housing knobs are used to ensure that the specimen is centered in the field
of view. The iris is usually left 100% open; the brightness of the images is better
adjusted by changing the camera gain and exposure in the software settings.
There are two switches on the front of the unit, one for powering the controller and the LED
lighting, and the second for powering the heating element.
The front of the unit also contains a pull rod which is used to raise and lower the specimen stage
and fluid chamber. This rod is spring-loaded so that the chamber can be held at any height. To
raise or lower the stage, lift the rod and then pull or push.
Software
LabJoy software is included and is required to run the BioTester. 2 x USB ports are required for
data connections. Windows 7 or higher is required to run LabJoy.
General Maintenance
Clean the system as needed with mild soap and water or alcohol based cleaning solutions.
BioTester Tip: Removing the fluid chamber
The fluid chamber can be removed by resetting (fully retracting) the actuators followed
by carefully lifting and twisting the chamber. This is best accomplished when the
chamber is emptied (a large syringe works well).

BioTester User Manual
3
2.Testing Terminology
The BioTester is designed to apply biaxial forces to soft tissue specimens (deforms by more than
1% in vivo) with an in-plane dimension of 3 - 15 mm. This includes biological material such as eye
tissue, heart valves, pericardium, joint capsules, large blood vessels, scaffolds, and polymers.
Multiphase Test Cycles
In order to properly characterize and test a specimen, it is often necessary to load it to different
degrees and at different rates. There are three main reasons for doing this:
Preconditioning - The goal of preconditioning is to restore a specimen to its physiological or
in vivo state. During the process of specimen storage and preparation, a specimen may
swell, dry out, have its material fibers realign, or its molecules reorganize. It may take multiple
preconditioning cycles for a specimen to be restored to its natural state.
Reproducing Physiological Conditions During Testing - By applying various loads and
load rates, natural expansion and contraction of a specimen can be reproduced (for example,
the pulse pressure in an organ). In as much as the physiological conditions can be recreated,
the specimen can be tested in a more realistic state.
Varying Test Conditions - Variable loads and rates allow you to create a variety of test
profiles to best study your specimen.

BioTester User Manual
4
Phases, Cycles, and Test Sequences
As the following diagram demonstrates, each application and release of load on the specimen is
called a test cycle. The same test cycle can be repeated multiple times to achieve a certain goal
(preconditioning, physiological conditioning, or testing); this is called a test set. Finally, a test
sequence is made up of multiple test sets.
The above example describes the following:
•The entire diagram presents a full test sequence.
•Within that sequence, there are two test sets: the first set applies preconditioning to the
specimen; the second set executes the actual test on the specimen.
•Within the first set (preconditioning), two identical test cycles are implemented to bring
the sample to a satisfactory in vivo state.
•Finally, the second set (testing) is made up of three cycles.

BioTester User Manual
5
Test Phases: The Smallest Unit of Testing
The test phase is the smallest unit of the test specification. There are five phases within a cycle.
Each phase serves a specific purpose:
Preloading- Preloads are applied to bring a test
to a well-defined starting point. Because the
dimensions of a specimen may change as a
result of a loading cycle (stretching of fibers,
viscoelastic effects, plastic deformation, or
localized material failure at the attachment
points), the preload adjustment compensates for
any of these changes in specimen geometry.
Stretching - During the stretch phase, a
deformation is applied to the specimen. The
deformation can be specified either in terms of
force applied or displacement achieved.
Holding - The deformation can be held for a given duration. The duration for which it is
held is dependent on the nature of the testing.
Recovering - The recovery phase is the time during which the force being applied to
the specimen is removed. The duration of the recovery time is configurable and
dependent on the nature of the testing.
Resting - Finally, the rest phase is the time between the end of one cycle and the
beginning of the next. Some tests may specify a short recover time, while others may
specify a longer time. The duration is configurable and dependent on the nature of the
testing.
Control Modes
There are two control modes which define the basic approach to a given test: displacement
control and force control:
Under displacement control, the displacement of the specimen is predefined. The
BioTester stretches the specimen until the predefined displacement is achieved. The
force required to achieve the displacement is an output of the test. Several control
functions are available for displacement control.
Under force control, the force applied to the specimen is predefined. The BioTester
stretches the specimen until the predefined force is achieved. The displacement required
to achieve the force is an output of the test. Force control can only be applied as a step
function.

BioTester User Manual
6
Control Functions
The BioTester makes it possible to test specimens under several control functions:
Under displacement control:
The true strain function applies the displacement at a constant true strain rate, which
accounts for the current specimen length while the specimen is being stretched.
The ramp function applies the displacement at a constant nominal rate. This is
equivalent to a constant engineering strain or constant velocity.
The sine function applies the displacement according to a sinusoid with the desired
displacement magnitude and duration.
True Strain Ramp Sinusoid Custom
Time
Displacement
Under force control:
The step function achieves and maintains the desired force as quickly as possible. The
amount of time it takes to achieve the desired force depends on the material being tested
and the force control settings.
Step
Time
Force
The control mode, load function and load magnitude can be set independently for each of the two
loading directions.

BioTester User Manual
7
3.System Overview
System Components
The BioTester brings together several high-precision components, making it the state-of-the-art
instrument for testing biomaterials.
The BioTester
AHigh resolution CCD camera provides
synchronized video tracking and analysis.
BIllumination and lens provided to capture
excellent image quality.
COur patented BioRake attachment method
provides quick and easy mounting of samples.
DIntegrated machine controls and data collection
are compact and designed for testing flexibility.
EHigh resolution control delivers precision
measurement on small samples.
F A simple USB interface for easy connection to
the host computer.

BioTester User Manual
8
Software Overview
The software included with the BioTester is called LabJoy. It is divided into two modules, a data
collection module and a review and analysis module. The data collection module is used to set
test parameters, enable specimen loading and testing, and monitor test progress. The screen
layout for this module is shown below:
Test
Parameters
Live Force &
Displacement
Live Video Live Charting
The review and analysis module is used to playback accelerated or decelerated test images,
perform image analysis and tracking, and output video files for presentation purposes. The
screen layout for this module is shown below:
Image List
Image Playback
Image Tracking
Data Overlay

BioTester User Manual
9
Output Files and Data Structures
For each test, the BioTester creates and saves three file types. The following table describes the
three file types for a project named “Sample1”. Output from this test would be found in a
“Sample1” output directory (a sub directory of the user specified data directory).
File Type
Description
.tst file
The Sample1.tst file that contains the exact protocol and settings used for the test.
.csv file
The Sample1Data.csv file that contains comma separated numerical data such as time, force and
displacement values.
.jpg files
Captured images such as Sample1.000010.3.jpg, which would correspond to an image captured
at 10.3 seconds from the start of the test.
Each test folder will also contain 2 subfolders. The “Logs” subfolder contains a text file of the
content of the text dialogue portion of the main screen. It is useful as reference to troubleshoot
problems with your system, should they occur.
The “Tracking” subfolder is initially empty. If tracking is performed on any of the images in the
test folder using the “Analyze and Review” software module, there will be data files that contain
the tracking information stored in this directory.
While using the “Analyze and Review” software module, you may create additional data files such
as text files (*.csv) containing tracking results, images with force data or tracking results overlaid
(*.wmf), or movie files (*.avi). These additional files can be stored in the test directory or
elsewhere on your computer’s hard drive without interfering with the software application (once
created, they cannot be opened by the LabJoy application).
When working with the data, you should be aware of a few details regarding the data output:
1. The output specimen sizes are based on the spacing between the BioRake tines and do
not account for the specimen material outside of the test region.
2. The software cannot calculate stresses since the thickness of the specimen is not known.
To calculate stress, you will have to manually measure the thickness of the material
before or after the test is performed.
3. Strains can be calculated using the output displacement values (which are based on the
BioRake tine motions). The specimen may actually be subjected to less strain than the
calculated values due to attachment site effects and tissue tearing. The image tracking
module is useful for determining the actual strain values and variations within the
specimen.

BioTester User Manual
10
4.Setting Up & Starting a Test
Overview
Setting up and running a new test is a simple process made up of both mandatory and optional
steps. The following list presents all of the steps, while the rest of this chapter describes each of
the steps in detail.
Step 1: Start a New Test
Step 2: Reset the Actuators
Step 3: Move the Actuators to a Specified Size
Step 4: Zero the Load Cells (occasional)
Step 5: Modify the Test Parameters (optional)
Step 6: Mount the Specimen
Step 7: Execute the Test
Step 8: Terminate the Test Prematurely (optional)
Step 1: Start a New Test
Launch the LabJoy software, and then
select Collect New from the File menu.
In the Create Test from Template
dialogue, perform the following steps:
1. Select a template that matches the type of test you wish to perform. See the BioTester
Tip on how to select and use a template. You can modify the template parameters in
Step 4, below.
2. Name your test. The dialogue will have a default test name. You can use the default or
rename the test. Each time you start a new test, the default name will continue to
increment the number at the end of the name.
3. If desired, you can change the location of the output data. The location of your output
data and images is determined by specifying a Test Name and Data Directory. The
template and data directories are user specific (computer login name). Each system user
can store their files to a different default location. The system uses the last location
selected as the default.

BioTester User Manual
11
4.
BioTester Tip: Selecting and Using Templates
How to select a template: Designing an appropriate test sequence is an art that
depends on both the type of material being tested and the specific material properties
you are interested in measuring. When first testing a new material, you should expect to
have to experiment with the settings until the test yields meaningful data.
The system comes loaded with example templates to help you get started. Selecting a
template does not lock you into a specific test sequence or protocol –rather a template
defines a test sequence and settings, all of which can be changed before a test is run.
Once you have developed a test sequence and settings that are appropriate for the
material you are testing, you should save these settings using “Save As Template” from
the File menu. You can then select your template the next time you initiate a test.
Step 2: Reset the Actuators
We suggest performing an actuator reset at the start of a new test. Also, if you have stopped the
previous test in mid cycle, then you should reset the actuators. By resetting the actuators, you are
moving the actuators to the precise home position ensuring that the displacement measurements
taken by the BioTester are accurate.
To reset the actuators, select Reset Actuator from the tools menu, or press on the toolbar.
If the below warning dialogue appears, select Yes. This warning is to remind the user not to reset
the actuator with a specimen mounted.

BioTester User Manual
12
System Alert
The actuators SHOULD NOT be reset if the specimen is already mounted. Doing so will
damage your specimen as well as possibly damage the BioRakes or Load Cells.
Step 3: Move the Actuators to a Specified Size
After the actuators have been reset, they will remain in their fully retracted positions and must be
moved to specified (reference or starting) positions.
To move the actuators to the specified position, select Move Actuators to Specified Size from the
Tools menu, or press on the toolbar. The desired size must be entered in the boxes labelled
Specified Size (um) X Y.
Step 4: Zero the Load Cells (occasionally)
While it is not necessary to zero the load cells with every test sequence, we suggest zeroing the
load cells at the start of a new test session. With repeated use, the zero point of the load cells can
drift. By zeroing the load cells, you are ensuring that the force measurements are accurate.
To zero the load cells, select Zero Load Cells from the Tools menu or press on the toolbar.
System Alert
You should not zero the load cells if the specimen is already loaded, or the load cell
zeroing process will not work properly and an offset will be introduced into your force
data.

BioTester User Manual
13
Step 5: Modify Testing Parameters (optional)
You can select and modify parameter
sets by clicking on their row in the Test
Sequence table and then pressing the
Edit Set button (or by double clicking on
their row). When you do so, the Set
Parameter Editor dialogue will appear.
Note that displacements are specified
in either % strain, or μm. Force loads
are specified in mN, and durations are
specified in seconds.
The following table describes each of
the parameters.

BioTester User Manual
14
Test Parameter
Description
Control Mode
Biaxial tests are typically performed under displacement control, however, you can
select the following control modes to achieve specific testing objectives:
•To obtain uniaxial properties for a biaxially mounted specimen, specify
displacement control in one axis and Force control with zero Load Magnitude
in the other axis.
•For creep testing, use force control with a long hold duration.
•For relaxation testing, use displacement control with a long hold duration.
Control Function
True Strain or Ramp is typically selected for tests performed in displacement control
mode. For tests performed in force control mode, you select step controls.
Stretch Magnitude
(Load Magnitude when in
Force Control mode)
Selecting a stretch magnitude is entirely dependent on the material you are testing. A
sound approach is to begin with a small magnitude and iteratively move up to larger
magnitudes.
If you are using Displacement control mode, you can specify the displacement in either
µm or as a percentage. For example, the displacement on a 5000µm x 5000µm
specimen can be expressed as either 500µm or 10%.
If you are using Force control mode, you can only specify the force in mN.
Watch the test results carefully to determine which magnitude setting best achieves
your test goals.
Preload
Preload is typically reapplied on every repetition during a preconditioning set as well as
on the first repetition of a testing set. Specimen size is adjusted after a preload
adjustment. Strain calculations are based on the specimen size after the last preload
adjustment. If you are working with a material for which preload values have been
suggested, you can set the value accordingly. Otherwise, zero is a good initial choice.
Preload Magnitude
As with stretch magnitude, the preload magnitude settings depend on the material you
are testing. While Preload can be set at zero, typically you would set the preload
magnitude somewhere between zero and 10% of the peak load you expect to achieve.
Stretch Duration
For evenly spaced images, it is recommended to choose a number that is an integer
multiple of the Image Output Frequency.
Hold Duration
Hold Duration is typically set to 0, however it is useful for creep or relaxation testing.
Recovery Duration
Recovery Duration is typically set to the same value as the Stretch Duration.
Rest Duration
Rest duration is typically set to 0, however a non-zero value may be used to mimic in
vivo conditions or for specialized testing.
Repetitions
Apply enough repetitions until the force deformation curves from one repetition to the
next start to overlie each other.
Data Output Frequency
Typically set to the same frequency as the image output frequency.
Image Output Frequency
Typically set to 1Hz for cycles > 5 seconds and 10 Hz for cycles < 5 seconds.

BioTester User Manual
15
Step 6: Mount the Specimen
Proper specimen mounting is critical to ensuring accurate and repeatable results. It is best to
have the tines spaced evenly across the edge of the specimen and as closely to the edges as
possible.
To mount the specimen, follow these steps:
1. Place the specimen in the mounting press on top of a backing material such as soft
silicon or foam.
2. Place the mounting bridge across the fluid chamber.
3. Partially raise the mounting bridge.
4. Centre the specimen between the rakes using a small
implement, such as forceps, and the live video window
as feedback. Adjustment of the actuators may be
necessary to ensure the rake tines are positioned
correctly for non-ideally sized specimens.
5. Raise the stage until the rake tines are pressing gently
on the specimen.
6. Push all 20 tines into the specimen, either all at once
using the press block or one at a time using a small
implement such as a precision screwdriver.
7. Partially lower the stage, and remove the backing
material.
8. Fully lower the stage, and remove the mounting bridge.
9. Fully raise the stage to submerge the specimen, if
desired. Typically, you will want to match a specimen’s
physiological state, which for most biological materials
is in a saline solution heated to the organism’s body
temperature.
10. To minimize the effect of surface debris and surface
ripples, a cut-out has been made on the top of the fluid
chamber that is sized to hold a standard microscope
slide.
Table of contents
Other CellScale Test Equipment manuals
Popular Test Equipment manuals by other brands

Factair
Factair F6100 operating instructions

Unit
Unit UTL8200 Series user manual

Kyoritsu Electrical Instruments Works, Ltd.
Kyoritsu Electrical Instruments Works, Ltd. 8031 instruction manual

I-Tech
I-Tech IT5101 Programming guide

Promax
Promax SA-018 quick start guide

EMTEST
EMTEST CNI 503 Series Manual For Operating

Kyoritsu Electrical Instruments Works, Ltd.
Kyoritsu Electrical Instruments Works, Ltd. KEW 6516 instruction manual

easymaxx
easymaxx 08165 instructions

HIK VISION
HIK VISION IPC-4300H user manual

ABQINDUSTRIAL
ABQINDUSTRIAL DT-311D Operation manual

Elektron
Elektron ACCUMETER S 500 D operating instructions

EMTEST
EMTEST AN 200 Series Manual for operation