manuals.online logo
Brands
  1. Home
  2. •
  3. Brands
  4. •
  5. Cembre
  6. •
  7. Printer Accessories
  8. •
  9. Cembre ROLLY-CUTTER 990855 User manual

Cembre ROLLY-CUTTER 990855 User manual

ROLLY-CUTTER MODULE 990855 Installation
–
Open the front and side covers of the printer.
– Remove the 2 screws from the plastic in
sert
located on the front cover and replace it with
the
plastic insert
supplied with the ROLLY-CUTTER (Fig. 1).
– Connect the cable into the lower MINI-DIN socket of the printer.
– Introduce the two pins of the ROLLY-CUTTER into the relevant slots, push it completely
to the left then
secure it with the
screw
supplied
(Fig. 2 - 3).
– Feed the material to be printed through the ROLLY-CUTTER slot (Fig. 4).
–
Close the front and side covers of the printer.
Installations des ROLLY-CUTTER 990855
– Ouvrez les couvercles frontales de l’imprimante ROLLY.
– Enlevez les 2 vis de l’insert en plastique placé sur le couvercle frontale et les remplacer par celles fournies
avec le ROLLY- CUTTER (Fig. 1).
– Introduisez le câble dans le connecteur MINI-DIN placé sur le fond de l’imprimante.
– Introduisez les 2 pattes du ROLLY-CUTTER dans les emplacements prévus à cet effet, pousser l’ensemble
complètement vers gauche et le fixer avec la vis fournie (Fig. 2 - 3).
– Introduisez le matériel à imprimer à l’intérieur de la fente du ROLLY-CUTTER (Fig. 4).
– Fermer les couvercles frontaux et latéraux de l’imprimante.
ROLLY-CUTTER Typ 990855 Installation
– Öffnen der vorderen und seitlichenAbdeckung vom Drucker.
– Lösen der 2 Schrauben von der vorderen Abdeckung und ersetzen mit den 2 Schrauben sowie der
mitgelieferten Kunststoffabdeckung (Bild 1).
– Verbinden des Kabels mit der unteren seitlichen MINI-DIN Buchse.
– Den Cutter in die beiden Aussparungen einsetzen und seitlich nach links schieben bis er einrastet. Den
Cutter mit der Schraube sichern (Bild 2 - 3).
– Das zu bedruckende Material durch den Cutter führen (Bild 4).
– Die seitliche und vordere Abdeckung wieder schliessen.
Instalaci
ó
n del m
ódulo de corte ROLLY-CUTTER 990855
– Abrir las tapas frontal y lateral de la impresora.
– Quitar los 2 tornillos del inserto de plástico situado sobre la tapa frontal y reemplazarlo por el que se
suministra con el ROLLY-CUTTER (Fig. 1).
– Insertar el cable en el conector MINI-DIN situado sobre el fondo de la impresora.
– Insertar los 2 pies del ROLLY-CUTTER en los correspondientes ojales, empujarlo completamente hacia
la izquierda y entonces fijarlo con el tornillo en dotación (Fig. 2-3).
– Hacer pasar el material para imprimir, dentro de la grieta del ROLLY-CUTTER (Fig. 4).
– Cerrar las tapas frontal y lateral de la impresora.
Installazione del modulo da taglio ROLLY-CUTTER 990855
– Aprire i coperchi frontale e laterale della stampante.
– Rimuovere le 2 viti dell’inserto in plastica posto sul coperchio frontale e sostituirlo con quello in dotazione
al ROLLY-CUTTER (Fig. 1).
– Inserire il cavo nel connettore MINI-DIN situato sul fondo della stampante.
– Inserire i 2 piedini del ROLLY-CUTTER nelle rispet
ti
ve asole, spingerlo completamente verso sinistra
quindi fissarlo
con la vite fornita in dotazione (Fig. 2 - 3).
– Far passare il materiale da stampare all’interno
della fessura del ROLLY-CUTTER (Fig. 4).
– Chiudere i coperchi frontale e laterale della stampante.
07 I 021
ENGLISH
ITALIANO
FRANÇAIS
DEUTSCH
ESPAÑOL
Screws - Vis - Schrauben
Tornillos - Viti
Insert - Insert -Abdeckung
Inserto - Inserto
Front cover - Couvercle frontale - Vordere Abdeckung
Tapa frontal - Coperchio frontale
MINI-DIN in socket
Connecteur MINI-DIN
MINI-DIN Buchse
Conector MINI-DIN
Connettore MINI-DIN
Slots - Trous - Aussparungen
Ojales-Asole
Cable - Câble - Kabel
Cable - Cavo
ROLLY-CUTTER
Screw - Vis - Schraube
Tornillo - Vite ROLLY-CUTTER
www.cembre.com
ROLLY-CUTTER
Cable - Câble - Kabel
Cable - Cavo
Cembre Ltd.
Dunton Park
Kingsbury Road, Curdworth - Sutton Coldfield
West Midlands B76 9EB (Great Britain)
Tel.: 01675 470440 - Fax: 01675 470220
E-mail: [email protected].uk
Cembre S.p.A.
Via Serenissima, 9
25135 Brescia (Italia)
Telefono: 030 36921
Telefax: 030 3365766
E-mail: [email protected]
Cembre S.a.r.l.
22 Avenue Ferdinand de Lesseps
91420 Morangis (France)
Tél.: 01 60 49 11 90 - Fax: 01 60 49 29 10
B.P. 37 - 91421 Morangis Cédex
E-mail: [email protected]
Cembre España S.L.
Calle Llanos de Jerez, 2 - P.I. de Coslada
28823 Coslada - Madrid (España)
Teléfono: 91 4852580
Telefax: 91 4852581
E-mail: [email protected]
Cembre AS
Fossnes Senter
N-3160 Stokke (Norway)
Phone: (47) 33361765
Telefax: (47) 33361766
E-mail: cembre@cembre.no
Cembre GmbH
Heidemannstraße 166
80939 München (Deutschland)
Telefon: 089/3580676
Telefax: 089/35806777
E-mail: [email protected]
Cembre Inc.
Raritan Center Business Park
181 Fieldcrest Avenue
Edison, New Jersey 08837 (USA)
Tel.: (732) 225-7415 - Fax: (732) 225-7414
E-mail: [email protected]
FIG. / BILD 1 FIG. / BILD 2
FIG. / BILD 3 FIG. / BILD 4

Popular Printer Accessories manuals by other brands

Uninet LEXMARK C520 Cartridge Remanufacturing Instructions

Uninet

Uninet LEXMARK C520 Cartridge Remanufacturing Instructions

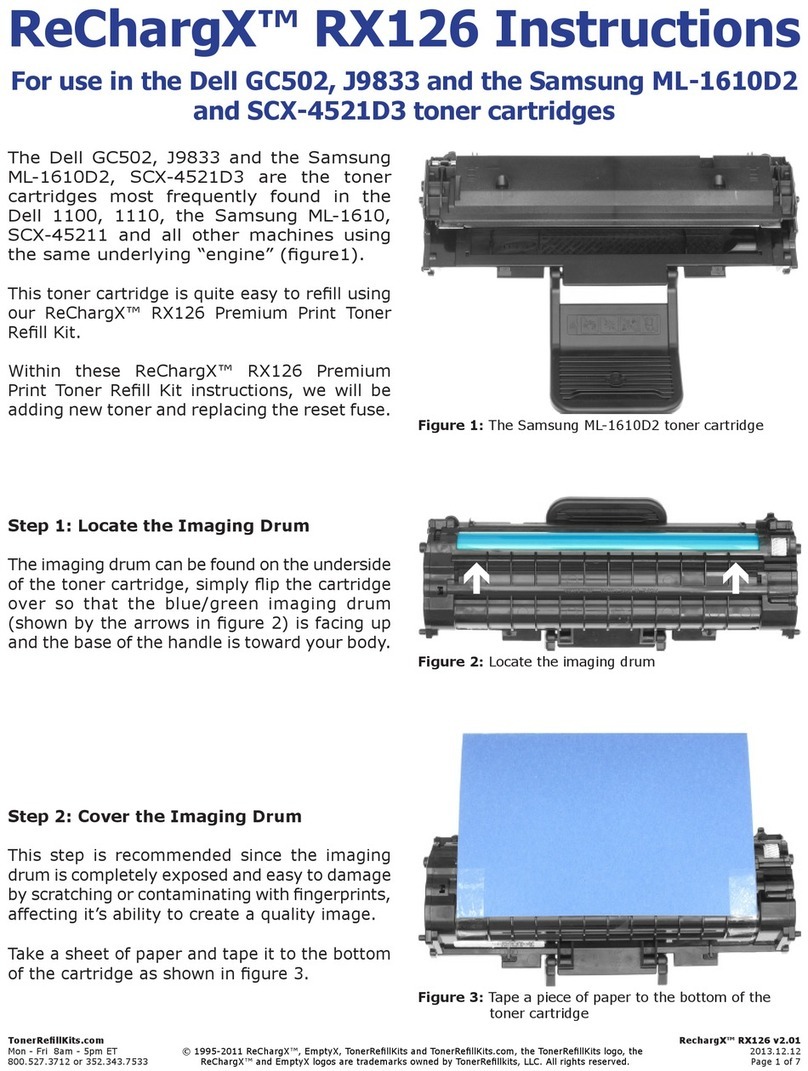
Canon BC-05 Refill instructions

Canon

Canon BC-05 Refill instructions

Intermec EasyCoder PF2i installation instructions

Intermec

Intermec EasyCoder PF2i installation instructions

Epson P6000 - Multimedia Photo Viewer instructions

Epson

Epson P6000 - Multimedia Photo Viewer instructions

Epson T077120 Product information sheet

Epson

Epson T077120 Product information sheet

Intermec EasyCoder 501 SA installation instructions

Intermec

Intermec EasyCoder 501 SA installation instructions

Epson T543500 Material safety data sheet

Epson

Epson T543500 Material safety data sheet

Epson T502201 Material safety data sheet

Epson

Epson T502201 Material safety data sheet

Keysight Technologies 35181H installation guide

Keysight Technologies

Keysight Technologies 35181H installation guide

Lexmark 10N0016 Refill instructions

Lexmark

Lexmark 10N0016 Refill instructions

OKIDATA CX3535 MFP Installation

OKIDATA

OKIDATA CX3535 MFP Installation

Lexmark 4600MFP user guide

Lexmark

Lexmark 4600MFP user guide

Brady 4214 Assembly instructions

Brady

Brady 4214 Assembly instructions

Ricoh AP610N - Aficio B/W Laser Printer installation guide

Ricoh

Ricoh AP610N - Aficio B/W Laser Printer installation guide

Xerox 5500DN - Phaser B/W Laser Printer instruction sheet

Xerox

Xerox 5500DN - Phaser B/W Laser Printer instruction sheet

Canon Duplex Unit-A1 Portable manual

Canon

Canon Duplex Unit-A1 Portable manual

HP LaserJet 4200dtn install guide

HP

HP LaserJet 4200dtn install guide

Epson T010201 Product information sheet

Epson

Epson T010201 Product information sheet

manuals.online logo
manuals.online logoBrands
  • About & Mission
  • Contact us
  • Privacy Policy
  • Terms and Conditions

Copyright 2025 Manuals.Online. All Rights Reserved.