RJ15 Installation, Operation and Maintenance Manual
Rev. 9/17/08
RJ15-IOM
3
Installation
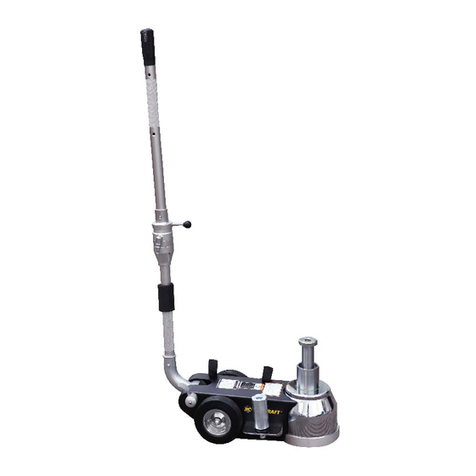
1) Install a ¼ NPT male quick disconnect coupling in Air Valve & Handle assembly. Match to
shop fittings.
2) Place jack assembly on lift rack rails.
3) Jack requires a clean, dry and lubricated air source at 125 lbs.
Operation
Note: Before lifting a vehicle, operate the jack through a couple of cycles to become familiar
with the controls.
1) Roll jack forward before moving vehicle on lift rack. Be sure vehicle is centered on
rack, apply parking brake and chock wheels.
2) Roll jack(s) to the vehicle manufacturer’s recommended pick-up points. Extend lift
arms to proper lift points. Select the correct height adapter to reduce the gap
between top of jack and pick-up point, secure adapter by sliding them under the lift
brackets. Adapters can be arranged or stacked in various combinations to directly
engage with the vehicle.
3) Raise jack by pressing the lever on the air valve to the right to inflate the jack to a
desired height or maximum position of approx. 8 inches. Leave the jack inflated in
this position, the spring loaded safety blocks are in position should air pressure
decrease. If maximum height isn’t required rest jack into a lock position with the
jack still pressurized.
4) When lowering jack press the yellow safety release lever on the right side of the jack
all the way down with your right hand, and push the air valve lever to the left to
release the air pressure with your left hand. Both levers must be held firmly until the
jack is in the bottom position. If the jack wasn’t at maximum height, you must inflate
and raise the jack sufficiently to free the safety catch before pressing the safety lever
down and releasing the air pressure.
