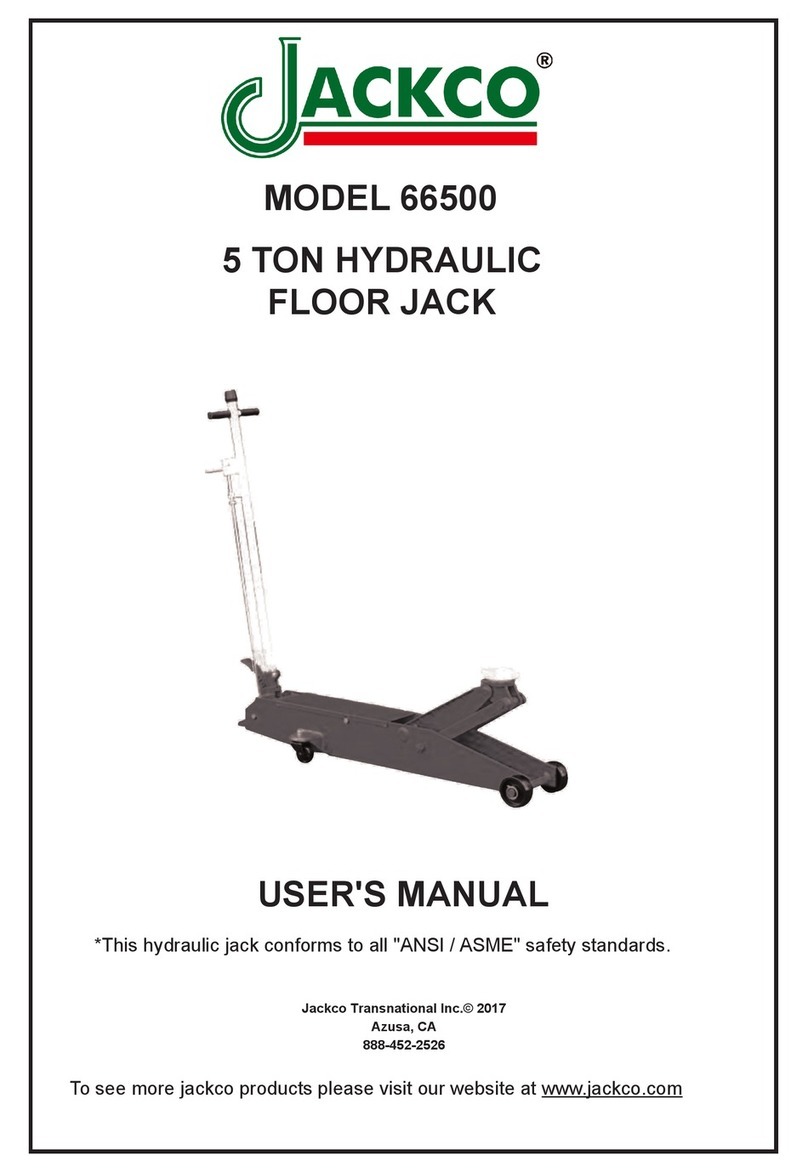
Jackco 820B User manual

AIR HYDRAULIC JACK
20TON CAPACITY
USER'S MANUAL
MODEL 820B
Jackco Transnational Inc. © 2017
Azusa, CA
888-452-2526 www.jackco.com

FOR YOUR SAFETY
Read all instructions, warnings and cautions carefully. Follow all safety precautions to avoid personal injury
or property damage during system operation. Jackco cannot be responsible for damage or injury resulting
from unsafe product use, lack of maintenance or incorrect product and/or system operation. Contact Jackco
when in doubt as to the safety precautions and operations.
Failure to comply with the following cautions and warnings could cause equipment damage and personal
injury.
• Stay clear of loads supported by hydraulics.
A cylinder, when used as a load lifting device,
should never be used as a load holding device.
After the load had been raised or lowered,
it must always be blocked mechanically.
• Do not exceed equipment rating never attempt
to lift a load weighing more than the capacity
of the cylinder. Overloading causes equipment
failure and possible personal injury. The
cylinders are designed for a maximum pressure
of 10,000 psi. Do not connect a jack or cylinder
to a pump with a higher pressure rating.
• The system operating pressure must not
exceed the pressure rating of the lowest
rated component in the system. Install
pressure gauges in the system to monitor
o p e r a t i n g p re s s u r e . I t i s y o u r w i n d o w
to what is happening in the system.
• BE SURE SETUP IS STABLE BEFORE
LIFTING LOAD.
Cylinders should be placed on a flat
surface that can support the load. Where
applicable, use a cylinder base for added
stability. Do not weld or otherwise modify the
cylinder to attach a base or other support.
• Avoid situations where loads are not directly
centered on the cylinder plunger. Off-center
loads produce considerable strain on cylinders
and plungers. In addition, the load may slip
or fall, causing potentially dangerous results.
• Immediately replace worn or damaged parts
genuine JACKCO parts. Standard grade parts
will break causing personal injury and property
damage. JACKCO parts are designed to fit
properly and withstand high loads.
• To avoid personal injury keep hands and feet away
from cylinder and work piece during operation.
• NEVER set the relief valve to a higher pressure
than the maximum rated pressure of the pump.
Higher settings may result in equipment damage
and/or personal injury. Do no remove relief valve.
• Keep hydraulic equipment away from flames and
heat. Excessive heat will soften packing and seals,
resulting in fluid leaks. Heat also weakens hose
materials and packings. For optimum performance
do not expose equipment to temperatures of 150°F
or higher. Protect hoses and cylinders from weld
spatter.
• Hydraulic equipment must only be serviced by a
qualified hydraulic technician. For repair service,
contact your equipment dealer / service center. To
protect your warranty, use only JACKCO hydraulic
oil.

Specications
Lifting Capacity Lifting Height Min Height Max Height Shipping Weight Working Pressure
20 Ton 12.4 inch 315 mm 8.3 inch 210 mm 20.6 inch 525 mm 112.4 Lbs 51 kg 101-145 psi
Inspection
Prior to each use, visually inspect for leaking hydraulic oil, damaged, loose or missing parts. If jack
is worn or damaged, remove from service and contact your equipment dealer / service center for
repair.
Maintanence
Check oil level. With the jack in an upright position and the ram completely retracted, open the
release valve (turn counter-clockwise) and remove the ller plug. The oil level should be just up to
the hole. Fill if necessary with clean hydraulic jack oil.
Lubricate internal components. With the release valve open, manually pump the handle several
times.
Keep the jack clean. Occasionally lubricate the handle socket pivot point, extension screw, release
screw thread, and air valve to prevent corrosion. Noted: The safety valve is not allowed to be
adjusted.
Operation
1. Tightly close the release valve knob (located on top of the "T" handle) by turning it clockwise.
2. Center the load on the jack saddle. Connect the air supply, and squeeze the air valve lever to
raise the load. Release the air valve lever to stop movement.
3. Transfer the load to support stands.
4. To lower the jack, open the release valve knob by SLOWLY turning it counterclockwise.
NOTE: To adjust the handle, pull up and then release the lever to lock it in one of three positions
Bleeding the Jack
Air bubbles can become trapped inside the hydraulic system, reducing the efciency of the jack.
Purge air from the system as needed by following steps:
1. With the jack sitting on its base and the ram retracted, bleed air by opening the release valve.
2. Pump for 10 seconds.
Pump Prime Instructions
The air/hydraulic pump may lose its prime during shipment or after long periods without use. To
prime the pump, follow these steps:
1. Remove the upper cover.
2. Loosen the hex socket bolt one-half turn.
(See Figure 1)
3. Close the release valve.
4. Operate the air pump while repeatedly
tightening and loosening the bolt.
5. When the piston begins to rise,
tighten the bolt. Verify that the piston
can rise to the maximum height position.

Model: 820B Parts List

Part
No.
Description Q'ty Part
No.
Description Q'ty Part
No.
Description Q'ty Part
No.
Description Q'ty
1-1 Snap Ring 2 2-12 Oil Filler Plug 1 4-3 Adaptor B 1 6-2 Cylinder Pump 1
1-2 Wheel 2 2-13 Cylinder Ass'y 1 4-4 Nut 4 6-3 Y-Sealing Washer 1
1-3 Bolt 4 2-14 O-ring 3 4-5 Washer 4 6-4 Nylon Gasket 1
1-4 Washer 4 2-15 Bolt 3 4-6 Flat Washer 4 6-5 Copper Washer 1
1- 5 Frame Right 1 2-16 Cover Board 1 4-7 Fix Board 1 6-6 Air Cylinder 1
1-6 Bolt 4 2-17 Nut 2 4-8 Pin 3 6-7 Hex Nut 1
1-7 Washer 4 2-18 Spring 2 4-9 U-Bolt 2 6-8 O-ring 1
1-8 Bolt 4 2-19 Bolt 2 4-10 Adaptor A 1 6-9 Spring 1
1-9 Washer 4 3-1 Valve Block 1 5-1 Release Knob 1 6-10 Washer 1
1-10 Bolt 4 3-2 Steel Ball 1 5-2 Pin 1 6-11 Pump Plunger 1
1-11 Washer 4 3-3 Spring 1 5-3 Handle Sleeve 2 6-12 Washer 1
1-12 Bed 1 3-4 Steel Ball 1 5-4-1 Rear Handle 1 6-13 O-ring 1
1-13 Bracket 1 3-5 Spring 1 5-4-2 Front Handle 1 6-14 Piston 1
1-14 Frame Left 1 3-6 Copper Washer 1 5-5 Lock Lever Sleeve 1 6-15 O-ring 1
1-15 Handle Socket 1 3-7 Bolt 1 5-6 Lock Lever 1 6-16 O-ring 1
1-16 Bolt 1 3-8 Steel Ball 1 5-7 Pin 2 6-17 Sealing Washer 1
1-17 Lock Washer 4 3-9 Ball Seat 1 5-8 Bolt 2 6-18 Air Cylinder Base 1
1-18 Lock Washer 4 3-10 Spring 1 5-9-1 Control Rod B 1 6-19 Joint Ring 1
2-1 Spring Hanger 1 3-11 Screw 1 5-9-2 Control Rod A 1 6-20 Air Hose Ass'y 1
2-2 Snap Ring 1 3-12 Sealing Washer 1 5-10-1 Convey Rod B 1 6-21 O-ring 2
2-3 Bushing 1 3-13 Screw 1 5-10-2 Convey Rod A 1 6-22 Bolt 1
2-4 O-ring 1 3-14 Steel Ball 1 5-11 Rod Joint A 1 6-23 Air Rlease Rod 1
2-5 Bushing 1 3-15 Sealing Washer 1 5-12 Spring 1 6-24 O-ring 1
2-6 Piston Rod Ass'y 1 3-16 Release Valve Rod 1 5-13 Nut 1 6-25 O-ring 1
2-7 Piston Ring 1 3-17 Pin 1 5-14 Rod Joint B 1 6-26 Cylinder Cover 1
2-8 Washer 1 3-18 Universal Joint 1 5-15 Pin 2 6-27 Bolt 4
2-9 O-ring 1 3-19 Pin 1 5-16 Pin 1 -
2-10 Washer 1 4-1 Adaptor D 1 5-17 Bolt 1 -
2-11 Snap Ring 1 4-2 Adaptor C 1 6-1 Copper Washer 1 -

LIMITED ONE YEAR WARRANTY
Jackco Transnational Inc. warrants all Jackco equipment and tools to the original purchaser against any manufacturing defect in material or
workmanship for a period of one (1) year from the original date of purchase. If the defective equipment or tool is determined to be covered under
this warranty, it shall be repaired or replaced at manufacturer's discretion without charge, provided that the equipment or tool must be returned
with proof of purchase to the dealer and freight prepaid, if returned to the manufacturer. This warranty shall not apply to damage due to accident,
negligent use, and lack of maintenance, abuse or applications other than the specic function the equipment or tool is designed for.
No other warranties, expressed or implied, including those of merchantability or tness for particular purpose shall be applicable to Jackco
except as specifically stated herein. In no event shall Jackco be liable to any party for any special, direct, indirect, consequential, punitive
damage of any nature caused by the sale or use of the equipment or tool.
Note: This warranty gives the original purchaser specic legal rights which may very from state to state. Jackco Transnational Inc. © 2017
Azusa, CA
888-452-2526 www.jackco.com
Problem Cause Solution
Erratic Action 1. Air in system
2. Viscosity of oil too high
3. Ram sticking or binding
4. Internal leakage in ram
1. With jack sitting on its base and ram retracted, bleed air
by opening release valve. Pump for 10 seconds.
2. Change to a lower viscosity oil.
3. Look for dirt, gummy deposits, leaks misalignment, worn
parts, or defective packing.
4. Replace worn packings. Look for excessive
contamination or wear.
Ram does not advance 1. Release valve is open
2. Low / no oil in reservoir
3. Air locked system
4. Load is above capacity of
system
5. Pump lost its prime
1. Close release valve located on top of
"T" handle.
2. Fill with oil & bleed system.
3. With jack sitting on its base and ram retracted, bleed air
by opening release valve, running pump for 10 seconds.
4. Use correct equipment.
5. Follow "Pump Prime Instructions".
Ram only extends partially 1. Low oil level in reservoir
2. Piston rod is binding
1. Fill reservoir with oil, & bleed system.
2. Look for dirt, gummy deposits, leaks,
misalignment, worn parts, or defective
packing
Ram advances slowly 1. Low air pressure
2. Pump not working
correctly
3. Leaking seals
1. Adjust air pressure to 90-145 psi.
2. Rework pump.
3. Replace seals.
Ram advances but doesn't
hold pressure
1. Release valve is open
2. Ram seals are leaking
3. Pump c heck valve not
working
4. Overload valve leaking or
not adjusted
1. Close release valve located on top of "T" handle.
2. Replace seals.
3. Clean / replace check valve.
4 . Replace / adjust overload valve.
Jack leaks oil 1. Worn or damaged seals 1. Replace seals.
Ram will not retract, or
retracts slowly
1. Release valve is closed
2. Reservoir too full
3. Ram damaged internally
1. Open release valve.
2. Drain oil to correct level.
3. Take jack to authorized service center for repair.
Trouble Shooting
Table of contents
Other Jackco Jack manuals