Contents Page
A review of safety alert symbols . . . . . . . . . . . . . .2
You'll need tools . . . . . . . . . . . . . . . . . . . . . . . . . .3
Safety information regarding garage door locks
and ropes . . . . . . . . . . . . . . . . . . . . . . . . . . . . . . .3
Testing your garage door for sticking, binding
and balance . . . . . . . . . . . . . . . . . . . . . . . . . . . . .3
Illustration of sectional door installation . . . . . . . .4
Illustration of one-piece door installation . . . . . . .5
Carton inventory . . . . . . . . . . . . . . . . . . . . . . . . . .6
Hardware inventory . . . . . . . . . . . . . . . . . . . . . . . .7
Assembly section - pages 8 – 11
Assemble T-rail . . . . . . . . . . . . . . . . . . . . . . . . . .8
Attach cable pulley bracket . . . . . . . . . . . . . . . . .8
Install trolley . . . . . . . . . . . . . . . . . . . . . . . . . . . . .9
Fasten T-rail to opener . . . . . . . . . . . . . . . . . . . .9
Install chain/cable . . . . . . . . . . . . . . . . . . . . . . .10
Attach sprocket cover . . . . . . . . . . . . . . . . . . . .10
Tighten the chain and cable . . . . . . . . . . . . . . .11
Installation section - pages 11 – 27
Installation safety instructions . . . . . . . . . . . . . .11
Determine header bracket location
Sectional door . . . . . . . . . . . . . . . . . . . . . . . . .12
One-piece door . . . . . . . . . . . . . . . . . . . . . . . .13
Install the header bracket . . . . . . . . . . . . . . . . .14
Attach the T-rail to header bracket . . . . . . . . . .15
Position the opener . . . . . . . . . . . . . . . . . . . . . .16
Hang the opener . . . . . . . . . . . . . . . . . . . . . . . .17
Install the door control . . . . . . . . . . . . . . . . . . . .18
Contents Page
Install the lights and lenses . . . . . . . . . . . . . . . . . . .19
Attach manual release rope and handle . . . . . . . . .19
Electrical requirements . . . . . . . . . . . . . . . . . . . . . .20
The Protector System®safety reversing
sensor information . . . . . . . . . . . . . . . . . . . . . . . . . .21
Install the safety reversing sensor . . . . . . . . . . . . . .22
Fasten door bracket (sectional door) . . . . . . . . . . . .24
Fasten door bracket (one-piece door) . . . . . . . . . . .25
Connect door arm to trolley (sectional door) . . . . . .26
Connect door arm to trolley (one-piece door) . . . . .27
Adjustment section - pages 28 – 30
Travel limit adjustments . . . . . . . . . . . . . . . . . . . . . .28
Force adjustments . . . . . . . . . . . . . . . . . . . . . . . . . .29
Test the Protector System®. . . . . . . . . . . . . . . . . . .30
Test the safety reversing sensor . . . . . . . . . . . . . .30
Operation safety instructions . . . . . . . . . . . . . . . . . . .31
Care of your opener . . . . . . . . . . . . . . . . . . . . . . . . . .31
Maintenance schedule . . . . . . . . . . . . . . . . . . . . . . . .31
Operation of your opener . . . . . . . . . . . . . . . . . . . . . .32
Receiver and remote control programming . . . . . . . .33
Having a problem? . . . . . . . . . . . . . . . . . . . . . . . . . .34
Repair parts, rail assembly . . . . . . . . . . . . . . . . . . . .36
Repair parts, installation . . . . . . . . . . . . . . . . . . . . . .36
Repair parts, opener assembly . . . . . . . . . . . . . . . . .37
Accessories . . . . . . . . . . . . . . . . . . . . . . . . . . . . . . . .38
Index . . . . . . . . . . . . . . . . . . . . . . . . . . . . . . . . . . . . .39
How to order repair parts . . . . . . . . . . . . . . . . . . . . . .40
Warranty . . . . . . . . . . . . . . . . . . . . . . . . . . . . . . . . . .40
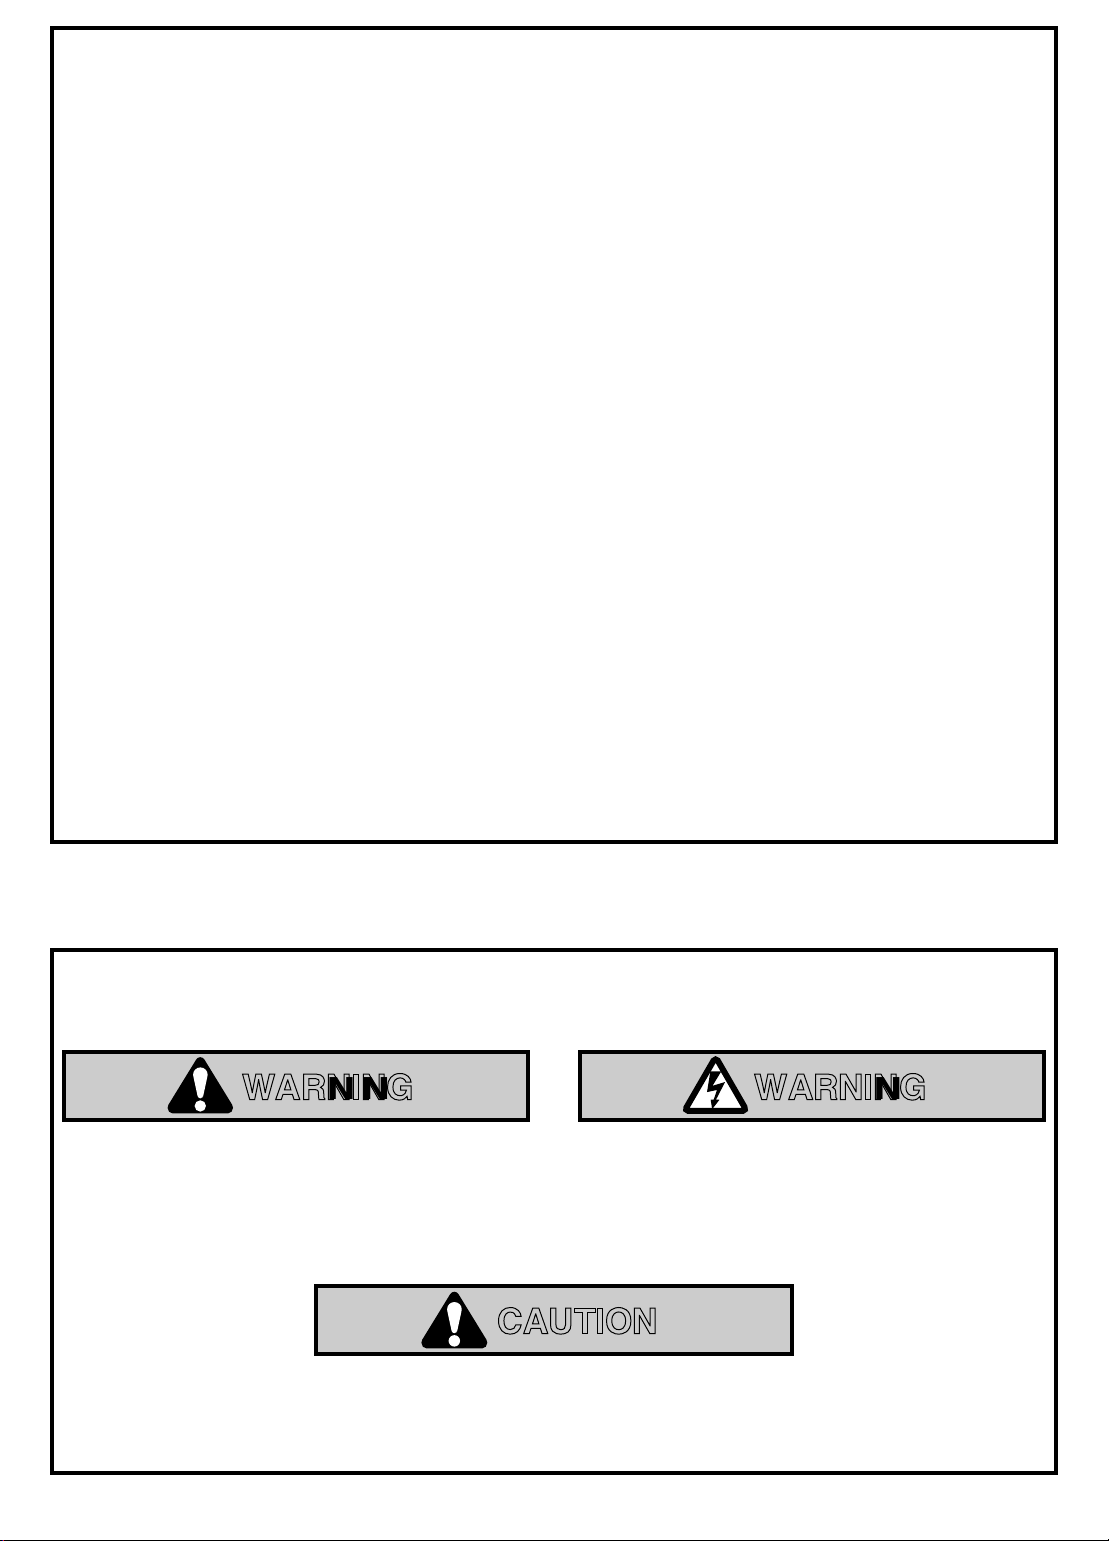
When you see these Safety Symbols on the following pages, they will alert you to the possibility of