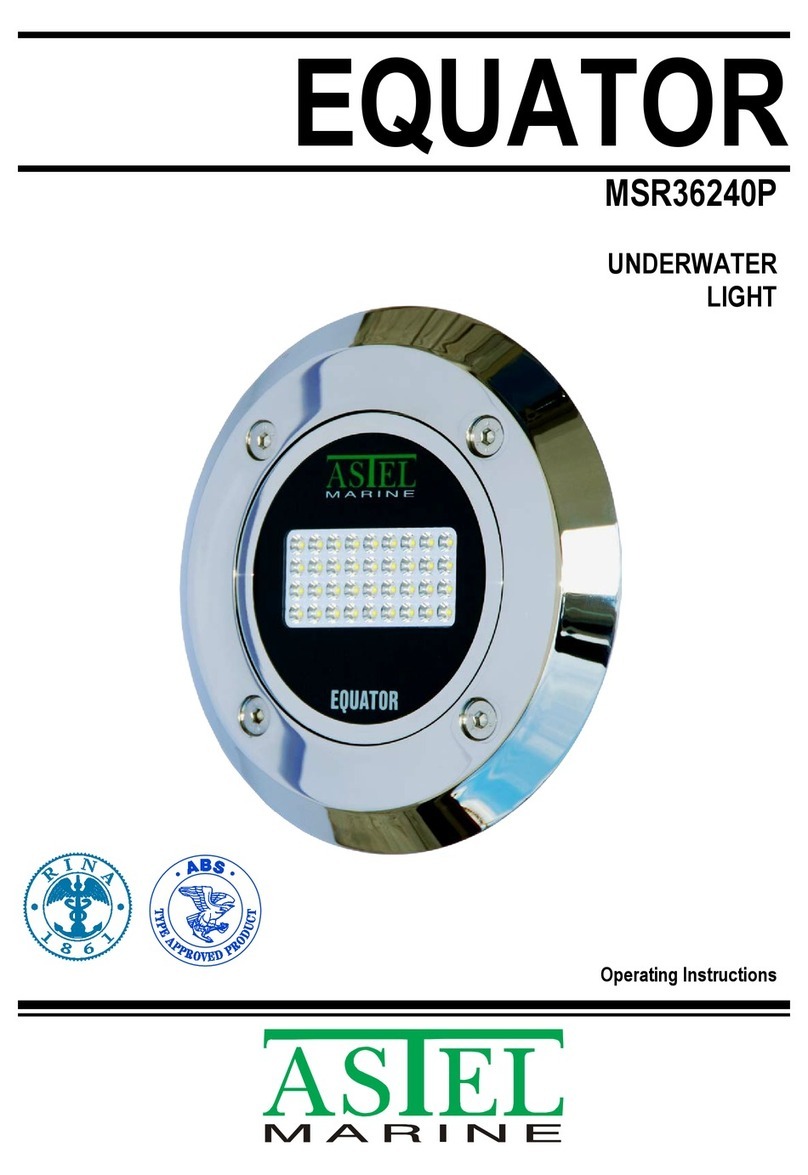
Champlain ACM-125 User manual

ACM-125 / ACM-125C
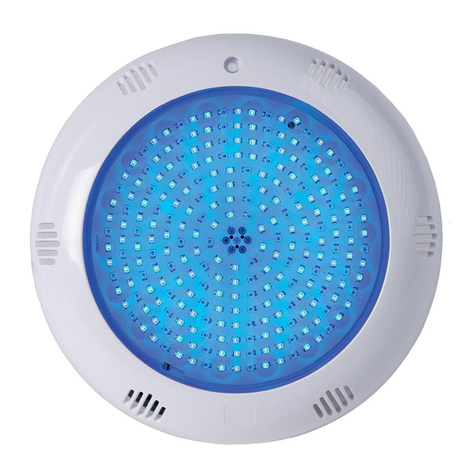
Universal Pool Light
INSTALLATION ON A POOL STEP
1) Assemble step as per instructions.
KEEP STEPS AND LIGHT DRY DURING INSTALLATION.
2) Using a 2” (50.8mm) cutting devise, drill a hole in the second riser
from the top at 4-1/2” (114.3mm) from the top at center.
3) Thread the electrical cord through the hole (as per drawing).
4) Secure the light from behind with the plastic nut.
DO NOT OVERTIGHTEN.
5) Secure plastic nut with the safety cap and 2 supplied screws.
6) Attach the electrical cord to the step.
7) Make sure the transformer is out of the water. Slide plastic
O-ring onto transformer plug.
8) Insert pins into transformer outlet and secure with cap.
9) The transformer should be plugged into a GFCI outlet.
!
"
#
$
%
Champlain Plastics Inc.
87 Pillsbury Road, Rouses Point, NY 12979
(INS-ACM125-rev2)
• Risk of electrical shock, if instructions are not followed. Connect only to a
grounded GFCI outlet that is a minimum of 10 feet (3 m) away from the
pool. DO NOT USE EXTENSION CORDS.
• Make sure the electrical cord is properly attached to the step to avoid
entanglement.
• Do not let children use this device unsupervised.
• For use on permanent above-ground pools only.
• Do not use the light if the lens, transformer or cord is damaged.
WINTER STORAGE: Freezing weather may damage light fixture.
Disconnect light and remove from the pool. Store in dry space at room
temperature.
WARNING
and centered
on riser
4-1/2”
from top
of riser
&
'

ACM-125 / ACM-125C
Universal Pool Light
INSTALLATION ON WALL
ABOVE-GROUND POOL
To be performed by an authorized
dealer ONLY
*GASKET SOLD SEPARATELY
1) Lower the water level of the pool.
2) Using a 2” (50.8mm) cutting devise,
drill a hole through the pool wall and liner.
3) Insert the gasket from the inside of the pool through
the 2” hole in the wall, having the large diameter inside
the pool and the small diameter on the outside.
4) Thread the electrical cord through
the hole (as per drawing).
5) Insert the plastic washer.
6) Secure the light with the plastic nut.
DO NOT OVERTIGHTEN.
7) Secure the plastic nut with
safety cap and the supplied screws.
8) Make sure the transformer is out
of the water. Slide plastic O-ring onto
transformer plug.
9) Insert pins into transformer outlet and secure with cap.
10) The transformer should be plugged into
a GFCI outlet.
Champlain Plastics Inc.
87 Pillsbury Road, Rouses Point, NY 12979
(INS-ACM125-rev2)
• Risk of electrical shock, if instructions are not
followed. Connect only to a grounded GFCI outlet that
is a minimum of 10 feet (3 m) away from the pool. DO
NOT USE EXTENSION CORDS.
• The light shall be installed in or on a wall of the pool,
with the top of the lens opening NO LESS THAN 18”
(45CM) BELOW THE NORMAL WATER LEVEL OF THE
POOL, EXCEPT when light is installed in an area of the
swimming pool that is not used for swimming and the
lens is adequately protected to prevent anyone from
coming in contact with it.
• Do not let children use this device unsupervised.
• For use on permanent above-ground pools only.
• Do not use the light if the lens, transformer or cord is
damaged.
WINTER STORAGE: Freezing weather may damage
light fixture. Disconnect light and remove from the
pool. Store in dry space at room temperature.
WARNING
%
#&
$
"
• 2” diameter hole.
• More than 18”
(45cm) below
normal water level.
18” +
Large side of
gasket* on
INTERIOR
of pool.
Small side of
gasket* on
EXTERIOR
of pool.
Pool wall
Pool Liner
Pool Liner
Pool wall
!
*GASKET SOLD SEPARATELY
'
(

ACM-125 / ACM-125C
Lumière universelle de piscine
INSTALLATION SUR ESCALIER DE PISCINE
1) Assembler l'escalier selon les instructions.
GARDER L'ESCALIER ET LA LUMIÈRE SÈCHE DURANT L'INSTALLATION
2) À l’aide d’une scie emporte-pièces percer un trou de 2" (50.8mm) dans
la seconde marche du haut dans le centre à 114.3mm (4-1/2" po) du haut
de la marche.
3) Passer le cordon électrique à travers le trou (voir dessin).
4) Fixer la lumière par l'arrière avec l'écrou de plastique.
NE PAS TROP SERRER.
5) Fixer l'écrou de plastique avec le bouchon de sécurité
et les vis.
6) Attacher le cordon électrique à la marche.
7) Assurez-vous que le transformateur est hors de l'eau.
Faites glisser joint torique sur la fiche du transformateur.
8) Insérer les broches dans la prise du transformateur et
fixer avec le capuchon.
8) Le transformateur doit être branché dans une prise GFCI.
!
"
#
$
%
Champlain Plastics Inc.
87 Pillsbury Road, Rouses Point, NY 12979
(INS-ACM125-rev2)
• Risque d'électrocution si les instructions ne sont pas observées.
Brancher seulement dans une prise GFCI mise à terre situé à au moins 3m
(10pi) de la piscine. NE PAS UTILISER DE CORDON DE RALLONGE.
• Vous assurer que le cordon électrique est adéquatement attaché
à l'escalier afin d'éviter l'entortillement.
• Ne pas laisser les enfants utiliser cette lumière sans supervision
• À être utiliser que sur une piscine hors-terre installé de façon permanente
• Ne pas utiliser si la lumière, le transformateur ou le cordon sont
endommagés.
ENTREPOSAGE POUR L'HIVER : Le gel peut endommager la lumière.
Déconnecter la lumière et l'enlever de la piscine. L'entreposer dans un
endroit sec à température ambiante.
AVERTISSEMENT
&
'
centré dans
la contremarche
4-1/2”
du haut
de la marche

ACM-125 / ACM-125C
Lumière universelle de piscine
INSTALLATION SUR MUR
DE PISCINE HORS-TERRE
À être installé seulement par
un technicien autorisé.
*JOINT D’ÉTANCHÉITÉ VENDU SÉPARÉMENT
1) Abaisser le niveau d’eau de la piscine
2) À l’aide d’une scie emporte-pièces percer
un trou de 2" (50.8mm) dans le mur et la toile
de la piscine.
3) Insérer, par l'intérieur de la piscine,
le joint d'étanchéité dans le trou de 2"
du mur de façon à avoir le plus grand
diamètre à l'intérieur de la piscine
et le plus petit diamètre à l'extérieur.
4) Passer le cordon électrique
à travers le trou (voir dessin).
5) Insérer la rondelle de plastique.
6) Fixer la lumière avec l'écrou
de plastique. NE PAS TROP SERRER.
7) Fixer l'écrou de plastique avec le bouchon
de sécurité et les vis.
8) Assurez-vous que le transformateur est hors
de l'eau. Faites glisser joint torique sur la fiche
du transformateur.
9) Insérer les broches dans la prise du transformateur
et fixer avec le capuchon.
10) Le transformateur doit être branché dans
une prise GFCI.
'
(
Champlain Plastics Inc.
87 Pillsbury Road, Rouses Point, NY 12979
(INS-ACM125-rev2)
• Risque d'électrocution si les instructions ne sont pas
observées. Brancher seulement dans une prise GFCI mise à
terre situé à au moins 3m (10pi) de la piscine. NE PAS
UTILISER DE CORDON DE RALLONGE.
• Sauf lorsque la lumière est installée dans une partie de la
piscine qui n’est pas utilisée pour la baignade et que
l’ampoule est adéquatement protégée afin que personne ne
puisse la toucher, le haut de la lumière doit être installée
sur le mur de la piscine à au moins 45cm (18po) sous le
niveau d’eau normal de la piscine.
• Ne pas laisser les enfants utiliser cette lumière sans
supervision.
• À être utiliser que sur une piscine hors-terre installé
de façon permanente.
• Ne pas utiliser si la lumière, le transformateur
ou le cordon sont endommagés.
ENTREPOSAGE POUR L'HIVER : Le gel peut
endommager la lumière. Déconnecter la lumière et
l'enlever de la piscine. L'entreposer dans un endroit sec à
température ambiante.
AVERTISSEMENT
%
#&
$
"
• trou de 2"
(50.8mm)
de diamètre
• Plus de 18"(45cm)
sous le niveau
normal de l'eau.
18” +
Grande partie
du *joint
d'étanchéité
à l'intérieur
de la piscine
Petite partie
du *joint
d'étanchéité
à l'extérieur
de la piscine
Mur de piscine
Toile de piscine
Toile de piscine
Mur de piscine
!
*JOINT D’ÉTANCHÉITÉ
VENDU SÉPARÉMENT
This manual suits for next models
1
Table of contents
Languages:
Other Champlain Swimming Pool Lighting manuals
