English — 4
DESCRIPTION OF THE
CHEF’SCHOICE HYBRID®DIAMOND HONE KNIFE SHARPENER
The Hybrid®has two sharpening Stages, a first sharpening Stage that is motor driven,
followed by a honing Stage that is entirely manual in operation. The sharpening Stage 1 is
motor driven, has two slots (the two slots on the left) to sharpen alternately the left and
right side of the blade’s edge. Always follow an alternating pattern of sharpening in right
and left slots when using Stage 1. This dual-slot stage quickly establishes a sharp edge
that is then honed and finished in the manual second stage which uses only a single slot
(far right slot) that hones both sides of the edge simultaneously.
USING THE HYBRID®SHARPENER
Note: Always clean your knife before sharpening in the Hybrid®! For your safety, keep your
fingers clear of the blade edge at all times.
You will find that the Hybrid®can create and maintain an exceedingly sharp and
eective edge on all your conventional fine edge and serrated cutlery. The primary edge
facets are each formed in Stage 1 at a nominal 20 degrees on each side of the edge, which
results in a total primary edge of 40 degrees. Stage 2 creates a second bevel at a slightly
larger angle leaving a strong double beveled edge structure that will stay sharp longer.
Always use the sharpener with the stage numbers 1 and 2, facing you.
STAGE 1
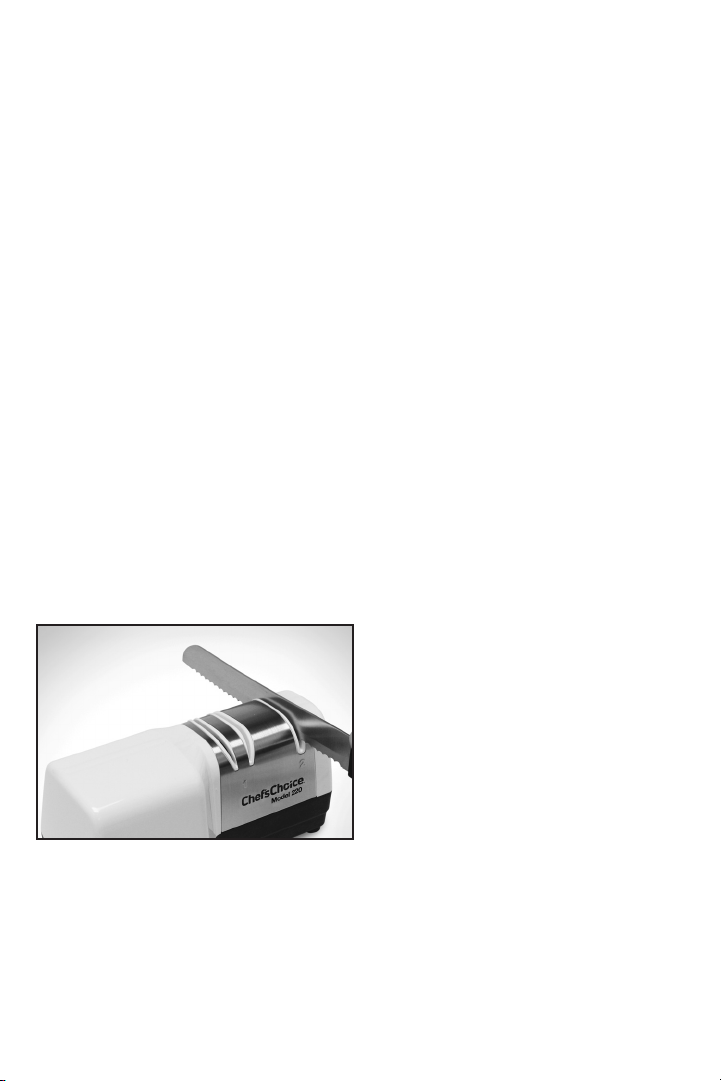
To sharpen, place the sharpener on the table gripping it securely with your left hand. Push
on the power switch. Insert the knife blade, Figure 1, near its handle, into the far left slot
of Stage #1 and allow the left face of the blade to rest on the left face of the slot as you
pull the knife toward you. The knife edge should be in sustained moving contact with the
internal diamond coated disk. Only light downward force will be necessary as you pull the
blade toward you. Listen carefully to insure your knife maintains good contact with the di-
amond disk. Take about 5 seconds to make each pull if you have a six inch (6”) long blade.
Increase the time of each pull for longer blades or decrease the time for shorter blades.
Make one pull of the blade in the left slot as described above and then repeat the same
procedure in the adjacent (right) slot of Stage 1. As you pull the knife thru the right slot,
(see Figure 3), allow the right side of the knife to rest on the right face of the slot. If your
knife, before sharpening, is not very dull you will find that only about 5 pairs of pulls,
Figure 1. Inserting the blade in the left slot of
the Stage 1. Alternate individual pulls in left and
right slots.
Figure 2. Develop a distinct burr along knife edge
before honing in Stage 2. Burr can be detected by
sliding finger across and away from the edge.
Caution! See text.
Burr