Page 10
CLEANING
• DO NOT put components in dishwasher.
• Dilute detergent per supplier’s instruction.
• DO NOT hose down or pressure wash any slicer part.
•DO NOT allow moisture to get into the knife hub.
• NEVER use a scrubber pad, steel wool, or abrasive material to clean the slicer.
• NEVER remove the sharpener from the slicer or immerse it in water.
• Clean the disassembled components with a mild detergent and warm water solution.
• DO NOT use bleach or other caustic/strong detergents on the slicer base or components.
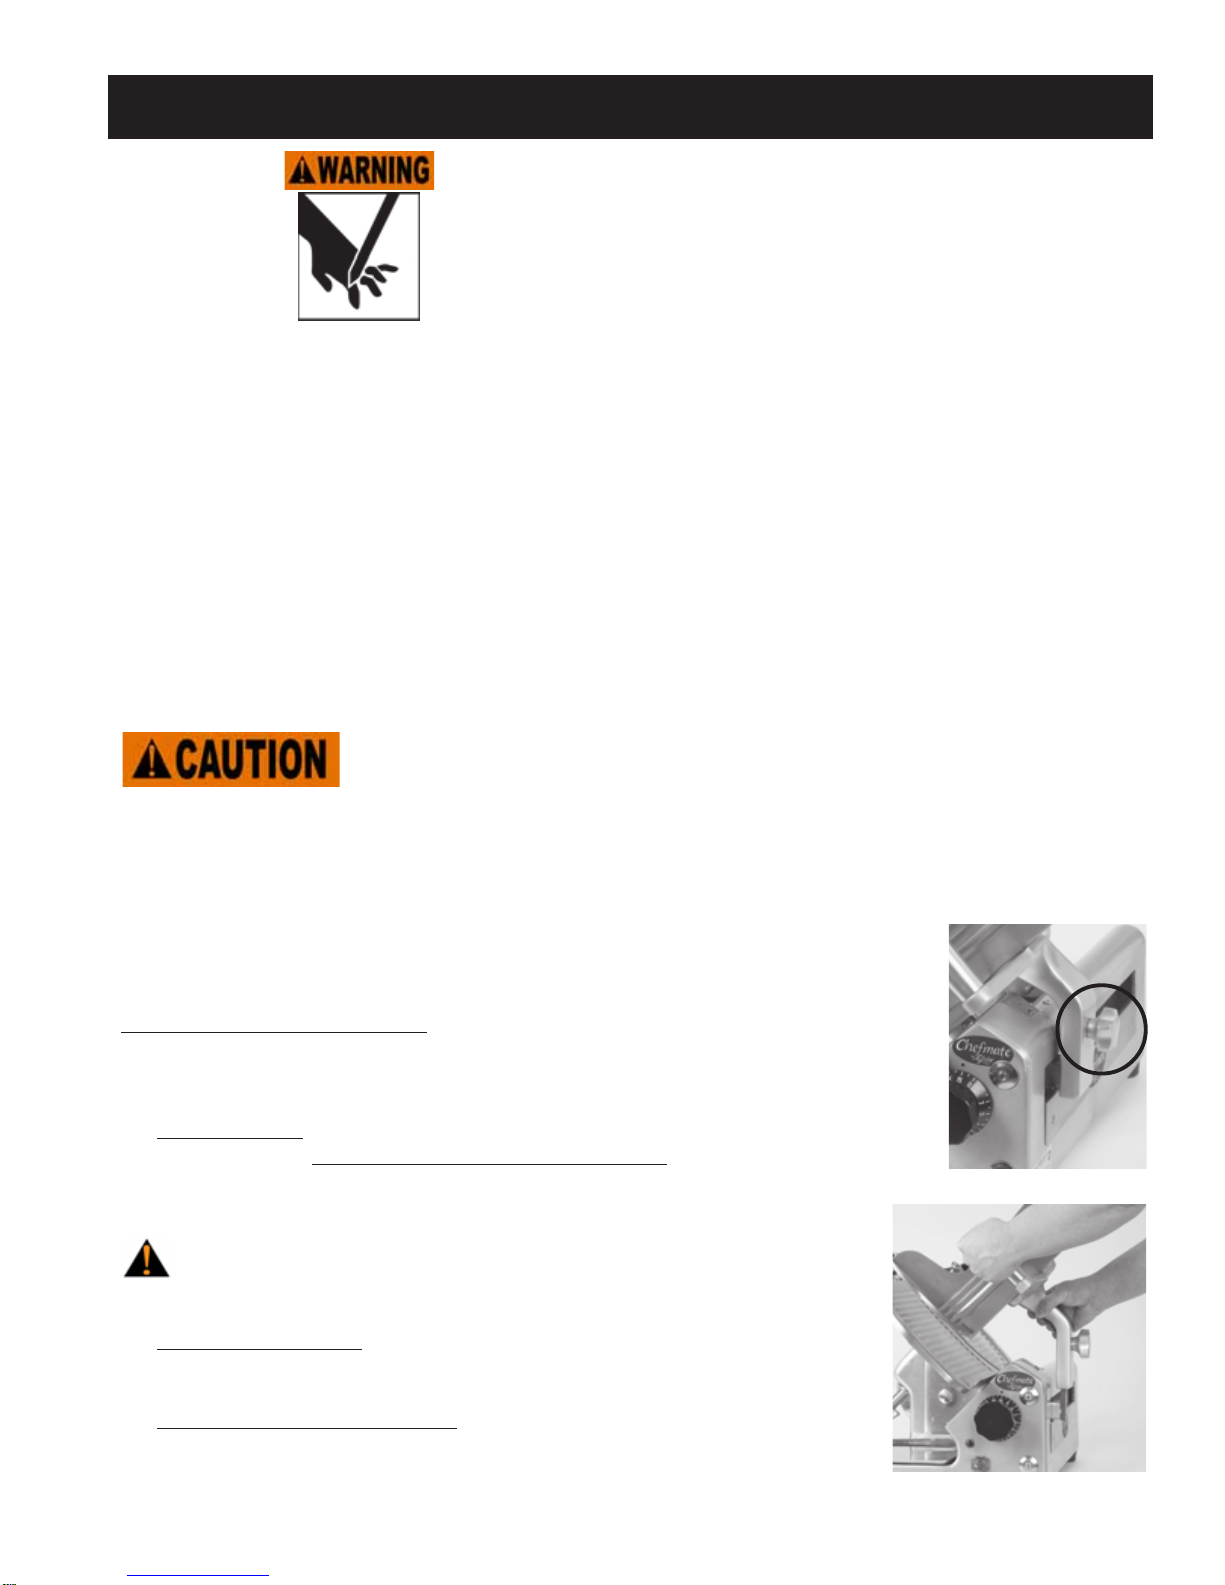
4. KNIFE COVER: The knife cover is removed by rotating the knife cover release
knob counterclockwise until it releases. The knob will not come out completely
(Fig. 10-1). While holding the knobs on the knife cover, carefully lift the knife cover
straight up away from the blade.
NOTE: The slicer will not operate with the knife cover removed.
NEVER try to remove the knife from the slicer. It must remain on
the slicer for proper operation, sharpening, and cleaning.
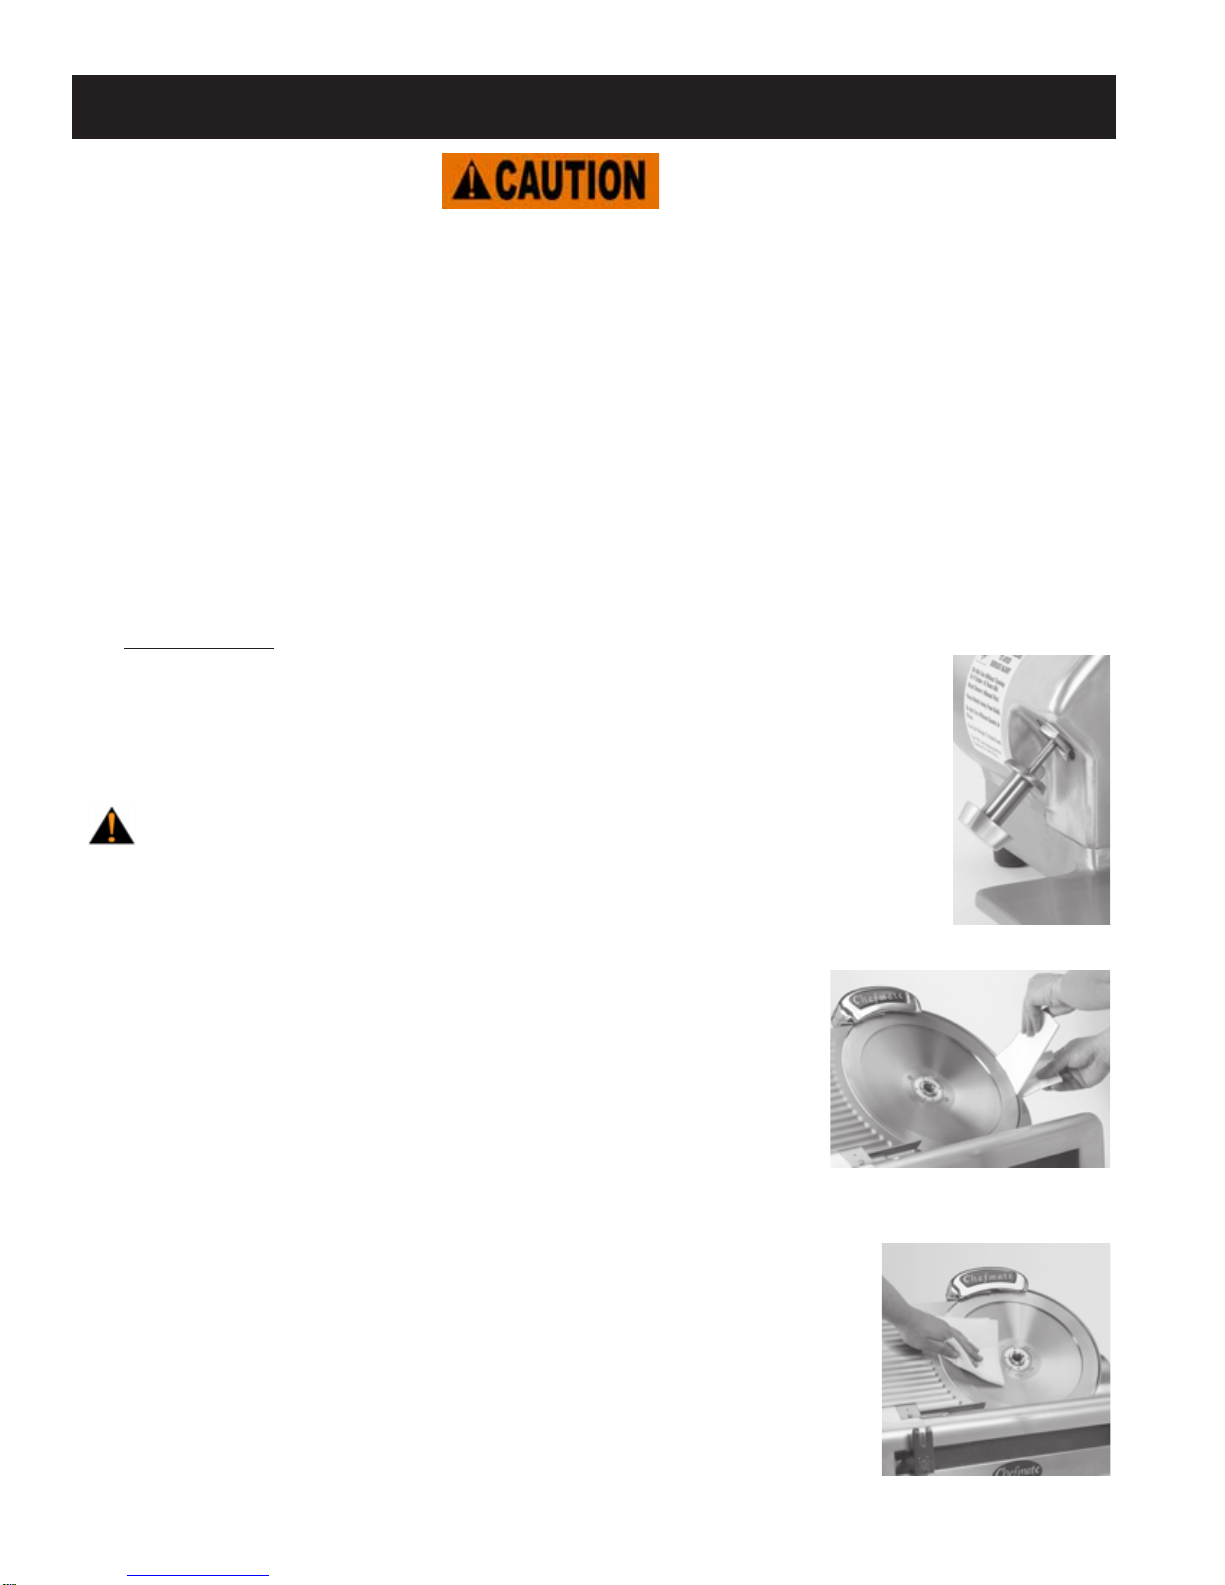
5. The knife ring guard must be cleaned. To clean the knife ring guard, soak a
clean cloth in a mild detergent and warm water solution. Carefully insert the cloth
between the knife and the knife ring guard (Fig. 10-2). While holding the cloth,
work it along the entire back side of the knife, between the knife and
knife ring guard. Repeat this procedure as needed. A nylon brush
can also be used if preferred.
6. The knife must be cleaned. Carefully wash and rinse the top and
bottom of the knife by wiping from the center of the knife outward
(Fig. 10-3).
7. Carefully replace the knife cover over the blade. Hold the knife
cover with one hand while securely tightening the release knob with the
other hand.
8. With the slicer table completely closed, wipe the slicer table off by starting at
the knife and pulling toward you. Never wipe the slicer table toward the
knife.
9. Clean and wipe down the entire slicer. Use a mild sanitizer if required.
Do no use bleach or other caustic/strong detergents on the slicer base
or components.
10. Reinstall all disassembled components after they are clean and dry. Make
sure all knobs are securely fastened.
Figure 10-2
Figure 10-3
Figure 10-1