INSTALLATION & MAINTENANCE INSTRUCTIONS
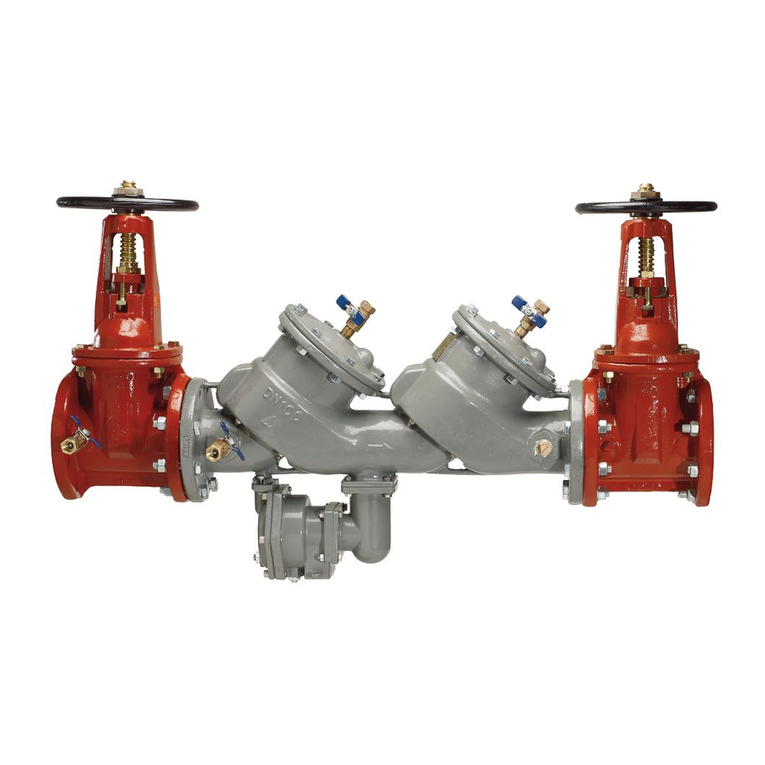
For Chemline Series SR50 Pressure Reducing Valve Sizes 2” to 3”
Installation:
1. Always mount a filter or strainer in the line immediately before the valve to avoid damage to the valve
from dirt or particles. Valve is spring operated, therefore can be installed in any orientation.
2. To adjust pressure use the adjustment screw (8) and a pressure gauge.
-the valve will be closed at the set pressure and will start to open when the operating pressure rises
above the set pressure.
-connect the compressed air supply to the inlet of the valve. Adjust the flow of the air to the desired
set pressure by turning clockwise to increase the set pressure, counterclockwise to decrease it.
-with the valve being closed, adjust the screw (8) until the valve starts to open. Fix the adjusting
screw in place with the locking nut (9).
3. For installation in an application where the temperature is 0οC or less. Check with Chemline
Engineering
Technical staff prior to installation.
4. Size vs Working Pressure
2” - 3” set pressure 15 psi to 90 psi. Minimal backlash, should be no more than approx.
3 psi.
5. Operating Temperature Range
PVC up to 50οC
PP up to 70οC
PVDF up to 100οC
Maintenance:
Refer to ASSEMBLY DRAWING SR502 rev 0. And proceed as follows:
1. Loosen and remove cap (10).
2. Loosen counternut (9) and remove adjusting screw (8).
09/19/01 page 1/3
