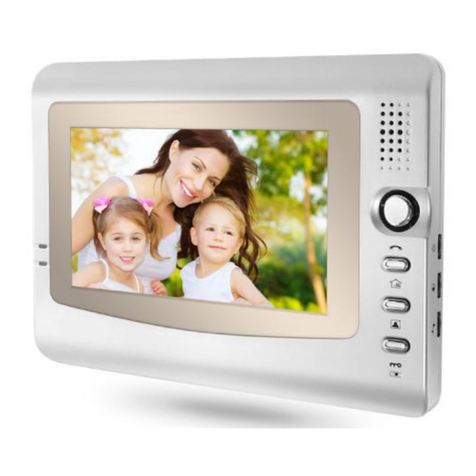
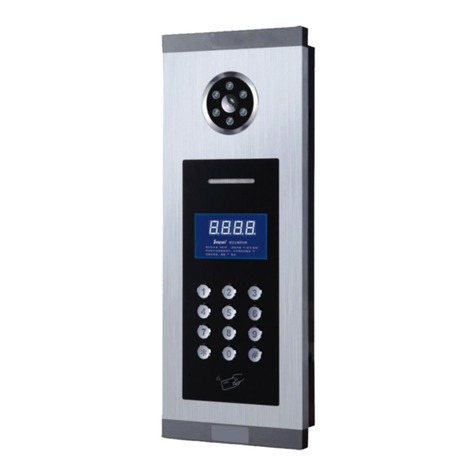
ChinaPST PST-ADO500 User manual

2 Wire Audio Door Phone System
PST-ADO500
User Manual
---------------------------------------------------------------------------------------
Please read this user guide carefully before using this product

1.Decoder Port Code ValueSet Up and Jumper Method
Decoder IC encoding is binary code, each jumper position on behalf of different values, from right to left respectively represent:
1,2,4,8,16,32,64;
There are 7 encoders on the decoder, the jumper remove is active, and all seven jumpers inserted stands the value of 0; all 7
jumpers unplugged with value is 127. (as shown in the figure below)
4CH Audio Indoor phone Decoder PCBA
Decoder jumper corresponding code calculation method

The number calculated by the code is we called the weight, and then the obtained weight is multiplied by 4, and the calculated
number is the code corresponding to the US1 port of the decoder. US2 = US1 + 1, US3 = US1 + 2, US4 = US1 + 3. The following
table shows:
Decoder
Jumper
Code
Weight
Weight
×4
Code of indoor unit
US1
US2
US3
US4
000
0
0× 4
000
001
002
003
001
1
1× 4
004
005
006
007
002
2
2× 4
008
009
010
011
003
3
3× 4
012
013
014
015
004
4
4× 4
016
017
018
019
005
5
5× 4
020
021
022
023
006
6
6× 4
024
025
026
027
007
7
7× 4
028
029
030
031
008
8
8× 4
032
033
034
035
009
9
9× 4
036
037
038
039
010
10
10× 4
040
041
042
043
011
11
11× 4
044
045
046
047
012
12
12× 4
048
049
050
051
013
13
13× 4
052
053
054
055
014
14
14× 4
056
057
058
059
015
5
15× 4
060
061
062
063
016
16
16× 4
064
065
066
067
017
17
17× 4
068
069
070
071
…
…
….
…
…
…
…
Note: in the same outdoor station, the different code can not set the same room number, the code value range of 000 - 500.
Summary: Calculate the decoder code is to set up the room number on the outdoor station.

2. the room number set
A. manually set the room number method:
After the system is powered on, Enter the password (#339910#)on the outdoor station host, the outdoor station will display
PASS. Then continue enter the password (# 12269393 #).
on the host display shows a 3-digit value (for example, 000 is the code corresponding to the decoder port)
If the displayed 3-digit value are not correct with the decoder port code value of the room number. You can enter 3 digits
directly and press "#" to confirm that . If screen display "FFFF" means empty number. If dispaly other room numbers, means
that this room number
has been set.
Can be entered directly on host ,a four-digit room number to modify (such as the room number is three digits, please add "0"
in front of the number, to make it four digit), and then press the "#" key to confirm.In this case, the room number of where the
decoder port connected indoor phone is set up.
E.g:
Set the decoder code value of 0 for the US1 room number 0101, enter the password and then enter: 000 # 0101 #
Set the decoder code value of 0 for the US2 room number 0102, enter the password and then enter: 001 # 0102 #
Set the decoder code value of 0 for the US3 room number 0103, enter the password and then enter: 002 # 0103 #
Set the decoder code value of 0 US4 for the room number 0104, enter the password and then enter: 001 # 0104 #
Note: If you need to re-code all the room number, can be first cleared and then re-encoded, clear method: press #
33992516 #
B. automatically set the room number method:
Select the automatic set the room number, apartment floor room number requirement room type is a standard (between one
ladder one household to one ladder four households). Such as the floor is one ladder one household or one ladder two
households, into the automatic set up room number mode, after input password ( # 339912 #), the host shows PASS, that
stands for automatically encoded success.
Such as the floor is one ladder three households or one ladder four households, into the automatic set up room number mode,
after input password (#339914# ), the host shows PASS, that stands for automatically encoded success. After the
automatic coding is successful, just follow the instructions in the decoder quick checklist to set up jumper.
3. the user password unlock settings: the user can set the password unlock function on the host , to facilitate future
access to open the door.
A. Set and modify unlock password operation.
1), Call the extension (indoor phone), after the extension ringing and pick up,press the "unlock" button and hold on for 5
seconds before release, hang up. Host display"_ _ _ _" ,means into the password setting program.
2), the host into the password set the program, from the keyboard input 4-digit password, the host synchronization
memory, password set up finished, by # to confirm. (Password input must be completed within 20 seconds, otherwise
the host will exit the program, re-operation)
3)If the password has been set before, through this method can also change the password.

B, password unlock operation method: On the outdoor station( the host)press "# **** # can unlock, * stand for the four digits
password. Open Lock will display OPEN, to open the electronic lock. For the password input error, the host will prompt" Err5 "and
immediately clear and re-operate.
4. the host operating instructions and system language display Fault type:
1. Host call operation
A. Call extension(indoor phone): press 3 or 4 digit room number, after ring to waiting for a call. In the call, press the
"unlock" key to unlock. Talk time is "90 seconds", press 1-9 key to delay the call.
B. Press the wrong key , press the "*" key to exit.
2. Host volume Adjustment
"VR1" Outdoor Station( the Host) speaker adjustment.
"VR2" Outdoor Station( the Host) ring back tone adjustment.
"VR3" Outdoor Station( the Host) microphone voice adjustment
5.ID Card Operation(Optional function, extra charge)
Set the Admin Cards:
ON
1
2
3
Power off first. and switch "1" to "ON".
And then power on. After powered on(Green LED flashing, beep "DiDi".).
After switch "1" to "OFF"(Green LED keeping on. stops beep "DiDi".). At this moment continuous add 2 new ID card. first added card
is "Add Card". Second added card is "Delete Card".
Note: This operation will not lose the added cards before.
Add the User Cards:
ON
1
2
3
Method 1: Under the standby mode, Switch "3" to "ON". and continuous add new ID cards. "DiDi" sounds means add successfully.
After switch "3" to "OFF".
Note: when you adding the new cards. at this mode also can unlock;
Method 2: Use " Add Card":
Under the standby mode, Read the “add card” first,hear “Di” continuously,then enter the “add user card” mode. adding the user
card,when hear “DI”,it is successful; If you hear "Di Di" means already added; After you added all the user cards. then read the "Add
card" again to finish this operation;
Delete the User Cards:
1. Under the standby mode,read the “Delete Card”,hear “Di” continuously,then enter the “delete user card” mode.
2. Deleting the user card,when hear “Di”,the user card had been deleted. If you hear "Di Di" means it is a new card, not added
before;
3. After you delete all the user cards. then read the "Delete card" again to finish this operation;

Note: Maximum can add 2000 user cards.
Under the standby mode,read the user card,when hear “DI”,it is the valid card;when hear “DIDIDIDIDI”,it is the invalid card.
6. Host system language displays the fault type
"Err0" indicates that the extension is not connected or does not have an extension;
"Err1" indicates that the calling handset is not linked or the user does not want to be disturbed;
"Err7"indicates that the call extension is not room number, need outdoor station(the host) set up as room number before the normal
call;
"Err8" indicates that the extension line S-G is short-circuited
"5 - G" lasting light means that the system 5V and G line short - circuit; "S - G" lasting light means that the system S line G line short
- circuit;
"5-S" lasting light means that the system 5V and S-line short circuit.
"Err5" indicates that the password was entered incorrectly.
7. extension operation instructions
1, Receive the outdoor station(the host) call: extension(indoor phone) ring, lift the handle (hands-free type by the "answer key") to
intercom (or video intercom). During intercom, press the "unlock" key to unlock.
2, DND function(Do not disturb function): When the user does not want someone to disturb call the extension ,you can pick up the
extension handle, at this time if the host call, the extension will not ring.
8.wiring requirements:
Trunk line (outdoor station to the decoder): sheath line RVV ≥3X0.3mm
Entry line (decoder to indoor extension): Sheath line RVV≥2X0.3mm
Unlock line: (outdoor station to lock): sheath line RVV ≥2X0.5mm
Power cord: (power DC output to the outdoor station): Sheath line RVV ≥2X0.5mm
Note: The above wiring requirements apply only to standard buildings or conventional buildings below 8 (including 8 layers),
high-level need to increase the cable diameter.

9.System Connection Wiring Diagram
Table of contents
Other ChinaPST Intercom System manuals
