CiDRA CYCLONEtrac PST User manual

1
Introduction
2
Equipment Safety Compliance
3
General Safety Guidelines
4
Preparation for Installation
5
Sensor Head Assembly Mounting
6
Electrical Connections to AC
Junction Box
7
Electrical Connections to Power
Entry Box
8
Sensor Head Assembly to Junction
Box Connection
9
Safety Issues of Improper
CYCLONEtrac PST Installation
10
System Operation
11
Maintenance & WEEE
12
13
14
Appendix A CYCLONEtrac PST
Specifications
Installation Manual
P/N 21464-01-EN Rev. 06
Table of Contents
P/N 21464-01-EN Rev. 06


21464-01-EN Rev 05
Page iii
Table of Contents
INTRODUCTION...................................................................................................1-1
Introduction ...........................................................................................................1-1
Junction Box, Power Entry Box and Sensor Head Assembly Description.............1-1
Intellectual Property Notices .................................................................................1-1
Warranty ...............................................................................................................1-2
CiDRA Contact Information...................................................................................1-2
CYCLONEtrac PST EU Declaration of Conformity................................................1-2
EQUIPMENT SAFETY COMPLIANCE .................................................................2-1
Safety....................................................................................................................2-1
North American Emissions....................................................................................2-1
2.2.1 European Emissions and Immunity ..........................................................2-1
GENERAL SAFETY GUIDELINES .......................................................................3-1
Introduction ...........................................................................................................3-1
Safety Precautions................................................................................................3-1
Definitions of Symbols...........................................................................................3-1
3.3.1 General Warning or Caution.....................................................................3-1
3.3.2 Grounding.................................................................................................3-2
3.3.3 Electric Shock Hazard ..............................................................................3-3
General Warnings and Cautions ...........................................................................3-3
PREPARATION FOR INSTALLATION .................................................................4-1
Introduction ...........................................................................................................4-1
Installation Considerations ....................................................................................4-1
4.2.1 Preparation...............................................................................................4-1
4.2.2 Power Requirements ................................................................................4-2
4.2.3 System Environmental Conditions............................................................4-3
4.2.4 Restriction of Access to Power Entry Box and Junction Box ....................4-3
Suggested Power Entry Box and Junction Box Installation...................................4-3
SENSOR HEAD ASSEMBLY MOUNTING ...........................................................5-1
Pipe Modification Procedure .................................................................................5-1
5.1.1 Sensor Head Assembly Installation ..........................................................5-5
ELECTRICAL CONNECTIONS TO AC JUNCTION BOX .....................................6-1
Junction Box Cable Entries ...................................................................................6-1
6.1.1 AC Junction Box Cable Connections........................................................6-2
AC Power for AC Junction Box .............................................................................6-2
6.2.1 Mains Power connection to AC Junction Box ...........................................6-3
Sensor Cables 1 thru 16 max Connection.............................................................6-4
Ethernet Connection .............................................................................................6-4
ELECTRICAL CONNECTIONS TO POWER ENTRY BOX ..................................7-1
Power Entry Box Cable Entries.............................................................................7-1
7.1.1 Power Entry Box Cable Connections........................................................7-2
7.1.2 DC Junction Box Cable Connections........................................................7-2
AC Power for Power Entry Box .............................................................................7-2
7.2.1 Mains Power connection to Power Entry Box...........................................7-3
24VDC Power Output from Power Entry Box........................................................7-5
DC Junction Box Power Connections ...................................................................7-7
Sensor Cables 1 thru 16 max Connection.............................................................7-9
Ethernet Connection .............................................................................................7-9

21464-01-EN Rev 05
Page iv
SENSOR HEAD ASSEMBLY TO JUNCTION BOX CONNECTION .....................8-1
Sensor Head Assembly Connector Attachment ....................................................8-2
8.1.1 Sensor Head to Junction Box Cable.........................................................8-2
8.1.2 Ethernet Sensor Head Assembly Connection...........................................8-3
8.1.3 Sensor Head Assembly Cable End Connection .......................................8-3
SAFETY ISSUES of IMPROPER CYCLONEtrac PST INSTALLATION ...............9-1
SYSTEM OPERATION....................................................................................10-1
Junction Box Operation....................................................................................... 10-1
10.1.1 Instruction for Use ...............................................................................10-1
10.1.2 Operating Controls ..............................................................................10-1
CYCLONEtrac PST Sensors............................................................................... 10-1
System connection to computer with OPTIGrind application ..............................10-2
OPTIGrind application......................................................................................... 10-3
10.4.1 Main OPTIGrind GUI DIsplay ..............................................................10-3
Right-Click Pop-Up Window ............................................................10-4
Background Colors..........................................................................10-4
Hover Pop-Up Window.................................................................... 10-6
10.4.2 Checking Sensor Status in the logged Results Data...........................10-9
MAINTENANCE & WEEE................................................................................11-1
Instructions for Cleaning .....................................................................................11-1
Inspection and Maintenance ...............................................................................11-1
Fuse Replacement..............................................................................................11-5
Directive 2012/19/EU on Waste Electrical and Electronic Equipment (WEEE) recast
11-5
APPENDIX A................................................................................................................... 1

21464-01-EN Rev 05
Page v
List of Figures
Figure 1: General Warning or Caution Symbol.............................................................3-1
Figure 2: Grounding Symbol ........................................................................................3-2
Figure 3: Electric Shock Hazard...................................................................................3-3
Figure 4: Sensor Head Assembly Mounted to Pipe......................................................4-1
Figure 5: Junction Box Mounting..................................................................................4-4
Figure 6: Hydrocyclone Battery ....................................................................................5-1
Figure 7: Hole Placement.............................................................................................5-2
Figure 8: Mounted Sensor Head Assembly..................................................................5-3
Figure 9: Temporary Plug.............................................................................................5-3
Figure 10: Saddle Assembly ........................................................................................5-5
Figure 11: Junction Box Connections...........................................................................6-1
Figure 12: Mains Power Connection (NO POWER ENTRY BOX) ...............................6-4
Figure 13: Power Entry Box Connections.....................................................................7-1
Figure 14: Mains Power Connection ............................................................................7-4
Figure 15: 24VDC Power to Junction Box....................................................................7-5
Figure 16: DC Power Connection, Power Entry Box ....................................................7-6
Figure 17: Mains and DC Power Connections .............................................................7-7
Figure 18: Junction Box DC Power connection ............................................................7-8
Figure 19: Junction Box to Sensor Head Assembly Connector....................................8-1
Figure 20: Sensor Head Assembly Mounted to Pipe....................................................8-2
Figure 21: Sensor Head to Junction Box Cable ...........................................................8-3
Figure 22: Terminal Block Numbering 1-8, 9-16...........................................................8-4
Figure 23: Sensor Cable Connection to Junction Box Terminals .................................8-5
Figure 24: Typical CYCLONEtrac PST Array.............................................................10-2
Figure 25: Example OPTIGrind PST Display for version 5.01.06............................... 10-3
Figure 26: Right-click pop-up window.........................................................................10-4
Figure 27: Configuration Settings - Appearance tab...................................................10-5
Figure 28: Sensor Serial Number labels.....................................................................10-8
Figure 29: Configuration Settings – Settings tab ........................................................10-9
Figure 30: Sensor Status Info in logged Results Data..............................................10-10


21464-01-EN Rev 05
Page 1-1
INTRODUCTION
Introduction
CYCLONEtracTM PST (Particle Size Tracking system) is an individual
hydrocyclone performance monitoring system that provides on-line
particle size measurement of material in the overflow. This allows
optimization of the grind line and hydrocyclone battery.
This manual covers the basic installation and setup of the
CYCLONEtrac PST Junction Box, Power Entry Box, and Sensor Head
Assembly.
In all cases, local safety and operating practices take precedence over
the information contained within this document.
Junction Box, Power Entry Box and Sensor Head
Assembly Description
CYCLONEtrac PST has 2 possible configurations:
1. AC-powered Junction Box - Refer to section 6 for installation
instructions.
2. AC-powered Power Entry Box providing 24VDC to DC-powered
Junction Box - Refer to section 7 for installation.
The second configuration eliminates any hazardous voltages in the
Junction Box.
The Junction Box interfaces to a maximum of 16 Sensor Head
Assemblies. It provides RS485 communication to the Sensor Head
Assembly and converts the RS485 signals to Ethernet for Laptop
connection.
The Sensor Head Assembly (aka “Sensor”) attaches to the pipe and
varies in size according to pipe size. The Sensor Head Assembly
detects particles impinging or striking its probe which extends into the
pipe through a hole drilled in the pipe wall. The Sensor Head
assembly then converts the particles impinging to electric signals and
sends this information to the Junction Box.
Intellectual Property Notices
Hydrocyclone Performance Monitoring Products may be covered by
one or more of the following granted U.S. Patent(s): 7,032,432;
7,058,549; 7,062,976; 7,086,278; 7,110,893; 7,121,152; 7,127,360;
7,134,320; 7,139,667; 7,146,864; 7,150,202; 7,152,003; 7,152,460;
7,275,421; 7,359,803; 7,363,800; 7,437,946; 7,529,966;
7,657,3927,810,400; 8,739,637; 9,057,635; 9,645,001; 9,921,092;

21464-01-EN Rev 05
Page 1-2
10,309,887; 10,394,207; 10,814,339; 10,830,623; 10,989,635;
11,125,593; 11,260,399.
Other patents are pending; see www.cidra.com for the latest listing of
patents.
This manual is covered by U.S. and international copyright laws. No
part of this manual may be reproduced, modified or transmitted in
whole or in part in any form or by any means, electronic or
mechanical, including photocopy, recording, or any information
storage and retrieval system, without permission in writing from
CiDRA Minerals Processing Inc.Copyright © 2022 by CiDRA
Minerals Processing Inc., all rights reserved.
CYCLONEtracTMPST,and logo are trademarks of CiDRA Minerals
Processing Inc.
Warranty
The terms and conditions, including warranty, of the purchase of
CYCLONEtrac PST Hydrocyclone Monitoring System are given in the
document titled “CiDRA’s Terms and Conditions of Sale”.
CiDRA Contact Information
CiDRA Minerals Processing Inc.
50 Barnes Park North
Wallingford, CT, USA 06492
Telephone: 1-203-265-0035
1-877-243-7277 (US and Canada)
Email: www.cidra.com
Sales Support: sales@cidra.com
Customer and Technical Support: customersupport@cidra.com
CYCLONEtrac PST EU Declaration of Conformity
The EU Declaration of Conformity provides the justification for the CE
marking of a product. It identifies all the EU Directives that apply to the
product along with the Standards that the product was designed to or
tested against to demonstrate compliance with those directives. CE
marking is a requirement only for products sold in the European
community. The EU Declaration of Conformity is for CYCLONEtrac
PST product in Ordinary Location.
The Declaration of Conformity is shipped with the CYCLONEtrac PST
and can also be found on www.cidra.com in Resource
Center/Certification.

21464-01-EN Rev 05
Page 2-1
EQUIPMENT SAFETY COMPLIANCE
Safety
This equipment is listed with TÜV Rheinland of North America, Inc., a
nationally recognized testing laboratory, and certified for ordinary
location use per the following US, and Canadian standards: IEC / EN
61010-1, UL 61010-1 and CSA C22.2 No 61010-1.
North American Emissions
This equipment is compliant with Class A limits for radiated and
conducted radio noise emissions, as defined in Subpart A of Part 15 of
the FCC rules, as well as the requirements defined in ICES-003 for
Canada.
This Class A digital apparatus complies with Canadian ICES-003.
Cet appareil numérique de la classe A est conforme à la norme NMB-
003 du Canada.
For Electromagnetic Compatibility (EMC) requirements, this product is
categorized as Group 1, Class A ISM equipment. This categorization
applies to Industrial, Scientific or Medical equipment that intentionally
generates or uses conductively coupled (but not intentionally radiated)
radio-frequency energy that is necessary for the internal functioning of
the equipment. The level of EMC compliance is consistent with
industrial use but not for domestic purposes.
2.2.1 European Emissions and Immunity
This equipment is compliant with the requirements set forth in EN
61326-1, Laboratory Use - EMC requirements as well as EN 55011
Industrial, Scientific, and Medical (ISM) Radio Frequency Equipment -
Radio Disturbance Characteristics - Limits and Methods of
Measurement.
CAUTION
Class A equipment is intended for use in an industrial
environment. There may be potential difficulties in ensuring
electromagnetic compatibility in other environments, due to
conducted as well as radiated disturbances.

21464-01-EN Rev 05
Page 2-2
*** This Page is Blank***

21464-01-EN Rev 05
Page 3-1
GENERAL SAFETY GUIDELINES
Introduction
This manual is intended to be a general installation guide for the
CYCLONEtrac PST process monitoring systems. It is not intended to
cover the installation details for every process due to the wide variety
of applications and processes on which the system can be used. In all
cases, local safety and operating practices should take precedence
over instructions contained within this manual.
The installer must fully read this manual prior to installing and
operating the CYCLONEtrac PST process monitoring system.
Safety Precautions
The following style of Warnings and Cautions are used throughout the
manual to draw attention to information regarding personnel safety
and equipment care. They are intended to supplement but not replace
local or plant safety procedures.
WARNING
Situation has the potential to cause bodily harm or death.
CAUTION
Situation has the potential to cause damage to property or
equipment.
Definitions of Symbols
The following terms and symbols are used in this document and on
the process monitoring system where safety related issues occur.
3.3.1 General Warning or Caution
Figure 1: General Warning or Caution Symbol
The Caution Symbol in Figure 1 appears in Warning and Caution
tables throughout this document. This symbol designates an area
where personal injury or damage to the equipment is possible.
This symbol is also used on the equipment. Documentation needs to
be consulted in all cases where this symbol is used.

21464-01-EN Rev 05
Page 3-2
On the AC Junction box, this symbol is found on the certification label
(on the box exterior) next to the AC electrical ratings, and on labels
inside the box drawing attention to the AC power cable (one on the
inside of the door and another near the power entry board where the
AC power terminals are). In addition to the information on those
interior labels about the minimum temperature rating for the AC
power cable, other important information is to be found in section 6,
and especially 6.2 and 6.2.1.
On the Power Entry box, this symbol is found on the certification label
(on the box exterior) next to the AC electrical ratings, and on a label
inside the box drawing attention to the AC power cable (below the
DIN-rail-mounted AC power terminals). In addition to the information
on that interior label about the minimum temperature rating for the AC
power cable, other important information is to be found in section 7,
and especially 7.2 and 7.2.1.
On the Power Entry box, this symbol is also found on a label or labels
inside the box below the DIN-rail-mounted 24VDC output power
terminals. In addition to the information on that interior label about
the minimum temperature rating, minimum wire gauge, and maximum
cable length for the DC output power cable, other important
information is to be found in section 7, and especially 7.3.
3.3.2 Grounding
Figure 2: Grounding Symbol
The Grounding Symbol in Figure 2 appears on labels affixed to the
CYCLONEtrac PST system. This symbol identifies components that
are part of the protective earth circuit. See sections 6 or 7 for
instructions for wiring this protective earth circuit to a local earth
ground.

21464-01-EN Rev 05
Page 3-3
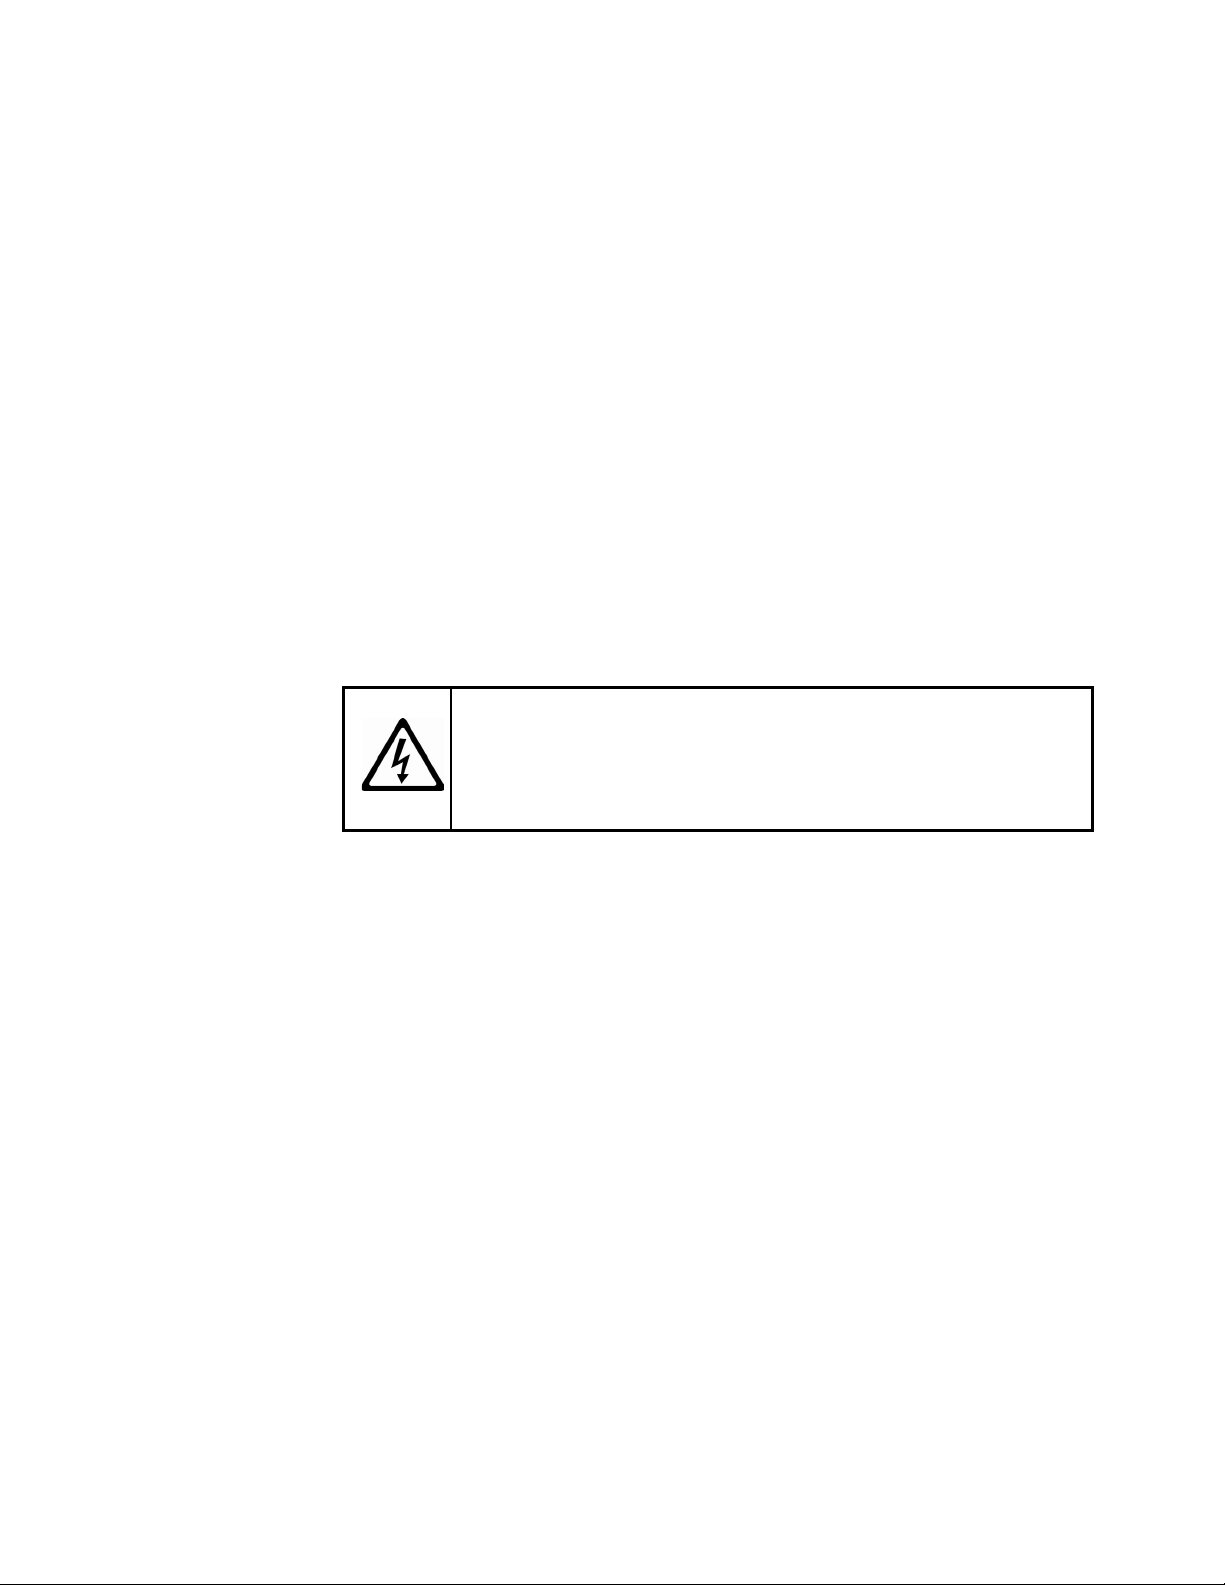
3.3.3 Electric Shock Hazard
The Electric Shock Hazard warning symbol in Figure 3 appears on
labels near the mains power connections inside the Power Entry Box
and the AC Junction Box and also in this manual in conjunction with
warnings about the hazard of electric shock. Those mains power
terminals and the associated wires and fuses are the primary risks of
electric shock in the CYCLONEtracTM PST system. The electronic
circuitry, itself, does not generate voltages higher than nominal
24VDC. This symbol is used where AC wiring is exposed at terminals
on circuit boards, DIN rails, or Power Supply modules and at fuses. In
systems that include a Power Entry box, the DC Junction box is
powered by non-hazardous 24VDC and so no electric shock warning
symbols are used inside the DC Junction box. Similarly, the Sensors
in both types of systems are powered by non-hazardous 24VDC and
so there are no electric shock warnings associated with the Sensors.
For the boxes that are powered by AC mains voltages, electric shock
safety is ensured by depowering the box prior to opening it.
Whenever the box is open with AC power applied, to avoid electric
shock keep hands and tools away from those areas where AC wiring
exists (identified with the electric shock warning symbol).
General Warnings and Cautions
Observe these rules when operating or servicing this equipment:
•The safety of any system incorporating this CYCLONEtracTM PST
system as an element is the responsibility of the assembler of that
system.
•If the equipment is used in a manner not specified by
manufacturer, the protection provided by the equipment may be
impaired.
•Prior to operation of this equipment, personnel should read the
instruction manual thoroughly.
•Trained personnel must carry out service on this equipment.
•Follow all warnings on the unit and in the operating instructions.
•Follow static sensitive device precautions when servicing.
Figure 3: Electric Shock Hazard
21464-01-EN Rev 05
Page 3-4
•Do not wear rings or wristwatches when servicing this equipment.
•To preserve the safety of this product, use only manufacturer
specified replacement parts and do not perform unauthorized
substitutions or modifications.
•Prior to servicing, lockout all electrical power sources.
•This product should only be powered as described in the manual.
Read the instructions for proper input voltage range selection.
•This equipment is grounded through the grounding conductor of
the power cord.
•Ensure all power cords, Junction Box cables, Power Entry Box
cables, and Sensor Head Assembly signal cables are properly
routed to eliminate damage to them. Cable conduit may be
desirable to minimize potential damage.
•Do not run power and signal wires in a common conduit.
•Fuse replacement must be performed by trained service
personnel.
•Disconnect power to Junction Box or Power Entry Box prior to
replacing fuse(s).
WARNING
Electrical shock hazard. Always disconnect power source prior
to removing fuses. Failure to remove power source may result
in injury or death.
•Use only the specified fuse(s) with the correct type number,
voltage and current ratings as referenced in Appendix A and on the
labels on the equipment.
•CiDRA performs a leak test (pipe to Saddle/Sensor Head
Assembly) at maximum pressure of 30 PSI prior to shipment of the
assembly. This verifies non-leakage of Sensor and improves
safety risk factor.
•The only moving parts in the CYCLONEtracTM PST system are the
hinged covers of the Power Entry and Junction boxes. Use
caution to avoid pinching wiring or fingers when closing the covers.

21464-01-EN Rev 05
Page 4-1
PREPARATION FOR INSTALLATION
Introduction
The Sensor Head Assemblies (Figure 4: Sensor Head Assembly
Mounted to Pipe) process the Sensor data for output to the
CYCLONEtrac PST data acquisition and reporting system.
Figure 4: Sensor Head Assembly Mounted to Pipe
Installation Considerations
4.2.1 Preparation
Prior to installing the CYCLONEtrac PST system, verify that the
system is rated for the area where it will be installed. Consider the
available power, the ambient temperature, and the installation area
classification. If the markings on the Junction Box, Power Entry Box
and Sensor Head Assembly received are not consistent with the
conditions of the area in which it is be installed, contact Customer
Support.
Note: The CYCLONEtrac PST system is rated for use only in non-
hazardous locations.
Warning
Explosion hazard – Install only in Non-Hazardous locations.

21464-01-EN Rev 05
Page 4-2
In addition to the warnings and cautions in this section, refer also to
the General Safety Guidelines in section 3.
4.2.2 Power Requirements
The CYCLONEtrac PST system requires an input voltage of 100 –
240 volts AC, 50/60 Hz applied to the Power Entry box (for systems
which include a Power Entry box) or to an AC Junction Box. The
power rating is 200W per Junction box, or 400W for systems wherein
a Power Entry box powers 2 Junction boxes.
.
WARNING
Electrical shock hazard. Always disconnect power source prior
to removing fuses. Failure to remove power source may result
in injury or death.
Each Sensor Head Assembly requires 24VDC and 6 watts of power,
which is provided by the Junction Box.

21464-01-EN Rev 05
Page 4-3
4.2.3 System Environmental Conditions
See Appendix A for the System Environmental Conditions.
4.2.4 Restriction of Access to Power Entry Box and Junction Box
Access to opening the cover to the Junction Box and Power Entry Box
must be restricted to properly trained service personnel only. The
Power Entry and Junction Box enclosures have their hinged cover
held closed with 4 screw-down door clamps and there is also a hasp
and staple for padlocking to further prevent unauthorized access if
necessary. Note: It should never be necessary to open the Sensor
Head Assembly anywhere other than at the factory.
Suggested Power Entry Box and Junction Box
Installation
The envelope drawings of the Power Entry box and Junction box are
shown in Appendix A in sections A10 and A11, respectively, along
with their mounting hole locations. The tabs on the top have two holes
that are 0.44” (11mm) in diameter, and the tabs on the bottom have
two slots of the same width. It is suggested to mount each box to 2
vertical strut channels. and to use two adjustable pipe strut mount
clamps inserted into each strut channel which can be then be used to
mount the box to a railing. These drawings and others include those
suggested struts and clamps even though they are not provided as
part of the CYCLONEtrac PST kit. Allow at least 6-inch [15.3cm]
clearance on all sides of boxes.

21464-01-EN Rev 05
Page 4-4
Figure 5: Junction Box Mounting

21464-01-EN Rev 05
Page 5-1
SENSOR HEAD ASSEMBLY MOUNTING
Pipe Modification Procedure
The following figure illustrates a typical hydrocyclone battery
Figure 6: Hydrocyclone Battery

21464-01-EN Rev 05
Page 5-2
To install the PST system, the hydrocyclone overflow pipes must have
a through-hole on the pipe to admit the Sensor’s probe. The exact
size of the hole will be specified by CiDRA. The following example
shows a 2” (5.1cm) hole installed in a hydrocyclone overflow pipe.
Figure 7: Hole Placement
Other manuals for CYCLONEtrac PST
1
Table of contents
Other CiDRA Measuring Instrument manuals

CiDRA
CiDRA AIRtrac Installation instructions

CiDRA
CiDRA CYCLONEtrac PST User manual

CiDRA
CiDRA SMARThatch Quick start guide

CiDRA
CiDRA SMART HATCH User manual

CiDRA
CiDRA Sonartrac GVF-100 Installation and operation manual

CiDRA
CiDRA SONARtrac 20924 User manual

CiDRA
CiDRA SMARThatch Operating and maintenance manual


