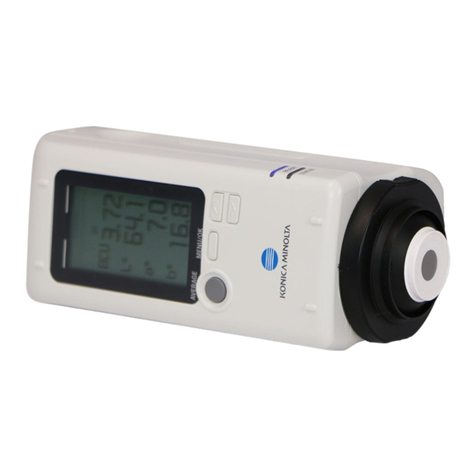
7 8
⑧Hold button HOLD
The hold function freezes the reading in the display.
⑨Microphone
1/2 inch Electret Condenser microphone
⑩Battery Cover
V. Measurement Preparation
(1) Battery loading
Remove the battery cover on the back and put in one 9V
Battery.
(2) Battery Replacement
When the battery voltage drops below the operating
voltage, mark “BAT” appears. If it appears, battery
should be replaced with new one.
VI. Operating Precautions
(1) Wind blowing across the microphone would bring
additional extraneous noise.
Once using the instrument in the presence of wind, it is a
must to mount the windscreen to not pick up undesirable
signals.
(2) To achieve more accurate measurement, use an
extension cable to separate the Microphone from the
main body so that the effect of unexpected sound
reflection can be eliminated.
(3) Calibrate the instrument before operation if the
instrument was not in use for a long time or operated at
bad environment.
(4) Do not store or operate the instrument at high
temperature and high humidity environment.
(5) Keep microphone dry and avoid severe vibration.
(6) Please take the battery and keep the instrument in low
humidity environment. When not in use.
VII. Measurement
(1) Open battery cover and install a 9-volt battery in the
battery compartment.
(2) Turn on power and select the desired response Time and
weighting. If the sound source consists of short bursts or
only catching sound peak, set response to FAST. To
measure average sound, use the slow setting.
Select A- weighting for general noise sound level and
C-weighting for measuring sound level of acoustic
material.
(3) Select desired Level
(4) Hold the instrument comfortably in hand or fix on tripod
and point the microphone at the suspected noise source,
the sound pressure level will be displayed.
(5) When MAX (maximum hold) mode is chosen. The
instrument captures and holds the maximum noise level
for a long period using any of the time weightings and
