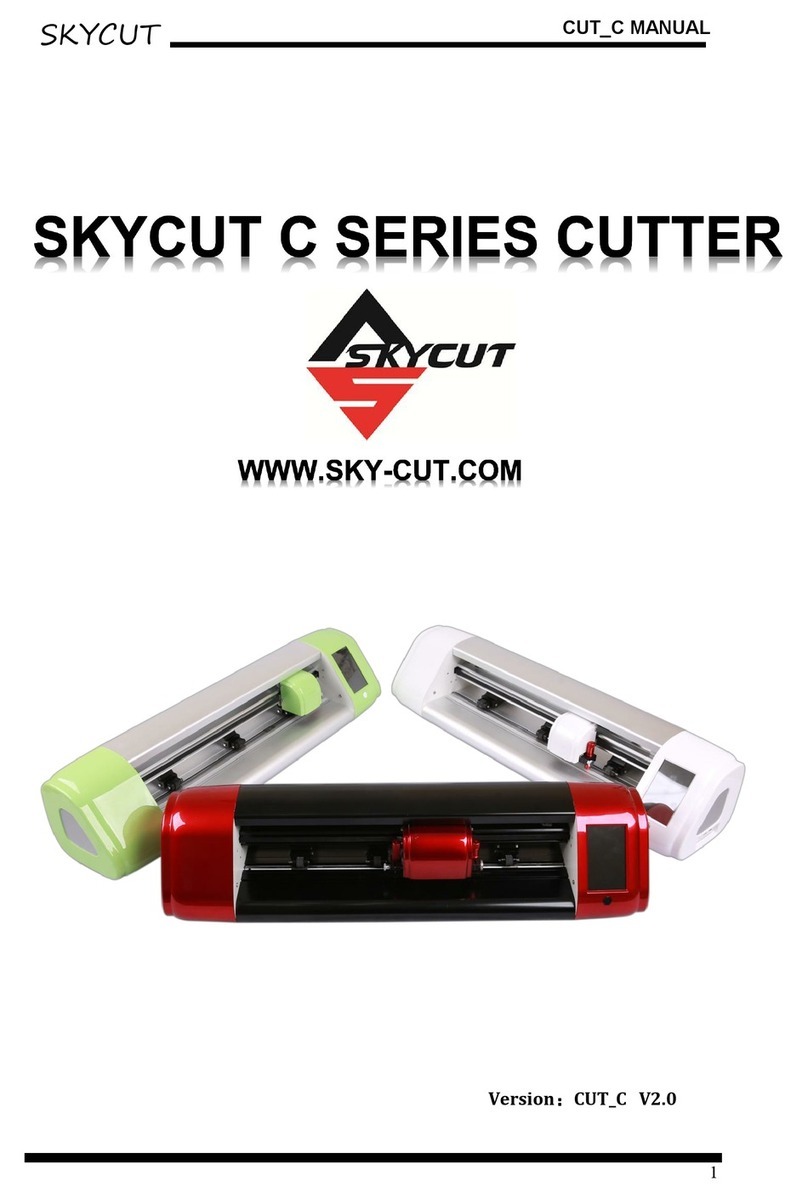
Circut Mini User manual

Cricut®, Cricut Expression®, Cricut DesignStudio®, Cricut Imagine®, Cricut Mini™, Cricut Cake®, Cricut Craft Room™, Gypsy®,
Cricut Circle™, Cuttlebug®, Cuttlekids™, Yudu®, YourStory®, and Knifty Knitter®are registered or applied for trademarks of Provo
Craft and Novelty, Inc. South Jordan, UT 84095.
Quick Start Guide
Information and Videos: www.cricut.com/cricutmini
Welcome to the Cricut Mini™machine! This Quick Start Guide will help you get started. Please allow at least 30–60
minutes to get familiar with your machine. Expect to make some mistakes as you learn. If you need additional help,
refer to www.cricut.com/cricutmini for the latest tips and tricks.
Box contents:
• Cricut Mini Machine
• 8.5"x 12" Cutting Mat
• Quick Start Guide
• Registration Card
• Warranty Card
• Cartridge Content Unlock Card*
• Rewards Points Card
• Cutting Blade Assembly
• Power cord
• USB cable
*Internet connection required
Place your Cricut Mini machine at least 12" (30.5 cm) from the edge of
your table to prevent it from tipping and causing possible injury. Allow
12" (30.5 cm) in the back of the machine for mat movement.
Load/Unload Mat
Power On/Off
Cartridge Port
Cutting Mat
Mat Rollers
Screw
Cradle
Blade Assembly
Pressure Adjustment Lever
Blade Depth
Adjustment Knob

Open the machine and remove all
cardboard shipping inserts.
Remove the blade assembly from its pack-
aging. Loosen the screw on the cradle just
enough so the screw can be swung to the
right. Insert the blade assembly, close the
cradle, and tighten the screw.
Plug the power cord into the back of the
machine and then into an electrical outlet.
Connect the USB cable to your machine and
your computer.
Push the Power On/Off button to turn on
the machine.
On your computer, log on to
www.cricut.com/craftroom to download
and install the Cricut Craft Room™Application.
Open the Cricut Craft Room application
and log in with your Cricut.com account user
ID and password. If you do not currently have
a Cricut.com account, select Create a New
Account and follow the on-screen instructions.
Select New, name your project, and
click Start.
On the left side of the screen, select the
Options menu. In the Project tab, make
sure that Cricut Mini is selected as your
default machine.
Set the filter on the Overlay tab to All
Types. Choose Cricut Font and Basic Shapes*
from the cartridge list. Drag and drop
an image displayed on the right to the
mat above.
*In order to cut the images from this cartridge, go to
www.cricut.com/cricutmini to unlock the content.
Q W E
R T Y
U I O

Note: You can also cut images from other
Cricut cartridges (sold separately). In
Cricut Craft Room, select a cartridge
from the cartridge list and drag and drop
an image to the mat. Make sure the
corresponding cartridge is plugged into
the machine before you click Cut in step 12.
Move, rotate, or resize your image using the
image control handles that appear when
the image is selected. Make sure your
image is within the green grid area of the
mat. For your first cut, an image that is at
least 2"x 2" (5.1 cm x 5.1 cm) is recommended.
Remove the clear plastic protective sheet
from the cutting mat. Mount a piece of
paper up to 8.5" x 12" (21.6 cm x 30.5 cm)
on the mat. Hold the mat up to the rollers
and press the Load/Unload Mat button. The
rollers will pull the mat into the machine.
Click the Cut button in the upper right hand
corner of the screen. Check that the paper on
the mat completely covers the area where your
image is shown in the Cut Preview. If desired,
adjust your pressure, blade depth, or cutting
speed settings (see Appendix for more details).
Click Cut on the Cut Preview screen to cut
your image. When the cutting operation
ends, press the Load/Unload Mat button to
eject the mat from the machine and peel
the image from the mat.
For more information on the Cricut Craft
Room application and advanced image
editing tips, go to www.cricut.com/craftroom
or refer to the help features in the application.
P { }
qw
ADJUSTING PRESSURE, BLADE DEPTH, AND
CUTTING SPEED SETTINGS:
Pressure: The pressure lever allows you to control how hard the
cutting mechanism presses against the paper. Gently pull the lever,
located above the cutting mechanism, forward to increase pressure,
and backward to decrease pressure. For heavyweight materials, you
may want to increase the cut pressure. For lightweight materials, you
may want to decrease the pressure.
Blade Depth: Spin the top of the adjustment knob so that the
arrow points to the desired setting. The smaller the number on
the adjustment knob, the shorter the blade depth will be. Shorter
blade depths are recommended for lightweight materials, and
long blade depths for heavier materials.
Cutting Speed: The cut speed allows you to control the cutting
speed for an optimal cut on a variety of papers. High speeds work
well for simple shapes. For lightweight materials or for smaller,
more detailed cuts, you may want to decrease the cutting
speed. The cutting speed can be adjusted in the Cut Preview
screen on the Cricut Craft Room application.
Material Pressure Blade
Depth
Cutting
Speed
Multi-cut
Cardstock 4 5 4 1
Fabric (iron on) 4 5 3 3
Magnet Material 5 6 3 4
Vinyl 1 2 3 1
Stencil Material 5 6 3 2
Chipboard 4 6 3 5
Construction Paper 3 6 3 1
Standard Paper (20 lbs.) 1 2 3 1
Settings Matrix*
APPENDIX:
*Settings may vary from machine to machine.

TIPS AND TRICkS:
Problem: The cutting mat didn’t load correctly when I pressed the
Load/Unload Mat button.
Solution: Press the Load/Unload Mat button to unload the mat and
then reload the mat before pressing the Cut button again.
Problem: The blade is not cutting all the way through the paper.
Solution 1: Increase the cut pressure by gently pulling the lever just
above the cutting mechanism towards you.
Solution 2: The blade depth may need to be adjusted, particularly
if you are trying to cut through thicker materials.
Solution 3: The cutting blade may have become dull and needs to
be replaced.
Solution 4: Adjust the Multi-Cut setting in the Cricut Craft Room
cut preview screen.
Problem: The paper lifts off the mat as the Cricut Mini machine
is cutting.
Solution 1: Make sure you press the paper firmly onto the cutting mat
when setting up the cut.
Solution 2: Rinse the mat with water while gently rubbing off any
paper lint on the mat. Let the mat thoroughly dry before attempting
to re-use the mat.
Solution 3: Try using a new mat. Each mat will last anywhere from
25 to 40 full page cuts, depending on the size of cuts and the kind
of material you are cutting.
Problem: The cutting mat is too sticky. It’s ripping my paper when
I try to remove it.
Solution: Use a craft knife or the Cricut Tools (sold separately)
to successfully lift the material from the cutting mat. The Cricut Tools
are custom designed for lifting, pulling, or cleaning up cut shapes.
Problem: My machine doesn’t turn on and doesn’t appear to
be getting any power.
Solution 1: Check the power adapter to make sure that the green
power indicator is lit up. If it is not lit, check to make sure the power
plug is completely inserted into the power adapter.
Solution 2: Try to plug the power cord into another outlet.
Problem: My Cricut Mini machine doesn’t communicate to an
attached USB device.
Solution 1: Check the USB cable to make sure that it is
properly connected.
Solution 2: Make sure that the connected device is powered on.
Solution 3: Make sure that the Cricut Mini machine and the
attached device have the latest firmware installed.
CARE AND MAINTENANCE:
Replacing the Cutting Blade: To change the cutting blade, you must
first remove the cutting blade assembly. Locate the screw on the
cutting mechanism and turn it counterclockwise until it loosens
enough that you can swing the screw to the right. Be careful not
to loosen the screw too much, or it will fall out.
Remove the cutting blade assembly from the machine, then locate
the blade release at the top of the assembly and push it in. The blade
will emerge from the cutting assembly. Gently pull the blade away
from the magnet holding it in place.
To install a new blade, remove the protective cover from the new blade.
Carefully insert the shaft of the blade into the hole in the bottom of
the cutting blade assembly. The blade should be sucked up inside
the shaft if properly installed. Place the protective cover over the old blade
and dispose of it. Use only genuine Cricut replacement blades.
Warning! Cutting blades are extremely sharp and should be handled
with the utmost care. They are also potential choking hazards; they
should be kept away from children.
Care for the Cutting Mat: You can expect 25–40 full mat cuts
(expect even more when a cut is smaller than the full mat) from your
Cricut Mini™cutting mat before it requires replacement. Your actual
cutting mat life will vary, depending on the settings you use and the
materials you cut. It is time to replace your mat when your material
no longer sticks to the cutting mat or the mat becomes curled on the
edges. Use only genuine Cricut Mini replacement cutting mats.
Cleaning and Storing Your Cricut Mini Machine: You may gently
wipe exterior panels with a slightly damp cloth. Do not use chemicals
or alcohol-based cleaners. Do not immerse machine or any compo-
nent of it in water. Unplug and store your Cricut Mini machine when
not in use. Avoid excessive heat or cold or exposure to direct sunlight
for extended periods of time.
Warning! Always unplug your Cricut Mini machine before cleaning!
TROUBLESHOOTING:
Definitions of LED light:
Power On: The green power indicator is lit and constant.
Sleep Mode: The green power indicator blinks at a slow, steady rate.
Error: The red indicator blinks.
Mat Load Pending: The green load indicator blinks at a slow, steady rate.
Mat Unloaded: The green load indicator is unlit/off.
Mat Loaded: The green load indicator is lit and constant.
SAFETY INFORMATION:
Disconnect electrical power before servicing or cleaning.
Warning! Do not place your fingers or other object in the Cricut
Mini machine while it is connected to electrical power, powered
on, or during cutting operations. Rapid movements of the cutting
carriage during operation may cause bodily injury and/or damage
to the Cricut Mini machine.
• Observe all warning and instructions marked on the product.
• Do not install or use this product near water or when you are wet.
• Install the product securely on a stable surface.
• Install the product in a protected location where no one can step on
or trip over the power cord and the power cord cannot be damaged.
• If the product does not operate normally, see Tips and Tricks.
• There are no user-serviceable parts inside. Refer servicing to
qualified service personnel.
• The power cord cannot be repaired. If it is defective, it should be
discarded or returned to the supplier.
• Ozone-depleting chemicals, such as chlorouorocarbons (CFCs),
have been eliminated from the Provo Craft manufacturing processes.
06/11-10955
Table of contents
Popular Cutter manuals by other brands

Battipav
Battipav LEGGERA 49 operating instructions
Power Craft
Power Craft 54772 instruction manual
Bosch
Bosch GWS 18V-180 P Professional Original instructions

SUHNER ABRASIVE
SUHNER ABRASIVE SP 1045 Technical document

Husqvarna
Husqvarna K 4000 Cut-n-Break Operator's manual
Baum
Baum BAUMCUT 31.5 operating instructions
