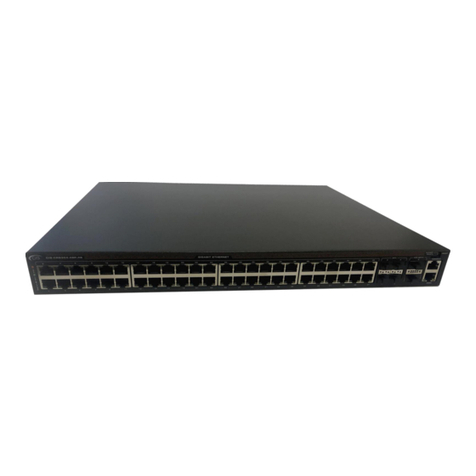
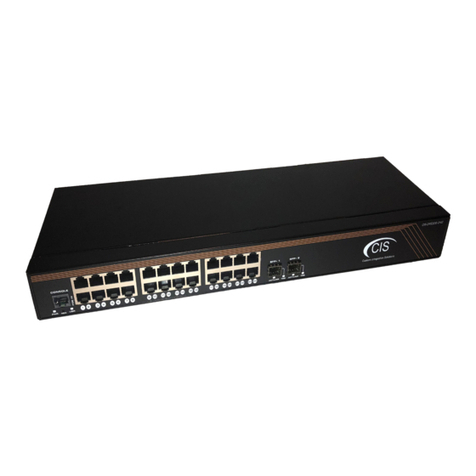
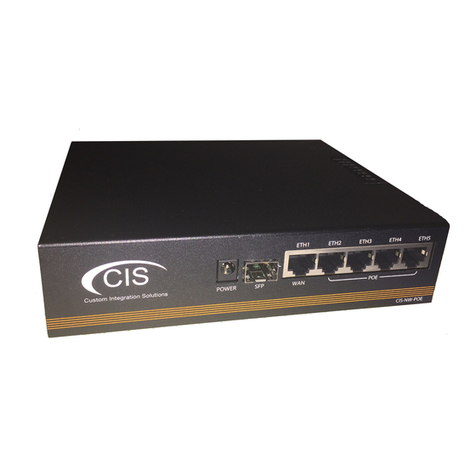
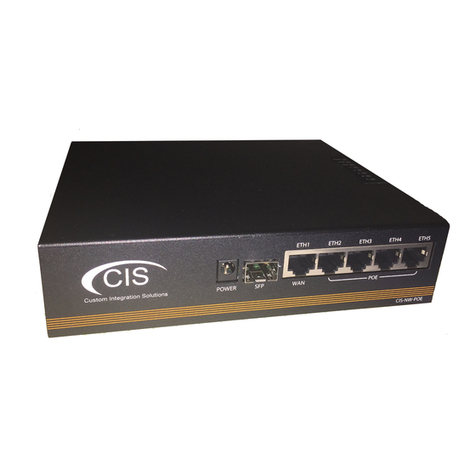
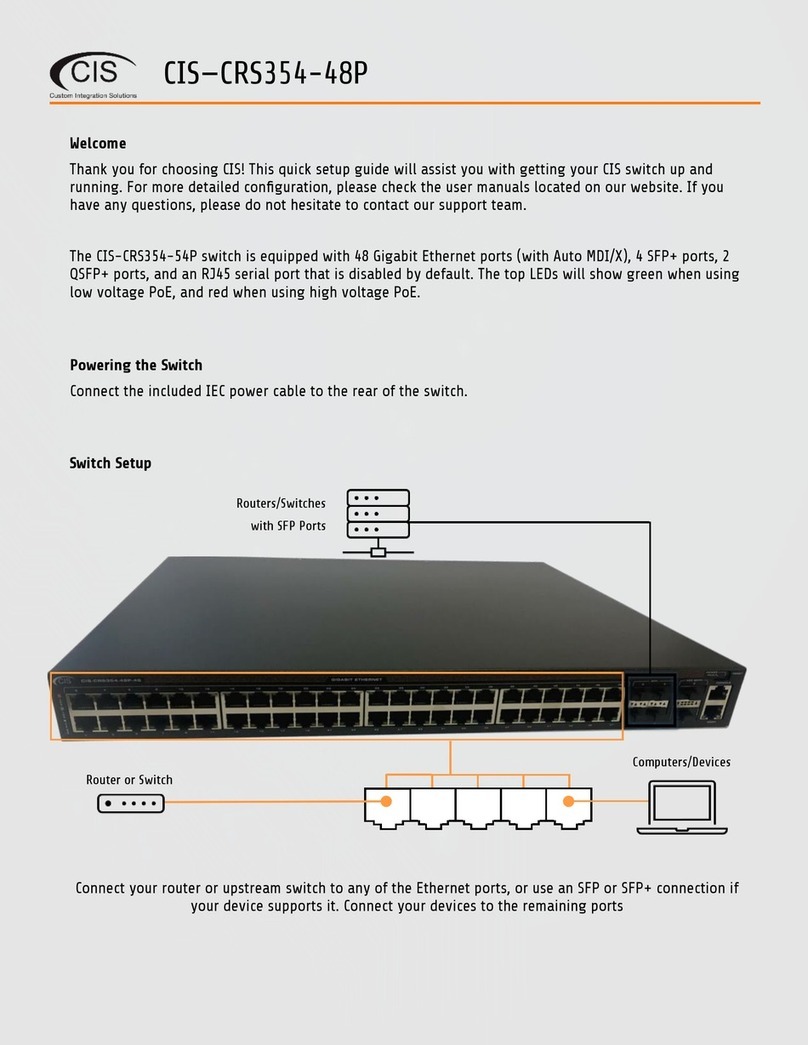
CIS CRS112-8P User manual

CIS-CRS112-8P L2-L3 MANAGED NETWORK SWITCH
PRODUCT MANUAL
All manuals and user guides at all-guides.com

CIS-CRS112-8P MANAGED L2-L3 NETWORK SWITCH
PRODUCT MANUAL
Table of Contents
1. Welcome to Custom Integration Solutions™4
2. Package Contents 4
3. Overview 4
• Power 4
• PoE Output 4
• Ports 5
• LED Indicators 5
• Buttons 5
• Input Power Requirements 5
4. Accessing the Web Interface 6
• The Status Page 6
• Set the System Identity 7
• The Undo and Redo Buttons 7
• Show / Hide Passwords 7
• Changing the Default Password 8
• Rebooting the Device 8
• Setting the Clock 8
5. IP Addressing 9
• The DHCP Client Tab 9
• Renewing the DHCP lease 9
• Setting a Static IP Address 10
6. View and Set Interfaces 11
• Power Cycling an Interface 11
• Loop Protect 12
All manuals and user guides at all-guides.com

CIS-CRS112-8P MANAGED L2-L3 NETWORK SWITCH
PRODUCT MANUAL
Table of Contents (continued)
7. VLANs 13
• Purchase VLAN Conguration 13
• VLAN Conguration 13
• Adding Ports to the VLAN(s) 14
8. PoE Information and Settings 15
• PoE-Out Modes 15
• PoE-Out Limitations 15
• Enable/Disable PoE on a Specic Port 15
9. Tools and Other Protocols 16
• SNMP 16
• UPnP 16
• The IP Scan Tool 17
• The Ping Tool 17
10. Warranty Information 18
All manuals and user guides at all-guides.com

CIS-CRS112-8P MANAGED L2-L3 NETWORK SWITCH
PRODUCT MANUAL
1. Welcome to Custom Integration Solutions™
Thank you for purchasing CIS devices. Our solutions make it easy for integrators to deploy networks in home and business
settings with minimal conguration. Our support team can provide assistance in setting up the equipment and answering your
questions.
3. Overview
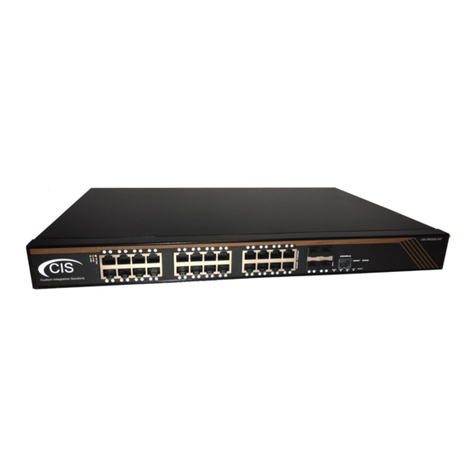
The CIS-CRS112-8P switch is equipped with eight Gigabit Ethernet ports and four SFP+ ports.
The switch is pre-congured, with all ports switched together. We recommend you to set up a password to secure your device.
This unit is compatible with 1.25G SFP and 10G SFP+ modules. The device is capable of powering other devices through PoE.
Power
The CIS-CRS112-8P is powered by the included power supply.
PoE output
This device can supply PoE power to external devices from its ethernet ports. The output voltage will be selected automatical-
ly, depending on what kind of voltage the connected device requires. The device can power both 802.3af/at devices and devic-
es that accept passive PoE power. If necessary, the output voltage can be switched manually.
By default the PoE mode is set to auto. It will not damage non-PoE devices and will auto-detect devices with PoE support and
their required voltage. Once a PoE device is detected, it will be powered and the PoE LEDs will turn on.
The CIS-CRS112-8P can power 802.3af/at devices if 48-57V DC input is used (unit will automatically detect and provide correct
power to devices). Max Current is 1 A per port if input the voltage is 18-28 V, and 450 mA if the input voltage is 48-57 V. Total
limit is 2.8A@24V and 1.4A@48-57V.
2. Package Contents
Switch (1) Rack Ears (2)
DC Adapter (1)
All manuals and user guides at all-guides.com

CIS-CRS112-8P MANAGED L2-L3 NETWORK SWITCH
PRODUCT MANUAL
Buttons
Reset button: Hold this button while the device is powered off, then apply power. Keep holding until the USR LED light starts
ashing, (5 seconds) then release the button to reset to the default CIS conguration. You can use this procedure if you have
forgotten the password to access the device, or simply wish to return the unit to its default conguration state.
LED indicators
• PWR LED - lit when the switch is powered on.
• USR LED - an custom LED that can be congured by CIS. Disabled by default.
• The top row LEDs indicate PoE out status. A green LED indicates that the respective port uses low voltage, a red LED
indicates high voltage.
• A ashing green LED - indicates a problem with a low voltage device.
• A ashing red LED - indicates a problem with a high voltage device.
• The bottom row LEDs indicate ethernet and SFP port activity.
Ports
• 8 Gigabit Ethernet ports (with Auto MDI/X—you can use either straight or cross-over cables for connecting to other net-
work devices).
• 4 SFP+ cages, which accept both 1.25 Gb SFP and 10 Gb SFP+ modules.
• RJ45 serial port—disabled by default.
Input Power Requirements
Supported input voltage-100V AC-240V AC
All manuals and user guides at all-guides.com

CIS-CRS112-8P MANAGED L2-L3 NETWORK SWITCH
PRODUCT MANUAL
4. Accessing the Web Interface
1. Connect your laptop to any remaining port on the front of the CIS Switch. Ensure your computer is set to DHCP mode.
2. Obtain the IP address of the CIS switch in the DHCP leases of your CIS router. Open a web browser and enter the IP address
in the address bar.
3. To login, enter the username cis and password integration.
4. Integrators may use the Get TeamViewer link if remote assistance is required.
cis
integration
The Status Page
The status page provides basic diagnostic information. There is a CIS Support Address should you require assistance. The
switch’s Identity will show you which switch you are accessing on your network. You can view uptime, memory usage and load
on the CPU.
All manuals and user guides at all-guides.com

CIS-CRS112-8P MANAGED L2-L3 NETWORK SWITCH
PRODUCT MANUAL
Set the System Identity
The system identity is used to identify your device on the network. Set the switch to something that can uniquely identify it.
The Identity setting can be found in the System tab in the left toolbar.
Undo/Redo
Undo and Redo buttons are located in the left toolbar. You may use them to quickly undo/redo any changes made to congu-
ration.
Show/Hide Passwords
Selecting the Hide Passwords button in the left toolbar will reveal or hide passwords related to Wi-Fi, Hotspot, and more.
All manuals and user guides at all-guides.com

CIS-CRS112-8P MANAGED L2-L3 NETWORK SWITCH
PRODUCT MANUAL
Changing the Default Password
The default username is cis and the password is integration. After you log in for the rst time, please create a new a password
to increase the security of the device.
Rebooting the Device
CIS discourages rebooting your switches. If you are having ongoing issues with your network and suspect a reboot will help,
the Reboot option can be found under the System tab in the left toolbar. Clicking reboot will ask for conrmation before pro-
ceeding.
Setting the Clock
You can nd the Clock settings under the System tab in the left toolbar. Ensure the time zone is set correctly.
All manuals and user guides at all-guides.com

CIS-CRS112-8P MANAGED L2-L3 NETWORK SWITCH
PRODUCT MANUAL
5. IP Addressing
The IP address is the master interface for the switch. By default, the switch is set to DHCP and will acquire an IP address. The
switch will support 172.16.1.0/24, 10.100.1.0/24, 192.168.1.0/24, and 192.168.0.0/24 networks by default. Should you require a
different network address, please contact CIS Services for assistance.
The DHCP Client tab
The DHCP Client tab will present you with the IP address assigned to the switch from your router. This interface can be enabled
or disabled by clicking on the “D” on the left column. You may view the DHCP options by clicking on the IP address.
Renewing the DHCP lease
To renew the DHCP lease for the switch, click on the entry in the DHCP client tab. click renew and the IP will populate with the
current IP on the switch.
All manuals and user guides at all-guides.com

CIS-CRS112-8P MANAGED L2-L3 NETWORK SWITCH
PRODUCT MANUAL
Setting a Static IP Address
To set a static IP, select the disabled interface. Prior to setting a static address, perform an IP scan on the LAN to conrm
available addresses (see the tools section). In the address eld, set the address you would like to use for the switch. Ping the
switch to conrm the IP address responds. The format must include /24. This is the subnet mask.
You must disable the DHCP client once the static address is set.
All manuals and user guides at all-guides.com

CIS-CRS112-8P MANAGED L2-L3 NETWORK SWITCH
PRODUCT MANUAL
6. View and Set Interfaces
The Interfaces tab provides a glance at the activity on all ports. You can view the trafc sent and received, the status of PoE,
PoE settings, PoE priority and current being drawn by PoE devices.
Power Cycling
To power cycle a port, select the Power Cycle button in the interfaces tab. Select the interface and the duration. The port will
shut off for the designated time, then re-enable itself.
All manuals and user guides at all-guides.com

CIS-CRS112-8P MANAGED L2-L3 NETWORK SWITCH
PRODUCT MANUAL
Loop Protect
The Loop Protect feature can prevent Layer 2 loops by sending loop protect protocol packets and disabling interfaces in the
event they receive loop protect packets originating from themselves. The feature works by checking the source MAC address of
received loop protect packet against MAC addresses of loop protect enabled interfaces. If the match is found, loop protect dis-
ables the interface that received the loop protect packet. Loop protect works on ethernet, VLAN, EOIP and EOIPv6 interfaces.
You can adjust the loop protect packet sending interval and interface disable time. Conguration changes or expiration of the
disable time resets loop protection on the interface.
All manuals and user guides at all-guides.com

CIS-CRS112-8P MANAGED L2-L3 NETWORK SWITCH
PRODUCT MANUAL
7. VLANs
Purchase VLAN conguration
For a complete VLAN model, the router, access points and switching all require conguration.
VLANs and additional networks are available on the CIS Store.
Additional components are required for VLANs to function.
https://www.custom-integration-solutions.com/store/cis-vlan-interface/
https://www.custom-integration-solutions.com/store/cis-additional-network/
VLAN Conguration
If you have purchased the VLAN service, you can edit the settings in the VLAN tab of the Interfaces section.
Select Add New to create a VLAN interface.
Give the VLAN a specic name and add it to the interface.
All manuals and user guides at all-guides.com

CIS-CRS112-8P MANAGED L2-L3 NETWORK SWITCH
PRODUCT MANUAL
Adding Ports to the VLAN(s)
Once an additional network has been created, a bridge interface will be selectable on the Bridge Ports tab. Select the ethernet
port to link to your VLAN.
Select the bridge from the drop down menu. This port will now access the IP address and conguration broadcast by the rout-
er. You may select any remaining ports to host this specic conguration.
All manuals and user guides at all-guides.com

CIS-CRS112-8P MANAGED L2-L3 NETWORK SWITCH
PRODUCT MANUAL
8. PoE Information and Settings
PoE-Out Modes:
Auto-on mode
If auto-on is selected on a PoE-Out interface, then the port operates in this strict order:
• The switch checks for resistance on the connected port. If the detected resistance range is between (3kΩ to 26.5kΩ), the
power is turned on.
• When power is applied, the switch continuously checks if the overload limit is reached, or if a short circuit is detected.
• If the cable is unplugged, the port returns to the detection state, and will remain off until suitable power draw is detected.
Forced-on mode
If forced-on is selected, then the port operates in this strict order:
• There is no resistance check on the port. The switch applies power on pins 4,5 (+) and 7,8 (-), even if no cable is attached.
• When power is applied, the switch continuously checks if an overload or a short circuit is detected.
• After the cable is unplugged, the power still remains enabled on the port.
Off mode
If off mode is used, PoE-Out on the port will be turned off, no detection will take place, and the interface will behave as a sim-
ple Ethernet port.
PoE-Out limitations
It is important to check the PoE-Out specications for hardware limitations because it can differ between models.
PoE-Out ports are limited with maximum amp values which are supported for a particular voltage. Usually max current will
differ for low voltage devices (up to 30 V), and for high voltage devices (31 to 57 V).
PoE supplying devices also have a total current limitation which can't be exceeded, even if individual port limit allows it.
All CIS equipment uses the same PoE-Out pin polarity Mode B 4,5 (+) and 7,8 (-), however other vendors can use opposite o r
Mode A pinout on PD, this requires using a special crossover cable
Enable/Disable PoE on a Specic Port
Select the port from the Interfaces tab. Change the PoE Out option accordingly.
All manuals and user guides at all-guides.com

CIS-CRS112-8P MANAGED L2-L3 NETWORK SWITCH
PRODUCT MANUAL
9. Tools and Other Protocols
SNMP
Simple Network Management Protocol (SNMP) is an Internet-standard protocol for managing devices on IP networks. It can be
found and enabled/disabled under the IP tab in the left toolbar.
UPnP
CIS devices support Universal Plug and Play architecture for transparent peer-to-peer network connectivity of network-
enabled intelligent devices or appliances. UPnP allows a wide range of devices to seamlessly discover each other’s presence
on the network and establish communications.
UPnP may be appropriate for residential applications, but it can also increase trafc on the network and can add a security
vulnerability. CIS recommends UPnP remain disabled.
All manuals and user guides at all-guides.com

CIS-CRS112-8P MANAGED L2-L3 NETWORK SWITCH
PRODUCT MANUAL
The IP Scan Tool
The IP Scan tool can scan the network based on a network prex or setting an interface to listen to. When using IP scan tool
the user must choose what they would like to scan for:
IPv4 range
• The tool will attempt to scan all addresses or addresses in a specic range. (For example, 10.100.1.0/24)
Device interfaces
• The tool will listen to packets that are "passing by" and attempt to compile results when something is found
The Ping Tool
Ping uses Internet Control Message Protocol (ICMP) echo messages to determine if a remote host is active. It will also provide
the round-trip time between the hosts. Enter the IP address of the device and select Start to begin.
All manuals and user guides at all-guides.com

CIS-CRS112-8P MANAGED L2-L3 NETWORK SWITCH
PRODUCT MANUAL
10. Warranty Information
Custom Integration Solutions™ products have a 2-Year Limited Warranty. This warranty includes parts and labor repairs on all
components found to be defective in material or workmanship under normal conditions of use. This warranty shall not apply to
products that have been abused, modied, or disassembled. Products to be repaired under this warranty must be returned to
Custom Integration Solutions™ or a designated service center with prior notication and an assigned return authorization (RA)
number.
Contact Information Web: www.custom-integration-solutions.com
Phone: Technical Support - (888) 976-3651
Email: activations@custom-integration-solutions.com
The CIS-CRS112-8P is in compliance with the essential requirements and other relevant
provisions of Directive 2014/53/EC.
All manuals and user guides at all-guides.com
Table of contents
Other CIS Switch manuals

CIS
CIS CRS326-24G User manual

CIS
CIS CIS-SW-POE4 User manual

CIS
CIS CRS354-48P User manual

CIS
CIS CRS328-24P User manual

CIS
CIS CIS-CRS112-8P User manual

CIS
CIS CRS354-48P User manual

CIS
CIS CRS326-24G Service manual

CIS
CIS CIS-CRS328-24P User manual

CIS
CIS CIS-CRS354-48P User manual

CIS
CIS CIS-NW-POE4 User manual
Popular Switch manuals by other brands

Raritan
Raritan Dominion KX 1.4 Faq

Broadcast Devices
Broadcast Devices AES-200 Technical reference manual

HIOTH TECHNOLOGY
HIOTH TECHNOLOGY CT-HAZB1029-SHB quick start guide

HP
HP ProCurve 1600M Installation and configuration guide

H3C
H3C S5170-EI Series manual

HP
HP FlexFabric 7900 Series installation guide