Page 178-19791-01 PrecisionHD Camera - 1080p12x Installation Sheet | December 2010 | © 2010 Cisco Systems, Inc. All rights reserved.
Installing Cisco TelePresence PrecisionHD Camera - 1080p12x
Rev.
Date
Prep.
Checked
Change
-
-
-
Telecom AS
-
-
-
-
-
-
-
-
-
-
-
-
-
-
-
-
-
-
Part weight:
Sheet size:
Scale:
Surface treatment
Specication:
Material
Tolerances
Unit:
European
projection
Sheet 1 of 1
All materials, nishes, and proccesses
must comply with the RoHS directives
Dimensions without paint or nish
Flame class requirement: -
Processes
Type:
Manufacturer:
Type number:
Thickness:
Color:
Surface:
Glossiness:
Flame class:
UL reference:
3D CAD model le 116805 rev. 00Z+ is master
Saturn C70 Unit
116805 rev.
3172g
A3
mm
1:5
Rev.
Date
Prep.
Checked
Change
-
-
-
Telecom AS
-
-
-
-
-
-
-
-
-
-
-
-
-
-
-
-
-
-
Part weight:
Sheet size:
Scale:
Surface treatment
Specication:
Material
Tolerances
Unit:
European
projection
Sheet 1 of 1
All materials, nishes, and proccesses
must comply with the RoHS directives
Dimensions without paint or nish
Flame class requirement: -
Processes
Type:
Manufacturer:
Type number:
Thickness:
Color:
Surface:
Glossiness:
Flame class:
UL reference:
3D CAD model le 116805
rev. 00Z+ is master
Saturn C70 Unit
116805 rev.
3172g
A3
mm
1:5
Line in
Rev.
Date
Prep.
Checked
Change
-
-
-
Telecom AS
-
-
-
-
-
-
-
-
-
-
-
-
-
-
-
-
-
-
Part weight:
Sheet size:
Scale:
Surface treatment
Specication:
Material
Tolerances
Unit:
European
projection
Sheet 1 of 1
All materials, nishes, and proccesses
must comply with the RoHS directives
Dimensions without paint or nish
Flame class requirement: -
Processes
Type:
Manufacturer:
Type number:
Thickness:
Color:
Surface:
Glossiness:
Flame class:
UL reference:
3D CAD model le 116805 rev. 00Z+ is master
Saturn C70 Unit
116805 rev.
3172g
A3
mm
1:5
Rev.
Date
Prep.
Checked
Change
-
-
-
Telecom AS
-
-
-
-
-
-
-
-
-
-
-
-
-
-
-
-
-
-
Part weight:
Sheet size:
Scale:
Surface treatment
Specication:
Material
Tolerances
Unit:
European
projection
Sheet 1 of 1
All materials, nishes, and proccesses
must comply with the RoHS directives
Dimensions without paint or nish
Flame class requirement: -
Processes
Type:
Manufacturer:
Type number:
Thickness:
Color:
Surface:
Glossiness:
Flame class:
UL reference:
3D CAD model le 116805
rev. 00Z+ is master
Saturn C70 Unit
116805 rev.
3172g
A3
mm
1:5
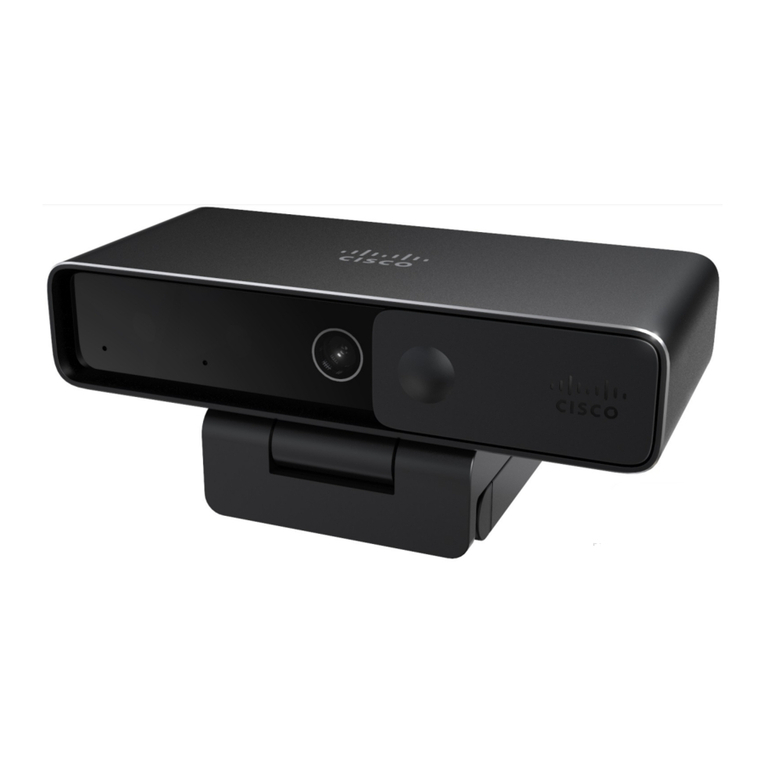
This box contains:
• PrecisionHD 1080p12X camera
• Lens hood
• Power supply 12 Vdc
• Mains power cable
• HDMI cable (5 m / 16 ft)
• HDMI to DVI-D adapter
• VISCA camera control cable
(5 m / 16 ft), RJ45 to DB9
• Daisy chaining cable, RJ11 to RJ45
User documentation
The user documentation for this product is
found on the Cisco web site. Go to:
http://www.cisco.com/go/telepresence/docs.
1 We recommend that you mount the
lens hood to prevent stray light from
disturbing your video experience. 2 Turn the camera upside down to
check the video output format
setting. Alter the setting if needed. 3 Connect the camera to your codec. If you connect to a C-series codec, the power will be supplied
from the codec and the camera power supply will not be needed.
Camera shown
with lens hood mounted.
Lens hood
DIP switch table for video formats
12345 HDMI HD-SDI
00000 Auto
00001 1080p25 1080p25
00010 1080p30 1080p30
00011 1080p50 720p50
00100 1080p60 720p60
00101 720p25 720p25
00110 720p30 720p30
00111 720p50 720p50
01000 720p60 720p60
01001 Software control
The table shows the different settings available for
the HDMI and the HD-SDI outputs.
Auto: Camera negotiates format over HDMI.
HD-SDI tracks HDMI and defaults to 1080p30 in
absence of HDMI sync.
Software: For more information about the
Software control setting, consult the VISCA™
commands in the PrecisionHD camera user guide.
Power supply connection
is NOT needed when the
camera is used with a
C-series codec. Camera control. RJ45 to RS 232.
VISCA™ protocol is supported.
Connect HDMI HD video out on camera to HDMI Main camera in on codec.
If you need to connect the camera to a PrecisionHD Video Switch or to a system with a
DVI-D socket, use the enclosed HDMI to DVI-D adapter.
HD-SDI socket
The rear panel sockets
Power supply
Extra Camera out and for Daisy chaining
Camera control HDMI Video out Not used
HD-SDI out
DIPswitch
1
0
HDMI and HD-SDI
can be used simultaneously.
HDMI and HD-SDI can be
used simultaneously.
VISCA™ commands
The VISCA™ commands for controlling the
camera are described in the PrecisionHD
camera user guide.
VISCA™ is a trademark of Sony Corporation.
