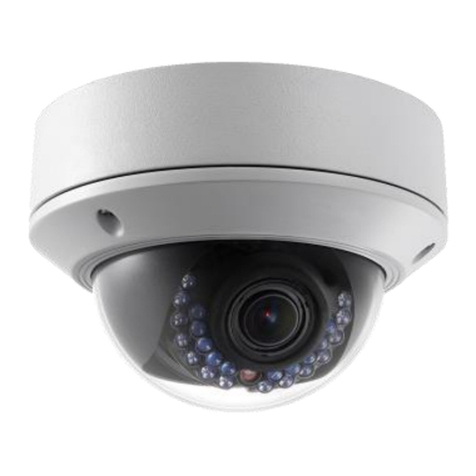
Connecting cameras using WPS: you will need
access to the camera and your router.
Connecting cameras using Wi-Fi: you will need access
to the ClareVision+ App, camera, and your Wi-Fi network.
In order to access live camera video and recorded
footage from anywhere in the world, you must rst
setup a Cloud P2P account.
If you are using an NVR or a micro SD card*, you can use
the ClareVision+ App to view all recorded footage.
1. Tap .
2. Tap > Remote Playback, click on the .
3. Pick a date range and camera(s) to view.
4. Recorded video will be displayed.
Preferred Setup Method
(Routers with WPS) Alternate Setup Method (Routers without WPS)
Simple Setup of Cloud P2P
iOS and Android
1. Connect the camera to the power supply.
2. Connect your iOS device to the Wi-Fi network you
want your camera to use. (2.4Ghz only)
3. Download and open the ClareVision+ App.
1. Connect the camera to the power supply.
(within 10 ft of the router)
2. Press the WPS button on your router.
3. Within 120 seconds, press and hold the WPS/reset
button on the back of the camera for 2 seconds.
4. LED on the camera will turn solid blue when
connected to the network.
5. To view live camera footage, proceed to
Cloud P2P setup.
1. Tap > Cloud P2P.
2. Tap Register.
3. To add the camera to your Cloud P2P account,
tap , and then scan the label on the back of
the camera.
Note: When using the Wi-Fi option, ensure that your
iOS device is connected to the same network
that you want the camera to join.
* ClareVision+ micro SD cards come pre-formatted for ClareVision+
cameras. Other micro SD cards will need to be formatted before use.
* iOS device only required for Wi-Fi setup. After setup, you may use iOS or
Android devices for viewing and playback.
The camera can be unplugged and moved to a dierent location after
setup. It will automatically reconnect to the network.
Note: For camera LED light status, refer to page 2.
3 4 5
Installation Option 1: WPS (Wireless Protected Setup) Installation Option 2: Wi-Fi Setup - iOS Only* Access Cameras From Anywhere With Cloud P2P!
Easily View Recorded Video Footage
a. Tap .
b. Tap > Devices.
c. Tap > Wi-Fi Conguration.
d. Tap , and then scan the label on the back of the camera.
e. Tap Next. Your network’s SSID (Wi-Fi name) displays.
f. Enter your Wi-Fi password, and then tap Next.
g. Follow the displayed instructions, and then tap Next.
The connection page displays a countdown timer.
h. After connecting, Enter the cameras username
(clareadmin) and password (secure7) and tap .
i. Tap Start Live View.
j. Proceed to Cloud P2P setup.
a. Enter your Email and the displayed Captcha code, and
then tap Get Verication Code.
b. Access your email, copy the verication code, and return to
the ClareVision+ App.
c. Paste the verication code into the eld, tap Next.
d. To create your Cloud P2P account, enter your preferred
username and password, tap Finish.
e. Now, login to Cloud P2P by entering your username and
password, tap Login.
a. Enter the verication code on the camera’s label (located
on the back of the camera) and then tap Conrm.
5. Tap the camera, and then tap Live View.
4. The camera populates, tap .
The camera is now accessible from anywhere using the
ClareVision+ App.
No Router
Conguration
Needed!
