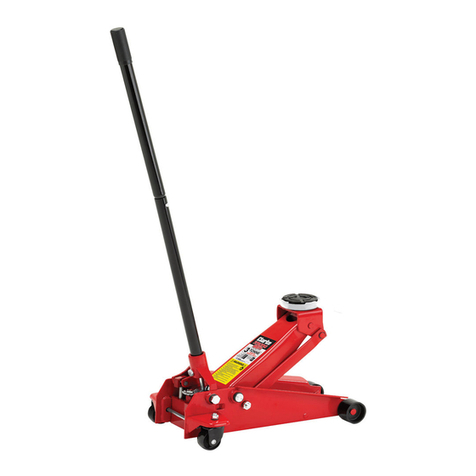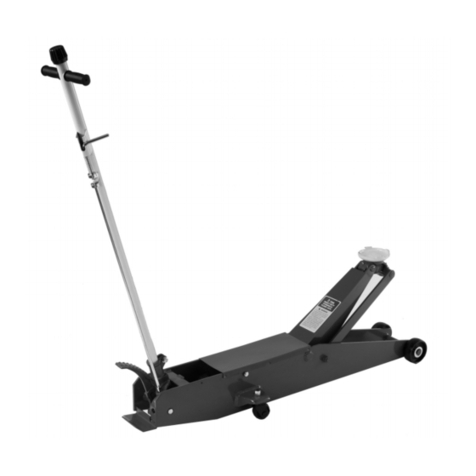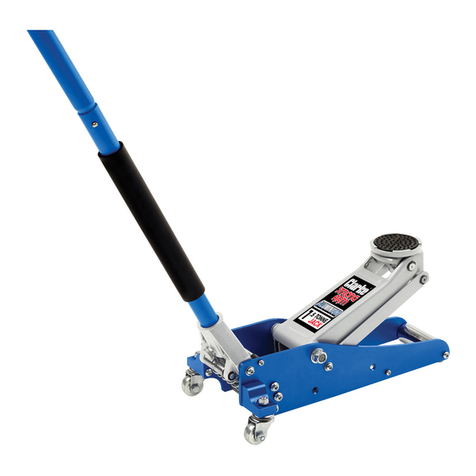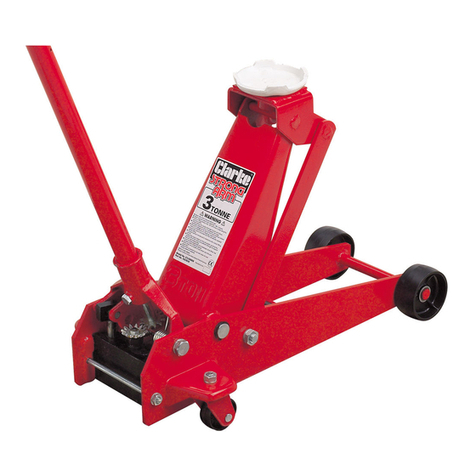
1. This jack is for lifting ONLY..DO NOT move a load using the jack as a dolly
2. Always inspect the jack before use. Ensure that all parts are in good condition and
operating smoothly, the wheels are sound and that no cracks or distortion is apparent.
If in doubt do not use. Have the parts replaced or consult your CLARKE dealer.
3. Ensure the jack is on a firm solid base, and that there is no likelihood of it slipping when
under load.
4. Ensure the load is taken by the FULL saddle and that the point of lift on the load, is of
sufficient strength to support the full load adequately.
5. Always ensure that the load is stabilised or supported in such a way that it will not shift
during lifting or lowering operations.
6. Always use supports to stabilise the load once lifted. NEVER work on or under a load unless it
is fully and adequately supported. NEVER rely upon the jack to hold the load in position.
7. Never push a load off the jack.
8. Ensure that all personnel are well clear of a load being raised, or lowered.
9. NEVER exceed the rated load for the jack (see ‘Specifications’).
10. Do not use if an oil leak is apparent...Consult your Clarke dealer.
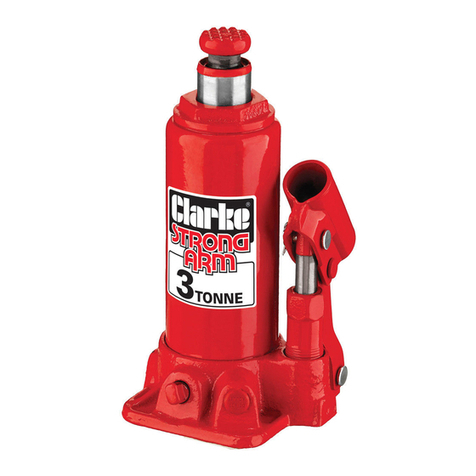
SPECIFICATIONS
Maximum load (tonnes) 3
Minimum Height (mm) 115
Maximum Height (mm) 485
Overall Length (mm) 660
Overall Width (mm) 345
Nett Weight (kgs) 39
Part No. 7623030
ASSEMBLY
1. Connect the two halves of the Operating Handle
and secure with a nut and bolt.
2. Remove the packing wedge shown in fig. 1.
3. Remove the locating screw from the rear of the
handle housing, shown in Fig.2, and insert the
handle into the housing, ensuring the square
drive on the end of the handle, engages fully with
the square spigot within the housing. Replace and
tighten the locating screw.
OPERATION
Ensure the load is chocked and stable and on firm level ground, before manoeuvring the
jack so that the saddle is directly beneath the lifting point. Consult the vehicle handbook
to determine the correct lifting points.
RAISING THE JACK
1. Turn the handle fully clockwise to close the release valve, and pump the handle,
until it reaches the jacking point.
2. Ensure the saddle is central about the lifting point, and that there are no
obstacles to prevent a clean lift, also, all personnel are well away from the area,
before continuing to pump the handle to raise the vehicle.
NOTE: The jack will move slightly during operation. It is important therefore that the
immediate vicinity is clean and completely free from debris.
WARNING!
NEVER work on the vehicle when it is resting on a jack. This is a highly dangerous
practice. The vehicle MUST be supported on axle stands, or suitable supports,
beneath jacking/support points recommended by the manufacturer. There should
be no load on the jack.
3. With axle stands directly beneath suitable support points, very carefully lower the jack on
to the supports, checking constantly, preferably with an assistant, that the vehicles’
support points rest snugly and cleanly on the supports. To lower the jack, proceed as
follows:
LOWERING THE JACK
VERY SLOWLY and CAREFULLY, turn the handle anticlockwise - as you do so the jack will
lower. To stop it lowering...turn the handle clockwise again. Ensure this operation is carried
out under complete control. DO NOT allow the load to drop suddenly as this could
damage internal components.
MAINTENANCE
Before Use.
Inspect for distortion of components, and security of all nuts and bolts. If in doubt, do not use.
Have damaged parts repaired or replaced. If necessary, consult your CLARKE dealer.
Every 6 months
Oil all joints, linkages, the pump roller and front wheel hubs. Grease main Pivot.
NOTE: Lubrication and cleanliness is important as dirt, rust etc can cause a jerky action
which could damage internal components.
SAFETY PRECAUTIONS
Fig.1
Fig.2
