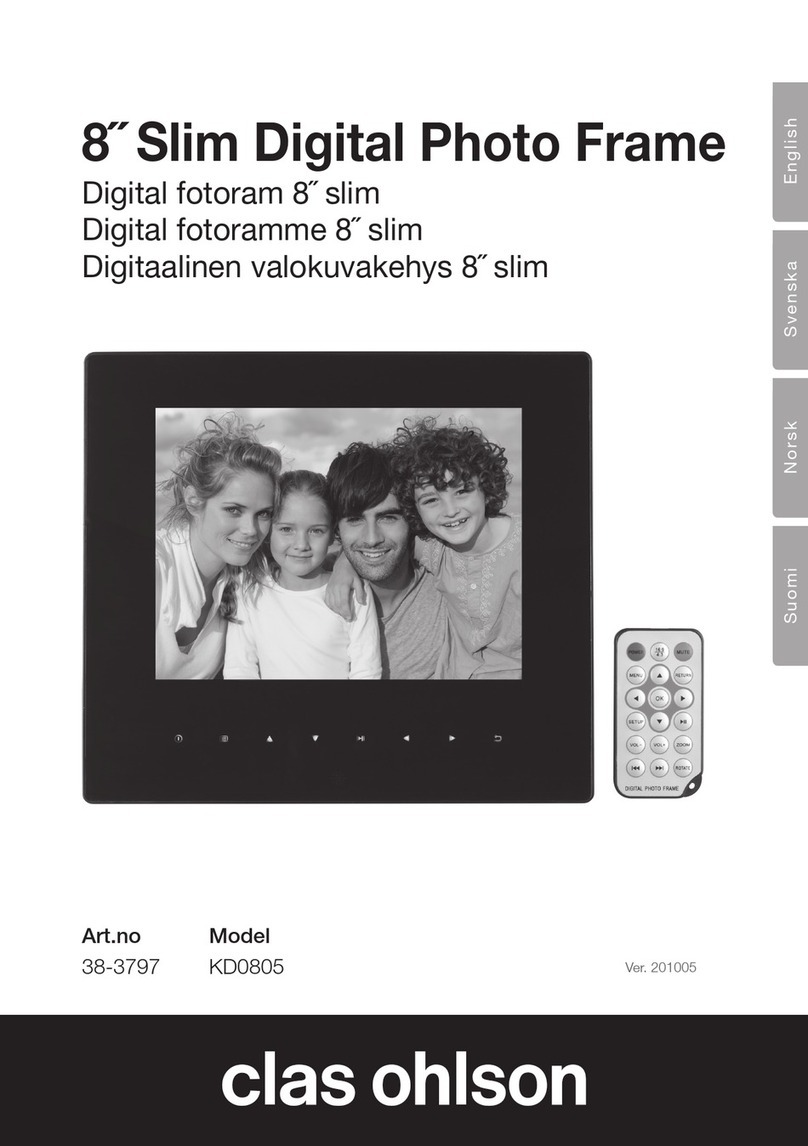
Clas Ohlson PF283A2 User manual

ENGLISH SVENSKA NORSK SUOMI
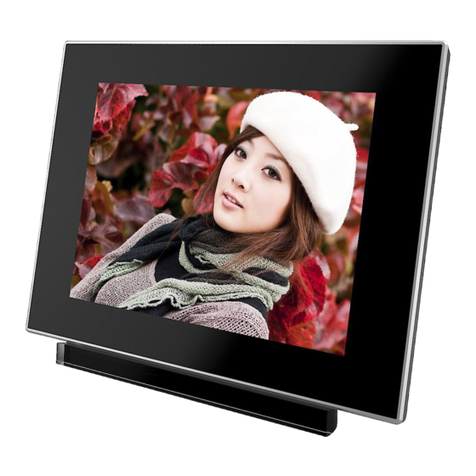
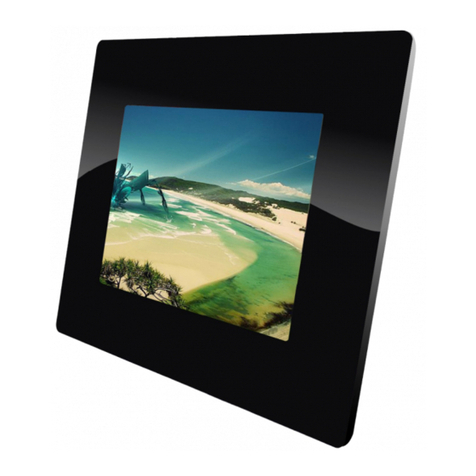
8˝ Digital Photo Frame
Article number 38-2983
Model PF283A2

2
ENGLISH
8˝ Digital Photo Frame
Art.no. 38-2983, model PF283A2
Please read the entire instruction manual before using and save it for future use.
We apologise for any text or photo errors and any changes of technical data.
If you have any questions concerning technical problems please contact our
Customer Service Department (see address on reverse.)
Table of Contents
1. Safety.....................................................................................................2
2. Product Description ...........................................................................3
3. Buttons and Functions ......................................................................4
4. Getting Started .................................................................................. 6
5. Operating Instructions ..................................................................... 8
6. Settings ...............................................................................................12
7. Show Calendar ..................................................................................14
8. Care and Maintenance ....................................................................14
9. Troubleshooting Guide ..................................................................14
10. Disposal ........................................................................................... 15
11. Specications ................................................................................. 15
1. Safety
Warning: Do not open the casing! Certain components within the product’s casing
contain dangerous currents. Contact with these may give you an electric shock.
- The product should only be repaired by qualied service personnel.
- The product should not be taken apart or modied.
- Do not place product where it can fall into water or other liquid. Do not place
any objects which contain liquid on top of product, e.g. ower vase or drink.
- Do not cover the ventilation valves. Neither should the product be placed close
to hot environments such as above radiators, on top of a TV or anywhere the
ventilation ports are blocked.
- Always remove the plug from the electric outlet if the product will not be used
for a longer time.
3
ENGLISH
- The product is made for 8 – 10 hours continuous operation, avoid using it for
longer. Let the product rest for a little bit before it is used again.
- The product is intended only for use indoors.
- Do not expose the product to direct sunlight for long periods of time.
- Do not use the product in damp, dusty, or dirty environments.
- Only use a lightly moistened cloth with a little dish detergent to clean
the screen.
- Do not disconnect the adaptor while playing. The connected memory may be
damaged. Do not remove the connected memory when it is being played.
2. Product Description
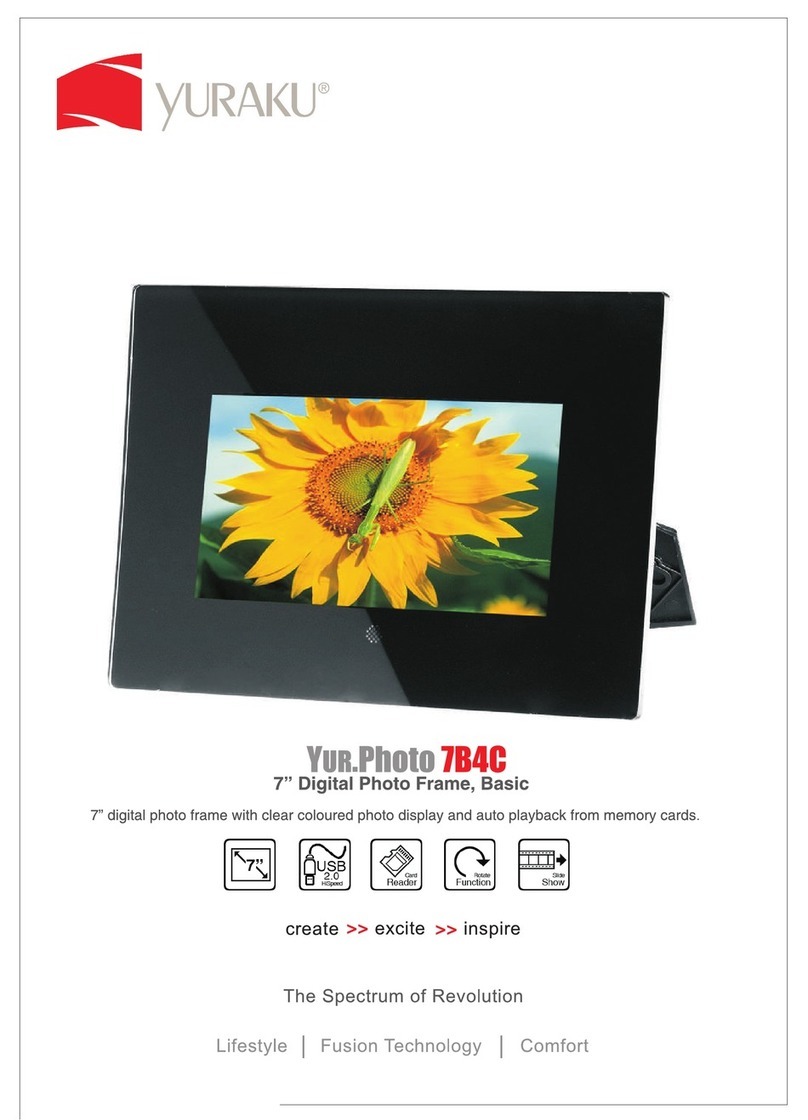
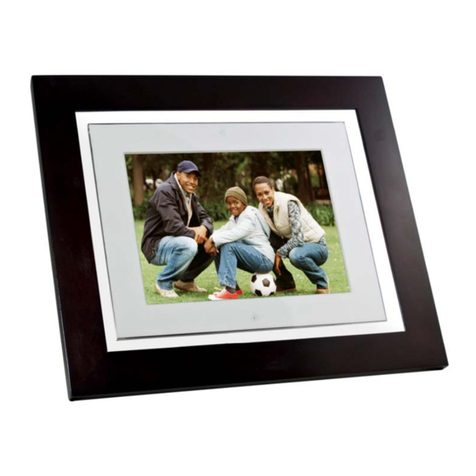
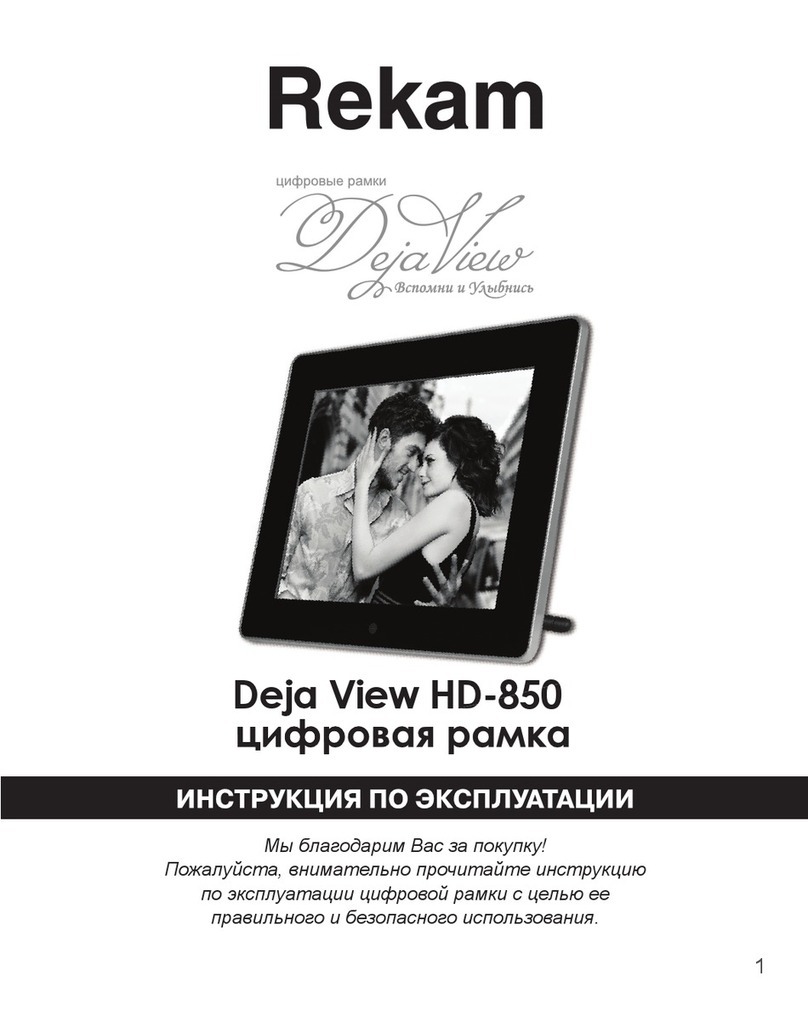
- Digital photo frame with 8˝ colour screen
- Shows your digital photos without a computer
- Connector for USB memory or memory card (SD/MMC/MS/CF)
- Support for music playing (MP3) and screening of movie (MPEG4)
- Built-in speaker
- Comes with remote control and adaptor

4
ENGLISH
3. Buttons and Functions
Button/Connection Function
1. SD/MMC/MS Memory card slot (SD/MMC/MS)
2. CF Memory card slot (CF)
3. USB HOST Connection for USB memory, MP3 player etc. (USB 2.0)
4. Headphone outlet (3,5 mm)
6. DC Adaptor socket (9 V DC, 1.5 A)
7. Table stand Mounts on the photo frame’s back
8. IR IR receiver for remote control
9. Play/Pause/Conrm
10. M Push to open the main menu. Push and hold to show the
OSD menu at photo or lm screening
11. Stop/Return to previous menu
12. Move to the left in menus Rotates the photo 90 degrees
anti-clockwise
13. Move to the right in menus Rotates the photo 90 degrees
clockwise
14. Move up in menus/Previous photo/track/movie
15. Move down in menus/Previous photo/track/movie

5
ENGLISH
The Remote Control
Button Function
1. POWER Turns the device on or off
2. Move up in menus/Previous
photo/track/movie
3. Move to the left in menus. Rotates
the photo 90 degrees anti-clockwise
4. MENU Opens the main menu
5. Move down in menus/Previous
photo/track/movie
6. Fast rewind (music/lm)
7. Push to zoom in the photo
8. 4:3/16:9 Change photo format 4:3 or 16:9
9. VOL+ Increases the sound
10. SETUP Open/exit the settings menu
11. OK Conrms/Starts or pauses
the playing
12. Move to the right in menus. Rotates
the photo 90 degrees clockwise
13. OSD Displays the OSD menu
14. Stop/Return to previous menu
15. Fast forward (music/lm)
16. Start slideshow with
background music*
17. Starts or stops the music playing
during current slideshow
18. VOL- Decreases the volume
* Only if the connected memory contains
music les.

6
ENGLISH

7
ENGLISH
4.3 Power supply
1. Plug the included adaptor into a wall socket.
2. Then connect the adaptor’s DC plug to the
connector marked DC on the photo frame.
3. Set the switch on the photo frame’s back in ON
position to turn on the device.
N.B.
- Usually the POWER (1) button on the remote control is used to turn on/off or
put the photo frame in standby mode. To completely turn off the photo frame
the switch on the back of the device must be set in position OFF.
- Always remove the plug from the electric outlet if the product will not be used
for a longer time.
4.4 Inserting a memory card or a USB memory
4.4.1 Memory card
The following memory cards can be used:
- Secure Digital (SD)
- Multimedia Card (MMC)
- Memory Stick (MS)
- Compact Flash (CF)
If your digital camera uses any of the above mentioned memory
cards you can connect the camera’s memory card directly to the
photo frame.
1. Insert the memory card in the output marked SD/MMC/MS
(1). Carefully insert the card in the holder.
2. Remove the card by pulling it straight out.
4.4.2 USB memory
To the connector USB HOST (3) USB equipment such as
a USB ash memory or an MP3 player with USB connector
can be connected.

8
ENGLISH
5. Operating Instructions
5.1 Main menu
The main menu is displayed when the device is
turned on. When a memory card/USB memory is
connected each icon respectively is shown in the
main menu. The icons “Setup” and “Calendar” are
always displayed in the main menu.
Icon Function
USB Is shown when a USB memory is connected.
SD/MMC Is shown when a SD or MMC memory card is connected.
MS Is shown when a MS memory card is connected.
CF Is shown when a CF memory card is connected.
SETUP Always displayed. Change settings.
CALENDAR Always displayed. Opens the calendar.
- The instructions below describe usage of the remote control’s buttons.
- Use and to navigate in the main menu. Conrm your choice with OK.
- Push to go back to the previous or push MENU to resume to the main menu.
5.2 Slideshow
The slideshow displays all photos in JPEG format that are stored on the connected
memory and shows these in a slideshow. If the memory also contains music les
these are played simultaneously as the slideshow.
1. Connect a USB memory or a memory card containing image les with the
format JPG/JPEG.
2. Mark the memory you want to show photos from and then push to
start the slideshow.
3. The device automatically nds the les on the connected memory and
starts the slideshow.
4. Controls:
OK – Pauses the slideshow.
– Starts or stops the playback of the background music.
/ – Next/previous photo.
/ – Rotates the photo anti-clockwise/clockwise.
– Zoom in the photo.
– Return to the thumbnails mode.
5. Push MENU to return to the main menu.
N.B.
The slideshow starts automatically if no button is pushed within 6 seconds from
the moment the photo frame was turned on, as long as a memory card/USB
memory is connected.

9
ENGLISH
5.3 Picture viewer (Photo)
The picture viewer can display photos in JPEG format.
1. Connect a USB memory or a memory card containing image les with the
format JPG/JPEG.
2. Mark the connected in the main menu, e.g. “SD/MMC” and then push OK.
3. Choose Photo and conrm with OK.
4. The photos in the memory are displayed as thumbnails.
5. Choose desired photo to be displayed with , , or . Push OK to
start a slideshow from the start with background music (if the memory contains
music les).
6. Controls:
OK – Pauses the slideshow. Push again to start the slideshow again.
/ – Next/previous photo.
/ – Rotates the photo anti-clockwise/clockwise.
OK – Start the slideshow with start at current photo.
– Zoom in the photo.
– Return to the thumbnails mode.
7. Push MENU to return to the main menu.
5.4 Using the OSD menu (On Screen Display)
1. Choose photo display, push OSD (13) on the remote control to show
the OSD menu.
2. The OSD menu shows which controls that can be used when the photo is
shown, and the information about the current photo.
3. Use and to navigate in the OSD menu. Press OK to conrm the setting.
– Starts the slideshow.
– Previous photo.
– Next photo.
– Starts or stops the playback of the background music.
– Starts slideshow with background music
– Zoom in the photo.
4. Push again on OSD to close the OSD menu.

10
ENGLISH
5.5 Music playback (Music)
The music player can play music les in MP3 format.
1. Connect a USB memory or a memory card containing image les with
the MP3 format.
2. Mark the connected in the main menu, e.g. “SD/MMC” and then push OK.
3. Choose Music and conrm with OK.
4. Available music les are displayed in a list.
5. Mark desired music le with or .
6. Push OK to start playback.
7. Controls:
OK – Pauses the playback. Push again to start the playback again.
VOL+ / VOL- – Adjusts the volume.
/ – Chooses previous or next track.
/ – Fast rewind or fast forward. Push OK to stop the fast forward or
rewind and continue the playback where it was stopped.
8. Stop the playback by pushing , push again to return to the main menu.
5.6 Movie playback
The device can play video les in the formats MPEG-1/M-JPEG/MPEG-4.
1. Connect a USB memory or a memory card containing video les with the
format MPEG-1/M-JPEG/MPEG-4.
2. Mark the connected in the main menu, e.g. “SD/MMC” and then push OK.
3. Choose Movie and conrm with OK.
4. Available video les are displayed in a list.
5. Mark desired video le with or .
6. Push OK to start playback.
7. Controls:
OK – Pauses the playback. Push again to start the playback again.
VOL+ / VOL- – Adjusts the volume.
/ – Chooses previous or next video.
/ – Fast rewind or fast forward. Push OK to stop the fast forward or
rewind and continue the playback where it was stopped.
8. Stop the playback by pushing , push again to return to the main menu.

11
ENGLISH
5.7 File manager (File)
The le manager shows available les on connected memories. You can also
copy more les between connected memories.
1. Connect a USB memory or a memory card containing photo, sound, or video
les with the format JPG/JPEG/MP3/MPEG-1/M-JPEG/MPEG-4.
2. Select the connected memory in the main menu, e.g. “SD/MMC” and then
push OK.
3. Choose File and conrm with OK.
4. Available les that the photo frame can handle are displayed in a list.
5. Select desired le with or .
6. Push OK to show the photo/start playback.
7. Push OK to open a subfolder. Back up a level in the subfolder with .
8. Push to return to the main menu.
5.7.1 Copying les
To copy les you must have two memories connected to the photo frame, e.g. a
USB memory and a memory card.
1. Choose the le you wish to copy with or .
2. Push to mark the le, the le is marked with √. Push again to unmark the le.
3. Repeat steps 1 and 2 if you want to mark more les.
4. Push OSD, a menu with the options COPY and DELETE is shown to the right
of the list.
5. Mark COPY with or and conrm with OK. Other connected memories are
shown in a list.
6. Choose desired memory to copy the les to with or . Push to choose
the folder the les should be copied to.
7. Push OK to start copying.
8. When the les have been copied the message “Finished” is shown.
9. Push OK to return.

12
ENGLISH
5.7.2 Erasing les
1. Choose the le you wish to copy with or .
2. Push to mark the le, the le is marked with √. Push again to unmark the le.
3. Repeat steps 1 and 2 if you want to mark more les.
4. Push OSD, a menu with the options COPY and DELETE is shown to the right
of the list.
5. Mark DELETE with or and conrm with OK.
6. Use and to choose √ to conrm, or x to nish without removing the le/
les. Then push OK to nish the erasing.
N.B. This choice cannot be taken back!
7. When the les have been copied the message “Finished” is shown.
8. Push OK to return.
6. Settings
1. Alt. 1: Mark SETUP in the main menu and conrm
with OK.
Alt. 2: Push SETUP on the remote control.
2. Use and to unmark desired setting according
to the list below.
3. Push or to change marked setting. Conrm
with OK.
Setting Explanation
Language Changes the desired menu language. (English, German,
French, Italian, Spanish, Portuguese, Dutch, Polish)
Slideshow time Decides how long each photo will be shown in slideshow
(3 sec. – 1 hour.)
Transition effect Chooses display effect for the slideshow.
Music repeat mode Repeat mode for playback of music.
Movie repeat mode Repeat mode for playback of music.
Auto power on Sets time for automatic activation.
Auto power off Sets time for automatic shut off.
Time Sets time and date.
Alarm Set the time for the alarm.
Default Resets the device to factory settings.

13
ENGLISH
6.1 Setting automatic on/off
The device can be set to turn the device on or off automatically at a certain time.
Automatic activation
1. Mark AUTO POWER ON.
2. Push to select hour, minute, or schedule.
3. Use or to change the setting that is marked.
Schedules:
Off – Turns off automatic activation.
Every – The photo frame starts according to set time every day.
Once – The photo frame starts according to set time only once.
4. Push OK to conrm.
5. If the photo frame is turned off it will be activated the next time the preset
time occurs.
N.B.
- Before you set time for on and off activation the device’s clock needs to be set.
See section 6.2.
- If the time for on or off activation has already passed activation will occur the
next day at the preset time.
- Only turn off the photo frame using the STANDBY button on the remote
control, do not turn it off with the switch on the back of the frame.
Automatic shut off
1. Mark AUTO POWER OFF.
2. Follow point 2-4 according to the instructions above.
- If the photo frame is turned on it will be activated the next time the preset
time occurs.
6.2 Setting time and date
1. Mark TIME.
2. Push to set year, month, day, hour, and minute.
3. Use or to change the setting that is marked.
4. Push OK to conrm.
6.3 Setting the alarm
1. Mark ALARM.
2. Push to select hour, minute, alarm signal, and schedule.
3. Use or to change the setting that is marked.
Schedules:
Off – Turns off the alarm.
Every – The photo frame rings according to set time every day.
Once – The photo frame rings according to set time only once.
4. Push OK to conrm.

14
ENGLISH
7. Show Calendar
The calendar shows current time, date, and month.
If a USB memory or memory card is connected a
current slideshow for the photos on the connected
memory is shown.
1. Mark CALENDAR in the main menu and push
OK. The calendar is displayed and the photos on
the connected memory are shown in a slideshow.
2. Push to return to the main menu.
N.B.
- The photo frame automatically shows the calendar if no feature has been used
for 5 minutes (not in pause mode).
- Time and date are set in the menu SETUP. See section 6.2.
8. Care and Maintenance
Use a soft damp cloth to wipe the product. Never use solvents or strong
detergents.
9. Troubleshooting
Trouble Remedy
The device does not start/
no photo is shown.
Check that the adaptor is connected correctly.
The device automatically
switches to standby mode.
Disconnect the adaptor and then connect it again.
The remote control
doesn’t work.
Check the battery and replace it if necessary. Point
the remote control towards the sensor. Minimize the
distance to the photo frame. Check that there are no
interferences between remote control and sensor.
No reading from the
memory card.
Check that the les on the memory card are sup-
ported by the device. See Specifications.
Some photos are
uploaded quicker than
others.
Photos with high resolution take longer to upload.
Use photos with lower resolution for quicker display.
Recommended resolution is 800x600 pixels, highest
resolution is 4000x4000 pixels.
Automatic on and off
does not work despite
activation.
- Check that the correct time has been set. If the
time for on or off activation has already passed
activation will occur the next day at the preset time.
- Only turn off the photo frame with the STANDBY
button on the remote control, do not turn it off
with the switch on the back of the frame.

15
ENGLISH
10. Disposal
Follow local ordinances when disposing of this product. If you are unsure about
how to dispose of this product contact your municipality.
11. Specications
Screen: 8˝ TFT LCD
Resolution: 800 (h) x 600 (v)
Operating Voltage: 9 V DC, 1.5 A via supplied mains adaptor
(100-240 V AC, 50/60 Hz)
Battery, remote control: 1 x CR2025 (3 V lithium)
USB connection: 2.0 (support for USB memory, MP3 player etc.)
Memory card connector: SD (Secure Digital), MMC (Multimedia Card),
MS (Memory Stick), CF (Compact Flash)
Picture format: JPEG (highest resolution: 4000x4000)
Sound format: MP3, 32-320 kbps bit rate (CBR, VBR)
Video format: MPEG-1, M-JPEG, MPEG-4 (SP, ASP)
Loudspeakers: Built-in
Operating temperature: 5 °C – 35 °C
Size: 216x182x28 mm
Weight: 602 g

16
SVENSKA
Digital fotoram 8˝
Art.nr 38-2983, modell PF283A2
Läs igenom hela bruksanvisningen före användning och spara den sedan för
framtida bruk. Vi reserverar oss för ev. text- och bildfel samt ändringar av tekniska
data. Vid tekniska problem eller andra frågor, kontakta vår kundtjänst
(se adressuppgifter på baksidan).
Innehållsförteckning
1. Säkerhet ............................................................................................. 16
2. Produktbeskrivning .........................................................................17
3. Knappar och funktioner ................................................................ 18
4. Komma igång ................................................................................... 20
5. Användning ....................................................................................... 22
6. Inställningar ..................................................................................... 26
7. Visa kalender .................................................................................... 28
8. Skötsel och underhåll .................................................................... 28
9. Felsökningsschema ......................................................................... 28
10. Avfallshantering ............................................................................ 29
11. Specikationer ............................................................................... 29
1. Säkerhet
Varning! Öppna inte höljet! Farlig spänning nns oskyddat på vissa komponenter
inuti produktens hölje, kontakt med dessa kan ge elektrisk chock.
- Produkten får endast repareras av kvalicerad servicepersonal.
- Produkten far inte demonteras eller ändras.
- Placera inte produkten så att den kan falla ner i vatten eller annan vätska,
ställ inte några föremål som innehåller vätska på produkten t.ex. blomvas
eller dryck.
- Täck inte för ventilationsöppningarna. Placera inte heller produkten i närheten
av varma ställen som ovanför element, ovanpå en teve eller i t.ex. i en soffa
där ventilationsöppningarna blockeras.

17
SVENSKA
- Ta alltid ur nätadaptern från eluttaget om inte produkten ska användas under
en längre tid.
- Produkten är konstruerad för 8 till 10 timmars kontinuerlig drift, undvik att
använda den under längre tid än så. Låt produkten vila en stund innan den
används igen.
- Produkten är endast avsedd för inomhusbruk.
- Undvik att utsätta produkten för direkt solljus under längre tid.
- Använd inte produkten i fuktiga, dammiga eller smutsiga miljöer.
- Använd endast en mjuk tvättduk som är svagt fuktad med vatten och milt
diskmedel vid rengöring av skärmen.
- Koppla inte ifrån nätadaptern samtidigt som uppspelningen pågår. Risk nns
för att det anslutna minnet skadas. Ta inte heller bort det anslutna minnet när
uppspelning pågår.
2. Produktbeskrivning
- Digital fotoram med 8˝ färgskärm
- Visar dina digitala bilder utan en dator
- Anslutning för usb-minne eller minneskort (SD/MMC/MS/CF)
- Stöd för musiklyssning (mp3) samt visning av lm (mpeg4)
- Inbyggda högtalare
- Lev. med fjärrkontroll och nätadapter

18
SVENSKA
3. Knappar och funktioner
Knapp/Anslutning Funktion
1. SD/MMC/MS Anslutning för minneskort (SD/MMC/MS)
2. CF Anslutning för minneskort (CF)
3. USB HOST Anslutning för usb-minne, mp3-spelare etc. (USB 2.0)
4. Anslutning för hörlurar (3,5 mm)
6. DC Anslutning för medföljande nätadapter (9 V DC, 1,5 A)
7. Bordsstöd Monteras på fotoramens baksida
8. IR IR-mottagare för fjärrkontrollens signaler
9. Play/Pause/Bekräfta
10. M Tryck för att öppna huvudmenyn. Tryck och håll in för att
visa OSD-menyn vid bild- eller lmvisning
11. Stopp/Återgå till föregående meny
12. Förytta dig till vänster i menyer. Roterar bilden
90 grader motsols
13. Förytta dig till höger i menyer. Roterar bilden
90 grader medsols
14. Förytta dig uppåt i menyer/Föregående bild/spår/lm
15. Förytta dig nedåt i menyer/Nästa bild/spår/lm

19
SVENSKA
Fjärrkontrollen
Knapp Funktion
1. POWER Slår på eller av enheten
2. Förytta dig uppåt i menyer/
Föregående bild/spår/lm
3. Förytta dig till vänster i menyer.
Roterar bilden 90 grader motsols
4. MENU Öppnar huvudmenyn
5. Förytta dig nedåt i menyer/
Nästa bild/spår/lm
6. Snabbspola bakåt (musik/lm)
7. Tryck för att zooma i bilden
8. 4:3/16:9 Ändra bildformat, 4:3 eller 16:9
9. VOL+ Höjer ljudvolymen
10. SETUP Öppna/gå ur inställningsmenyn
11. OK Bekräfta/Startar eller pausar
uppspelningen
12. Förytta dig till höger i menyer.
Roterar bilden 90 grader medsols
13. OSD Visar OSD-menyn
14. Stopp/Återgå till föregående meny
15. Snabbspola framåt (musik/lm)
16. Starta bildspel med
bakgrundsmusik*
17. Startar eller stoppar musikupp-
spelning vid pågående bildspel
18. VOL- Sänker ljudvolymen
* Endast om det anslutna minnet innehåller
musikler.

20
SVENSKA
Table of contents
Languages:
Other Clas Ohlson Digital Photo Frame manuals

Clas Ohlson
Clas Ohlson PF173C2 User manual

Clas Ohlson
Clas Ohlson KD0706-S08-UK User manual

Clas Ohlson
Clas Ohlson PF-7AW-103-UK User manual

Clas Ohlson
Clas Ohlson PF103A2-A User manual

Clas Ohlson
Clas Ohlson PF-8DN-283V3RTC User manual

Clas Ohlson
Clas Ohlson D3721 User manual

Clas Ohlson
Clas Ohlson DPF-108P User manual

Clas Ohlson
Clas Ohlson DP730AD-UK User manual

Clas Ohlson
Clas Ohlson KD0805 User manual

Clas Ohlson
Clas Ohlson PF-10DN-502V3RC User manual