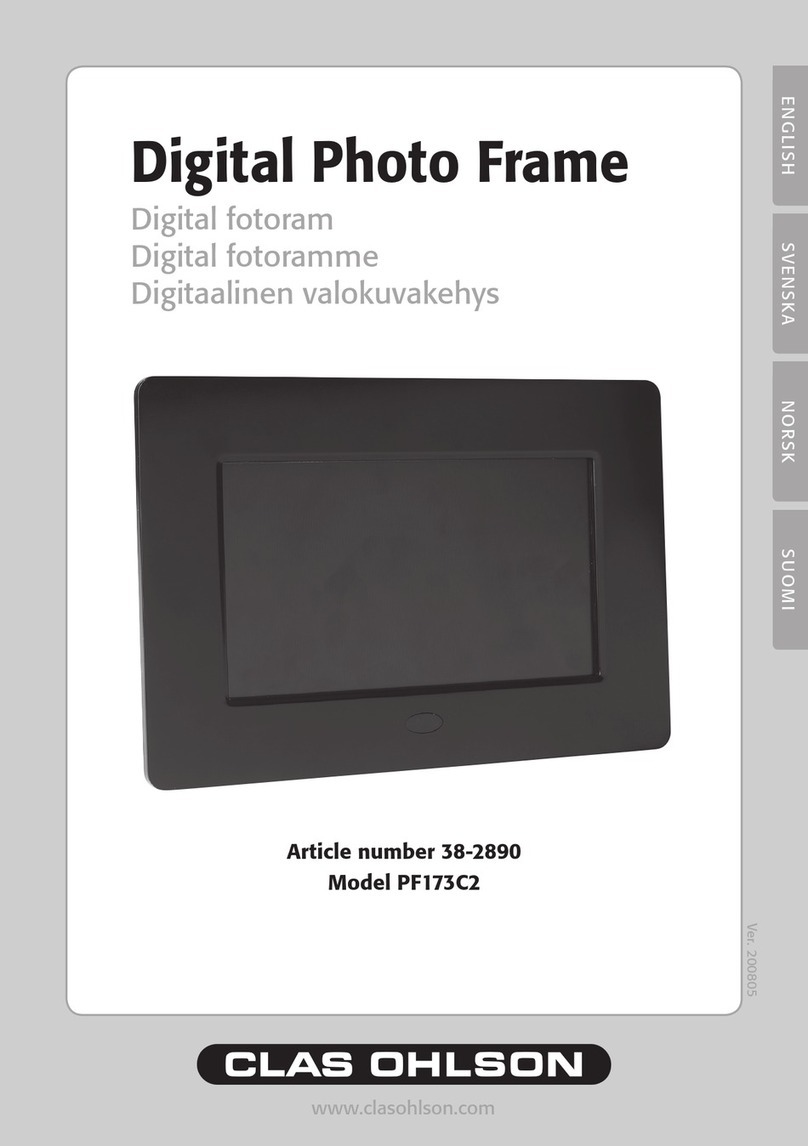
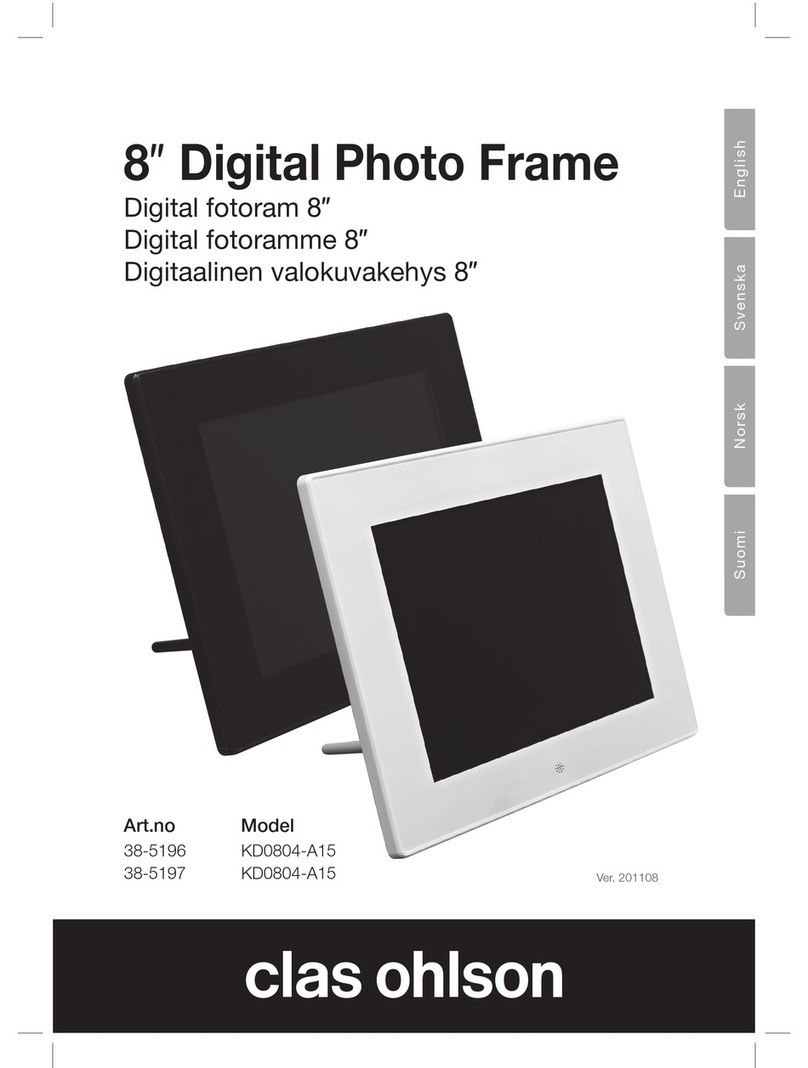
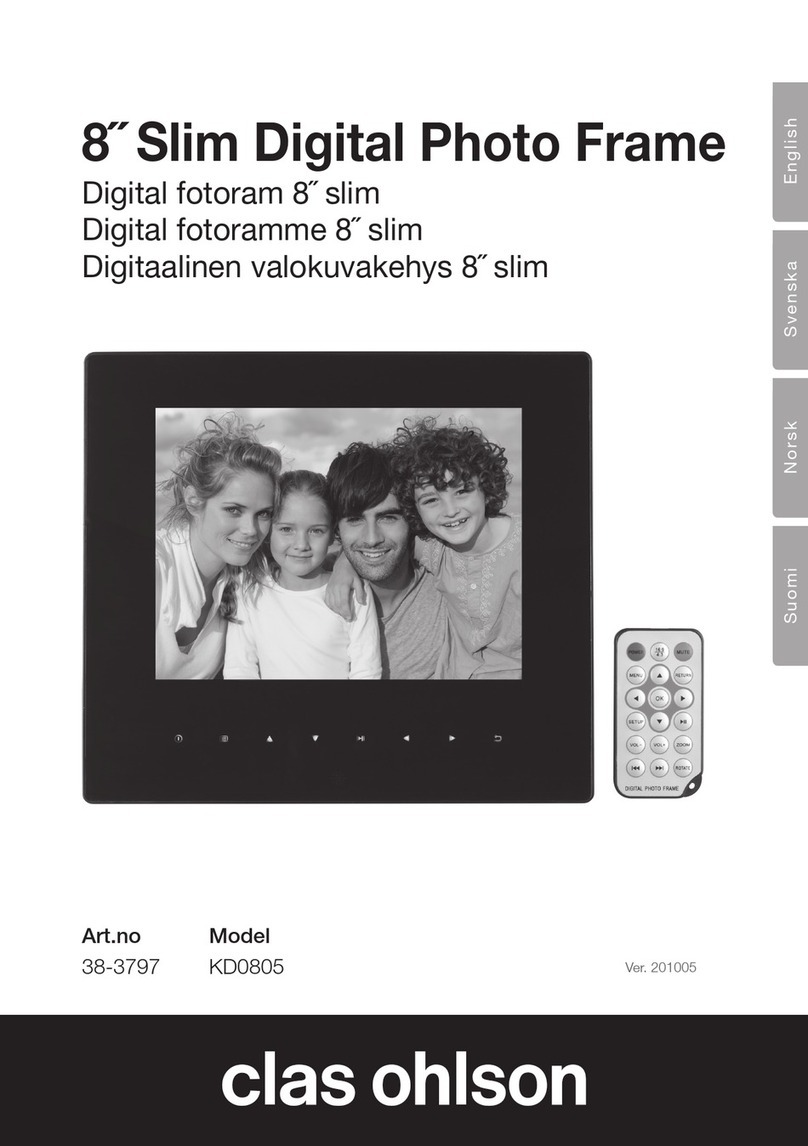
Clas Ohlson DPF-108P User manual

ENGLISH SVENSKA NORSK SUOMI
8-46
Digital Photo Frame
Model/Modell/Malli: DPF-108P


ENGLISH
Digital Photo Frame
Article number: 8-46, model: DPF-108P
Please read the entire instruction manual before using and save it for future use.
We apologise for any text or photo errors and any changes of technical data.
If you have any questions concerning technical problems please contact our
Customer Service Department (see address on reverse.)
1. Remember!
• Do not open the casing! Contact with dangerous exposed high
voltage components inside the casing may result in electric shock.
• The product may only be repaired by qualied technicians.
• Do not disassemble or modify the product.
• Do not place the product where it may fall into water or other liquids. Do not
place objects containing liquid, such as a ower-vase or a soft drink, on top of
the product.
• Do not cover the ventilation openings.
• Unplug the transformer from the electrical outlet if the product is not to be used
for an extended period of time.
• The product is only intended for indoor use.
• Avoid exposing the product to direct sunlight for extended periods of time.
• When cleaning the screen, use only a soft cloth, moist with water and mild
detergent.
• Be careful when handling the screen, so that the surface is not scratched or
otherwise harmed.
. Contents
1. Remember! ---------------------------- 3
2. Contents ------------------------------ 3
3. Description ----------------------------- 4
4. Functions and connections ----------------- 5
5. Use ---------------------------------- 9
5.1 Listen to music (MP3) -------------------- 10
5.2 Show pictures -------------------------- 10
6. Change function during playback ------------ 10
7. Basic setup --------------------------- 12
8. Troubleshooting ------------------------ 14
9. Specications -------------------------- 15

4
ENGLISH
. Description
• Show digital photos from different types of memory cards, without a computer.
Supports the following types of memory card: Secure Digital (SD), Multimedia
Card (MMC), Memory Stick (MS), Memory Stick PRO (MS Pro) and USB Flash
(USB). (Memory card not included).
• Show digital photos (JPEG) without a computer.
• Insert memory card into the digital photo frame and show pictures or movies
while playing MP3 music.
• Built-in speakers.
• Plays: JPEG, MPEG 4 and MP3 -les saved on a compatible memory card.
• Supports JPEG les up to 12 megapixels, but remember that large pictures
with high resolution take longer to open than smaller pictures!
• Suitable for JPEG-pictures and -movies from most digital cameras on the
market.
• Remote control included.
• 7 " TFT colour LCD screen.
• Eight different settings for slideshows and picture display time.
• Show pictures and listen to MP3-music at the same time.
• Supports the following formats, among others: JPG, WMA, MP3 and MPEG 4.

ENGLISH
◄ ◄ ◄ ◄
4. Functions and connections
Top
Slot for memory card.
Press repeatedly to select mode: Brightness, Contrast, Colour, Hue,
Volume, Up/Down Rotate, Mode and Memory Recall.
◄ Left, press the button to move to the left.
► Right, press the button to move to the right.
▲ Up, press the button to move up.
▼ Down, press the button to move down.
Press the button to stop playback or to return to previous window.
Press the button to start playback, press and hold for a few seconds to
start playback if the product has been turned off.
Press the button and hold for a few seconds to turn off the digital
photo frame.
Left side
Output for headphones
AV output
AV input
Bottom
12V input for transformer

6
ENGLISH
Remote control
Remote control functions
1. Power Off/On
2. [+] Select function, upwards
3. [SEL] Press repeatedly to advance to the required mode: Brightness, Contrast,
Colour, Hue, Volume, Up/Down Rotate, Mode and Memory Recall
4. [+] Select function, downwards
5. Press to mute temporarily
6. [MUSIC] Select music les
7. [PHOTO] Select photo les
8. [MOVIE] Select movie les
9. [SETUP] Modes
10. [] Move up
11. [Return] return to previous window
12. [FILE] Show all les
13. [] Move to the left
14. [ENTER/MENU] Conrm choice, start show

ENGLISH
1
15. [] Move to the right
16. [VOL -] Turn down the volume
17. [AV] Switch between AV input/output modes
18. [] Move down
19. [TIME] Switch between elapsed time and remaining time when playing a movie
20. [VOL +] Turn up the volume
21. [] Press the button to pause playback, press again to resume playback
22. [■] Stop playback
23. [N/P] Select appropriate video system: NTSC, PAL or MULTI. (PAL is used in
Europe)
24. [AUDIO] Switch between different audio tracks when playing movies
25. [◄◄ ] Go back to previous le
26. [ ►► ] Go to next le
27. [ I◄◄ ] Go back to previous folder
28. [►►I ] Go to next folder
29. [DISP] Press button to update display mode
30. [ZOOM] Increase the size of the picture up to 2x or reduce it down to 1/2 the
size
31. [SLOW] Play in slow motion, at l/2x, l/4x, l/8x, or 1/16 times the normal speed
(only AV-les)
32. [MODE] Return to the ROOT-menu
Insert battery to the remote control
Insert the battery as shown in the pictures;
note the polarity markings (+) in the battery
case.
Remove any plastic cover off the battery
before use.

8
ENGLISH
Battery life
• The battery will normally last for up to a year, but naturally that depends on
how much the remote is used.
• Change the battery when the remote control stops working, even if held close
to the sensor on the digital photo frame.
• The remote is powered by a CR2025 battery (3V).
Use the remote control
Aim the remote control towards the sensor on the front of the digital photo frame,
the range of operation is up to 5 metres (if the remote control is aimed at right
angles to the sensor!).
• The range of operation may vary depending on how bright the room is.
• Do not aim sources of light towards the sensor on the digital photo frame.
• Do not place any objects between the remote control and the sensor on the
digital photo frame.
• Do not use this remote control and remote controls for other appliances at the
same time.
Connections
• Make sure that all cables are disconnected from the digital photo frame before
connecting the transformer.
• Make sure that the digital photo frame and all other signal sources are
switched off, or the transformer unplugged, before connecting.
• Keep the ventilation openings clear, so that cooling air may circulate freely.
• Read the manuals for involved products before connecting them to the digital
photo frame.

ENGLISH
. Use
- Place the digital photo frame on a at surface or hang it on the wall.
- Connect the enclosed transformer to an electrical outlet and to the DC 12V-
input at the bottom of the digital photo frame.
- The digital photo frame works best with only one memory card, USB ash
drive etc. connected at a time. If several storage media are connected
simultaneously, the display will get slower.
- Make sure that everything is plugged in correctly.
1. Insert a compatible memory card or another storage medium, like an USB
ash drive.
2. Turn on the digital photo frame by pressing (1) on the remote control or [ON/
OK] on the top of the digital photo frame.
3. The display will show all connected memory cards or other storage media.
4. Use the arrow buttons [] and [] to select memory card/storage medium,
press [ENTER/MENU] to open selected medium (only connected storage
media are shown).
5. Use the arrow buttons [] and [] to select what is to be shown on the
screen. Choose between PHOTO, MUSIC, MOVIE or FOLDER, and then
press [ENTER/MENU] to conrm your choice (only the type of les that exist on
the chosen storage medium are shown).
6. Use the arrow buttons [] and [] to select a le to be shown on the screen*,
then press [ENTER/MENU] to conrm your choice.
7. The slide show will start automatically after a few seconds with the chosen le.
* It is also possible to select two les at the same time, for example to listen to
music during a slide show.

10
ENGLISH
.1 Listen to music (MP)
1. Use the arrow buttons [] and [] to select the memory card/storage medium
where the music has been saved, conrm by pressing [ENTER/MENU].
2. Select MUSIC to show all music les.
3. Select a music folder and conrm by pressing [ENTER/MENU].
4. Select a le and conrm by pressing [ENTER/MENU].
5. Playback starts.
6. Press [◄◄ ] or [ ►► ] to get to the next, or previous, le.
. Show photos
1. Press [PHOTO] and select the storage medium where the photo folder is
located, conrm by pressing [ENTER/MENU].
2. Select the folder in question and conrm by pressing [ENTER/MENU].
3. Select a photo to start with and conrm by pressing [ENTER/MENU]. In a few
seconds the photo will start showing and the music will start.
4. Switch to next/previous photo by pressing [ ►► ] (next) or [◄◄ ] (previous).
5. Rotate the photo on display 90° or 180° as needed by using the arrow buttons
on the remote control.
6. Increase/decrease the size of the photo by pressing [ZOOM] to activate the
picture size mode. Press [FF] to increase the size of the picture by up to 125%,
press again to increase it to 150% and again to increase it to 200%. Press
[FR] to decrease the size of the photo to 75% and again to decrease it to 50%.
Press [ZOOM] to close the mode.
6. Change function during playback
Start by placing pictures and music les in the same folder, this is best done by
using a computer. Remember that larger pictures take longer to open!
Music
Press [MUSIC] to show the music les on the selected storage medium, use the
arrow buttons [] and [] to select a music le, conrm by pressing [ENTER/
MENU] and the music will start. Choose a suitable volume by pressing [SEL]
repeatedly and select VOLUME, adjust the volume using [+] and [-].

11
ENGLISH
Photos
Press [PHOTO] to show the photo les on the selected storage medium, use the
arrow buttons [] and [] to select a le, conrm by pressing [ENTER/MENU] and
the photo will start showing.
Movie
Press [MOVIE] to show the movie les on the selected storage medium, use the
arrow buttons [] and [] to select a le, conrm by pressing [ENTER/MENU] and
the movie will start.
Open the main menu [SEL]
1. Press [SEL] on the remote control to open the main menu. Press repeatedly to
skip between modes.
2. The modes are: Brightness, Contrast, Colour, Hue, Volume, Up/Down Rotate,
Mode and Memory Recall.
3. Change mode by using [+] and [-] on the remote control.
Show connected storage media [MODE]
Press [MODE] during playback to show all connected storage media (memory
card, USB ash drive etc.). Use the arrow buttons [] and [] to select a storage
medium to use, then press [ENTER/MENU] to conrm your choice.
[PHOTO]
Press [PHOTO] during playback to list all photo les.
[MUSIC]
Press [MUSIC] during playback to list all music les.
[MOVIE]
Press [MOVIE] during playback to list all movie les.
[FILE]
Press [FILE] during playback to list all les on the selected storage medium.
Play a movie in slow motion [SLOW]
Press [SLOW] while a movie is playing. Press once to play at l/2x, press again to
play at l/4x, l/8x, or 1/16 of the normal speed (only AV-les).

1
ENGLISH
. Basic setup
Get to basic setup by pressing [SETUP].
Use the arrow buttons to change the mode.
1. Open the settings for TV type, select the type you use: PAL, MULTI
or NTSC (the PAL system is used in Europe), press [ENTER/MENU] to conrm
the setting.
2. Select language for the menus.
3. Select display time of photos, 1, 5, 10, 30 or 40 seconds.
4. Open Repeat Mode, choose between: Random, Single (repeat
all once), One (repeat current le), Folder (repeat the whole le) and None (no
repeat), press [ENTER/MENU] to conrm the setting.
5. Choose between: Auto Play, Photo, Music and Movie (Off/On)
press [ENTER/MENU] to conrm the setting.
6. (Screen picture shown when no memory card is inserted).
Press [] to open the settings for Set Logo Type, choose between: Default
and Captured (your own picture).
Add your own picture this way:
a) Show the selected picture on screen.
b) Go down to , press [] to go to Capture, press [ENTER/MENU] to
conrm that the picture is to be saved.
c) Wait! Capture Logo... is seen on the screen as the picture is being saved.
d) Go up to, press [] to go to , press [ENTER/
MENU] to conrm.
Settings for slide show
Press [DISP] repeatedly to change the transition between pictures, there are 17
different modes.
The rst mode is RANDOM (random effect during picture transitions) and then
you go from one mode to another all the way to NONE (no transition effect) before
starting over with RANDOM, and so on.

1
ENGLISH
Show photos/movies and listen to music at the same time
1. Start by placing photos and music les in the same folder, this is best done by
using a computer. Remember that larger pictures take longer to open!
2. Press [MUSIC] and select a music le from the folder where the music/photo
les are located, conrm by pressing [ENTER/MENU].
3. Select the folder in question and conrm by pressing [ENTER/MENU].
4. Press [PHOTO] and select a photo le from the folder where the music/photo
les are located, conrm by pressing [ENTER/MENU].
5. In a few seconds the photo will start showing and the music will start.
Connect to other AV units
• AV/OUT can be connected to a TV for example. Use a stereo cable with a 3.5
mm stereo connector in one end and two RCA connectors in the other (not
included).
• The RCA connectors are usually red and white. Connect the white RCA
connector to Video in on your TV and the red RCA- connector to one of the
Audio inputs (usually marked L and R) on your TV.
• A SCART to RCA adaptor (not included) can be used together with the cable if
your TV is SCART input only. The TV should be in AV mode or SCART mode.
• AV/IN can be connected to a DVD-player for example.
• Use a stereo cable with a 3.5mm stereo connector in one end and two RCA
connectors in the other (not included).
• The RCA connectors are usually red and white. Connect the white RCA
connector to Video out on your DVD-player and the red RCA- connector to one
of the Audio outputs (usually marked L and R) on your DVD-player.
• A SCART to RCA adaptor (not included) can be used together with the cable
if your DVD-player is SCART output only. Press the AV button on the remote
control to select AV/ IN on the photo frame.

14
ENGLISH
8. Troubleshooting
Symptom Action
No power, nothing on
the screen.
Make sure that the transformer is connected right.
The product
automatically goes into
Standby mode.
Disconnect the transformer and then reconnect it
again.
No image. Check all connections.
No sound or distorted
sound.
Check all connections; check the settings for the TV
or the connected audio system.
Adjust the volume.
The picture is distorted
when fast forwarding or
rewinding .
This is normal for this type of product.
The remote control does
not work.
Check the remote control battery and change it if
necessary.
Aim the remote towards the sensor.
The maximum distance between the remote and the
sensor is 6 metres. Reduce the distance.
Make sure that nothing blocks the path between the
remote and the sensor.
The digital photo frame
can not be controlled by
the remote control (the
remote works).
Press [STANDBY] on the remote control to get
to Standby mode, press again to restart, or press
[STANDBY] on the remote to get to Standby mode,
then disconnect the transformer, put it back and
restart.
Place the product somewhere else, magnetic elds,
static electricity etc. may be interfering.
NO SIGNAL is shown. The photo frame is in AV-IN mode. Press the AV
button to switch to AV-OUT.

1
ENGLISH
. Specifications
Screen: 7” colour TFT LCD
Power supply: Transformer: IN 100V-240V~60/50Hz, OUT DC 12V-1.4A
(centre positive)
Resolution: 480 (H) x 234 (V)
Contrast: 250:1
ANSI lumen: LCD: 300 cd/m²
Background light: 3200 cd/m²
Measurements: 241 x 170 x 46mm (w x h x d)

16
SVENSKA
BRUKSANVISNING • Digital fotoram
Artikelnummer: 8-46, modell: DPF-108P
Läs igenom hela bruksanvisningen före användning och spar den sedan som refe-
rensmaterial. Vi reserverar oss för ev. text- och bildfel samt ändringar av tekniska
data. Vid Problem eller andra frågor kan Du kontakta oss (se adresserna på sista
sida).
1. Tänk på detta!
• Öppna inte höljet! Farlig spänning nns oskyddat på vissa
komponenter inuti produktens hölje, kontakt med dessa kan ge elektrisk chock.
• Produkten får endast repareras av kvalicerad servicepersonal.
• Produkten far inte demonteras eller ändras.
• Placera inte produkten sa att den kan falla ner i vatten eller annan vätska, ställ inte
några föremål som innehåller vätska på produkten t.ex. blomvas eller läskedryck.
• Täck inte för ventilationsöppningarna.
• Ta ur batterieliminatorn ur eluttaget om inte produkten ska användas under
en längre tid.
• Produkten är endast avsedd för inomhusbruk.
• Undvik att utsätta produkten för direkt solljus under längre tid.
• Använd endast en mjuk tvättduk som är svagt fuktad med vatten och milt
diskmedel vid rengöring av skärmen.
• Var försiktig vid hantering av skärmen så att inte ytan repas eller skadas på
annat sätt.
. Innehållsförteckning
1. Tänk på detta! ------------------------- 16
2. Innehållsförteckning --------------------- 16
3. Beskrivning --------------------------- 17
4. Funktioner och anslutningar ---------------- 18
5. Användning --------------------------- 22
5.1 Lyssna på musik (MP3) - - - - - - - - - - - - - - - - - - - 23
5.2 Visa bilder ---------------------------- 23
6. Ändra funktion under pågående uppspelning - - - - 23
7. Grundinställningar ----------------------- 25
8. Felsökning ---------------------------- 27
9. Specikationer ------------------------- 28

1
SVENSKA
. Beskrivning
• Visa digitalbilder från olika typer av minneskort utan hjälp av en dator. Följande
typer av minneskort stöds: Secure Digital (SD), Multimedia Card (MMC),
Memory Stick (MS), Memory Stick PRO (MS Pro) och USB Flash (USB).
(Minneskort ingår ej).
• Visar digitalbilder (JPEG) utan dator.
• Sätt i ett minneskort i digitala fotoramen och visa bilder eller lm till MP3 musik.
• Ljud via inbyggda högtalare.
• Spelar: JPEG, MPEG 4 och MP3 -ler som har lagrats på ett kompatibelt
minneskort.
• Stöder JPEG ler upp till en storlek av 12 megapixlar, men tänk på att stora
bilder med hög upplösning öppnar långsammare än mindre bilder!
• Lämplig för JPEG -bilder och -lmer från de esta digitalkamerorna på
marknaden.
• Fjärrkontroll ingår.
• 7 " TFT färgskärm av LCD-typ.
• 8 olika inställningar för bildvisning och visningstid av bilder.
• Visa bilder och lyssna till MP3-musik samtidigt.
• Stöder bl.a. följande format: JPG, WMA, MP3 och MPEG 4.

18
SVENSKA
◄ ◄ ◄ ◄
4. Funktioner och anslutningar
Ovansida
Öppning för minneskort.
Tryck på den upprepade gånger för att välja önskad inställning:
Brightness (ljus), Contrast (kontrast), Color (färg), Hue (färgmättnad), Volume
(volym), Up/Down Rotate (rotera), Mode (visning) och Memory Recall
(återställning till fabriksinställning).
◄ tryck på knappen för att ytta markering till vänster.
► , tryck på knappen för att ytta markering till höger.
▲ tryck på knappen för att ytta markering uppåt.
▼ , tryck på knappen för att ytta neråt.
Tryck på knappen för att stoppa uppspelning eller återgå till
föregående.
Tryck på knappen för att starta uppspelning, tryck och håll in några
sekunder för att starta uppspelningen om produkten har varit avstängd.
Tryck på knappen och håll in några sekunder för att stänga av
den digitala fotoramen.
Vänster sida
Anslutning för hörlurar.
AV-utgång (bild och ljudutgång).
AV-ingång (bild och ljudingång).
Undersidan
12V-anslutning för batterieliminator.

1
SVENSKA
Fjärrkontroll
Fjärrkontrollens funktioner
1. Strömbrytare Av/På.
2. [ + ] Välj funktion uppåt.
3. [SEL] Tryck på den upprepade gånger för att stega fram till önskad
inställning: Brightness (ljus), Contrast (kontrast), Color (färg), Hue
(färgmättnad), Volume (volym), Up/Down Rotate (rotera), Mode (visning) och
Memory Recall (återställning till fabriksinställning).
4. [ – ] Välj funktion neråt.
5. Tryck in knappen för att stänga av ljudet tillfälligt.
6. [MUSIC] Välj musikler.
7. [PHOTO] Välj bildler.
8. [MOVIE] Välj lmler.
9. [SETUP] Inställningar.
10. [] Flytta uppåt.
11. [Return] Återgå till förra fönstret.
12. [FILE] Visa alla ler.
13. [] Flytta till vänster.
14. [ENTER/MENU] Bekräfta val, börja visning.

0
SVENSKA
1
15. [] Flytta till höger.
16. [VOL -] Sänk volymen.
17. [AV] Växla mellan AV in/ut läge.
18. [] Flytta neråt.
19. [TIME] Växla visning mellan spelad och kvarvarande tid vid lmavspelning.
20. [VOL +] Höj volymen.
21. [ ] Tryck på knappen for att göra paus i uppspelningen, tryck igen för att
starta uppspelningen igen.
22. [■] Stoppa uppspelning.
23. [N/P] Välj aktuellt videosystem: NTSC, PAL eller MULTI. (PAL används i
Europa).
24. [AUDIO] Växla mellan olika ljudspår vid lmavspelning.
25. [◄◄ ] Gå till föregående l.
26. [ ►► ] Gå till nästa l.
27. [ I◄◄ ] Gå till föregående mapp.
28. [►►I ] Gå till nästa mapp.
29. [DISP] Tryck in knappen för att uppdatera visningsläge.
30. [ZOOM] Förstora bilden upp till 2x eller förminska bilden ned till 1/2 storleken.
31. [SLOW] Spela upp långsamt framåt i l/2x, l/4x, l/8x, eller 1/16 gånger
normalhastigheten (endast AV-ler).
32. [MODE] Återgå till ROOT-menyn.
Sätt i batteriet i fjärrkontrollen
Sätt i batteriet som bilderna visar, observera
polaritetsmärkning (+) på batterihållaren.
Ta bort ev. skyddsplast vid batteriet innan
användning.
This manual suits for next models
1
Table of contents
Languages:
Other Clas Ohlson Digital Photo Frame manuals
Clas Ohlson
Clas Ohlson PF103A2-A User manual

Clas Ohlson
Clas Ohlson D3721 User manual

Clas Ohlson
Clas Ohlson KD0706-S08-UK User manual

Clas Ohlson
Clas Ohlson PF-7AW-103-UK User manual

Clas Ohlson
Clas Ohlson DP730AD-UK User manual

Clas Ohlson
Clas Ohlson 38-5196 User manual

Clas Ohlson
Clas Ohlson PF-8DN-283V3RTC User manual

Clas Ohlson
Clas Ohlson PF173C2 User manual
Clas Ohlson
Clas Ohlson PF283A2 User manual
Clas Ohlson
Clas Ohlson KD0805 User manual