5
ENGLISH
Installation
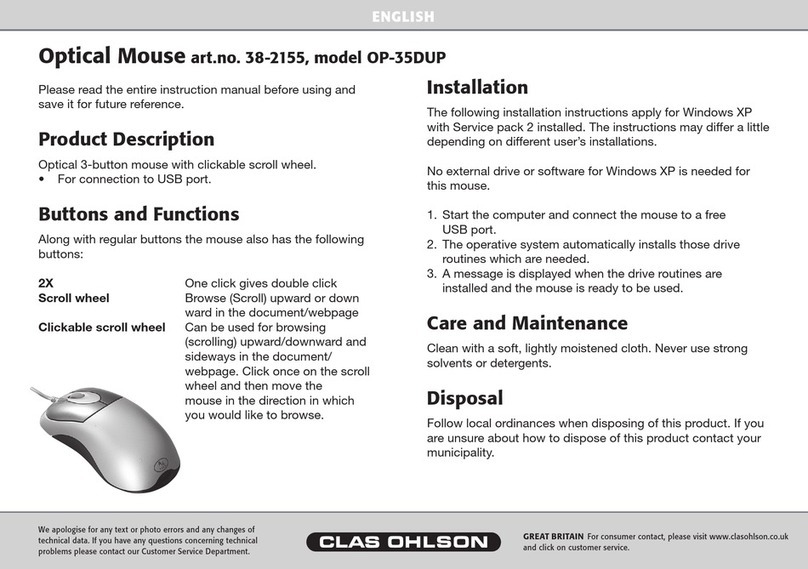
The following installation instructions apply to Windows XP with
Service Pack 2 installed. The instructions may differ slightly depending
on different user settings.
Using the mouse without its extra functions requires no external drive routine
or software installation when used with Windows XP.
N.B. Deactivate possible extra drive routines for the mouse that have previously
been installed.
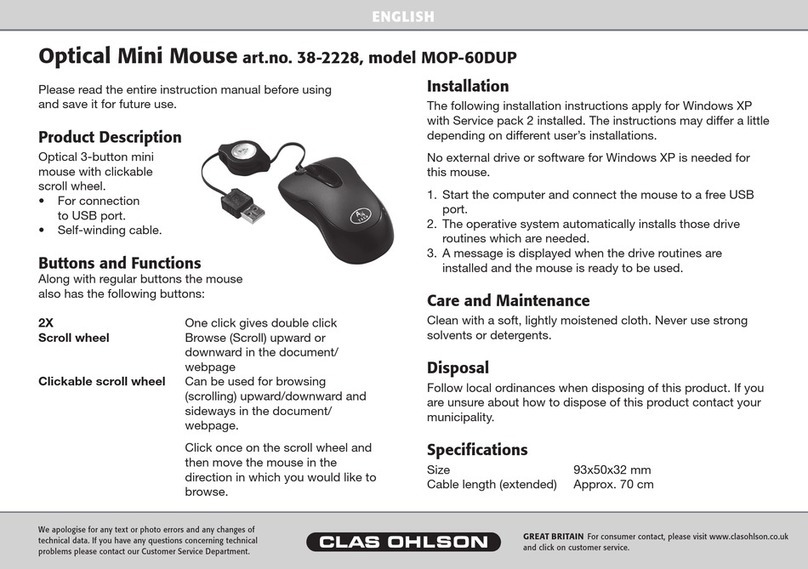
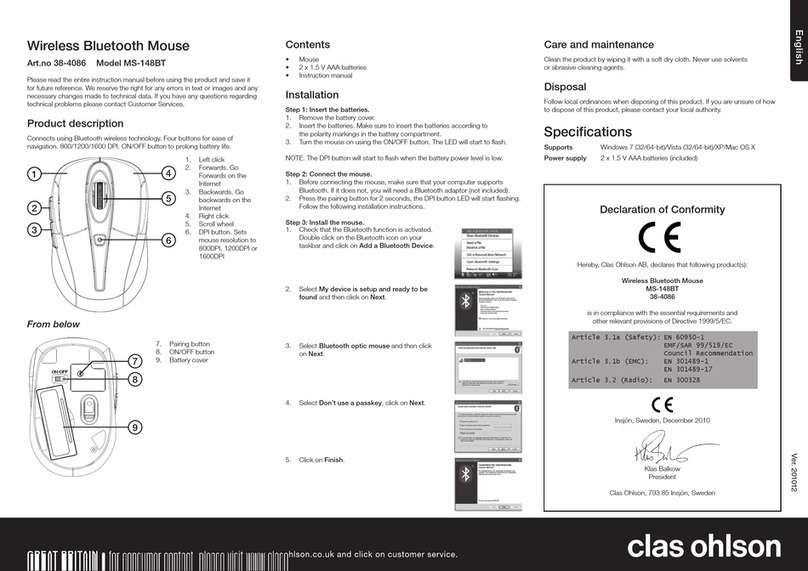
1. Start the computer and connect the mouse to a vacant USB port.
2. Insert the supplied CD into the computer’s CD-ROM. The installation guide
automatically starts and the start image is displayed. Click on Next to start
the installation. Click Next on the following squares.
. When the installation is completed you will be asked to restart the computer,
check Yes, I want to restart...
. Click on Finish to restart and complete the installation.
Connecting the mouse to the computer
1. Check that there is a vacant USB port available on
your computer.
2. Connect the mouse’s USB connector to the computer’s
USB port. If there is no vacant USB port on the
computer you must connect the included PS2 adaptor to
the USB port and link it to a PS2 port on the back of the
computer (normally green).
