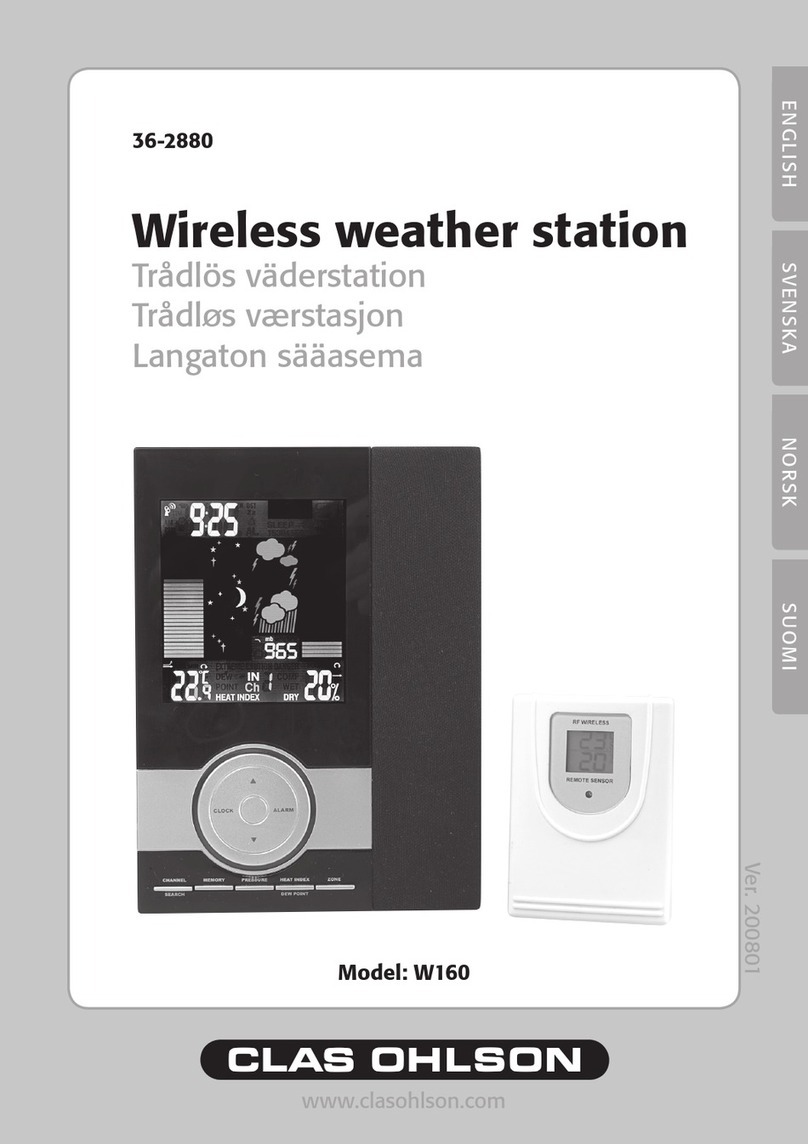
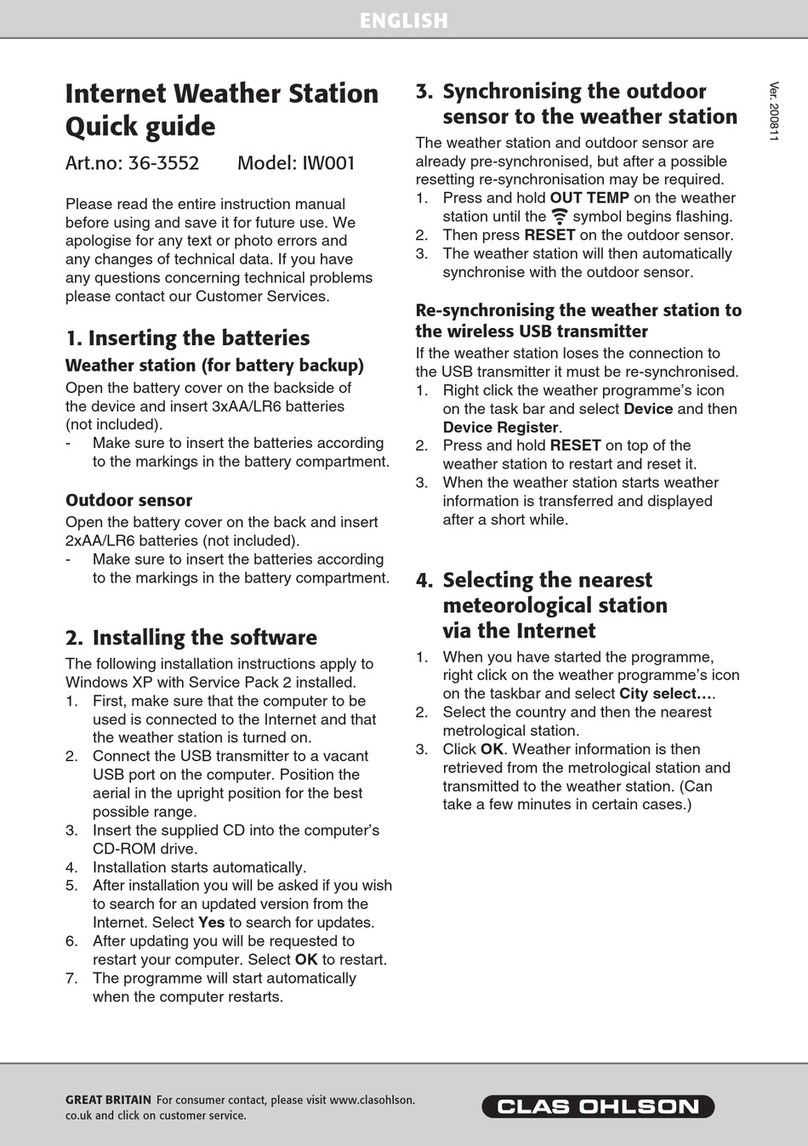
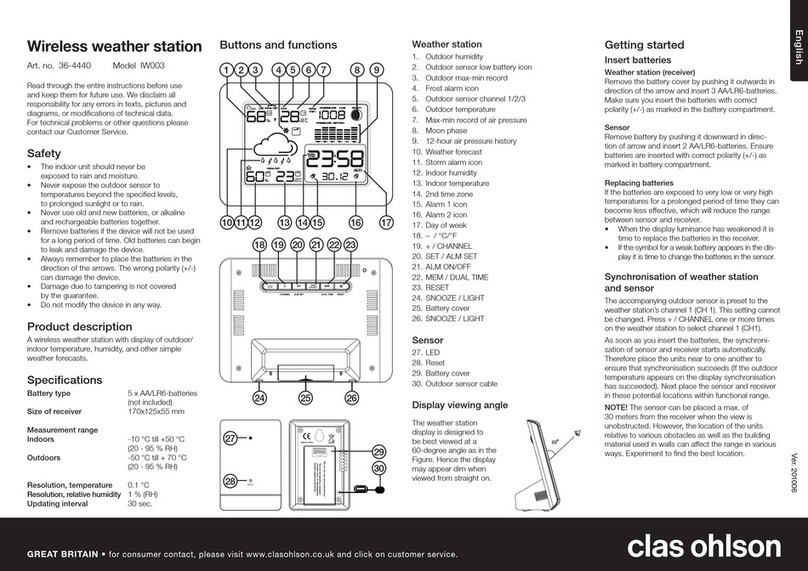
Clas Ohlson S5045NH User manual

EnglishSvenskaNorskSuomi
Weather Staon
SE | Väderstaon
NO | Værstasjon
FI | Sääasema
Art.no. Model
36-8991 S5045NH Ver. 20230908

3

3
English
Weather station with colour screen
Art. no. 36-8991 Model S5045NH
Please read the entire instruction manual before using the product and then
keep it for future reference. We accept no liability for any errors in the text or
images and we reserve the right to make any necessary changes to technical
data. In the event of technical problems or other queries, please contact our
customer service team (see address details on the back).
Important considerations:
• Other wireless equipment using the same frequency band can reduce
the transmission range.
• The range of all wireless equipment depends on the type of obstacles
located between the transmitter and the receiver (for example a concrete
wall will interfere with the signal much more than a plasterboard wall).
If you experience problems, try the following:
• Turn off any other wireless equipment to check whether this is
the cause of the problem.
• Move any other existing wireless equipment.
Reduce the distance between the transmitter and receiver and reduce
the number of obstacles (walls, furniture etc.) between them.
Safety
• The product must never be dismantled or modified in any way.
• The main unit is only intended for indoor use and must not be exposed
to rain or moisture.
• The product is not intended to be used as a reference in any way and
Clas Ohlson will not be held liable for any damage which may result
from inaccurate display information or readings.
• The batteries should be removed if the product is not going to be used
for a long period, otherwise they might leak and damage the product.
Never leave discharged batteries in the battery compartment.
• Changing the batteries in the main unit will delete any minimum and
maximum readings that you have saved.
• The product must not be exposed to impacts.
• Remember to unplug the mains adapter from the wall socket during
thunderstorms to protect the product.

4 5
English
4
27
6 25
10 22
24
3
2
11
28
526
923
12 21
13 20
7
8
1
15
14
1917
1816
Buttons and functions
Main unit
1. Weather forecast
2. Signal strength from sensor 1
3. Temperature trend from sensor 1
4. Temperature from sensor 1
5. Relative humidity trend from
sensor 1
6. Relative humidity from sensor 1
7. Atmospheric pressure trend
8. Atmospheric pressure
9. Signal strength from sensor 2
10. Temperature trend from sensor 2
11. Temperature from sensor 2
12. Relative humidity trend from
sensor 2
13. Relative humidity from sensor 2
14. Alarm indicator
15. Time/alarm set
16. Date
17. Snooze indicator
18. Day/alarm
19. Moon phase
20. Temperature trend from sensor 3
21. Temperature from sensor 3
22. Relative humidity from sensor 3
23. Relative humidity trend from
sensor 3
24. Signal strength from sensor 3
25. Indoor relative humidity
26. Indoor relative humidity trend
27. Indoor temperature
28. Indoor temperature trend

4 5
English
30
29
31
34 39
33 38
36 37
35
32
29. [SNOOZE/LIGHT] Press to
pause the alarm for 5 min.
Press and hold to switch on/off
sound-activated control of the
display lighting.
30. Wall bracket
31. Table stand
32. DC 5 V Input
33. [MODE] Press to switch
between ºC and ºF. Hold to go
to the settings menu.
34. [MAX/MIN] Press to show the
maximum/minimum values.
Hold to clear the maximum/
minimum values.
35. Battery cover
36. [UP] Scroll upwards.
37. [DOWN] Scroll downwards.
Switch between 12- and
24-hour clock display in
normal mode.
38. [ALARM] Press to display
the set alarm time, press again
to activate/deactivate the alarm
you have set. Hold to set the
alarm time.
39. [CH] Press and hold to clear
settings and scan for a sensor.

6 7
English
40
41
42
43
Sensors
40. Display, show temperature,
relative humidity and
channel set (CH1, CH2,
CH3)
41. Wall bracket
42. Battery compartment
43. Channel selector
Installation
Sensors
• Before the sensors can be paired with the main unit they must be set to
transmit on different channels.
• We recommend that the sensor that you intend to put outdoors is set
to transmit on channel 1 so that the weather station can provide as
accurate a weather forecast as possible.
1. Slide the sensor battery cover downwards.
2. Set the channel selector of the first sensor to position 1, the selector
of the second sensor to position 2 and the third to position 3.
3. Insert 2 x AAA/LR03 batteries into the battery compartment,
following the markings on the bottom of the compartment.
4. Slide the battery cover back on until it clicks into place.
Main unit
The main unit of the weather station can operate from batteries or from
the mains using the mains adapter that is included.
Battery operation
1. Remove the battery cover (35) from the back of the main unit.
2. Insert 3 x AAA/LR03 batteries, following the markings on the bottom of
the battery compartment.
3. Refit the battery cover.

6 7
English
Mains operation
Connect the mains adapter to the 5 V DC-IN power input socket (32) and to
a 230V wall socket.
Connecting the main unit and the sensors
When main unit and sensors are on, they will automatically attempt to
connect. This can take up to three minutes. The signal indicators for
the different channels will flash during this process. When the units have
made contact with each other, the signal indicators will stop flashing and
the relative humidity readings from each sensor will be shown on the
main unit display.
If a connection is not made automatically, press and hold [CH] (39) for three
seconds. This will reset the main unit’s channels and a new scan of the
sensors will begin.
Positioning/installation
Note:
Things to consider before choosing where to put the units:
• Avoid radiant heat from surrounding buildings, roofs etc. As a rule, the
temperature sensor should be installed in shade about
1.5 m above the ground.
• Test the operation of the sensor in the intended location before
installing it. The range can also be affected by the type of obstacles
between the transmitter and the receiver (for example a concrete wall
will interfere with the signal more than a plasterboard wall).
• Other wireless equipment using the same frequency band (433 MHz)
can reduce the transmission range.
• Make sure that the wall has no concealed electrical wiring or gas or
water pipes before drilling/screwing.
If you experience range problems, try the following:
• Turn off any other wireless equipment to check whether this is the
cause of the problem.
• Reduce the distance between the main unit and the sensors and
reduce the number of obstacles (walls, furniture etc.) between them.

8 9
English
Main unit
• The main unit has built-in temperature, humidity and atmospheric
pressure sensors. Therefore, the unit should not be positioned where
it might be affected by heat from heaters, cookers, fireplaces or other
sources of heat.
• Avoid placing the unit next to objects such as metal window frames as
this may interfere with reception.
Using the table stand:
Extend the stand (31) located on the back.
Wall mounting:
Put a screw into the wall and hang up the main unit using the wall bracket (30).
Sensors
• Put the sensor in a location that is protected from direct sunlight and rain.
• Mount the outdoor sensor at least 1.5 m above ground level, if possible.
• Put a screw in the wall and hang the sensor up using the wall bracket (41).
Using the weather station
Settings
1. In normal mode, press and hold [MODE] (33) for 3 seconds to enter
settings mode.
2. Press [UP] (36) or [DOWN] (37) to change a value. Confirm each step
by pressing [MODE].
If none of the buttons is pressed within 10 seconds, the settings are saved
and the weather station reverts to normal display mode.
Choose the following settings in this order:
- Language: Display language for days of the week (English, French,
German, Italian, Spanish, Danish and Dutch)
- Button Sound: Select whether a sound should be emitted when you
press a button.
- Year: Set the year.
- MD/DM: Set which order the day and month are displayed in.
- Month: Set the month.
- Day: Set the day.

8 9
English
- 12/24 Hour: 12- or 24-hour time display
- Hour: Set the hour.
- Minute: Set the minutes.
- Pressure unit: Set which units of measurement the atmospheric
pressure is displayed in (hPa/mb, mmHg or inHg).
- Forecast: Enter what the weather is like when the weather station is
started up. The weather station shows a forecast for 12 to 24 hours,
but it needs a few days to adjust the forecast. This setting gives it a
starting point.
Selecting the temperature unit
Press [MODE] to toggle between displaying the temperature in degrees
Celsius (ºC) or Fahrenheit (ºF).
Display lighting
In battery operation with button
Press [SNOOZE/LIGHT] (29) to switch on the lighting. The lighting will
automatically switch off after approx. 8 seconds.
In battery operation with sound
Press and hold [SNOOZE/LIGHT] for three seconds to switch on (OnSD) or
switch off (__SD) sound-activated control. When control is on, the lighting
will come on if the unit registers a loud noise nearby, for example a clap or a
finger click. The lighting will automatically switch off after approx. 8 seconds.
Mains operation
Press [SNOOZE/LIGHT] repeatedly to change the volume between High,
Low orOff.

10 11
English
Weather forecast
The weather station will measure the atmospheric pressure and generate
a weather forecast for the next 12 hours. One of the following symbols will
appear depending on the current atmospheric pressure trend:
Important considerations:
• We recommend that you put sensor 1 outdoors so that the weather
station can provide as accurate a weather forecast as possible.
• If the weather station is moved to another location, it will take 12 to
24 hours for it to adjust and process the new figures before giving
reliable forecasts.
• You should not expect the forecasts to be 100% accurate.
The forecasts are generally around 75% reliable.
Maximum and minimum values
1. Press [MAX/MIN] (34) to see the maximum value for temperature
and humidity.
2. Press the button again to display the minimum value.
3. Press the button once more to return to the current value.
Resetting the maximum and minimum values:
The maximum and minimum readings of the weather station are
automatically reset to zero every night. Press and hold [MAX/MIN] to reset
the values manually.
Alarm
Setting the alarm
1. In normal mode, hold [ALARM] (38) for 3 seconds to enter the alarm
setting mode.
2. Press or hold [UP] or [DOWN] to change a value. Confirm each step
by pressing [ALARM].
3. Setting the hours and minutes. The alarm time will be saved and the
display will return to displaying the current time.
Sunny Sunny Spells Cloudy Rain Snow

10 11
English
Activating/deactivating a set alarm
1. Press [ALARM] once to display the set alarm time.
2. Press [ALARM] again to activate/deactivate a set alarm.
The symbol (14) will show when the alarm is active.
Activating the snooze function
When the alarm sounds: Press [SNOOZE/LIGHT] (29) to activate the
snooze function. The alarm will turn off, the snooze symbol (17) will begin
to flash and the alarm will sound again after 5 minutes.
Turning off the alarm
When the alarm sounds: Press [ALARM] on the back of the main unit.
The alarm switches off and will sound at the set time on the next day.
Cleaning and care
Clean the product by wiping it with a damp cloth. Use only mild cleaning
agents. Never use solvents or corrosive chemicals.
Responsible disposal
This symbol indicates that the product should not be disposed
of with general household waste. This applies throughout the
entire EU. To prevent any harm to the environment or health
hazards caused by incorrect waste disposal, the product must
be handed in for recycling so that the materials can be disposed
of in a responsible way. To recycle the product, take it to your
local recycling facility or contact the retailer. They will ensure that
the product is disposed of in a way that does not harm the environment.

12 13
English
Troubleshooting guide
The display has
poor contrast
or shows no
information.
Replace the batteries in the main unit.
The wireless
sensors are not
sending any data
to the main unit.
The display
shows "—.-".
• If the main unit receives no signals from a sensor
for 3 minutes, an automatic scan is started. After
the main unit has scanned for 1 hour without
finding a sensor, —.- is displayed.
• Remove the batteries from the sensor, wait for a
while and then reinsert them.
• Put new batteries in the sensor. Only use
high-quality alkaline batteries.
• Try scanning for the sensor manually:
Hold [CH] for 3 seconds. Note that any saved
maximum/minimum values will be deleted.
• Check the distance between the sensor and the
main unit. The distance should be between 1.5
and 30 m.
• Make sure that nearby metal structures etc. do not
interfere with the radio signal.
• Move the main unit away from other electronic
devices such as routers, computers and TV sets.
The display
shows “LL.L”
or “HH.H”.
The sensor is outside the measuring range.
The temperature
or precipitation
shown is
incorrect.
• Remove the batteries, wait for a while and then
reinsert them. Begin a new scan for the sensor
(Hold in [CH] for 3 seconds).
• Make sure that the units are free from interference
from heat sources, air conditioning units or the
equivalent.

12 13
English
Specifications
Main unit
Temperature range
indoors 0 to + 50°C (accuracy ± 0.5°C)
outdoors -40 to + 60°C (accuracy ± 0.5°C)
Humidity
indoors 20% Rh to 99% Rh (accuracy ± 5 – 8%)
outdoors 20% Rh to 99% Rh (accuracy ± 5 – 8%)
Atmospheric pressure 850 to 1050 hPa (accuracy ± 5 hPa)
Frequency range 433.92 MHz
Range, open area 30 m
Batteries 3×LR03/AAA (sold separately)
Dimensions excl. table stand 192×21×121 mm (L×W×H)
Weight excluding batteries 235 g
Sensors
Frequency 433.92 MHz
Batteries 2×LR03/AAA (sold separately)
Dimensions 46x30x89mm

14
Svenska
Väderstation med färgskärm
Art.nr 36-8991 Modell S5045NH
Läs igenom hela bruksanvisningen före användning och spara den sedan
för framtidabruk. Vi reserverar oss förev. text- och bildfel samt ändringar av
tekniskadata. Vid tekniska problem eller andra frågor, kontakta vår kund-
tjänst (se adressuppgifter på baksidan).
Tänk påatt:
• Annan befintlig trådlös utrustning på samma frekvensband kan påverka
räckvidden negativt.
• Räckvidden på all trådlös utrustning påverkas av vilka hinder som finns
mellan sändaren och mottagaren (t.ex. enbetongvägg dämpar signalen
avsevärt mer än engipsvägg).
Vid funktionsproblem, prova följande lösningar:
• Stäng av övriga befintliga trådlösa utrustningar för att kontrollera om de
kan vara orsaken till problemet.
• Flytta den trådlösa utrustningen och/eller förkorta avståndet,
samt minska antalet hinder (väggar, möbleretc.) mellan sändaren och
mottagaren.
Säkerhet
• Produkten får inte demonteras eller modifieras på någotsätt.
• Huvudenheten är avsedd för inomhusbruk och får inte utsättas för regn
ellerfukt.
• Produkten är inte avsedd för att användas som referens på något sätt
och Clas Ohlson tar inte ansvar för skador som kan uppkomma på
grund av felaktig visning eller avläsning.
• Ta ur batterierna om inte produkten ska användas under enlängre tid,
de kan börja läcka och skada produkten. Låtaldrig förbrukade batterier
sitta kvar ibatterifacket.
• Vid batteribyte ihuvudenheten raderas lagrade max- ochmin.värden.
• Produkten får inte utsättas för stötar.
• Kom ihåg att dra ut stickproppen ur vägguttaget vid kraftiga åskväder
för att skydda produkten.

15
Svenska
4
27
6 25
10 22
24
3
2
11
28
526
923
12 21
13 20
7
8
1
15
14
1917
1816
Knappar och funktioner
Huvudenhet
1. Väderprognos
2. Signalindikator, givare1
3. Trend temperatur, givare 1
4. Temperatur, givare 1
5. Trend relativ luftfuktighet,
givare 1
6. Relativ luftfuktighet, givare 1
7. Trend, lufttryck
8. Lufttryck
9. Signalindikator, givare2
10. Trend temperatur, givare 2
11. Temperatur, givare 2
12. Trend relativ luftfuktighet,
givare 2
13. Relativ luftfuktighet, givare 2
14. Alarmindikator
15. Tid/inställt alarm
16. Datum
17. Snoozeindikator
18. Dag/Alarm
19. Månfas
20. Trend temperatur, givare 3
21. Temperatur, givare 3
22. Relativ luftfuktighet, givare 3
23. Trend relativ luftfuktighet,
givare 3
24. Signalindikator, givare3
25. Relativ luftfuktighet, inomhus
26. Trend relativ luftfuktighet,
inomhus
27. Inomhustemperatur
28. Trend inomhustemperatur

16
Svenska
30
29
31
34 39
33 38
36 37
35
32
29. [SNOOZE/LIGHT] Tryck för
att pausa larmet i 5 min.
Håll in för att sätta på eller
stänga av ljudstyrning av
displaybelysningen.
30. Väggfäste
31. Bordsstöd
32. DC 5 V Input
33. [MODE] Tryck för att växla
mellan ºC och ºF. Hållin för att
komma till inställningsmenyn.
34. [MAX/MIN] Tryck för att visa
max/min-värden. Hållin för
att nollställa max/min-värden.
35. Batterilucka
36. [UP] Stegauppåt.
37. [DOWN] Steganedåt. Växlar i
normalläge mellan 12 och 24
timmarsvisning.
38. [ALARM] Tryck för att visa
inställd alarmtid, ytterligare
tryck aktiverar/avaktiverar
inställtalarm. Hållin för att ställa
in alarmtiden.
39. [CH] Tryck och håll in för att
nollställa och söka efter givare.

16 17
Svenska
40
41
42
43
Givare
40. Display, visar temperatur,
relativ luftfuktighet och
inställd kanal (CH1, CH2,
CH3)
41. Väggfäste
42. Batterihållare
43. Kanalväljare
Installation
Givare
• Innan givarna kan anslutas till huvudenheten måste de ställas in
så att de sänder på olika kanaler.
• Vi rekommenderar att den givare som ska monteras utomhus,
ställs in på kanal 1 för att väderstationen ska ge så korrekt
väderprognos som möjligt.
1. Skjut givarens batterilucka nedåt.
2. Ställ in första givarens kanalväljare iläge 1, den andra iläge 2
och den tredje iläge3.
3. Se märkningen ibotten på batterihållaren och sätt i
2×AAA/LR03-batterier.
4. Skjut tillbaka batteriluckan tills den klickar påplats.
Huvudenhet
Väderstationen kan drivas med batteri och/eller från elnätet via medföljande
nätadapter.
Batteridrift
1. Ta bort batteriluckan (35) på väderstationens baksida.
2. Se märkningen ibotten på batterihållaren och sätt i
3×AAA/LR03-batterier.
3. Sätt tillbaka batteriluckan.

18
Svenska
Nätdrift
Anslut den medföljande nätadaptern till DC 5V (32) och till ett230 V vägguttag.
Ihopkoppling av huvudenhet och givare
När både huvudenheten och givarna är påslagna kommer de automatiskt
att försöka koppla ihop sig. Detta kan ta upp till tre minuter. Under tiden
kommer signalindikatorn för respektive kanal att blinka. När enheterna fått
kontakt med varandra slutar signalindikatorn att blinka och temperatur samt
relativ luftfuktighet för respektive givare visas i huvudenhetens display.
Om uppkopplingen inte sker automatiskt, tryck och håll in [CH] (39) i
tre sekunder. Detta kommer att nollställa huvudenhetens kanaler och
en ny sökning av givare påbörjas.
Placering/montering
Obs!
Innan du monterar enheterna, tänk på följande:
• Undvik strålningsvärme från kringliggande byggnader, taketc.
Generellt bör temperaturgivare monteras på skuggsida minst
1,5 m frånmark.
• Prova givarna på deras tilltänkta platser innan de monterasupp.
Räckvidden påverkas beroende av vilka hinder som finns mellan
sändaren och mottagaren (t.ex. enbetongvägg dämpar signalen
avsevärt mer än engipsvägg).
• Annan befintlig trådlös utrustning på samma frekvensband
(433 MHz) kan påverka räckvidden negativt.
• Försäkra dig om att väggen är fri från el- och vattenledningar
där du avser att skruva/borra.
Vid räckviddsproblem, prova följande:
• Stäng av övriga befintliga trådlösa utrustningar för att kontrollera om de
kan vara orsaken till problemet.
• Flytta givarna eller huvudenheten och förkorta avståndet, samt minska
antalet hinder (väggar, möbleretc.) mellan enheterna.

19
Svenska
Huvudenhet
• Huvudenheten har inbyggda detektorer för temperatur, luftfuktighet och
lufttryck. Placera därför enheten på sådant sätt att den inte utsätts för
värme från element, spisar eller andra värmekällor.
• Undvik att placera enheten intillt.ex. fönsterkarmar av metall eftersom
det kan störa radiomottagningen.
Placering ståendes med bordsstöd:
Fäll ut stöden (31) som är placerade på baksidan.
Väggmontage:
Fäst enskruv iväggen och häng upp huvudenheten på väggfästet (30).
Givare
• Placera givaren på enplats som är skyddad från direkt solljus ochregn.
• Montera utomhusgivaren på enhöjd av minst 1,5 m över mark om möjligt.
• Fäst enskruv och häng upp givaren på väggfästet (41).
Användning
Inställningar
1. I normalläge, håll in [MODE] (33) i3 sek för att komma till
inställningsläge.
2. Tryck [ UP ] (36) eller [ DOWN ] (37) för att ändravärde. Bekräfta varje
steg med [MODE].
Om ingen knapptryckning sker inom 10 sek så sparas inställningarna och
väderstationen återgår till normalt visningsläge.
Ställ itur och ordning in följande:
- Language: Visningsspråk för veckodag (Engelska, Franska, Tyska,
Italienska, Spanska, Danska, Holländska)
- Button Sound: Välj om knapptryckningar ska ha ljud eller inte.
- Year: Inställning av år.
- MD/DM: Ställ in ivilken ordning månad och dag ska visas.
- Month: Inställning av månad.
- Day: Inställning av dag.

20 21
Svenska
- 12/24 Hour: 12 eller 24 timmars tidsvisning.
- Hour: Inställning av timmar.
- Minute: Inställning av minuter.
- Pressure unit: Ställ in ivilken enhet lufttrycket ska visas (hPa/mb,
mmHg eller inHg).
- Forecast: Ställ in hur vädret är vid uppstartstillfället. Visar prognos for
12-24 timmar framåt men väderstationen behöver några dygn på sig
för att justera prognosen, denna inställning ger den något att utgå ifrån.
Val av temperaturenhet
Tryck på [ MODE ] för att välja mellan visning av temperatur igrader
Celsius (ºC) eller grader Fahrenheit (ºF).
Displaybelysning
Vid batteridrift med knapp
Tryck på [ SNOOZE/LIGHT ] (29) för att tända belysningen.
Belysningen släcks automatiskt efter ca 8 sekunder.
Vid batteridrift med ljud
Håll in [SNOOZE/LIGHT] i tre sekunder för att sätta på (OnSD) eller stänga
av (__SD) ljudstyrningen. När styrningen är på tänds belysningen om
enheten registerar ett högt ljud i närheten, t.ex. en klapp eller knäppning
med fingrarna. Belysningen släcks sedan automatiskt efter ca 8 sekunder.
Vid nätdrift
Tryck [ SNOOZE/LIGHT ] upprepade ggr för att justera ljusstyrkan
mellan Hög, Låg ellerAv.
This manual suits for next models
1
Table of contents
Languages:
Other Clas Ohlson Weather Station manuals

Clas Ohlson
Clas Ohlson IW001 User manual

Clas Ohlson
Clas Ohlson ws2370 User manual

Clas Ohlson
Clas Ohlson ws590h User manual

Clas Ohlson
Clas Ohlson IW003N User manual

Clas Ohlson
Clas Ohlson IW001 User manual

Clas Ohlson
Clas Ohlson WS2068HL+WT450H User manual

Clas Ohlson
Clas Ohlson IW003 User manual

Clas Ohlson
Clas Ohlson WH-1080 User manual

Clas Ohlson
Clas Ohlson W160 User manual