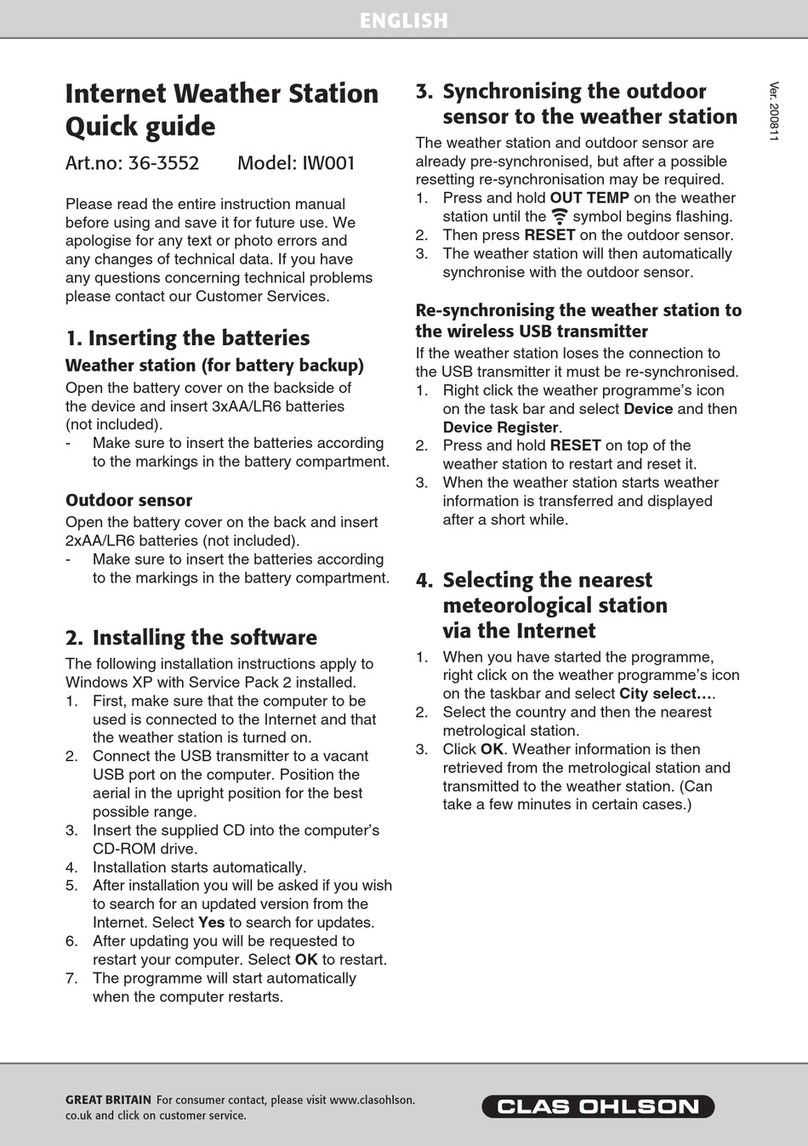
Clas Ohlson IW001 User manual

ENGLISHSVENSKANORSKSUOMI
Internet Weather Station
Art.no. Model
36-3552 IW001


ENGLISH
Internet Weather Station
Please read the entire instruction manual before using the product and save it for future
reference. We reserve the right for any errors in text or images and any necessary chang-
es made to technical data. If you have any questions regarding technical problems please
contact our Customer Services (see address on reverse).
1. Safety
- The product should only be repaired by qualied service personnel.
- The product should not be taken apart or modied.
- Make sure that the electrical outlet the device is plugged into is easily accessible
since the plug is used to disconnect the device from the mains.
- Do not place the device in a damp, dusty environment or where there are heavy vibrations.
- Use only the included or recommended adaptor.
- Never mix old and new batteries or alkaline and rechargeable batteries.
- Remove the batteries if the product is not to be used for a longer period of time. The
batteries can begin to leak and damage the device or cause personal injury.
- Never expose the outdoor sensor to temperatures outside the specied range,
extensive sunlight, or rain.
2. Product description
- Retrieves wind direction/speed, UV-index, and 5 day forecasts from the nearest
meteorological station via the Internet.
- Wireless transmission via the included USB transmitter which connects to your
computer. Temperature and humidity is transmitted wirelessly using the included
outdoor sensors.
- Software and adaptor included.
Important
To display the current forecast your computer must be on and connected to the
Internet. The USB transmitter must also be connected to the computer’s USB port.

ENGLISH
4-day weather forecast
Today’s weather
forecast
Today’s highest and
lowest temperatures
Wind Direction
Wind Speed
UV-index
Moon phase
Indoor temperature
and relative humidity
Outdoor temperature
and relative humidity
Time, month, date
and day
Connect the adaptor Mount the stand USB transmitter
Wireless outdoor sensor for temperature and humidity
3. Buttons and Functions

ENGLISH
Buttons Function/Functions
• Settings button -
• Temperature unit selection (Celcius/Fahrenheit)
• Alarm activation/deactivation
• Settings button +
• Memory
• Alarm selector (1 or 2)
• Conrms settings
• Snooze alarm
• Chill factor/Dew point
• Outdoor temperature
• Highest/Lowest temperature
• Weather forecast
• Reset

ENGLISH
4. Installation
4.1 Inserting the batteries
Weather station (for battery backup)
Open the battery cover on the backside of the device and insert 3xAA/LR6 batteries
(not included).
- Make sure to insert the batteries according to the markings in the battery compartment.
Outdoor sensor
Open the battery cover on the back and insert 2xAA/LR6 batteries (not included).
- Make sure to insert the batteries according to the markings in the battery compartment.
4.2 Mounting the weather station and outdoor sensor
1. Select a suitable place to locate the weather station and mount the stand.
- Connect the adaptor to a wall socket and to the weather station’s DC connection.
- The weather station’s display is constructed so that it is best seen at a 60 degree
downward angle.
2. Mount the outdoor sensor in a location that is protected from direct sunlight, rain,
and damp.
- The outdoor sensor must be placed with the operating range of the weather station.

ENGLISH
4.3 Installing the software
The following installation instructions apply for Windows XP with Service Pack 2 installed.
1. First, make sure that the computer to be used is connected to the Internet and that
the weather station is turned on.
2. Save any current work and close any other programmes that are running.
3. Connect the USB transmitter to a vacant USB port on the computer. Position the
aerial in the upright position for the best possible range.
4. Insert the supplied CD into the computer’s CD-ROM drive.
5. If the installation does not start automatically, start it manually by doing the following:
a. Click on Start and select Run….
b. Select Browse… and highlight Weather2.12.exe (or similarly named) on the CD.
c. Click on Open then OK to start the installation.
6. The installation programme will start. Click on Next to continue.

ENGLISH
7. Click on Install.
8. Click Finish to complete the installation. You can now remove the CD.
9. After the installation you will be asked if you wish to search for an updated version
from the Internet. Select Yes to search for updates.

ENGLISH
10. After updating you will be requested to restart your computer. Select OK to restart.
11. The programme will start automatically when the computer restarts.
4.4 Synchronising the outdoor sensor to the weather station
The weather station and outdoor sensor are already pre-synchronised, but after
a possible resetting re-synchronisation may be required.
1. Press and hold OUT TEMP on the weather station until the symbol begins ashing.
2. Then press RESET on the outdoor sensor.
3. The weather station will then automatically synchronise with the outdoor sensor.
5. Using and configuring the software
5.1 Starting the programme
1. Start the “Weather Info” programme by clicking on the Weather icon on the desktop
or in the programme menu.
N.B. The included USB transmitter must be connected to one of the computer’s USB
ports for the programme to work.
2. When the programme starts, weather information will be retrieved for the area/city
that has been set. Refer to section 5.3 on choosing a city.
3. Weather information for the city will be retrieved once every hour.
4. When the weather station receives information from the computer the symbol will
begin ashing on the display.

ENGLISH
5.2 Ending the programme
- Right click the weather programme’s icon on the taskbar and select Exit to end the
programme.
5.3 Selecting the nearest meteorological station via Internet
1. When you have started the programme, right click on the weather programme’s icon
on the taskbar and select City select….
2. Select the country and then the nearest meteorical station.
3. Click OK. Weather information is then retrieved from the metrological station and
transmitted to the weather station.

ENGLISH
5.4
Re-synchronising the weather station to the wireless USB transmitter
If the weather station loses the connection to the USB transmitter it must be re-synchronised.
1. Right click the weather programme’s icon on the task bar and select Device and then
Device Register.
2. Press and hold RESET on top of the weather station to restart and reset it.
3. When the weather station starts weather information is transferred and displayed
after a short while.
5.5 Searching for software updates
You may search for software updates at any time.
Right click on the weather programmes icon on the taskbar and select Soft Update…
to search for current updates.
5.6 Minimising the weather programme’s window
Click on the minus-symbol (Mini/Max) in the programme’s upper right corner to minimise/
maximise the window.
5.7 Hiding the weather programme
Right click on the weather programme window and select Hide DeskWeather to hide the
programme. You can display the weather programme again by clicking on its taskbar icon.

ENGLISH
6. Weather station settings
6.1 Setting time and date
1. Press and hold SET for approx. 3 seconds. The year will begin to ash. Use
+ and - to set the year.
2. Press SET again. The month will begin to ash. Set the month using + and -.
3. Press SET. The date will begin to ash. Set the month using + and -.
4. Press SET to change the display language for the days of the week. Select the
display language with + and - (available languages: English, Danish, French,
German, Italian, and Spanish).
5. Press SET, when the time is displayed 24hr will begin ashing. Select 12- or 24-hour
display with + and -.
6. Press SET. The hours will begin to ash. Set the hours using + and -.
7. Press SET. The minutes will begin to ash. Set the minutes using + and -.
8. Press SET again to nish and return to normal mode.
N.B.
If no other button is pushed for 20 sec. during the settings procedure the weather station
will return to normal mode. You must then restart the procedure from the beginning.
6.2 Setting summer time
The weather station automatically adjusts summer and winter time via the Internet.
is shown by the time display when summer time is activated.

ENGLISH
7. Using the alarm
7.1 Setting the alarm time
Displaying the alarm time:
Press SET once to display the rst alarm time (A1), press again to display the second
alarm time (A2).
When the rst alarm time is displayed:
1. Press and hold SET for approx. 2 seconds. The hours will begin to ash. Set the
hours using + and -.
2. Press SET again. The minutes will begin to ash. Set the minutes using + and -.
3. Press SET again to save.
When the second alarm time is displayed:
1. Press and hold SET for approx. 2 seconds. The hours will begin to ash. Set the
hours using + and -.
2. Press SET again. The minutes will begin to ash. Set the minutes using + and -.
3. Press SET again to save.
7.2 Turning the alarms on/off
When the rst alarm time is displayed:
- Press + to activate the rst alarm. will be displayed when the rst alarm is activated.
- Press + to deactivate the alarm.
When the second alarm time is displayed:
- Press + to activate the second alarm. will be displayed when the second alarm
is activated.
- Press + to deactivate the alarm.
7.3 Snooze
When alarm time 1 or 2 are reached the alarm will sound. Press SNOOZE, once and
the alarm will pause temporarily and either AL1 or AL2 will begin ashing in the display
depending on which alarm has sounded. The alarm will sound again after 5 minutes.
7.4 Shutting off the alarm
When the alarm sounds press any button to shut off the alarm off. The alarm will sound at
the same time every day.

ENGLISH
8. Using the weather station
8.1 Selecting forecast display modes
Press FORECAST repeatedly to switch between display modes for the four day forecasts.
The chosen display mode is shown:
HI – Estimated highest temperature
LO – Estimated lowest temperature
PRECIP – Estimated risk for rainfall (in percent)
8.2 Selecting outdoor temperature display modes
There are four outdoor temperature display modes. Press OUT TEMP repeatedly to
select a display mode:
1. Outdoor temperature and relative humidity (from the
outdoor sensor)
is shown next to the outdoor temperature symbol.
2. Chill effect (FEELS LIKE)
Chill effect is calculated from wind speed, outdoor
temperature and relative humidity i.e. how the current
temperature is actually perceived.
3. DEW POINT
The required temperature needed for mist to condense
and turn to rain. Calculated from outdoor temperature
and humidity.
4. Outdoor temperature and relative humidity shown for
the chosen city

ENGLISH
8.3 Reading the highest and lowest recorded temperatures
Press +/MEMORY repeatedly to display the highest and lowest recorded temperature
and humidity.
MAX – Highest recorded temperature
MIN – Lowest recorded temperature
8.4 Selecting the temperature unit (Celsius/Fahrenheit)
Press -/C/F to switch between temperature units (C) and Fahrenheit (F). If Fahrenheit has
been selected as the temperature unit wind speed will be displayed in miles per hour (mph).
8.5 Comfort level
The comfort indicator displays the indoor climate calculated by temperature and humidity.
The comfort indicator is displayed over the indoor temperature.
8.6 UV-index (UVI)
The UV-index can assist you in protecting you against unnecessary UV-radiation. The
UV-indicator displays the current UV index according to the table.
Acceptable sun exposure if you have sensitive skin but it can become tan:
UV-index Strength Sun exposure
0-2 * Low Entire day
3-5 * Moderate 1-2 hrs *
6-7 * High 30-60 min *
8-10 Very high 15-30 min
11-12 Extreme 5-15 min
* Sun exposed snow covered ground gives about double the UV-index and half the sun
exposure value. Source: SMHI och Statens Strålskyddsinstitut (Swedish Meteorological
and Hydrological Institute and Swedish Radiation Protection Authority).
8.7 Wind speed and wind direction
- Wind direction is measured in 8 different directions.
- Wind speed is measured either in miles per hour (mph) or kilometres per hour (kmh).
Refer to section 8.4 about how to select a unit.

ENGLISH
8.8 Moon phases
New moon Waxing crescent moon First quarter moon Waxing gibbous
Full Moon Waning gibbous Last quarter moon Waning crescent moon
8.9 Weather icon descriptions
Description Current day Coming days
Sunny
Cloudy
Overcast
Overcast and light rain
Overcast and rain
Overcast and showers
Fog

ENGLISH
Heavy fog
Intermittent snow and rain
Overcast, rain and snow
Heavy snow and rain
Overcast and light snow
Overcast and snow
Heavy snowfall
Thundershowers
Overcast with moderate thun-
dershowers
Overcast with heavy thunder-
showers
Thunderstorms and snow
Icy rain
Heavy icy rain showers

ENGLISH
9. Cleaning
9.1 Cleaning
- Clean using a soft moistened cloth which will not scratch the display.
- Always turn the power off before cleaning.
10. Troubleshooting
10.1 Reseting the weather station
You can reset the weather station to factory settings by pressing RESET on the weather
station. N.B. After resetting the USB-transmitter must be re-synchronised to the weather
station. Refer to section 5.4.
10.2 Troubleshooting
Problem Possible solution
The weather station
does not come on.
Check that the adaptor is connected properly to both the
weather station and wall socket.
The display does not
show all information.
1) Make sure that your computer is on and connected to
the Internet.
2) Check that the USB transmitter is properly connected.
3) Press and hold –/C/F for approx. 2 seconds to restart
weather data reception.
4) Re-synchronise the USB transmitter to the weather
staion. Refer to section 5.4.
The weather forecast
does not seem accurate.
The wrong city has been selected for forecasts.
Select a closer city. Refer to section 5.3.
No outdoor temperature
is displayed.
1) The outdoor sensor is out of range. Move the sensor
closer to the weather station.
2) The batteries in the sensor are weak.
Change the batteries.
3) The outdoor sensor is not synchronised with the
weather station. See section 4.4.

ENGLISH
11. Disposal
Follow local ordinances when disposing of this product. If you are unsure of how to dis-
pose of this product, please contact your municipality.
12. Specifications
Indoor temperature range: 0 °C to +50 °C (20 % to 95 % relative humidity)
Outdoor temperature range -50 °C to +70 °C (20 % to 95 % relative humidity)
Outdoor sensor range: Up to 50 metres (unobstructed)
Indoor unit size: 195x130x80 mm
Frequency Range: 868 MHz
Outdoor sensor transfer intervals: ~ Once a minute
USB transmitter transfer intervals: ~ Once a minute
Power supply 4.5 V DC via included adaptor
Weather station batteries: 3xAA/LR6 (not included)
Outdoor sensor batteries: 2xAA/LR6 (not included)
Minimum system requirements PC
Operating system: Windows 2000 or later
Processor: 1 GHz
RAM: 512 MB

SVENSKA
Trådlös väderstation Internet
Läs igenom hela bruksanvisningen före användning och spara den sedan för framtida bruk.
Vi reserverar oss för ev. text- och bildfel samt ändringar av tekniska data. Vid tekniska
problem eller andra frågor, kontakta vår kundtjänst (se adressuppgifter på baksidan).
1. Säkerhet
- Produkten får endast repareras av kvalicerad servicepersonal.
- Produkten får inte demonteras eller ändras.
- Se till att uttaget där stickproppen sitter är lätt tillgängligt då stickproppen på
apparatens nätsladd används som frånkopplingsanordning från nätet.
- Placera inte apparaten i en fuktig, dammig miljö eller där det förekommer starka vibrationer.
- Använd endast medföljande eller rekommenderad nätadapter.
- Blanda aldrig gamla och nya batterier eller alkaliska och laddningsbara batterier.
- Ta alltid ur batterierna om klockan inte ska användas under längre perioder.
Batterierna kan börja läcka och orsaka skada på apparat, person eller egendom.
- Utsätt aldrig utomhusgivaren för temperaturer utanför specierade värden, långvarigt
solljus eller regn.
2. Produktbeskrivning
- Hämtar vindriktning/hastighet, UV-index, samt prognos från närmaste meteorologiska
station via Internet.
- Trådlöst överföring via medföljande usb-sändare som ansluts till din dator.
Temperatur och luftfuktighet överförs trådlöst från medföljande utomhusgivare.
- Programvara och nätadapter medföljer.
Viktigt!
För att visa aktuell väderprognos måste din dator vara påslagen samt ansluten till
Internet. Usb-sändaren måste även vara ansluten till datorns usb-port.
Other manuals for IW001
2
This manual suits for next models
1
Table of contents
Languages:
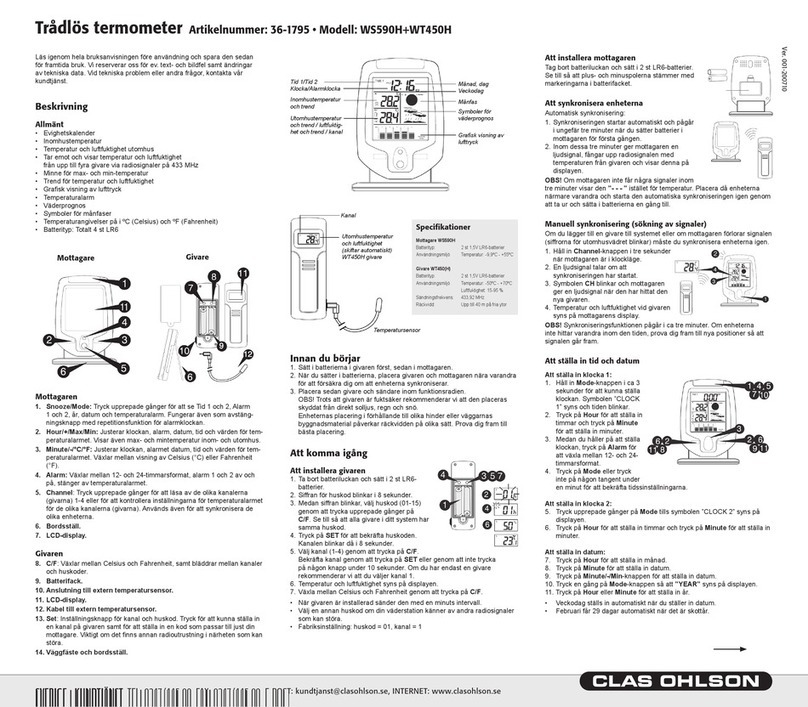
Other Clas Ohlson Weather Station manuals
Clas Ohlson
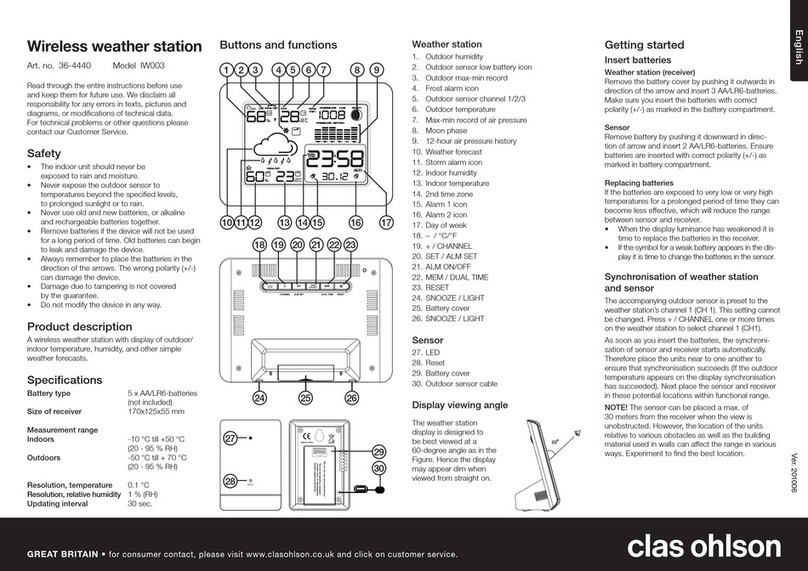
Clas Ohlson ws590h User manual

Clas Ohlson
Clas Ohlson IW003N User manual

Clas Ohlson
Clas Ohlson W160 User manual

Clas Ohlson
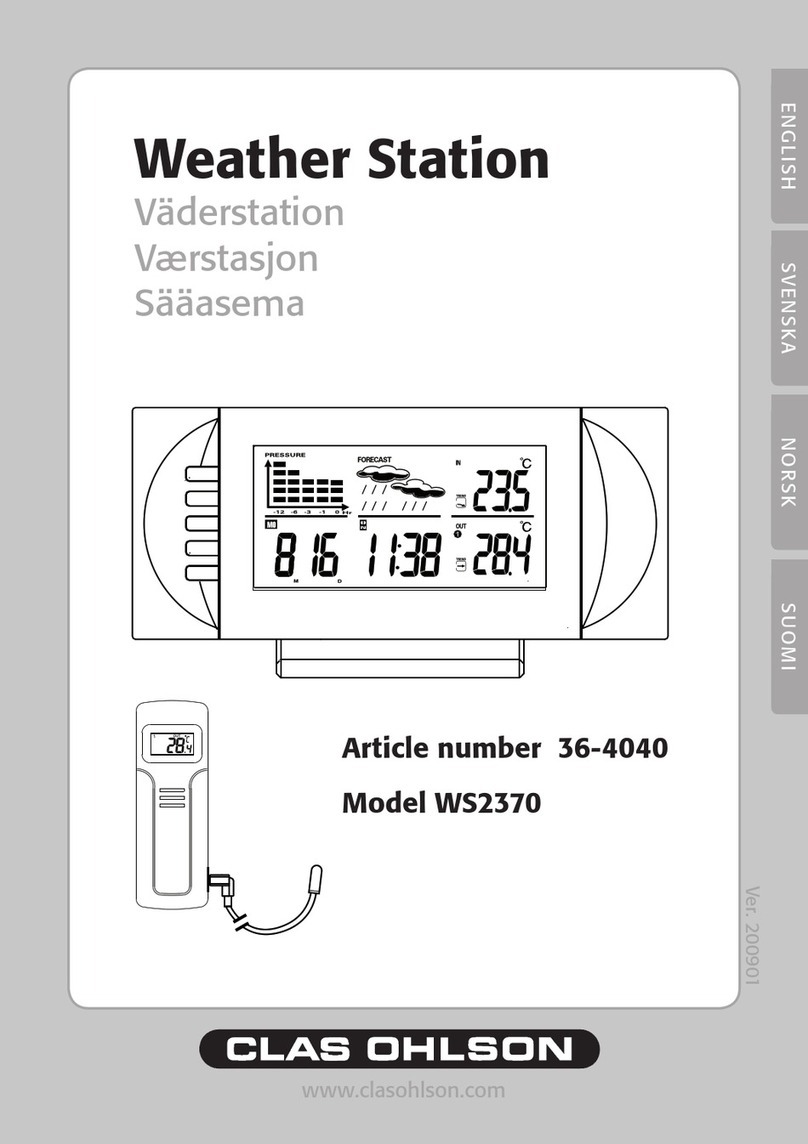
Clas Ohlson ws2370 User manual

Clas Ohlson
Clas Ohlson WH-1080 User manual

Clas Ohlson
Clas Ohlson S5045NH User manual

Clas Ohlson
Clas Ohlson IW003 User manual
Clas Ohlson
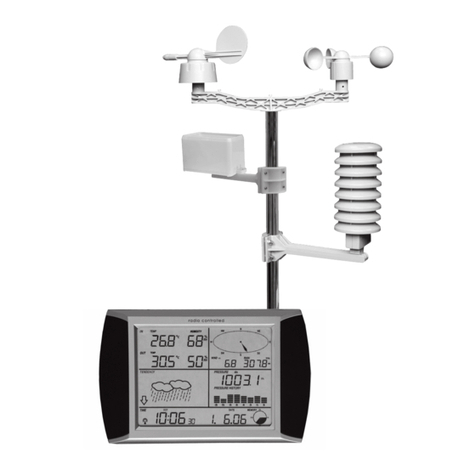
Clas Ohlson WS2068HL+WT450H User manual
Clas Ohlson
Clas Ohlson IW001 User manual