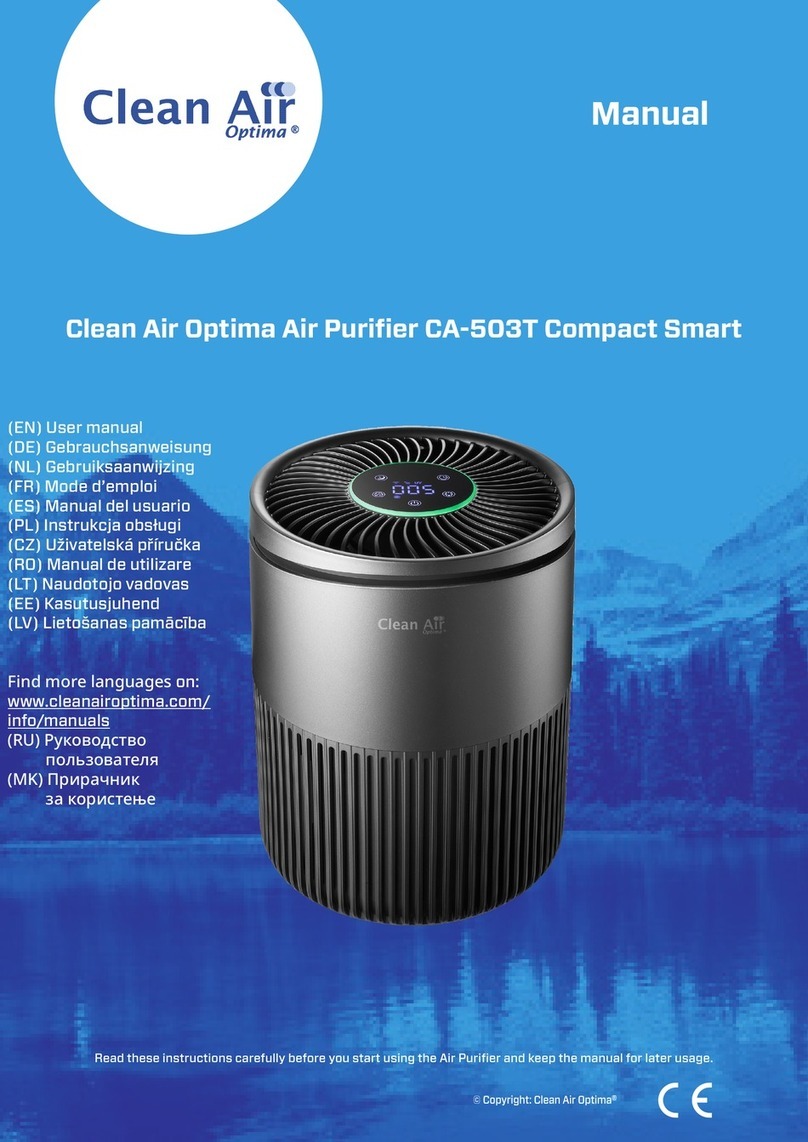
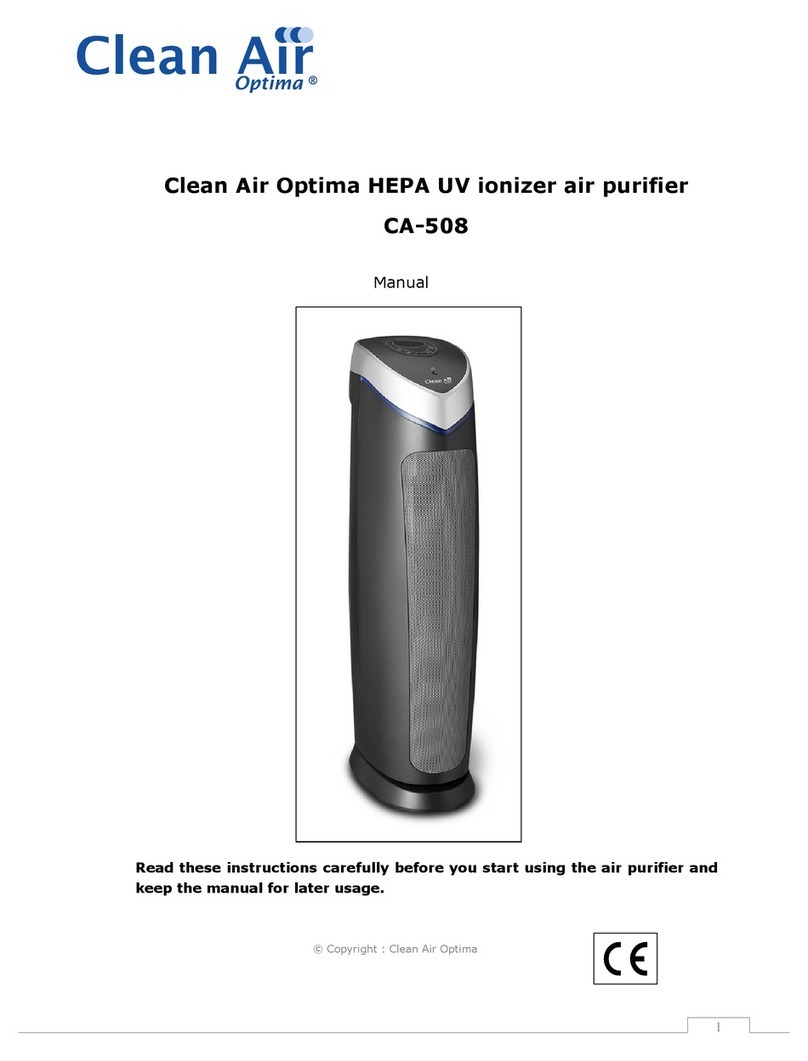
Clean Air Optima CA-502Pro Mini User manual

Read these instructions carefully before you start using the Air Purifier and keep the manual for later usage.
Clean Air Optima Air Purifier CA-502Pro Mini
© Copyright: Clean Air Optima
®
Manual
(EN) User manual
(DE) Gebrauchsanweisung
(NL) Gebruiksaanwijzing
(FR) Mode d’emploi
(ES) Manual del usuario
(PL) Instrukcja obsługi
(CZ) Uživatelská příručka
(RO) Manual de utilizare
(LT) Naudotojo vadovas
(EE) Kasutusjuhend
(LV) Lietošanas pamācība
Find more languages on:
www.cleanairoptima.com/
info/manuals
(RU) Руководство
пользователя
(MK) Прирачник
за користење

2
Dual Airflowsystem - Dual Filtersystem - Dual Ionizer
fordoubleairpurification!
1. Dual Fan
2. Activ Carbon Filter
3. True HEPA H13 Filter
4. UV LED lamp
5. Dual Ionizer

3
Doppeltes Lufstromsystem - doppeltes Filtersystem -
doppelterIonisator für doppelte Lufreinigung!
1. Doppel-Ventilator
2. Aktivkohlefilter
3. True HEPA H13 Filter
4. UV LED Lampe
5. Doppel-Ionisator

4
Dubbel luchtstroomsysteem - dubbel filtersysteem -
dubbeleionisator voor dubbele luchtzuivering!
1. Dubbele ventilator
2. Actieve-koolfilter
3. True HEPA H13 filter
4. UV LED lamp
5. Dubbele ionisator

5
Dual Airflowsystem - Dual Filtersystem - Dual Ionizer
pourunedoublepurification d'air!
1. Double ventilateur
2. Filtre à charbon actif
3. True HEPA H13 filtre
4. Lampe UV LED
5. Double ioniseur

6
Sistema dual de circulación de aire - Sistema de filtrado dual -
Ionizador dual para una doble purificación del aire
1. Ventilador dual
2. Filtro de carbón activo
3. Filtro HEPA H13 True
4. Lámpara LED UV
5. Ionizador dual

7
Podwójny system przepływu powietrza – Podwójny system filtrów –
Podwójny jonizator zapewniający podwójne oczyszczanie powietrza!
1. Podwójny wentylator
2. Filtr z węglem aktywnym
3. Filtr HEPA H13 True
4. Lampa UV LED
5. Podwójny jonizator

8
Duální systém proudění vzduchu – duální systém filtrů –
duálníionizátor pro dvojité čištění vzduchu
1. Duální ventilátor
2. Filtr s aktivním uhlím
3. Filtr True HEPA H13
4. UV LED lampa
5. Duální ionizátor

9
Sistem dublu de fluxuri de aer - Sistem filtru dublu -
Ionizatordublupentru purificarea dublă a aerului!
1. Ventilator dublu
2. Filtru cu carbon activ
3. Filtru True HEPA H13
4. Lampă UV LED
5. Ionizator dublu

10
Dviguba oro srauto sistema, dviguba filtravimo sistema ir dvigubas
jonizatorius užtikrina dvigubą oro valymo efektą!
1. Dvigubas ventiliatorius
2. Aktyvintosios anglies filtras
3. „True HEPA H13“ filtras
4. UV LED lempa
5. Dvigubas jonizatorius

11
Kaks õhuvoolusüsteemi – kaks filtrisüsteemi – kaks ioniseerijat
õhukahekordseks puhastamiseks!
1. Kaks ventilaatorit
2. Aktiivsöega filter
3. True HEPA H13 filter
4. UV LED-pirni
5. Kaks ioniseerija

12
Divu gaisa plūsmu sistēma—Divu filtru sistēma— Divi jonizētāji
divkāršai gaisa attīrīšanai!
1. Divi ventilatori
2. Aktīvās ogles filtrs
3. True HEPA H13 filtrs
4. UV LED lampa
5. Divi jonizētāj

13
Системадвойноговоздушногопотока-Системадвойной
фильтрации-Двойнойионизатордлядвойнойочисткивоздуха!
1. Вентилятор двойного действия
2. Фильтр с активированным углем
3. Фильтр True HEPA H13
4. УФ-светодиодная лампа
5. Вентилятор ионизатор

14
Двоенсистемнапротокнавоздухот-двоенсистемнафилтри-
двоенјонизаторзадвојнопрочистувањенавоздухот!
1. Двоен вентилатор
2. Филтер со активен јаглен
3. True HEPA H13 филтер
4.
UV LED сијалички
5. Двоен Jонизатор

15
English
Thank you for purchasing the Clean Air Optima Air Purifier CA-502Pro Mini.
We wish you many years of healthy indoor air with this ecient and eective product.
Ensure that all safety precautions are followed when using this electrical appliance for the proper
operation of the device. These instructions describe the safety precautions to be observed
during operation. They are meant to prevent injuries and to avoid damaging the device.
Before using your new Clean Air Optima Air Purifier CA-502Pro Mini.
Remove the sealing from the filters first, see page 17. How to use.
CA-502Pro Mini / Description of the appliance
1. Air outlet
2. Air inlet
3. Control panel
4. True HEPA H13 filter and Activ carbon filter
5. Main part of the air purifier

16
Safety warnings
This device may only be used in accordance with this safety instructions. Take the following
steps to minimize the risk of personal injury caused by for example electric shocks or fire.
1. Only for indoor use. Do not use or store outdoors.
2. The appliance is not intended to be used by children or persons with reduced physical,
sensory or mental capabilities, unless they are supervised by a person responsible
fortheirsafety.
3. Do not use the device when there is visible damage on the electrical cord or on the device
itself. Donot repair the device yourself in case of damage. Never pull the device by its cord.
If the power cord is damaged, then it must be replaced by an authorized service person
toprevent electric shock or fire.
4. Repairs may only performed by authorized service personal. Do not try to repair the device
yourself to prevent electric shock or fire.
5. Always remove the plug from the cord when the device is not being used.
6. Only use power power adapters and cords provided. Check if adapter voltage matches
local voltage.
7. Pull the plug when you do not use the device or when you clean internal or external parts of it.
8. For safety use put the device in a steady, horizontal position. Do not move while using.
9. Do not use the device in rooms where inflammable liquids or gases are stored, close to
heat sources or in particulary humid rooms like the bathroom.
10. Never insert any other object into the body to avoid breakdown.
11. Never cover the air inlet and air outlet grid.
12. Never dissemble or replace the device’s inner parts.
13. When the device is running, do not touch the air inlet and outlet grilles, and do not insert
thehandle or any object into the air outlet to avoid injury or damage to the air purifier.
14. To keep the inlet and outlet air grille of the air purifier unimpeded, do not place objects
above or near the front cover of the air purifier.
15. Do not put heavy objects on the unit.
16. Please avoid places with direct sunlight. There is a risk that the device discolors.
17. Never immerse the unit in water or other liquids.
18. Do not touch the power cord with wet hands.
19. Clean the Pre-filter regularly, if the Pre-filter is saturated with dust, it will lead to poor
purifying eect. The power consumption will increase, it can cause failure.
20.The normal operating environment of the device is 0 °C to 40 °C degrees.
21. Use, maintain and clean the device as described in this manual.

17
How to use (Filter installation for the front and the back)
Do not use the device with the filter removed.
The device needs to be positioned at least 30 cm from walls and furniture to obtain a good
airflow. Make sure that the air in-and outlets are not blocked.
1. Disassemble the panel
Put your fingers in the recesses
on the left and right side of
the device (see red icons on
the picture) and pull the panel
towards you.
2. Install the composite filter
Remove the sealing from
thefilters. Place the filters back
into the device. The tab must be
visible at the front.
3. Install the panel
Push the front panel parallel along
the upper and lower edges in the
direction shown in red, see figure.
When you are hearing a click,
thenthe panel is installed.

18
Control Panel / Operation Instruction
1 Power Button
Pressing the Power button you turn the device on and o.
2 Timer
Pressing the Timer Button sets the timer. The timer function determines how many hours the
humidifier will operate. You can set the timer simply by pressing it once for each hour that you
would like to run the device. The timer can be set from 1 hour to 8 hours.
3 Speed/ Sleep mode
By pressing the Speed button, you can change the speed level. The 4 fan speeds oer
individual air flow (1-2-3 means the wind speed increases). Position 4 is the sleep mode.
When the sleep mode is activated, the display will turn o and the fan runs silently in the
lowest setting. Only the sleep mode light is on.
4 Turbo
Press the turbo button for a fast, highly ecient air purification in the highest level.
Press the turbo button again to return to the previous setting.
5 Filter
If the indicator light is on, the composite filter (HEPA and Activated Carbon Filter) must be
replaced. The composite filter has a lifespan of 400 hours.
2 Filter Reset
Reset the timer for the composite filter by pressing and holding the button Timer (for about 3
seconds). If the indicator light goes out, the timer has been successfully reset.

19
Maintenance
Cleaning the outside of the air purifier
1. Switch o the device and pull the plug.
2. Use a soft and humid piece of cloth to clean the device from dust and dirt.
3. Make sure that no water gets into the device.
Replacing of filters
The Clean Air Optima Air Purifier CA-502Pro Mini is equipped with a filter lifespan surveillance
mechanism that signals that the filters have to be replaced after 400 working hours. To show
that the composite filters (HEPA + Activated Carbon Filter) need to be replaced, the indicator
light will light up. Reset the timer for the composite filter by pressing and holding the button
Timer (for about 3 seconds). If the indicator light goes out, the timer has been successfully
reset.
Depending on the use, the composite filters (HEPA + Activated Carbon Filter) has a lifespan
of approx. 2-3months.
Filter cleaning
The best eect is reached by cleaning the filters once a month. If indoor air is extremely polluted,
more cleaning can be required.
Clean the Pre-filter and the HEPA filter with a brush or your vacuum cleaner. That way bigger
dust particles like lint, hair and dander of pets can be removed from the filter.
Warning! Do never wet or rinse the composite filters (HEPA + Activated Carbon Filter)
withwater.
Signs for used up filters
Increased sound, reduced air flow, congested filters, rising presence of smells. The filter needs
to be replaced by a new one when the HEPA filter changes its color from white to grey or black.
If the HEPA filter remains white, there is NO need to replace the filter.
How to order filters:
Contact Clean Air Optima Customer Service tel. + 31 (0) 742670145 or visit our webshop:
https://www.cleanairoptima.com/accessoires/mg/44/

20
Troubleshooting
The following is a troubling shooting guide to help you solve any issues that you may have us-
ing the Clean Air Optima Air Purifier CA-502Pro Mini.
Problem Possible Cause Solution
Device does not
switchon
The power cord does not
connect correctly
The power cord is broken
The front or back panel is not
installed correctly
Connect the power plug
andpower socket correctly
Replace the power cord
Install the panel correctly.
See chapter: How to use
The air outlet
smellsfoul
The filter traps too much odor
ordust
The lifetime of the filters
hasexpired
Replace the composite filters
Poor purification eect
Check if the humidity
intheroomis too dry
The device is placed in
an unventilated room or
surrounded by obstacles
Increase the humidity
Remove the obstacles
No air is blowing out
of the device
The airinlet or airoutlet
isbeing blocked
Remove the obstacles
WARNING!
If the above recommended solutions do not work, please contact Clean Air Optima technical
support at the telephone number for your region. Do not attempt to disassemble, reassemble,
or repair the device as this may void the warranty.
Table of contents
Languages:
Other Clean Air Optima Air Cleaner manuals
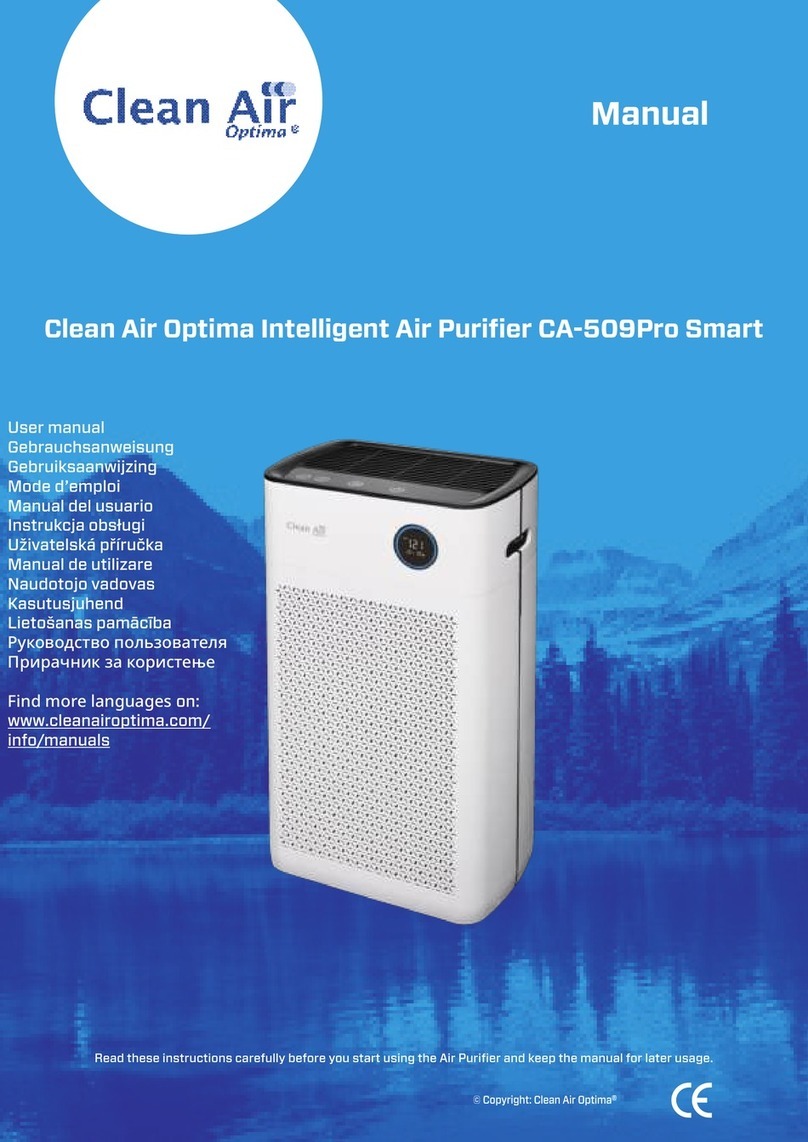
Clean Air Optima
Clean Air Optima Smart CA-510Pro User manual

Clean Air Optima
Clean Air Optima Compact Smart CA-503B User manual

Clean Air Optima
Clean Air Optima CA-503T Compact Smart User manual

Clean Air Optima
Clean Air Optima CA-508 User manual

Clean Air Optima
Clean Air Optima CA-704 User manual

Clean Air Optima
Clean Air Optima CA-509Pro Smart User manual

Clean Air Optima
Clean Air Optima CA-506 User manual

Clean Air Optima
Clean Air Optima Smart CA-510Pro User manual