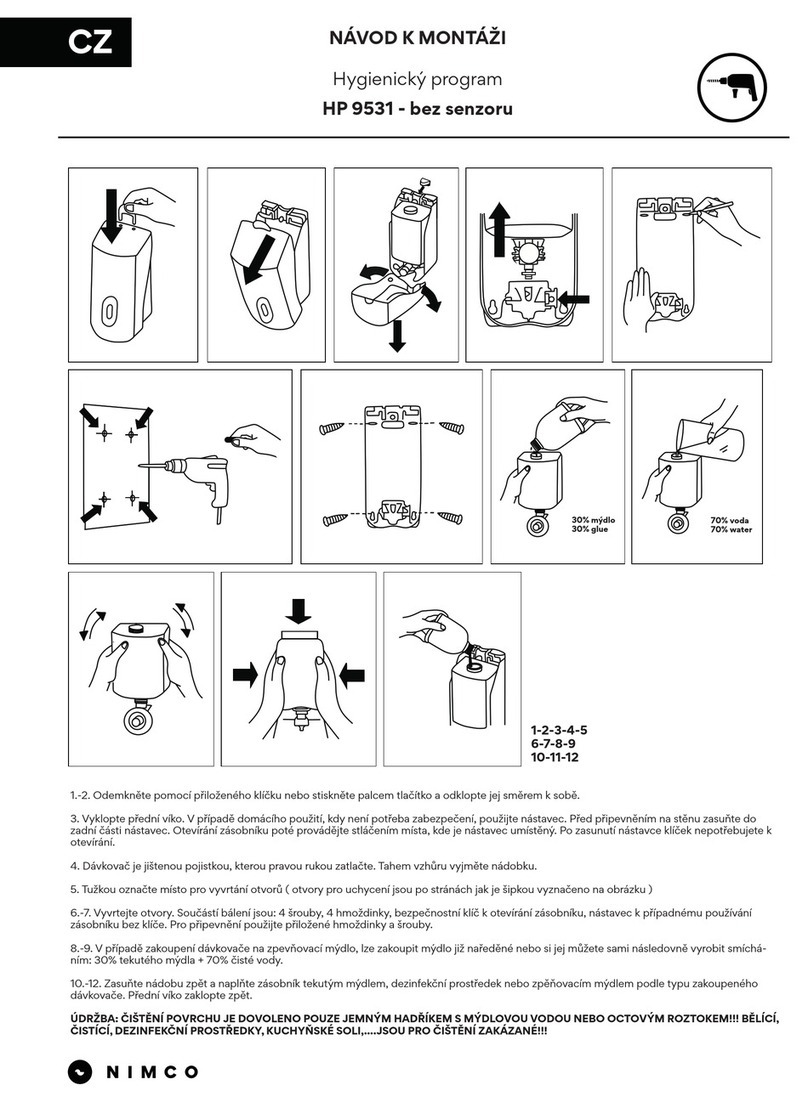
Cleanflow IFS61S User manual

INTELLIGENT FACILITY SOLUTIONS
Electric Works, 3 Concourse Way, Sheffield, S1 2BJ
United Kingdom: +44 (0) 114 354 0047
Eire: +353 190 36387
sales@ihdryers.co.uk
www.intelligenthanddryers.com

Cleanflow 650ML Automatic Stainless Steel
Liquid Soap Dispenser
IFS61S
User Manual
• Thank you for purchasing our automatic soap dispenser
• Please read these instructions carefully before installation and
retain for future reference
INTELLIGENT FACILITY SOLUTIONS
Electric Works, 3 Concourse Way, Sheffield, S1 2BJ
United Kingdom: +44 (0) 114 354 0047 | Eire: +353 190 36387
[email protected] | www.intelligenthanddryers.com

IFS61S
Hygienic:
Automatic, touch free operation, preventing cross contamination
and bacteria transfer
Material:
304 stainless steel cover
Design:
Lockable upper lid to prevent misuse. Waterproof construction
protecting electronic components
Installation:
Suitable for public places such as hotels, schools, hospitals etc.
Adjustable Sensor Distance:
Sensor can be adjusted between 5-15cm
Adjustable Soap Volume per Sensor Activation:
Amount of soap dispensed per activation can be adjusted to be
between 0.8ml and 6.5ml
Tank capacity
Soap per sensor activation
Sensor distance
To make sure this product maintains a high performance
and long life, please take note of the following:
1. Please read this user manual carefully before you attempt to
install the dispenser.
2. Replace all batteries at the same time. Do not mix old and new
ones.
3. Make sure you are installing the dispenser onto a smooth,
clean wall
4. Make sure the distance from the bottom of the dispenser to
any reflective object or surface is more than 25cm
5. Ensure the user manual is available to all servicing staff after
installation
6. Make sure the sensor distance area is free from objects
7. Don’t install the dispenser where it will be prone to direct
sunlight

Upper lid
Cover for tank
Tank
setting button
Wall mount
Suggested distances
* If the dispenser is to be installed above stainless steel
objects, the distance from the sensor window to the
object must be above 35cm

1. Position the paper mounting template in the correct location
on the wall
2. Drill three 6mm holes in the wall, according to the paper
mounting template, and insert a plastic wall plug into each hole
3. Correctly position the wall mount at the drilled holes and
attach to the wall with provided screws.
4. Place the back of the dispenser against the wall mount and
press into position so that the hooks firmly take hold
5. Open the upper lid using the supplied key
6. Locate the anti-theft screw and secure the dispenser to the
wall mount
1. The LED indicator light will flash continuously when the
batteries need replacing
2. Ensure you change the batteries at this point before they fully
run out
3. Use 6 x AA alkaline batteries making sure all batteries are
replaced at the same time.
a) Open the upper lid of the dispenser using the supplied key
b) Remove the battery box from the battery box cover
c) Remove the old batteries and replace with the new ones,
making sure the they are inserted in the correct direction
d) Relocate the battery box into the battery cover and then
close the upper lid, locking it for extra security
Take off the battery cover Take out the old
batteries and replace
with the new ones
Put the batteries into the
battery box according to
the "+" and "-" direction

Adjustment
When the batteries are first installed, the LED indicator light will
flash for 5 seconds (approx. 1s/flash). After this, the dispenser
is now in “setting mode”. If there is no activation of the sensor
window whilst in “setting mode” within 30 seconds, the “setting
mode” will be locked and factory settings will be used.
To get back into “setting mode”, press and hold the setting
button on the bottom of the dispenser for 15 seconds. The LED
indicator light will flash for 5 seconds (approx. 1s/flash). After
this, the dispenser is now in “setting mode ” for 30 seconds.
1. Adjustment of Sensor Distance
Whilst in “setting mode”, press and hold the setting button on
the bottom of the dispenser for 5 seconds. The LED indicator
light will start flashing. Place your hand under the sensor
window at the distance where you require activation to be until
the LED indicator light switches off (please note this distance
should be between 5-15cm from the sensor window). The
sensor adjustment is now complete.
2. Adjustment of Soap Volume per Sensor Activation
Whilst in “setting mode”, press the setting button on the bottom
of the dispenser twice (on the first press the LED indicator light
comes on, after the second press the LED indicator light will
start to flash). Whilst the LED indicator light is flashing put your
hand under the sensor window. The dispenser will give out
liquid in 0.8ml shots (for a maximum of 8 times) until you
remove your hand from the sensor window. Once the hand is
removed the dispenser is set. Depending upon when you
remove your hand from the sensor window you can set the
amount of soap per sensor activation to be between 0.8ml and
~ 6.5ml.
1. Open the upper lid using the supplied key
2. Insert 6 x AA alkaline batteries as per the section of this
manual “battery change”
3. Remove the tank cover and fill the tank with the required
amount of liquid soap. Make sure any spillages are removed from
the outside of the tank
4. Replace the tank cover, ensure the battery box is in its correct
place and close the upper lid, locking it with the supplied key
5. To activate, place your hand under the sensor window. When
the sensor receives the signal the LED indicator light will flash
and the soap will be dispensed automatically.
6. Please note – when first used after a soap refill, you may need
to activate the sensor a few times to pass the soap through the
system from the tank.
Note:
Please remove the protective cover on the sensor window
before using
Remove the tank cover, pour in
the liquid soap, remove any
spilled soap from the outside of
the tank

LED
indicator
light not
working
check the electronics
or batteries
No soap
output
Soap dispenser is
broken
remove possible
obstruction from sensor
Not
enough
soap per
sensor
activation
lower volume
setting selected
adjust volume of
soap per activation
liquid is too thick use a liquid with
lower viscosity
regular cleaning of the
tank and valve
a blockage inside
the tank and valve
1. To avoid damage and low performance, please do not
excessively knock the dispenser as it has been installed with
precision electronic components.
2. To avoid damage or corrosion to the products surface or
inner electrical components please only use a soft damp cloth
and neutral detergent to clean the dispenser. Do not use
excessive amounts of water. Once cleaned, make sure the
dispenser is fully dried with a dry soft cloth. Do not use
products with a hydrochloric acid base, chlorinated bleaches,
developing solutions, other strong acids, concentrated
disinfectants and strong alkalis, such as caustic soda. Do not
use rough cloths, scouring pads or nylon brush etc.
Table of contents
Popular Dispenser manuals by other brands

ScentAir
ScentAir ScentWave SWD1004 user manual

Branded Safety
Branded Safety 160-1101 FlexiStore manual
dosatron
dosatron D 8 RE 3000 owner's manual
JohnDow Industries
JohnDow Industries JDI-15DP owner's manual
FILTRENA
FILTRENA H2O My Dispenser Installation, use and maintenance handbook

Bunn
Bunn Ultra-2 HP CFV Technical training

