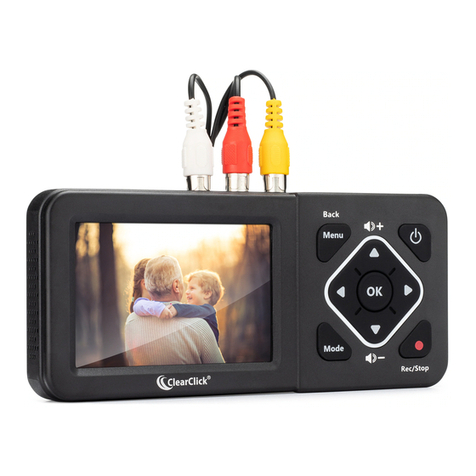
ClearClick AV2HD 2.0 User manual

2
Extend Your Warranty for FREE!
Extend your warranty by one year for free
simply by registering your product at:
www.ClearClick.tech
Browse All Our Products!
If you’re looking for fun, unique, and easy-
to-use technology, we’ve got it! Please
visit our website to browse all of our
products:
www.ClearClick.tech
Safety Precautions
Do not disassemble the hardware or operate
around water or appliances.

3
Thank You!
Thank you for your purchase of the ClearClick®
AV2HD™2.0 Video Converter & Recorder! We
are a small business and appreciate your order.
At ClearClick®, we try to make our technology as
clear to understand and use as possible. But if
you get stuck at any point, you qualify for FREE
USA-based tech support as a ClearClick®
customer. Just email us at:
(Make sure you explain your issue in detail. Our
USA tech support team members will reply to you
within 24-48 business hours.)
To get started, please see the quick start guide on
the following pages.

4
What’s Included?
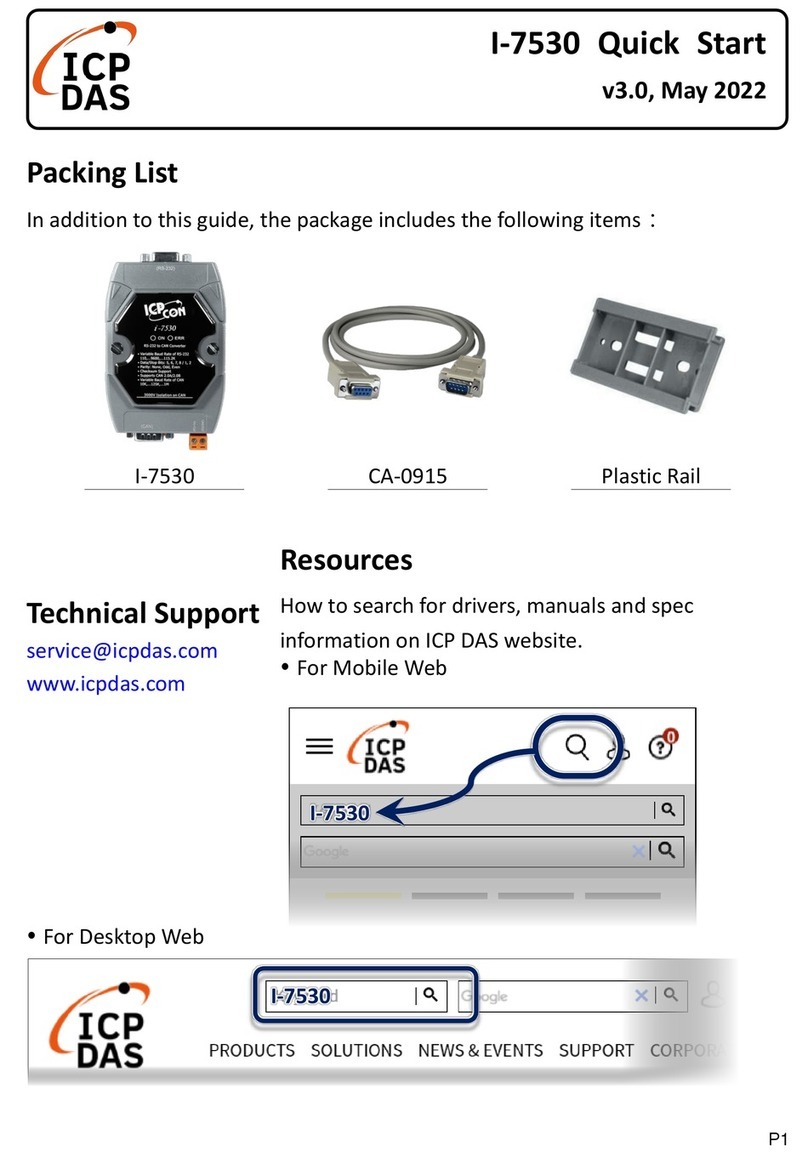
•AV2HD™2.0 Video Converter & Recorder
•Power Adapter
•3-RCA Video Transfer Cable
•HDMI Cable
•User’s Manual / Quick Start Guide
NOTE: If you believe you are missing any parts,
or if you received a part that is broken, please
all other technical issues or support, please
Not Included:
• USB Flash Drive (Optional; For Recording Videos)
Important: We recommend starting with a new,
unused flash drive that is “SanDisk”brand. We do
not recommend very large drives. For best results,
please use a 128GB SanDisk drive.

5
Quick Start Guide
1. Provide power to the device.
Using the included power adapter, plug in the
device to a power outlet. The LED ring on the
top of the device will turn white when the
device turns on.
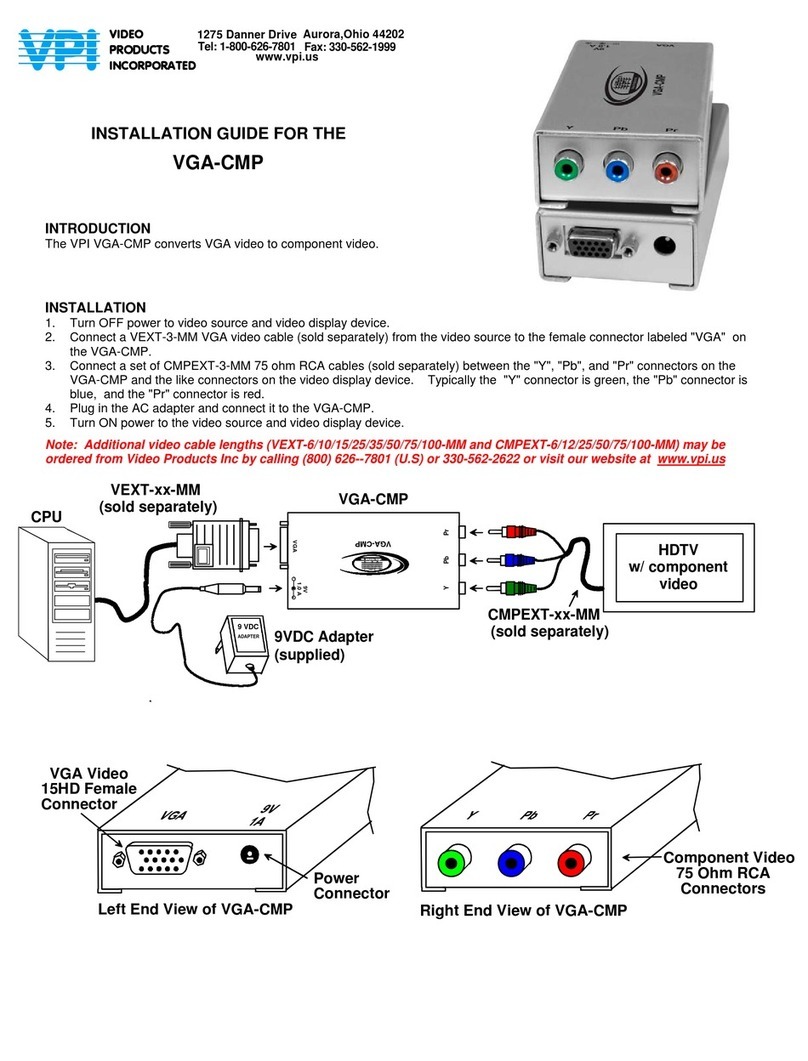
2. Connect video source to input.
Using the included video transfer cable (with
red, white, and yellow connectors), hook up
your video source (a VCR, camcorder, DVD
player, gaming device, or similar) to your
AV2HD™Converter 2.0.
Connect the cable to the “OUT”ports of your
video source (for VCR’s, usually in the back),

6
and into the yellow, white, and red “IN”ports
on the side of the AV2HD™Converter 2.0.
Note: Some camcorders may require a
special type of RCA/AV cable (i.e. 3.5mm to
AV cable). If your VCR or camcorder only
has one audio output port, you will need an
RCA audio splitter cable (not included).
3. Connect your TV to the output.
Connect the included HDMI cable to the
outport port of the AV2HD™Converter 2.0.
Connect the other end to your TV’s HDMI
input port.
Turn on your TV & set it to the correct HDMI
input.

7
4. Set device settings.
(Optional.)
Using the switches in the back of the
AV2HD™Converter 2.0, you can set the
following settings:
4:3 / 16:9 (Aspect Ratio) –Sets the device
to output in full screen (regular) aspect ratio
or widescreen (stretched) aspect ratio,
respectively.
720P / 1080P (Resolution) –Sets the
device to output in 720P or 1080P resolution.
Note: 1080P resolution will result in larger video
recording file sizes.

8
5. Plug in a USB flash drive.
(Optional.)
If you wish to record your videos, plug in a
USB flash drive (not included) to the USB
port on the AV2HD™Converter 2.0.
The LED ring will turn solid blue once the
USB drive has been recognized.
Note: We HIGHLY recommend starting with
a brand new, “SanDisk”flash drive for best
results, preferably 128GB or smaller. Huge
capacity drives or external USB hard drives may
not be recognized by the device, or may cause
audio/video sync problems.

9
6. Watch your video or (optional) start
recording!
You should see your video in HD resolution on
your TV. If not, please see the troubleshooting
information on the next page.
Make sure your video source (VCR, camcorder,
gaming system, etc.) is playing a live signal.
To start recording the video, press the
“REC/STOP”button on the AV2HD™Converter
2.0. The LED ring will turn red while the device
is recording.
To stop recording, simply press the
“REC/STOP”button again. IMPORTANT: Wait
until the LED ring stops blinking before
removing your USB flash drive.

10
Audio/Video Troubleshooting:
If you don’t get video or audio on your TV, or if
your video is staticky or blurry, the video source
(i.e. VCR or camcorder) is almost certainly the
cause (not the AV2HD™2.0). You may want to
hook up your video source directly to a TV to
verify if you get a good signal there.
7. Transfer videos to your PC/Mac.
To transfer recorded video files to your PC or
Mac, simply plug in the USB flash drive to
your computer. Your video files will be on
the drive in MP4 files starting with the name
“Encode.”
NOTE! The converter will save recordings in
2GB file chunks. To combine or split these
video files, please see the next page.

11
How To Combine MP4 Files with
MP4Joiner Software
The AV2HD™Converter 2.0 saves your video
recordings in file chunks that are 2 GB in size
(about 20 minutes each). This means that long
recordings will be saved as multiple video files.
To combine these files, use the MP4Joiner
software tool inside the MP4Tools software suite.
SOFTWARE DOWNLOAD LINK:
www.vhstodvd.com/mp4tools.zip
After downloading & installing the software, open
MP4Joiner.
Click “Add Video”and select the recordings that
you made with the AV2HD™Converter 2.0. Then
click the “Join”button to save as one MP4 file.

12
MP4Joiner Software

13
How To Split MP4 Files with MP4Splitter
Software
If you’d like to split a video recording into multiple
files, open the MP4Splitter software.
(If you haven’t already, download & install
MP4Tools from www.vhstodvd.com/mp4tools.zip)
Click “Open Video”and select the video file you’d
like to split into multiple video files.
Set the slider underneath the video to the point at
which you’d like to split the video, and click the
“Add split point”button.
Do this for each point you’d like to split the video
file at. Then, click “Start splitting,”and the
software will save your video recording as
multiple files.

14
MP4Splitter Software

15
How To Overlay Audio On Your Videos
While Recording
If you’d like, you can overlay audio on your videos
while you record by using the “Mic”input port on
the AV2HD™Converter 2.0.
To do this, plug in a 3.5mm headset-style
microphone to the “Mic”input port before
recording.
The audio from the microphone will be overlayed
on top of your recording.

16
Troubleshooting / FAQ’s
1. I don’t get any signal to my TV, and/or my
video recording file is blank (or solid black
or solid blue).
First, check all your connections. Make sure
your video source is connected from its output
to the “input”on the AV2HD™Converter 2.0.
Second, make sure your TV is connected from
the HDMI output port of the AV2HD™
Converter 2.0 to your TV’s HDMI input port.
Make sure your TV is set to the correct HDMI
input.
Finally, make sure there is a live signal from
your video source & that your video source is
working correctly. From our experience, the
video source or video tape is usually the

17
source of the problem.
2. The AV2HD™2.0 will not start recording,
or it will not recognize my USB drive.
First, plug in the AV2HD™Converter 2.0 to a
TV using the HDMI output, and make sure you
have a live signal.
If so, please try using a different USB flash
drive. We highly recommend using a brand
new “SanDisk”brand USB flash drive,
preferably 128GB or smaller.
The LED ring on the AV2HD™Converter
should turn blue after you plug in your USB
flash drive, and it should turn red after you
press “REC/STOP”to start recording.

18
3. My video recording was split up into 2GB
file chunks. Is there any way to avoid this?
Due to chipset limitations, there is no way to
avoid the 2GB file splitting.
However, you can easily combine the MP4
files using the included “MP4Joiner”software.
Please see page 11 to learn how to do this.
4. How do I record from HD (HDMI) sources?
You can’t – this device is not meant to record
from HDMI or HD video sources. (This device
can only output to HDMI.) Instead, please
check out our “HD Capture Box” and “HD
Capture Box Ultimate” products for this
purpose at www.ClearClick.tech.

19
5. My video looks stretched horizontally.
To switch to full screen (to avoid stretching
your video horizontally), simply switch the
aspect ratio switch (on the AV2HD™
Converter 2.0) to “4:3”instead of “16:9”before
recording.
6. Does this device come with a warranty?
Yes, this device comes with a 1-year warranty.
You can extend your warranty for 2-years for
free at: www.ClearClick.tech/register/
7. I need a further support!
No problem! We’re ready to help. Please
get back to you within 24-48 hours… usually
within a few hours!

20
Please include your order number, if
possible, and as much detail as possible.
NOTE: If you don’t receive a response,
check your “SPAM” folder.
Table of contents
Other ClearClick Media Converter manuals
ClearClick
ClearClick Video2Digital 2.0 MINI EDITION User manual
ClearClick
ClearClick Video2Digital User manual
ClearClick
ClearClick Video2Digital Deluxe Edition User manual
ClearClick
ClearClick Video 2 Digital Converter 2.0 User manual
ClearClick
ClearClick Video 2 Digital User manual

ClearClick
ClearClick Video2Digital User manual

