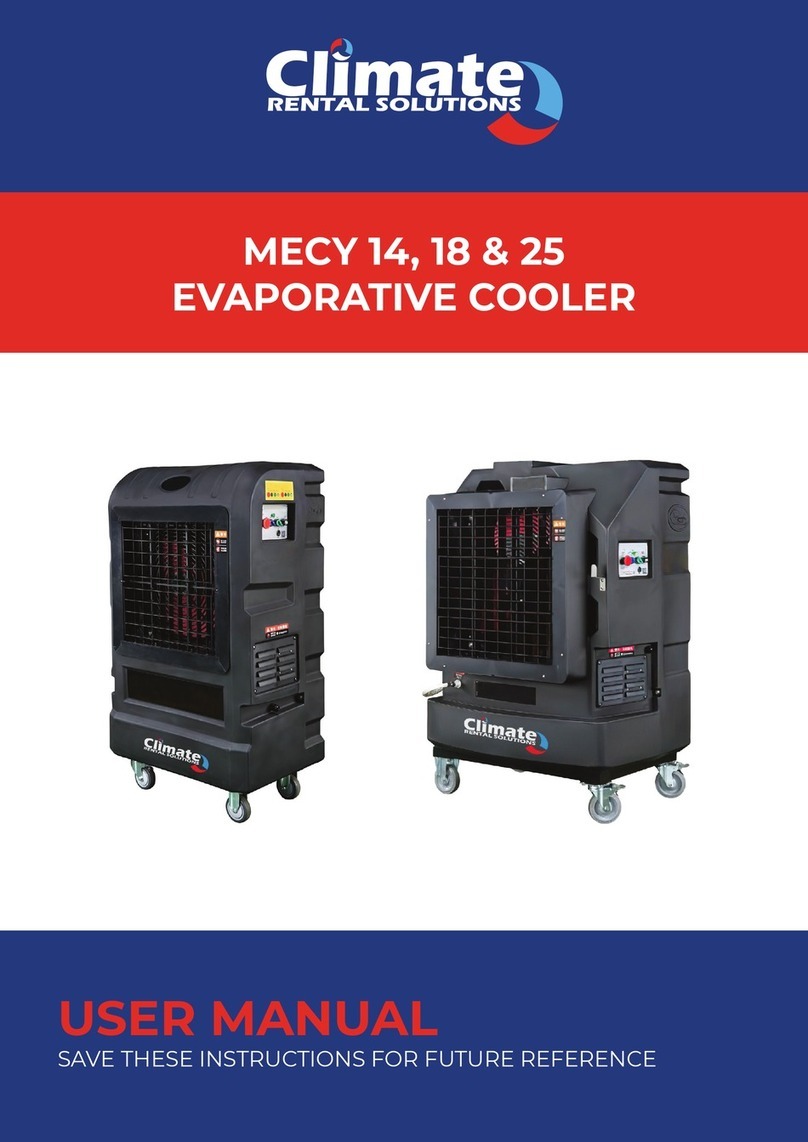
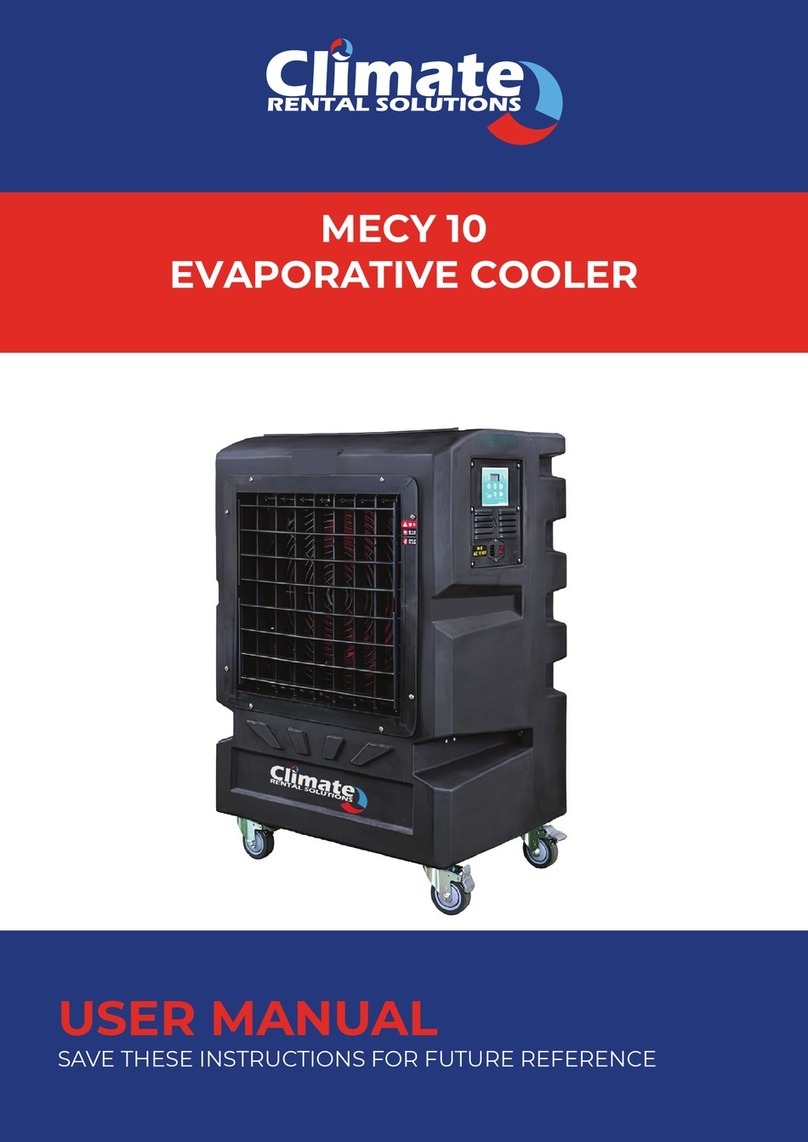
Climate RENTAL SOLUTIONS MEC 7 User manual

SAVE THESE INSTRUCTIONS FOR FUTURE REFERENCE
OWNER’S MANUAL
EVAPORATIVE COOLER
MODEL: MEC 7, 12 & 20

OWNER’S MANUAL PORTABLE EVAPORATIVE AIR COOLER
Page 2
TABLE OF CONTENTS
INTRODUCTION.....................................................................................................3
SAFETY RECOMMENDATIONS ............................................................................3
UNIT DESCRIPTION...............................................................................................4
PARAMETER LIST .................................................................................................4
WATER SUPPLY SYSTEM .....................................................................................5
COOLING PAD ASSEMBLY...................................................................................6
CONTROL...............................................................................................................8
PARTS LIST..........................................................................................................10
TROUBLESHOOTING..........................................................................................11
WARRANTY..........................................................................................................13

OWNER’S MANUAL PORTABLE EVAPORATIVE AIR COOLER
Page 3
INTRODUCTION
WHY USE EVAPORATIVE COOLERS IN YOUR WORKPLACE?
• Evaporative cooler requires little space, has a low initial cost, is economy and simple to operate and requires
minimal scheduled maintenance.
• Due to the design and construction of the cooling pads, cooling eciency is normally maintained near optimum
throughout the life of the pads. (Approximately eight years)
HOW EVAPORATIVE COOLING WORKS
Evaporative cooling is the same process your body uses to cool itself. When you perspire, and air moves across
your skin, a portion of the perspiration (water) evaporates. Evaporation requires heat to change liquid water-to-water
vapor and this heat is taken from your skin, producing the cooling eect.
In an evaporative cooler, the cellulose cooling pads take the place of your skin, water instead of perspiration wets
them and a fan moves the air. The air blows across the cooling pads and evaporates moisture. Heat is drawn from
the pads and the air, dropping the air temperature and producing the cooling eect. The cooled air is then forced
through a building or space and displaces the warm air out building openings, cooling the surroundings. In addition,
air velocity increases the cooling eect as it moves over the skin of people in the airow path.
Evaporative coolers are portable and use the latest technology to provide large volumes of cool air, eciently and
inexpensively for cooling small to medium size areas. Simply adding more units can accommodate larger areas. With
proper sizing and application, an evaporative cooler can lower the eective air temperature by up to 20°.
SAFETY RECOMMENDATIONS
READ AND SAVE THESE INSTRUCTIONS!
• This is an electric device with moving components. There is the possibility of re, electric shock, or injury to per-
sons. Ensure all the safety recommendations are adhered to in order to minimize this risk.
• Disconnect all power and unplug the unit before you inspect, clean or perform maintenance on the components
of the unit.
• Never reach into the unit when it is running; you could become entrapped by the v-belt or injured by the rotating
fan blades.
• The frame edges may be sharp; do not run your hand along them. Be careful and wear gloves when you reach
under the frame to inspect the PVC pipes and mesh socks.
• A GFCI (Ground Fault Circuit Interrupter) is recommended for use with this product.
• If pads and grates are removed for servicing, they must be replaced prior to operating unit.

OWNER’S MANUAL PORTABLE EVAPORATIVE AIR COOLER
Page 4
UNIT DESCRIPTION
The evaporative cooler is a completely self-contained, portable unit capable of delivering 15 MPH velocity of air with
a temperature drop of up to 20°. The unit is composed of:
• Level-controlled water supply system
• Cooling pad assembly
• Motor-driven fan
• Frame and housing
The bottom is made of high impact poly and holds approximately 40 gallons at normal operating level (about 6" deep).
A oat-operated valve automatically maintains proper water level when the unit is connected to a water supply.
The bottom rests on, and is xed to, a rugged steel support frame. Four casters (2 locking, 2 regular) are attached
to the underside of the steel frame.
A pump draws water from the bottom and discharges it through the vinyl hose to the PVC pipes located above the
cooling pads. The PVC pipes distribute water onto the top of the cooling pads;saturating them. Excess water drips
back into the bottom through the holes in the cooling pad support channels.
The cellulose cooling pads sit in support channels and are held in place by the tray and pad support plate.
The fan draws room air through the cooling pads where it picks up moisture and cools by evaporation. The fan blade
then discharges the cooled air.
PARAMETER LIST
Major technique parameter
Model
MEC12 MEC20 MEC40
Specication
Air Volume (m3/h) 0-12000 0-20400 0-38000
Power (w) 370 370 750
Voltage (V/Hz) 230/50 230/50 230/50
Speed variable variable variable
Water tank capacity (L) 115 200 300
G.W (Kg) 78 105 168
Dimension (mm)
H1560
W1270
D680
H1800
W1600
D780
H2130
W1910
D920
Refrigerated area (m2)100-170 200-230 300-370

OWNER’S MANUAL PORTABLE EVAPORATIVE AIR COOLER
Page 5
WATER SUPPLY SYSTEM
The water can be supplied continuously with an ordinary garden hose by attaching it to the supplied hose adapter to
the ll connection, or it can belled manually.
With a continuous water supply connected, the oat valve in the bottom rises and falls with the water level. A linkage
attaches the oat to the shuto valve in the ll connection. As the water level rises to normal operating level (about
5" deep), the oat valve shuts o the water supply.When the water level drops, the oat valve reopens to maintain a
normal operating level.
After unplugging the unit, the bottom can also be manually lled with a hose or bucket; if a hose connection is
impractical. Simply remove any of the pad sections and place the hose, or pour the water, directly into the bottom.
When you ll the bottom manually it can be lled to a higher level, but make sure someone monitors the lling
operation to avoid overlling and ooding.
Turn “water ow” to 1 can increase air humidity.
Turn “water ow” to 0 can reduce air humidity.
Note: Water damage due to overlling is not covered by the warranty.
Note: When you run the unit and manually ll it, check the water level frequently so it does not run dry.
Operating the pump without water will damage it or reduce its service life. This is not covered by the warranty.
The cooling eect also stops if the pads are dry.

OWNER’S MANUAL PORTABLE EVAPORATIVE AIR COOLER
Page 6
COOLING PAD ASSEMBLY
Unit placement and other considerations
The unit(s) should be placed at one end of the building and an appropriate exhaust fan should be at the opposite end
to pull the cool air from the unit and discharge the warm air out of the building.
Try to get all the air owing in the same direction. Do not direct other fans against the unit. It will counter the airow
and stop the cooling eect.
Obstructing the airow from the unit severely reduces the cooling eect.
Avoid using ceiling fans as they disrupt the airow from the unit.
Use as many exhaust fans as possible to create a natural draft through the building. This will enhance the performance.
UNPACKING AND INITIAL SETUP
The Evaporative Cooler is shipped upright on a pallet. The unit is fully assembled and ready for service except for
thoroughly cleaning manufacturing dust from the cooling pads before running it for the rst time.
CAUTION: Be careful when you move the unit. Avoid jarring or dropping the unit to prevent damage to the
bottom.
1. Cut the straps that wrap the unit.
2. Remove the shrink wrap.
3. Ensure the switch is OFF and the unit remains unplugged.
4. Remove the pad support plate from the back of the unit by removing all the set screws.
5. Remove the cooling pads from the unit. Pull pad out and then lift out of drain rail. With one pad out, the rest can
be easily removed in the same manner.
6. Inspect the entire unit for shipping damage.
Note: If you notice any damage to your unit, contact your dealer immediately.

OWNER’S MANUAL PORTABLE EVAPORATIVE AIR COOLER
Page 7
7. Thoroughly clean all four cooling pad sections using a garden hose.
Note: Do not use cleaning uids or other chemicals to clean the pads as they can cause foaming during
operation. Use only clean water. Refer to page 9 for approved cleaners.
8. Remove the drain cap from the underside and rinse with a hose to ush any manufacturing dust, etc. from the
unit.
9. Replace the drain cap.
10. Replace the pads.
11. Proceed to “Normal Setup”.
REGULAR CLEANING
The frequency with which the unit is cleaned will depend on the environment in which it is used. The more dirty the
environment the more often it will need cleaning. In most cases the unit will need to be cleaned weekly.
Caution: The pads should be dry before you handle them, as they are stronger when dry than when they are wet
and less susceptible to damage.
If they are wet, run the unit in the HIGH VENT position until they are dry. After cleaning, let the pads air dry before
you replace them.
1. Turn the switch to OFF and unplug the unit.
2. Check the pads for cleanliness. If they are dirty, remove and clean by spraying with a garden hose, water only. If
they are not dirty you will still need to remove the cooling pads to clean the inside of the unit. Dirty cooling pads
reduce the unit’s eectiveness.
3. Use a garden hose to rinse out the bottom and the inside of the unit. The dirt that accumulates is removed from
the air during operation, as the unit also acts as an air lter.
4. Remove the drain cap from the underside of the unit and let the unit drain completely. Rinse out any remaining
dirt.
5. Replace the drain cap (nger tighten only).
6. Replace the cooling pads once they are dry.
Note: With proper use and regular cleaning, the cooling pads will last about two seasons. If you handle them
wet and are abusive, however, they will be easily damaged. Refer to page 15 for recommended conditioning
and cleaning chemicals.
NORMAL STARTUP
NOTE: Some splattering may occur until pads are conditioned (may take several uses).
1. Move the unit to the place where it will be run. Do not attempt to lift or move the unit once it is lled as damage
to the unit or a large spill may occur.
Note: When you decide where to place the unit, make sure there are no obstructions in the way that will
disrupt or block the airow. Make sure the unit is level at all times. Keep the unit at least three feet away from
walls or other obstructions that will interfere with airow into the unit.
2. Check to insure the drain cap is in place and secure.
3. Connect the garden hose to the brass hose adapter. Check that there is a washer in the hose connection’s fe-
male end.
4. Open the water supply valve and check that water enters the bottom through the oat valve by removing one

OWNER’S MANUAL PORTABLE EVAPORATIVE AIR COOLER
Page 8
cooling pad. Allow the unit to ll and check that the oat valve completely shuts o the water.
5. If you are manually lling, remove one or more cooling pads and ll the bottom with a bucket or hose.
6. Visually monitor the lling operation to avoid overowing and causing spill damage.
7. Plug the unit into an outlet.
8. Turn the switch to the low cool position, then to high cool if more air is desired.
CAUTION: Do not run the pump without water in the bottom or you will damage the pump. Running the pump
dry will void the warranty on the pump.
NORMAL SHUTDOWN
1. Turn the switch to the High Vent position, and let the unit run until the cooling pads are dry. This will maximize
the life of the pads.
2. Turn the switch to the OFF position. Unplug the unit if you are going to clean the pads or inspect the components.
3. Shut o the water supply.
4. Drain the bottom if you are going to clean it or store it. It can be done two ways:
a. Remove drain cap from bottom of unit.
b. Attach garden hose to hose tting labeled drain. Place valve handle in the drain position and put switch to
pump only.
Note: Monitor water level and shut pump o when unit is empty. DO NOT RUN PUMP DRY.
5. If the unit will be stored for the season, insure the cooling pads are completely dry, and then remove them. Wrap
them in plastic bags or store them in a clean place where they will not be damaged or get dirty. The unit should
be cleaned thoroughly before storing.
CONTROL
Abridged General View:
1. Key:
Run/Stop: Press this key to run/stop the system.
Fan: Press this key to enter the fan speed interface, press up and down key to adjust the speed. Keeping the key
depressed continuously (more than three seconds) will enter the nature style.
Pump: Press this key to RUN/STOP the pump (keeping the normal water level is necessary).
TEM: Press this key to set the temperature, the DS1 display the current testing temperature, DS2 display the setting
temperature, press down and up key to adjust the setting temperature.

OWNER’S MANUAL PORTABLE EVAPORATIVE AIR COOLER
Page 9
TIME: Adjust the time, press the down and up key to set the time, the Factory default is 60 minutes.
UP: When adjust the numerical value, press this key to increase the value, which add numerical value for 1, and
Keeping the key depressed continuously to add the value for 10.
DOWN: When adjust the numerical value, press this key to reduce the value, which reduce numerical value for 1, and
Keeping the key depressed continuously to reduce the value for 10.
2. Status Display and Operation
1. Press “RUN/STOP” key, the LED light on, DS display 888888, after one second, the power light and the run
light on, the DS display the last close the system status. The rst time opening the system, the DS display
RUN, rotate speed display 050, Operation to enter the nest step.
2. Press the “Fan” key, enter the normal mode, the corresponding fan light on, press “DOWN” and “UP” to
adjust the rotate speed, the minimum value is 000,the maximum value is 100(the minimum value and the
maximum can be adjusted)
3. Keeping the “FAN” key depressed continuously, enter the normal mode, the fan light icker, the DS display
the dierent rotate speed value(the upper/lower limiting value of the normal mode can be set)
4. When the water level is lower, the water light on; When the water level is normal, press the “pump” key to
run the pump, and the pump light on, display the running status.
5. Press the “TEM” key, the DS1 display the current testing temperature, DS2 display the setting temperature,
press down and up key to adjust the setting temperature. The temperature range is 10°C - 40°C could be
cycling set.
6. Press the “TIME” key, the DS1 display the time, press “DOWN””UP” key to adjust, the minimum set time is 5
minutes, and the maximum value is 600 minutes. Keeping the “TIME” key depressed continuously to start,
and stop by Keeping the key depressed continuously once more.
7. When the system at the condition of fan overload, time setting, and temperature setting, can’t to adjust the
fan speed. Only the DS display the corresponding function, could have corresponding setting.
8. At the power o status, press “up” ”down” key at the same time, and then press the “run” “stop” key could
set the upper limit of the fan normal mode by “up”, then press “time” key could set the lower limit of the fan
normal mode by “down”, and the “cyc”,”Err”, “SPH”and the “SPL”.
3. System Parameter Setting
The System Parameter Setting could set and use the machine conveniently.
a. The common functions as follows
Parameter Initialization Limits Function
Normal Mode 000 000-100 Adjust the fan speed
Temperature 26.0°C 0-40°C Set the temperature according to dierent
requirements
Time 060 5-600 (minute) Set the running time according to dierent
requirements

OWNER’S MANUAL PORTABLE EVAPORATIVE AIR COOLER
Page 10
b. Special function as follows:
Parameter Initialization Limits Function
up 100 50-100 Adjust the upper limit value of the normal mode
do 000 0-50 Adjust the lower limit value of the normal mode
cyc 060 30-600 (S) The time from minimum to maximum
Err 00.0 -5.0-5.0 Adjust the temperature departure, make the
test more standard
SPH 100 50-100 Maximum value of the fan speed
SPL 000 0-50 Minimum value of the fan speed
According to dierent fan to set the Min/Max value of the fan speed when leave the factory.
PARTS LIST
Item Description Item Description
1 Top housing 5 Black power cord
2 Logo labeled 6Logo moulded
3 Control panel 7 Support frame
4 Protective screening 8 4" caster with brake

OWNER’S MANUAL PORTABLE EVAPORATIVE AIR COOLER
Page 11
Item Description Item Description
95/8" ID vinyl hose 14 Spray deector plate
10 3-ing fan blade 15 Electrical motor cord
11 Evaporative cooler motor 16 Switch to motor pump and water
level electrical pigtail
12 Motor/fan mounting bracket 17 water level visible range
13 Brass ball valve and pump
TROUBLESHOOTING
COOLING PADS NOT WETTING
1. Make sure the unit has water.
2. Check to insure the control switch is in the proper position.
3. Make sure the pump is running.
4. Pump is running but no water:
a. Ensure hose is connected.
b. Ensure the impeller on the inside of the pump turns freely.
5. Pump is not running:
a. A certied electrician must check wiring from pump to pump selector switch.
b. If the wiring is correct, replace the pump.
FOAMING
Foaming is generally caused by a dirty water supply or contaminated water in the bottom.
1. If foaming occurs, stop the unit, drain it and ush the bottom and insides thoroughly with clean water.
2. Clean the pads and do not use any kind of chemical cleaners. Refer to the "Regular Cleaning" section for proper
procedure for cleaning the pads.

OWNER’S MANUAL PORTABLE EVAPORATIVE AIR COOLER
Page 12
3. Reassemble, rell and restart.
LINE CLOGS OR OBSTRUCTIONS (Little or no water ow)
Depending on the cleanliness of the water and the amount of dirt, dust, etc. in the supply air, you may have to clean
the PVC pipes from time to time.
Your own experience will dictate the frequency.
1. Turn o the unit and unplug it.
2. Remove the pads.
3. Locate the two PVC pipes in the top housing. Each PVC pipe is secured to an elbow connector by a hose. Re-
move this clamp from both PVC pipes.
4. Grip the opposite end of each PVC pipe with pliers and gently twist it out of its "Y" connector.
5. Direct a jet of water at the series of outlet holes in the PVC pipes to blow them clear.
6. Direct the water nozzle into the end of each pipe and blow them clear. Inspect them for cleanliness and repeat
if necessary.
7. Replace the PVC pipes taking care to ensure the water outlet holes are facing inwards at 90° towards deector
plate.
Note: Ensure you push the PVC pipes fully onto the elbow, and attach hose clamps.
ODOR CONTROL
Water source needs to be of good quality and regular maintenance is imperative.
LIME OR SCALE BUILDUP
Insure water source is of good quality and regular maintenance is being conducted. Water Conditioner is available
from the factory.
SPLATTERING
If more or less water is desired, adjust PVC ball valve
LEAKING
Out Bottom
Check for cracks on the bottom. If a crack is found, repair it by using a Repair Kit or replace the entire bottom. Insure
drain cap is installed and hand tightened (drain cap must have gasket inside).

OWNER’S MANUAL PORTABLE EVAPORATIVE AIR COOLER
Page 13
We warrant to the original purchaser that our products which prove to be defective in material or workmanship within
one year (unless otherwise specied) from date of purchase will be repaired or replaced at the option of us
What is Not Covered By The Warranty
The warranty does not cover:
1. Installations not made in accordance with installation instructions;
2. Where the operation of the product varies substantially from our operating instructions;
3. Malfunctions resulting from misuse, negligence, alteration, accident or lack of performance of required mainte-
nance;
4. Loss of time, inconvenience, loss of use of the product, or other consequential damages.
The above constitutes our sole warranty.
THERE IS NO WARRANTY OF MERCHANTABILITYAND THERE ARE NO WARRANTIES WHICH EXTEND
BEYOND THE DESCRIPTION OF THE FACE HEREOF.
Products with warranty periods that exceed our standard one-year warranty are listed below. These products
are subject to all other provisions as stated in our Warranty.
WARRANTY

This manual suits for next models
3
Table of contents
Other Climate RENTAL SOLUTIONS Air Cleaner manuals