manuals.online logo
Brands
  1. Home
  2. •
  3. Brands
  4. •
  5. Clou
  6. •
  7. Toilet
  8. •
  9. Clou First toilet CL/04.01020 User manual

Clou First toilet CL/04.01020 User manual

first_toilet
CL/04.01020
Montage instructies
Installation Instructions
Notice de montage
Montageanweisungen
bath findings
- Alvorens de montage te beginnen moet de volledig-
heid van de levering gecontroleerd worden. Tevens
moet ook op transportschade gecontroleerd wor-
den, te late schademeldingen (> 1 dag na levering)
worden niet aanvaard.
- De meegeleverde bevestigingsartikelen zijn geschikt
voor gestucte of betegelde, massieve muren die
voldoende draagkracht hebben. Voor andere muren
dient men zelf bevestigingsartikkelen te voorzien
en dient de muur mogelijk verstevigd te worden.
- Clou behoudt zich het recht voor technische en op-
tische wijzigingen aan te brengen t.o.v. afgebeelde
producten.
- Door wijzigingen in de productie kan het zijn dat gegeven afmetingen niet meer
correct zijn. Alle vermelde afmetingen in deze handleiding dienen te worden geve-
rifieerd alvorens de actie uit te voeren.
- Clou b.v. kan niet verantwoordelijk worden gesteld voor de gevolgen van onaange-
past gebruik, onaangepast transport of beschadigingen veroorzaakt door tussenop-
slag.
- De van toepassing zijnde garantievoorwaarden gelden steeds.
- De montage dient uitgevoerd te worden door 2 personen waarvan minstens één
vakkundig opgeleid persoon.
- Alle maten zijn in mm.
- Before starting with the mounting check whether
the delivery is complete. At the same time the deli-
very should be checked for damage due to trans-
portation, damage reports that are too late (> 1 day
after delivery) will not be accepted.
- The included fixing media are suited for plastered
or tiled solid walls with enough supporting power.
For other walls the used fixing media is at own res-
ponsibility, and the wall might need reinforcement.
- Clou reserves the right to introduce technical and
visual changes with respect to the depicted images.
- Due to changes in production it is possible that
given dimensions are no longer correct. All menti-
oned dimensions in this manual should be verified before executing the action.
- Clou b.v. can not be held responsible for the results of improper use, improper
transportation or any damage caused during interim storage.
- The current terms of guarantee are always valid.
- The installation has to be performed by at least 2 persons of whom at least one
should be a skilled professional.
- all dimensions are in mm.
NL
GB
- Avant de procéder au montage, veuillez contrôler
si l’article livré est complet. Veuillez aussi contrôler
des dommages éventuels causés par le transport,
nous n’acceptons pas de réclamations dues à des
dégâts causés par le transport au-delà de 1 jour
après livraison.
- Les fixations livrées avec les articles sont destinés
pour montage sur un mur massif porteur, finition
stuc ou carrelé. Pour d’autres finitions ou murs plus
faibles, prévoir d’autres fixations et éventuellement
consolider le mur si nécessaire.
- Clou se réserve le droit pour tout changement tech-
nique ou optique par rapport à la photo représen-
tant le produit.
- Des changements de production peuvent faire en sorte que les dimensions affi-
chées ne correspondent plus, nous vous prions de vérifier avant de procéder à
toute action.
- Clou BV ne peut être tenu responsable pour usage non approprié des articles, trans-
port inadéquat ou dommage causés à votre entrepôt en attente de livraison.
- Les conditions de garanties en vigueur restent toujours valables.
- Le montage doit être effectué par 2 personnes dont une au moins soit un corps de
métier.
- Toutes les mesures affichées sont en mm.
- Vor Beginn der Montage überprüfen Sie bitte, ob
die Lieferung vollständig ist bzw. ob durch den
Transport Schäden entstanden sind. Diese Überprü-
fung muss direkt am Liefertag erfolgen. Sollte ein
Schaden festgestellt werden, muss dieser unmit-
telbar nach der Lieferung, spätestens (> 1 Tag nach
Lieferung) angezeigt werden.
- Die im Lieferumfang enthaltene Beschreibung, für
verputzte oder geflieste massive Wände, sind aus-
schließlich für Wände mit genügend und ausrei-
chender Tragfähigkeit geeignet und vorgesehen. Bei
Wänden mit einer geringe Tragfähigkeit erfolgt die
Montage auf eigene Verantwortung. Hier empfehlen
wir eine zusätzliche Unterstützung durch spezielle Befestigungslösungen
- Clou behält sich das Recht auf technische und optische Änderungen in Bezug auf
die dargestellten Bilder vor.
- Aufgrund von Änderungen in der Produktion ist es möglich, dass angegebene Maße
nicht mehr korrekt sind. Alle genannten Dimensionen in diesem Handbuch sollten
vor der Ausführung der Maßnahme überprüft werden.
- Clou B.V. ist nicht verantwortlich für die Ergebnisse des unsachgemäßen Gebrauch,
unsachgemäßen Transport oder Schäden, die während Zwischenlagerung verursacht
werden.
- Die aktuelle Garantiebedingungen sind immer gültig.
- Die Installation muß von mindestens 2 Personen durchgeführt werden, wobei 1 Per-
son bereits vorhandene Fachkenntnisse hat.
- Alle Dimensionen erfolgen in mm Angaben.
DE
FR
Inhoud levering:
Content of delivery:
Contenu de la livraison:
Inhalt der Anlieferung:
Benodigd gereedschap:
Required tools:
Outils requis:
Erforderliche Werkzeuge:
Niet inbegrepen
Not included
Non inclus
Nicht enthalten
Tijdens de installatie moet men voorkomen dat het opper-
vlak van het product beschadigd raakt door harde voorwer-
pen op het product te leggen.
During installation one has to prevent damaging the surface
of the product due to placing hard objects on the product.
Pendant l’installation on doit empêcher endommager la
surface du produit dû à placer des objets durs sur le pro-
duit.
Während der Installation soll verhinderd werden das harte
Gegenstände die Oberfläche der Produkten beschädigen.
Gebruiksvoorschriften:
zie ook de onderhoudsvoorschriften op www.clou.nl
User’s instructions:
See also the maintenance guides at www.clou.nl
Instructions d’utilisation:
Voyer aussi les instructions de maintenance sur www.clou.nl
Gebrauchsanweisungen:
Wartungsanweisungen finden Sie auf unsere Homepage www.clou.nl
2x
2x2x
550
17545
325
55
250
360
180
85
190
R
40
50
R
27,50
45
150
127
375
first_toilet
CL/04.01020
Dimensions in mm, for reference only / 01.10.2010 / rev_01 www.clou.nl
550
17545
325
55
250
360
180
85
190
R
40
50
R
27,50
45
150
127
375
first_toilet
CL/04.01020
Dimensions in mm, for reference only / 01.10.2010 / rev_01 www.clou.nl
2_
Monteer handmatig de zelf
gekozen montage onderdelen
op de draadstangen via de
onderzijde van het toilet.
Install manually the self chosen
mounting components on the
threaded rods through the bot-
tom of the toilet.
Installez les éléments de fixa-
tion choisis manuellement sur
les tiges filetées par le fond de
la toilette.
Installieren Sie manuell die
gewählten Befestigungskom-
ponenten auf den Gewinde-
stangen über die Unterseite des
WC’s.
1_
Plaats het toilet over de
draadstangen van het in-
bouwreservoir. Klem de toe-
en afvoerbuizen van het
reservoir vast.
Place the toilet over the th-
readed rods from the built-in
flush tank. Clamp the inlet
and outlet pipes of the flush
tank.
Placez la toilette sur les
tiges filetées du réservoir de
chasse encastré. Fixez la tube
d‘alimentation et de draina-
ge du réservoir de chasse.
Platzieren Sie das WC über
die Gewindestangen vom
einbau Spülkasten. Klam-
mern Sie die Zufluß- und
Abflußleitungen des Spül-
kastens fest.
3_
Draai langs de onderzijde vast
met de ring ratelsleutel.
Tighten from the bottom with
the ring ratchet wrench.
Vissez par le fond avec la clé
anneau de cliquet.
Schrauben Sie die Befesti-
gungen Unterseits mit einem
Ringratschenschlüssel fest.
4_
Monteer de toiletzitting.
Install the toilet seat.
Installez le siège de toilette.
Installieren Sie den WC-Sitz.
5_
Haal het bevestigingsstuk van
de zitting (stap 9), en schroef
de bouten reeds half in de
nylon bussen.
Take the mounting piece from
the seat (step 9), and screw the
bolts already halfway in the
nylon nuts.
Prennez la fixation de l’assise
(étape 9), et vissez les boulons
déjà à mi-chemin dans les
écrou en nylon.
Nehmen Sie die Befesti-
gung vom Sitz (Schritt 9), und
schrauben Sie die Bolzen
bereits in der Mitte in die Nylon
Nüsse.
6_
Plaats het bevestigingsstuk op
het toilet en schroef vast.
Place the mounting piece on
the toilet and fixate it.
Placez la fixation sur la toilette
et fixez-le.
Setzen Sie die Befestigung auf
das WC und fixieren Sie es.
7_
Schuif zitting en deksel over
het bevestigingsstuk tot het
geheel vastklikt.
Place the seat and cover over
the mounting piece until the
whole snaps on.
Placez l’assise et l’abatant sur
la fixation jusqu’à ce que le
tout s’accroche.
Setzen Sie den Sitz auf die
Befestigung, bis das Ganze
festklemmt.
8_
Hoe het soft-close systeem
te regelen wordt op volgende
pagina uitgelegd.
How to adjust the soft-closing
system is explain on the next
page.
Comment d’ajuster le système
de doux-fermeture est expliqué
à la page prochaine.
Wie man das Soft-Closing
System justiert erklären wir auf
der nächsten Seite.
9_
Neem de zitting van het toilet
door de schuiver opzij te du-
wen en de zitting af te nemen.
Take the seat from the toilet by
pushing the slider aside and
taking off the seat.
Prenez l’assise de la toilette en
poussant le glisseur de côté et
en enlevant l’assise.
Entfermen Sie den Sitz indem
Sie auf der Rückseite die Riegel
verschieben.
10_
In de chrome behuizing zitten
2 plastic clinders, cilinder A
bepaald de sluitsnelheid van
de zitting, cilinder B van het
deksel. Om ze sneller te laten
sluiten draait men de cilinder
met een inbussleutel tegen
de wijzers van de klok in, om
trager te laten sluiten draait
men met de wijzers van de
klok mee.
In the chrome housing there
are 2 plastic cylinders, cylinder
A controls the closing speed
of the seat, cylinder B controls
the speed of the cover. To make
them close faster turn the
cylinder counter clockwise with
an Allen-key, to make them
close slower turn the cylinder
clockwise.
A
B
10_
Dans le corps de chrome il y a 2
cylindres en plastique, cylindre
A détermine la vitesse de fer-
meture de l’assise, cylindre B
détermine la vitesse de l’abba-
tant. Pour une fermeture plus
rapide tournez le cylindre dans
le sens inverse des aiguilles
d’une montre avec une clé
Allen, pour une fermeture plus
lente tournez le cylindre dans
le sens des aiguilles d’une
montre.
Im Chromgehäuse gibt es 2
Plastikzylinder, Zylinder A
bestimmt die schließende
Geschwindigkeit des Sitzes.
Zylinder B bestimmt die Ge-
schwindigkeit des Decksels.
Für eine schnellere Schließung
drehen Sie die Zylinder mit
einem Inbusschlüssel gegen
Uhrzeigersinn. Für eine langsa-
mere Schließung drehen Sie in
Uhrzeigersinn.
A
B
Clou bv
Thermiekstraat 1
NL-6361 HB Nuth
T +31 (0)45 524 56 56
F +31 (0)45 524 60 00
[email protected]
www.clou.nl
bath findings

Other Clou Toilet manuals

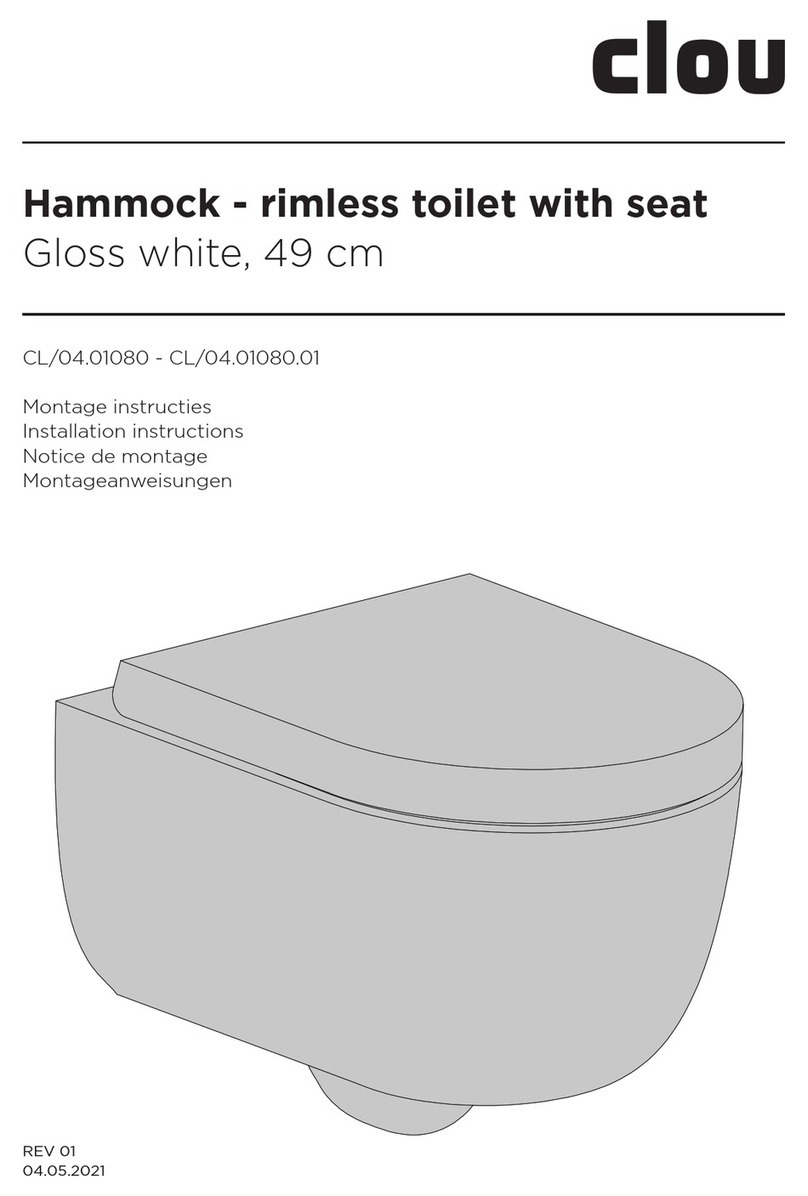
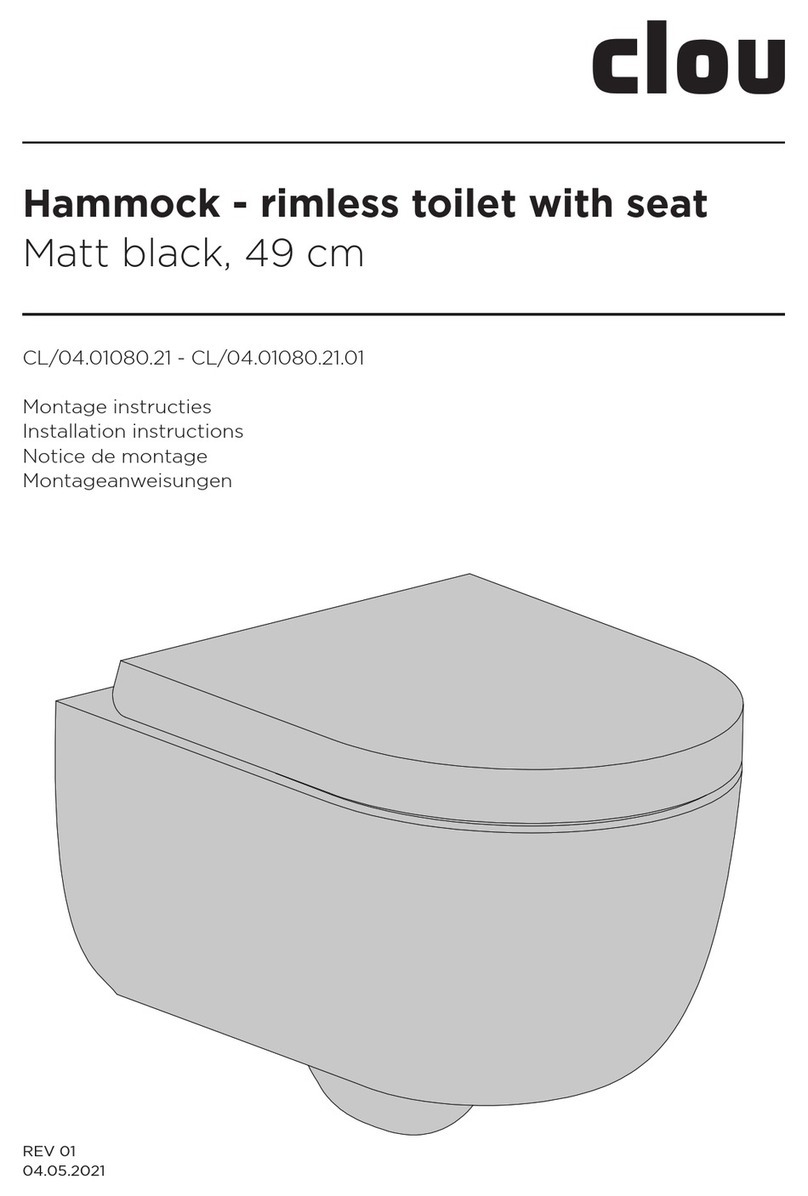
Clou Hammock CL/04.01080.01 User manual

Clou

Clou Hammock CL/04.01080.01 User manual

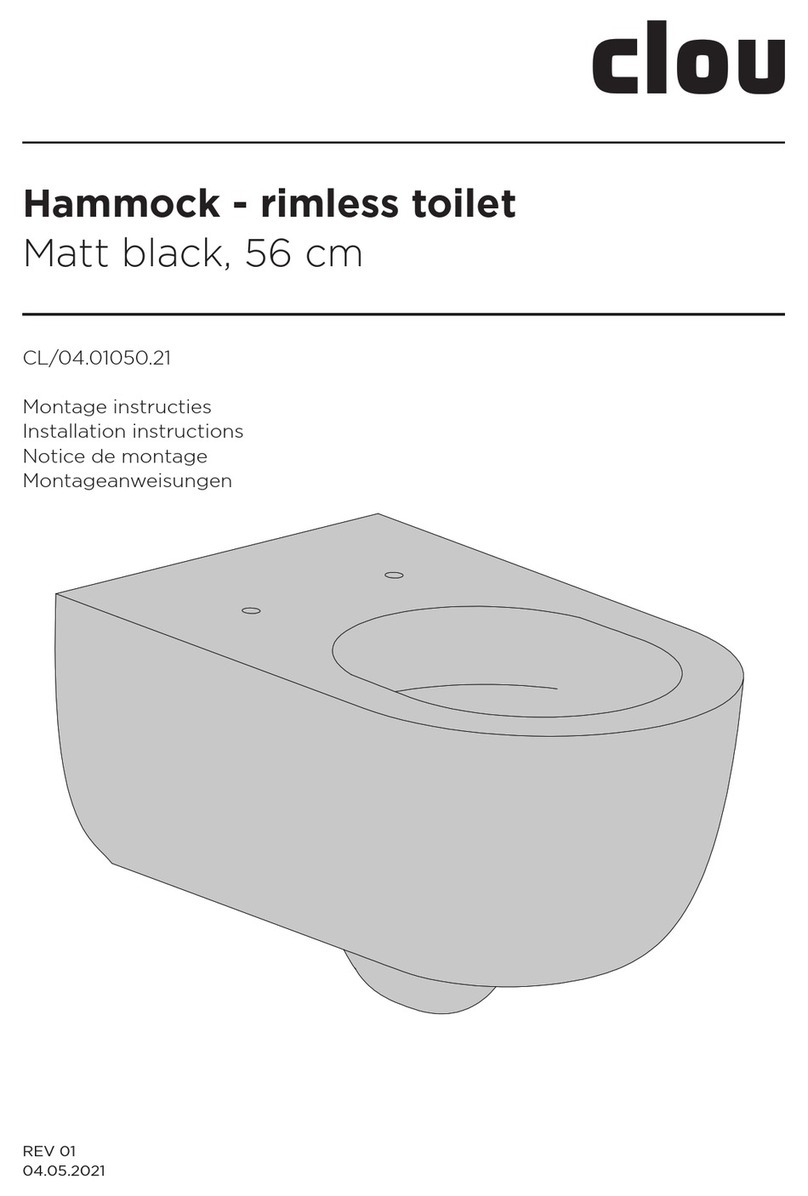
Clou Hammock CL/04.01050.21 User manual

Clou

Clou Hammock CL/04.01050.21 User manual

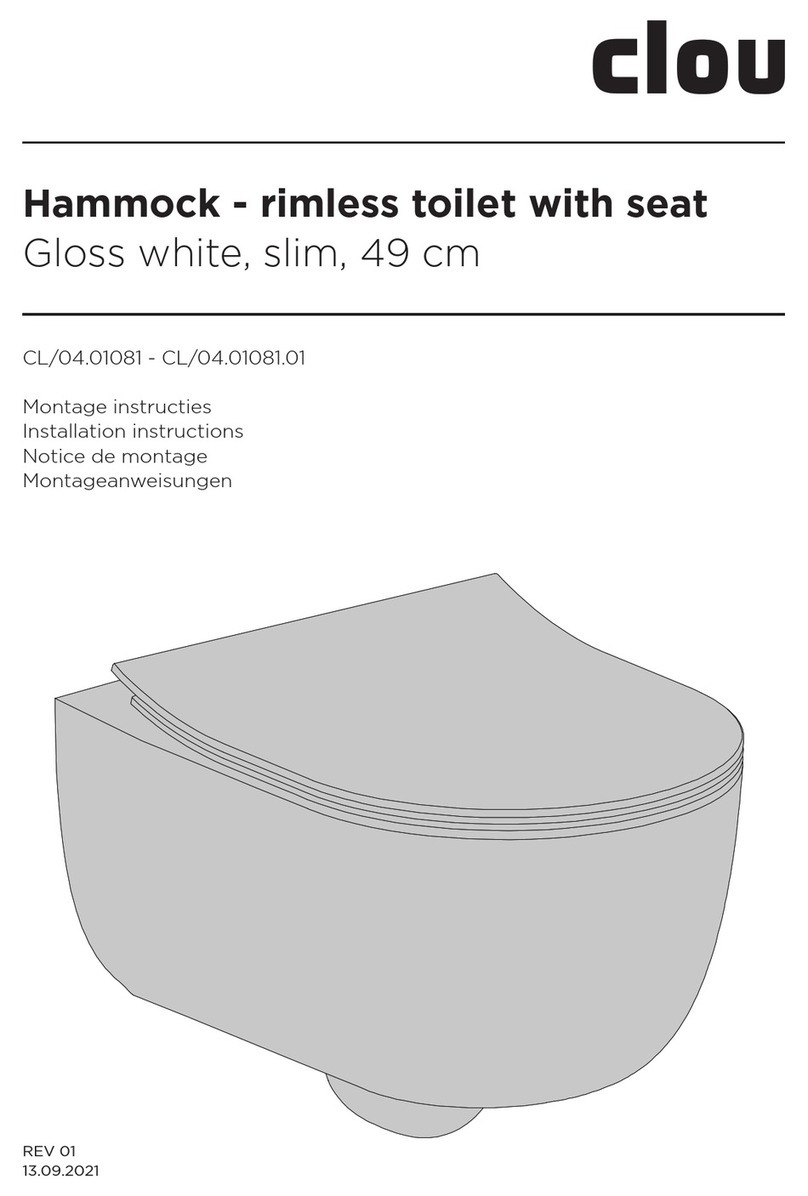
Clou Hammock CL/04.01080.21 User manual

Clou

Clou Hammock CL/04.01080.21 User manual

Clou Hammock CL/04.01060.21 User manual

Clou

Clou Hammock CL/04.01060.21 User manual

Clou Hammock CL/04.01081.20 User manual

Clou

Clou Hammock CL/04.01081.20 User manual

Clou Hammock CL/04.06060 User manual

Clou

Clou Hammock CL/04.06060 User manual

Clou First CL/04.01040 User manual

Clou

Clou First CL/04.01040 User manual

Clou CL/04.06060.20 User manual

Clou

Clou CL/04.06060.20 User manual

Clou InBe IB/04.06050 User manual

Clou

Clou InBe IB/04.06050 User manual

Clou Hammock CL/04.01081.21 User manual

Clou

Clou Hammock CL/04.01081.21 User manual

Clou Hammock CL/04.01080 User manual

Clou

Clou Hammock CL/04.01080 User manual

Clou Hammock CL/04.01050.20 User manual

Clou

Clou Hammock CL/04.01050.20 User manual

Clou Hammock User manual

Clou

Clou Hammock User manual

Clou Hammock CL/04.01080.20 User manual

Clou

Clou Hammock CL/04.01080.20 User manual

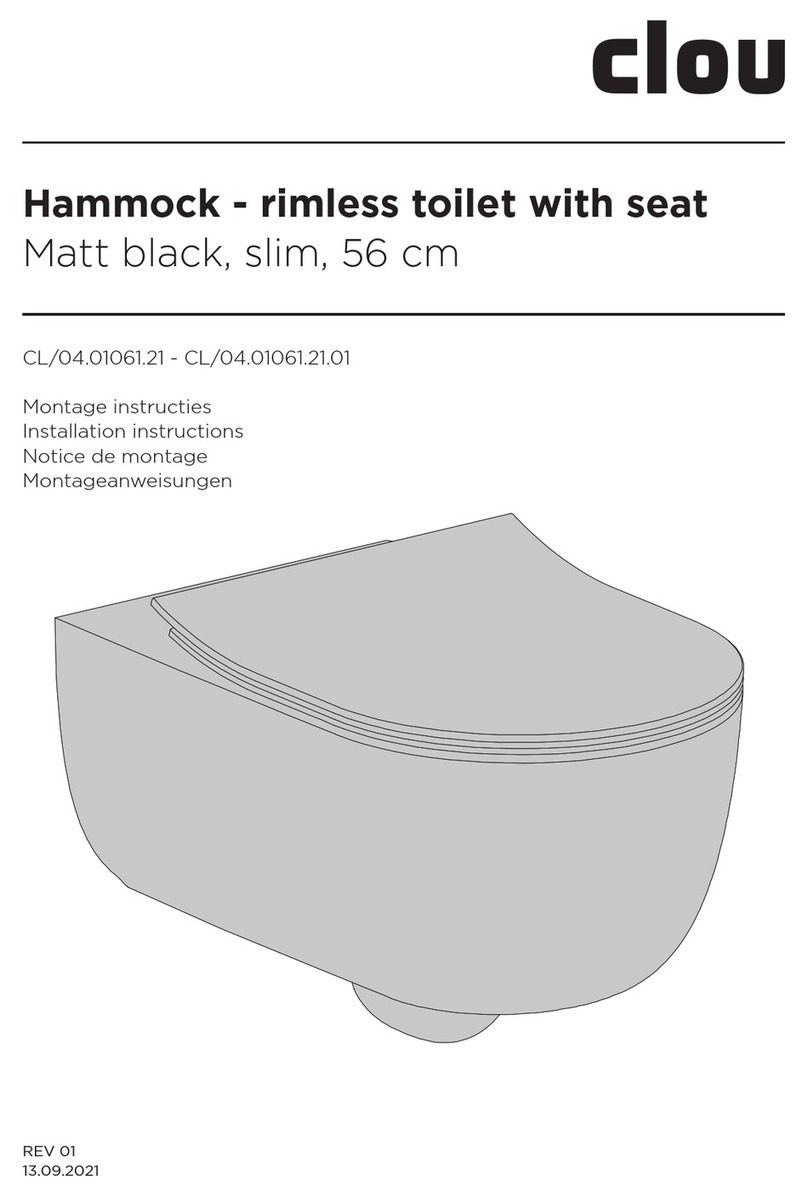
Clou Hammock CL/04.01061.21 User manual

Clou

Clou Hammock CL/04.01061.21 User manual

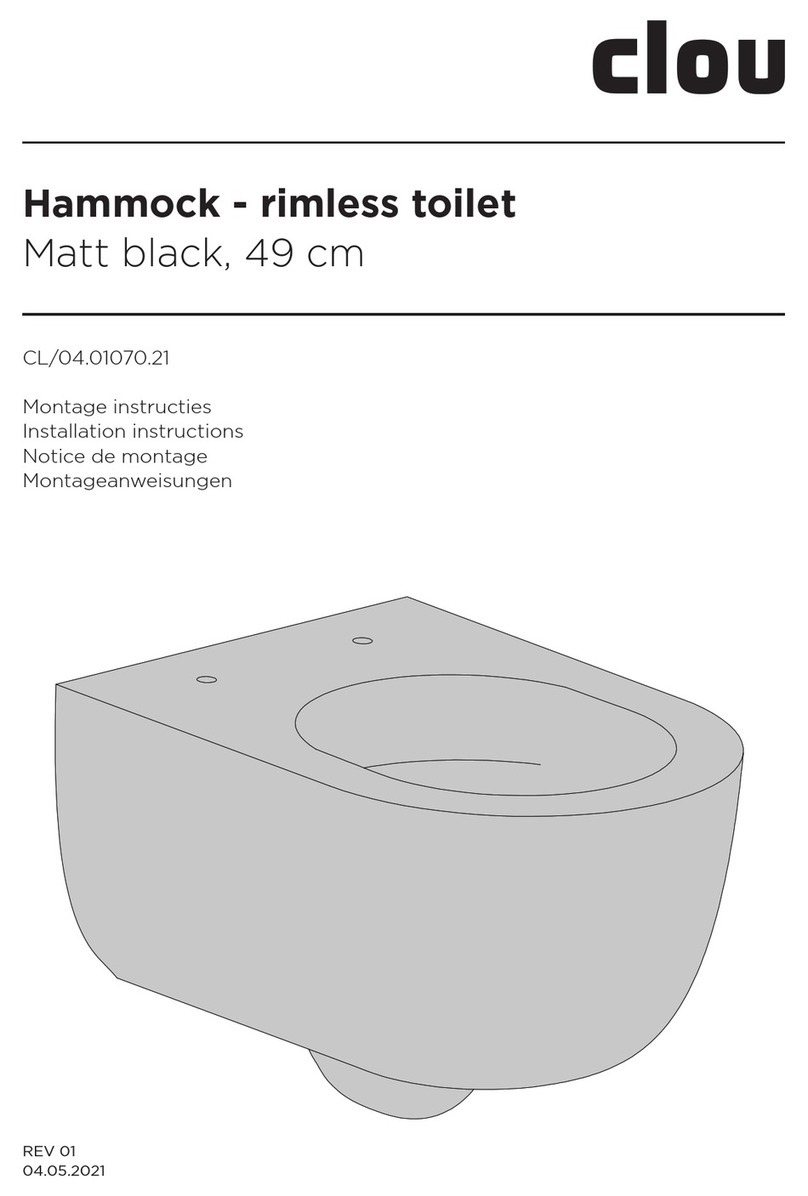
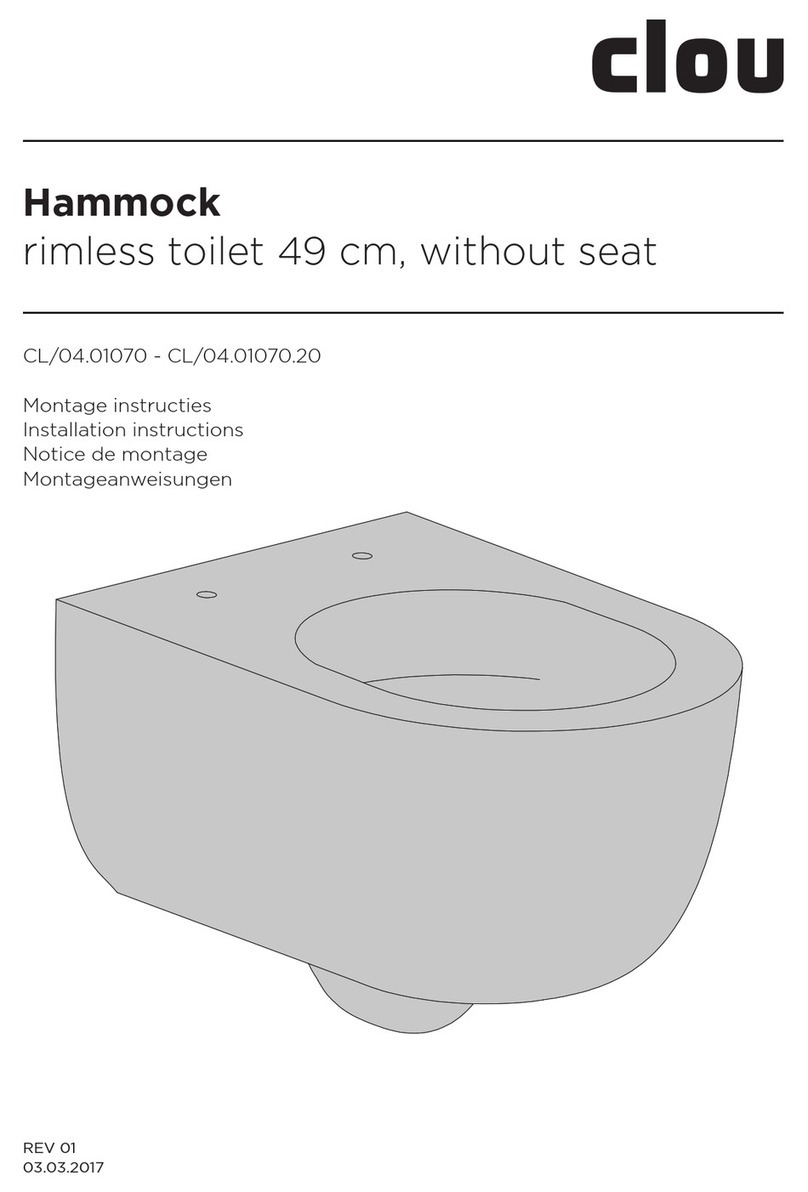
Clou Hammock CL/04.01070.21 User manual

Clou

Clou Hammock CL/04.01070.21 User manual

Clou Hammock CL/04.01060.01 User manual

Clou

Clou Hammock CL/04.01060.01 User manual

Clou Hammock CL/04.01081.01 User manual

Clou

Clou Hammock CL/04.01081.01 User manual

Clou Hammock CL/04.01061.01 User manual

Clou

Clou Hammock CL/04.01061.01 User manual

Clou InBe IB/04.01140 User manual

Clou

Clou InBe IB/04.01140 User manual

Clou Hammock CL/04.01061.20 User manual
Clou

Clou Hammock CL/04.01061.20 User manual

Clou Hammock CL/04.06040.20 User manual

Clou

Clou Hammock CL/04.06040.20 User manual

Clou Hammock CL/04.01060 User manual

Clou

Clou Hammock CL/04.01060 User manual
Popular Toilet manuals by other brands

Franke HDTX805L Installation and operating instructions

Franke

Franke HDTX805L Installation and operating instructions

Moretti MOPEDIA RP760 instruction manual

Moretti

Moretti MOPEDIA RP760 instruction manual

Roca EURET A35945M000 installation instructions

Roca

Roca EURET A35945M000 installation instructions

WaterRidge C22148C manual

WaterRidge

WaterRidge C22148C manual

Geberit AQUACLEAN TUMA CLASSIC Troubleshoot Guide

Geberit

Geberit AQUACLEAN TUMA CLASSIC Troubleshoot Guide

Separett Villa 9000 CLEANING

Separett

Separett Villa 9000 CLEANING

ProFlo PF1732WH installation instructions

ProFlo

ProFlo PF1732WH installation instructions

BEMIS carrara & matta Smart Lift STA-TITE Installation instruction

BEMIS

BEMIS carrara & matta Smart Lift STA-TITE Installation instruction

Toto Washlet TCF4911 Series installation guide

Toto

Toto Washlet TCF4911 Series installation guide

Grohe Sensia ARENA user manual

Grohe

Grohe Sensia ARENA user manual

URIMAT eco Installation instruction

URIMAT

URIMAT eco Installation instruction

SFA Saniseat installation instructions

SFA

SFA Saniseat installation instructions

Toto NEOREST 550 installation instructions

Toto

Toto NEOREST 550 installation instructions

DURAVIT 253509 Mounting instructions

DURAVIT

DURAVIT 253509 Mounting instructions

NATURE LOO CLASSIC 650 Installation and operation manual

NATURE LOO

NATURE LOO CLASSIC 650 Installation and operation manual

Toto Washlet SG installation guide

Toto

Toto Washlet SG installation guide

Sanela 91033 Instructions for use

Sanela

Sanela 91033 Instructions for use

Mirabelle MIRVL200WH quick start guide

Mirabelle

Mirabelle MIRVL200WH quick start guide

manuals.online logo
manuals.online logoBrands
  • About & Mission
  • Contact us
  • Privacy Policy
  • Terms and Conditions

Copyright 2025 Manuals.Online. All Rights Reserved.