Cobra Automotive G100 User manual

G100 - G300
ISTRUZIONI COMPLETE
COMPLETE INSTRUCTIONS

ISTRUZIONI COMPLETE G100-G300
2
1 - LEGENDAE CONTENUTO DELKIT.
Codice ricambio
Spare part code: 4T2771B2G
8772
Centralina
Central unit
Centrale
Centralita
Central
Çëåêôñïíéêüò åãêÝöáëïò
Centrální jednotka
Styrenhet
Sentralenhet
Central
Cablaggio
Wiring harness
Câblage
Cableado
Conjunto de fios
Êáëùäßùóç
Kabelá
Kablar
Ledningsnett
Kabler
Sacchetto accessori
Fittings bag
Sachet des accessoires
Bolsa de accesorios
Saco de acessórios
Óáêßäéï ìå áîåóïõÜñ
Sáèek p isluenstvím
Tillbehörs åse
Pakke med monteringsdeler
Pose med tilbehør
Sensori ultrasuoni
Sensor transducers
Ca teurs à ultrasons
Sensores a ultrasonido
Detectores de ultra-sons
ÁéóèçôÞñáò õ åñÞ÷ùí
Ultrazvukové snímaèe
Ultraljudssensorer
Ultralydsensorer
Ultralydsfølere
Sirena autoalimentata
Siren with backu battery
Sirène autoalimentée
Sirena autoalimentada
Sirene auto-alimentada
Áõôïôñïöïäïôïýìåíç óåéñÞíá
Siréna s nezávislým napájením
Självförsörjande sirén
Sirene med selvmatingsbatteri
Sirene med batteri
Sirena non autoalimentata
Siren without backu battery
Sirène non autoalimentée
Sirena no autoalimentada
Sirene não auto-alimentada
Ìç áõôïôñïöïäïôïýìåíç óåéñÞíá
Siréna bez vlastní o napájení
Ej självförsörjande sirén
Sirene uten selvmatingsbatteri
Sirene uden batteri
Pannello di controllo
Control anel
Tableau de commande
Panel de control
Painel de controlo
Ðßíáêáò åëÝã÷ïõ
Ovládací panel
Kontroll anel
Kontroll anel
Styre anel
Manuale utente/installatore
User/installation manual
Manuel utilisateur/Installateur
Manual del usuario/instalador
Manual de uso/instalação
Åã÷åéñßäéï ÷ñÞóôç
Návod pro uivatele/instalatéra
Användar-/installattionshandbok
Brukermanual/installatørmanual
Bruger-/installatørmanual
Pin Code Card
Pin Code Card
Carte Code PIN
Tarjeta de código PIN
Cartão do código PIN
Pin code card
Karta s pin kódem
Pin code card
PIN-kodekort
Pin-kode card
Vetrofania
Warning sticker
Vitrau hanie
Calcomanía de advertencia
Aviso autocolante
Áõôïêüëëçôá ãéá ôá ôæÜìéá
Fólie na sklo s upozornìními
Varningsetikett
Advarselssticker
Advarselsmærkat
Staffa
Bracket
Patte de fixation
Estribo
Presilha
Âñá÷ßïíáò
Tømen
Bygel
Bøjle
Bøjle
Dima di foratura
Drilling mask
Gabarit de erçage
Escantillón ara erforar
Escantilhão ara erfuração
Åëáóìá ôñõ Þìáôïò
Vrtací ablona
Borrningsmall
Hullmal
Hulskabelon
Driver card
Driver card
Carte de circuit de commande
Driver card
Cartão do condutor
Driver card
Driver card
Driver card
Driver card
Driver card
Radiocomando
Radio controls
Radiocommande
Radiomando
Comando or rádio
Ôçëå÷åéñéóìüò
Rádiové ovládání
Fjärrkontroller
Fjernkontroller
Fjernbetjeninger
Cablaggio sirena
Siren wiring harness
Câblage sirène
Cableado de sirena
Conjunto de fios da sirene
Êáëùäßùóç óåéñÞíáò
Kabelá sirény
Sirénkablar
Ledningsnett sirene
Sirenekabler
www.cobra-at.com

ISTRUZIONI COMPLETE G100-G300 3
33
33
33
3
3
3
3
3
3
3
3
3
3
3
33
3
3
CONTENUTO DE KIT
KIT CONTENTS
AKG 368 AKG 198
3
3
33
AKG 193 AKG 363 ACG 196 ACG 366
333
3
3
3
3
3
3
3
3
333
3
3
3
3
3
3
3
3
3
3
3
3
3
3
3
3
3
3
3
3
3
3
33
3
www.cobra-at.com

COMPLETE INSTRUCTIONS
G100-G300
40
Dear Customer,
Thank you and congratulations for choosing our product. It is a technologically
advanced alarm system which meets the performance standards set by automobile
manufacturers and complies with the European directives.
After the system was installed, dear Customer, you were given the radio controls or
Driver Card (where foreseen) and the user’s manual, which also contains the product’s
declaration of conformity and the relative installation certificate.
The manual is divided into 22 parts:
Page
2/3 _______ LEGENDA AND KIT CONTENTS.
41 ______ INFORMATION.
42 ______ INTRODUCTION.
43 ______ ADDITIONAL PROTECTIONS.
44/45 ______ LIST OF FUNCTIONS.
da 46 a 50 ______ LIST OF STANDARD FUNCTION (G300) AND
SELF-LEARNING PROCEDURE.
51/52 ______ LIST OF BASIC PROGRAMMABLE FUNCTIONS.
da 52 a 55 ______ LIST OF ADVANCED FUNCTIONS (programmable).
56/57 ______ SYSTEMCOMPONENTS.
57 ______ VEHICLE SPEED SENSOR CONNECTION -VSS (G100-G300).
AUXILIARY OUTPUT AUX2.
58/59 ______ PROGRAMMING.
60 _______ RADIO CONTROL FUNCTIONS CHECK.
da 61 a 66 ______ PROGRAMMABLE FUNCTIONS (G100 -G300).
67/68 ______ HOW TO PROGRAMME THE (G100 - G300) SYSTEM.
68/69 ______ PROCEDURE FOR ADDING NEW RADIOCONTROL DEVICES (G100)
AND NEW DRIVER CARDS (G300).
SWITCHING ON / SWITCHING OFF OF DRIVER CARD.
70 ______ ALARMMEMORY.
71 ______ EMERGENCIES, PERSONALIZING THE PIN CODE.
72/73 ______ MAINTENANCETROUBLESHOOTING
.
74 ______ SYSTEM TECHNICALCHARACTERISTICS.
da 75 a 98 ______ DIAGRAMS AND GUARANTEE.
Please read the manual carefully to get the full benefit of the product purchased.We also
advise you to keep this manual in the same place as your car documents for easy consultation
when needed.If any problem arises that cannot be resolved, please contact your dealer.
GB

COMPLETE INSTRUCTIONS
G100-G300 41
www.cobra-at.com
STICK ON PIN
CODE ABE
PERSONA PIN CODE
5CGXXXAIA
S/N 0003 050524
PIN
CODE 1122
2-INFORMATION.
The system is equipped with a self-learning function which makes it possible to simplify
all operations necessary for adding or replacing radio controls / Driver Cards but only
with the user’s consent.
For the procedure make reference to the manual at page 69 on www.cobra-at.com
2.1 - Personal PIN CODE.
Each G100 - G300 system has a PIN code that is used to disarm the system in
emergencies.
Thisisa PIN CODECARD sample
(PIN CODE is a factory-setted):
We advise you to stick the PIN CODE adhesive label onto the PIN
CODE card (which may be found on the rear of the control unit).

COMPLETE INSTRUCTIONS
G100-G300
42
3-INTRODUCTION.
These anti-intruder alarm systems are controlled by a radio control device - G100 or
G300 - with Driver Card with high security codes. This technology provides an extremely
high degree of protection against any attempt to reproduce the code.
The radio control makes it possible to activate the system from a distance of 5 - 10
metres from the vehicle, while the drivers card transmits from a distance of 1 - 5
metres from the vehicle.
In some circumstances the range may be shorter due to interference from other
sources (e.g. radio transmitters operating on the same band).
If the radio control is not effective in the usual range, get as close to the vehicle as
you can.
If radio - controlled window closing is foreseen, we advise you to stay very close to
the vehicle when carrying out this operation to make sure it is performed under safe
conditions.
Your vehicle’s complete protection is assured by:
Mod.
AKG198
AKG368
VOLUMETRIC
PROTECTION PERIMETRIC
PROTECTION WIRING CUT
PROTECTION
AKG193
ACG196
ACG366
AKG363
ENGINE LOCK
PROTECTION
Note: in product G366 (without us) the perimeter connection must only be made
on the door pushbutton connection.

COMPLETE INSTRUCTIONS
G100-G300 43
4-ADDITONAL PROTECTIONS (G100-G300).
You can increase the protection level of the system with the following additional sensors:
5452: Level monitor module.
When the system is armed, this sensor will detect the vehicle being jacked up to tow it
away or steal the wheels.
5462: Hyperfrequency module.
When the system is armed, hyperfrequency emissions from the module hidden in the car
will ensure volumetric protection of the vehicle.
2980: Windows lift module.
The electric windows of your car will raise automatically when the system is armed.

COMPLETE INSTRUCTIONS
G100-G300
44
5-LISTOFFUNCTIONS.
5.1 - Standard functions list.
The following list indicates the main functional characteristics of the alarm system.
G100
•Radiocontrol button functions.
•Arm / Disarm by means of dynamic - code radio controls.
•Disablement of the sensor transducer and / or external sensor.
•Panicalarm.
G300
•Arm / disarm controls self - learning procedure.
•Arm by means of the vehicle’s original radio controls
•Driver card armed / disarmed.
•Disablement of the sensor transducer and / or external sensor.
•Driver card functions.
G100 - G300
•Volumetric protection of the vehicle’s interior by ultrasonic sensor not requiring sensitivity
adjustment.
•Perimetric protection. When the alarm is armed, after 25 s the siren will sound if a door
or the bonnet or boot is opened.
•Protection of start attempts. With the alarm connected the engine is blocked and a start
attempt generates an alarm.
•When an alarm occurs the siren sounds for 30 s. The direction lamps flash.
•Emergency disarming by pin-code.
•Wire-cutting protection.
•Original centralised door and boot closing system.
•LED indicating the system’s status with alarm-record memory function.
•Safety circuit to prevent the system being armed when the engine is running.
•Coupling of modules / siren 4310 / satellite alarm ICD31 on Cobra Bus line.
5.2 - List of basic functions (programmable).
These are the functions that require programming in keeping with the vehicle model and
desired operating characteristics of the alarm system. Please refer to the basic functions
table in the programming tables section.
G100
•Centralised closing times.
•Controlled comfort window closing.
•Silentarming.
•Armed/disarmed blinker

COMPLETE INSTRUCTIONS
G100-G300 45
G100 - G300
•Door / bonnet / boot open signal.
.•Automaticsystem arming.
•Automatic start prevention arming (starter).
•Start prevention alarm.
5.3 - List of advanced functions (programmable).
These are special functions that require programming in keeping with the desired operating
characteristics of the alarm system. Please refer to the advanced functions table in the
programming tables section.
G100
•Autolock - Automatic door locking.
•Autolock - AMERICAN STYLE.
•AutoHazard (switching on indicator lights in the case of emergency braking).
•Door closing by anti-diversion alarm.
•Car Finder.
•Automatic anti - theft protection.
•· Voluntary anti - theft protection.
•Trunk Release (truck opening).
.
G300
•Automatic anti - theft protection.
•· Voluntary anti - theft protection.
G100 - G300
•Automatic anti - theft protection delay with odometer.
•Pager output.
•Anti - diversion blocker.
•Anti - diversion alarm.
•Buzzer.
•Speed limitsignal.
COMPLETE INSTRUCTIONS
G100-G300
46
B
A
B
A
6-LIST OF STANDARDFUNCTIONS (not programmable).
G100
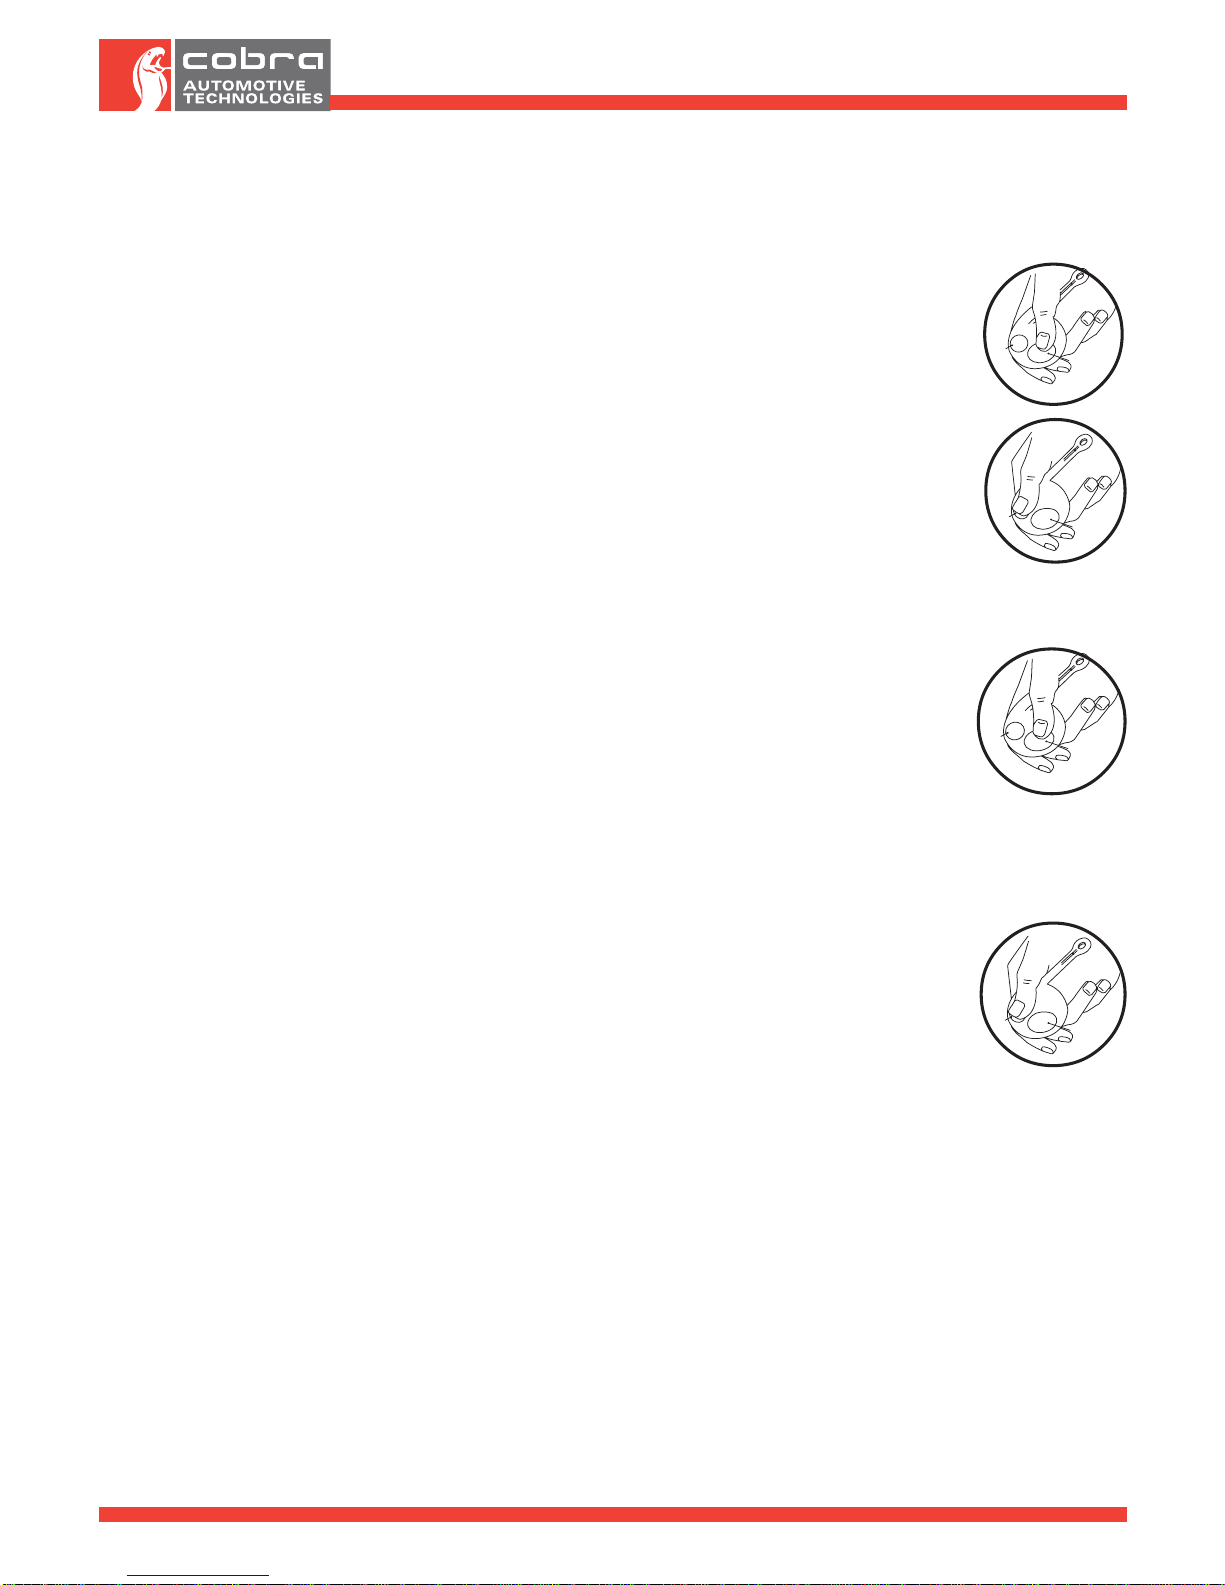
RADIOCONTROL BUTTON FUNCTIONS (G100).
Button A This button arms the alarm and blocker system, deactivates
the volumentric input and additional sensors input,
activates the panic option, gives access to the
programming function, selects the line and raises the
buzzer volume in the programming table, and activates the
Car Finder option.
Button B This button deactivates the alarm, block system,
activates/deactivates the function and lowers the
buzzer volume.
6.1 - Arming.
•When radiocontrol button “A” is pressed, the doors lock (if the
vehicle is equipped with a centralized locking system).
•The direction lights flash twice.
•The buzzer emits two acoustic signals (if enabled).
•The protection functions activate after 25 s.
•The LED lights up and stays on for 25 s, then flashes.
6.2 - Disarming.
•When radiocontrol button “B” is pressed, the doors
unlock.
•The direction lights flash once.
•The buzzer emits one acoustic signal (if enabled).
•The protection functions are immediately deactivated.
•The LED is switched off.
B
A
B
A

COMPLETE INSTRUCTIONS
G100-G300 47
6.3 - Interrupting an alarm during the warning-signal cycle.
While the system is sounding the alarm it is possible to deactive the siren
and flashing lights by pressing radio control button “B” once (one press).
This operation interrupts the alarm cycle, but the system stays armed. To
deactivate the system completely, it is necessary to disarm it by pressing
radiocontrol button “B” again (two presses).
B
A
B
A
RADIOCONTRO FUNCTIONS Button
AButton
B
Arming
Disarming
Interru t alarm
Panic alarm
Deactivate ultrasonic volumetric
sensor and additional sensor
(if installed)
Car finder
6.4 - Deactivating the ultrasonic volumetric sensor.
If you wish to activate the protection system with the windows left open or
when a passenger will be staying inside the passenger compartment, it is
possible to deactivate the volumetric sensor so that it will not generate any
alarms.
1) Activate the system by pressing radiocontrol button “A”.
2) Press radiocontrol button “A” again within 25 s.
If a hyperfrequency or anti-lifting sensor is installed, it is possible to disable
it by pressing button “A” twice within 25 s. The reception of the signal is
confirmed by one flash of the direction indicators and by an acoustic signal
from the buzzer (if enabled). The sensor has been disabled; all the other
protection functions remain active. The sensors will be automatically
reactivated the next time the system is armed
B
A

COMPLETE INSTRUCTIONS
G100-G300
48
6.5 - Panic Alarm.
Whenever you press radiocontrol button “A”, provided 25 s have elapsed after arming
the system, it will produce an alarm cycle (siren sound and flashing direction lamps). If
the Car Finder function is enabled, press radiocontrol button “A” twice (2 consecutive
presses). To stop the panic alarm, press radiocontrol button “B.
G300
INTRODUCTION.
This alarm system can self-learn a series of recurrent signals that take place on the
vehicle when the operations for locking and unlocking the doors are executed the original
radio control device. The signals that are normally utilised are the engine comand, door
deflector status and direction indicator signals. If connection to the direction indicators is
foreseen for alarm activation/deactivation, please note that:
•the alarm may not activate / deactive when the vehicle’s emergency blinker is
on.
6.6 - Arm / disarm controls self - learning procedure.
For self-learning of the arm / disarm commands through the vehicle’s original radiocontrol
device, the following conditions are indispensable:
1) G300 system disarmed.
2) Door and bonnet closed.
3) Ignition off (+15 absent).
Proceed as described:
A) Connect the GREY - BLACK lead to Ground (GND) for at least 1 s.
B) The LED will start to flash slowly.
C) Press the Lock (close) button on the vehicle’s original radiocontrol.
D) The LED flashes fast while awaiting the door opening signal.
E) Press the Unlock (open) button on the vehicle’s original radiocontrol device for
the system disarmed signal.
F) The confirmations of the happened self-learning process of the signal is
confirmed by an acoustic signal emitted by the buzzer.

COMPLETE INSTRUCTIONS
G100-G300 49
6.7 - Arming
6.7.1 Arm by means of the vehicle’s original radio controls
•When the lock button on the original radiocontrol is pressed, the doors lock and
the system is armed.
•The buzzer emits two acoustic signals (if enabled).
•The LED lights up and stays on for 25 s, then flashes.
•The protection functions activate after 25 s.
6.7.2 Arm with Driver Card
It is also possible to connect the alarm system in the event of an emergency by pressing
the button on the Driver Card, without locking the doors.
6.8 - Disarming (using the Driver Card).
Introduction: the alarm is disconnected using the vehicle’s original remote control and by
recognition of the Driver Card as follows:
6.8.1 - original radiocontrol recognition procedure.
•Press the original radiocontrol button to unlock the doors.
•The direction lights flash (“pre - disarm” phase).
•The protection functions are temporarily deactivated while awaiting the
Driver Card signal.
• The buzzer emits an acoustic signal (if enabled). Once the Driver Card
has been recognised, the LED switches off.
Note: it is also possible to disarm the alarm system in the event of an emergency by
pressing the button on the Driver Card, without unlocking the doors.
6.9 - Deactivating the ultrasonic volumentric sensor.
If you wish to arm the protection system with the windows lift open or when a
passenger will be staying inside the passenger compartment, it is possible to deactivate
the volumetric sensor so that it will not generate any alarms.
•Within 5 s after having turned off the ignition and from the door opening, keep the
button pressed down until you see the LED give a long flash. If a hyperfrequency
or anti-lifting sensor is installed, it is possible to disarm it by pressing the button
again within 5 s after the LED has flashed. The LED will flash again to confirm its
deactivation.
•Arm the system by pressing the radiocontrol button: the sensors are deactivated
but all the other protections are active. The sensors will be automatically reactivated
the next time the ignition is turned on.

COMPLETE INSTRUCTIONS
G100-G300
50
6.10 - Driver card Function.
The Driver Card is used exclusively for the user recognition phase:
When the doors are unlocked by the vehicle’s original radiocontrol the system goes into a
“pre-disarm” phase which lasts for 25 s, activated by the opening of a door.
When 25 s have elapsed after the door opened, unless Driver Card recognition has
occurred an alarm state is generated. It is possible to disarm the system during the alarm
phase using the Driver Card key or by keying in the entire Pin Code from the LED panel
(see page 72).
G100 - G300
6.11 - Protection functions.
When the system is armed, opening the bonnet/boot/door or attempting to start the vehicle
generates an acoustic and visual alarm cycle that lasts approximately 30 s. In products
that include a volumetric sensor, the alarm will be triggered off by intrusion into the
passenger compartment. At the cycle’s end the system stays armed.
6.12 - Coupling of modules / siren 4310 / satellite alarm ICD31 on Cobra Bus
line.
On the Cobra Bus line (pin 14) it is possible to connect the following additional modules
(Siren 4310 / anti-lifting module / satellite alarm ICD 31 / Engine lock 8509) by means of the
following programming procedure:
1. Disconnect system.
2. Enter programming mode using the dedicated procedure for the product.
3. Move from page 1 to page 7 by activating and de-activating the panel (+15 ON /
OFF).
4. The storage and completion of programming is signalled by flashing indicator
lights.
Repeat from point 1 if a module of the Cobra Bus line is disconnected.
NOTE: with the alarm disconnected, disconnecting a self learning module from
the Cobra Bus line, when the G100/G300 is armed the indicator lights will flash
8 times and if the Buzzer is activated it will signal 8 times by the buzzer.
ATTENTION!
If both radiocontrol devices (G100) or Driver Card (G300) have been lost, proceed
as follows:
A. Disarm the system by keying in the PIN code.
B. Cut off the system’s power feed (disconnnect the connector from the central
unit).
C. Open a door and the vehicle’s bonnet.
D. Turn on the ignition.
E. Reconnect the power feed.

COMPLETE INSTRUCTIONS
G100-G300 51
F. Key in the PIN code.
G. The LED will confirm with a long flash that the code you have entered is
correct.
H. After about 5 s the LED will light up with a steady light and by 5 flashes from the
direction indicators to signal that you have entered the self-learning procedure.
I. Ref. subsection 16.1 point 7 and 16.2 the point 8 of the procedure for adding on
new radiocontrol / Driver Card devices for all the transmitters to be enabled.
Note:When a new remote control / Driver Card is coupled, the system automatically
prevents use of the previous ones. They can only be used if they are re - enabled through
the self-learning procedure.The system can memorize up to a maximum of 4radiocontrol
devices (G100), or 4 Driver Cards (G300).
7 - LIST OF BASIC FUNCTIONS
As the functional characteristics of this system can be personalised, the installer will
have clearly marked in this manual which of them are enabled. The standard factory
setting is the one indicated by a dark square.
G100
7.1 •Controlled comfort window closing.
When arming, if radio control button “A” is kept pressed down the windows close in
controlled comfort mode. This makes it possible to stop the window rising by releasing the
button.
7.2 •Window control delay activation.
If radiocontrol window output is enabled, when this function is activated the windows
will rise with a delay of 1 s after closing the doors.
7.3 •Silent arming.
For temporary elimination of the buzzer signal when arming the system, press radiocontrol
button “A” before turning off the ignition. The next time it is armed, the buzzer will start
working again.
7.4 •Armed / Disarmed blinker.
The system signals it has been armed with two blinks of the direction lamps, and signals
that it has been disarmed with one blink. If this function is disabled, the direction lamps
blink only when an alarm cycle is triggered.
Disabled
Enabled
Disabled
Enabled
Disabled (G300)
Enabled (G100)

COMPLETE INSTRUCTIONS
G100-G300
52
G100 - G300
7.5 •Automatic system arming.
Once the ignition key has been turned OFF and the last door is closed a 20 s countdown
starts, at the end of which the system is automatically armed without locking the doors.
7.6•Automatic engine cut-off .
The engine block is automatically activated 2min. after the ignition key has been turned off
(G100). The LED will flash. The engine cannot be started up now; to disarm the system it
is necessary to press radio control button “B”. In the case of G300, it is necessary for the
Driver Card and ignition to be recognised, with inition key is turned ON. (+15 ON)
7.7 •Engine cut-off alarm.
This allows the alarm function to be added to the automatic engine cut-off function when
armed. After 20 s have passed, once the engine cut-off function is activated, turning on
the ignition generates an alarm.
7.8 •Open door/bonnet/boot warning signal.
When armed, the system emits signals consisting of buzzing and blinking (5 blinks instead
of 2) if any doors and / or the bonnet or boot are open. If it is closed within 25 s, the
system will continue to monitor their status and will signal again if another door / bonnet/
boot opening occurs later. If the 25 s elapse and the door/bonnet/boot has not yet been
closed, the system will not monitor their status until another closing/opening operation
occurs that triggers an alarm.
7.9 •Autohazard (switching on indicator lights in the case of emergency
braking).
If activated, the system turns on the four hazard lights if the vehicle’s speed drops by
50% in one s.
Disabled
Enabled
Disabled
Enabled
Disabled
Enabled
Disabled
Enabled
Disabled
Enabled

COMPLETE INSTRUCTIONS
G100-G300 53
8 - LIST OFADVANCED FUNCTIONS (programmable).
G100
8.1 •Select automatic door lock mode.
This makes it possible to have the doors close automatically at a pre-set speed or within
20 s after the ignition key is turned ON. In this case the doors are automatically unlocked
when the ignition key is turned OFF.
8.2 •Autodoor lock (AMERICAN STYLE).
If the American Style closing is activated, ref. Section “Programming closing times”. To
correctly carry out the function, activate also line 4 page 2 in the programming tables.
8.3 •Anti - diversion allarm door closing.
This function adds door-closing to the anti-diversion alarm procedure.
8.4 •Car Finder.
This function will allow you to find where your car is, e.g. in a parking lot. With the alarm
system armed and once the inhibition time has elapsed, when radiocontrol button “A” is
pressed the system generates a visual alarm by activating the blinkers (and the buzzer
too, if enabled) for a maximum of 10 s.The Car Finder function can be used only when the
system is armed.
8.5 •Automatic anti - theft protection.
With this mode, the user of the vehicle must be recognised before the vehicle is started.
In order to be recognised it is necessary to enter the first 2 digits of the Pin code, or the
Driver Card signal must be recognised (if self-learned); within 25 s from switching on the
panel. The recognition is confirmed by flashing of the LED. This enables normal use of the
vehicle until the panel is next switched off. If the panel is switched off after being
recognised, there are 7 s within which to switch on the panel again without the need to
be recognised. If there is no recognition, the remote controls are no longer recognised
and after 4 min. a 4 min. cyclic alarm is generated. The alarm stops when you turn at the
OFF position the ignition key and after 25 s the alarm system and the engine immobiliser
will be armed again. In order to switch off the system in the theft protection mode, it is
necessary to enter the full Pin Code.
Disabled
Enabled
Disabled
Enabled
Disabled
Enabled
Disabled
Enabled
Disabled
Enabled

COMPLETE INSTRUCTIONS
G100-G300
54
8.6 •Voluntary anti - theft protection.
In this mode the vehicle user voluntarily activates the function by pressing button “B” on
the remote control with the panel switched on.
The activated status is confirmed by fast flashing of the LED. After activation, if a door is
opened the remote controls are no longer recognised, the LED stops flashing and after 4
min. a 4 min. cyclic alarm is generated; to avoid this situation, the alarm sistem must be
recognised the driver card (if self-learned), or must be entred the frist two digits of the Pin
code.The alarm stops when you turn at the OFF position the ignition key and after 25 s the
alarm system and the engine immobiliser will be armed again. In order to switch off the
system in the theft protection mode, it is necessary to enter the full Pin Code. If a door must
be opened when the function is active (the LED flashes fast), it must firstly be deactivated
by pressing button “B” on the remote control again. The LED flashes once and then
switches off.
When the system goes in alarm, the siren will play for 30 s and the direction indicators will
flash for 4 min.; instead, if the loudspeaker or the horn have been connected, a visual and
acoustic signalling alarm will be emitted for 4 min.
8.7 • Speed limit signal.
If activated, the system signals that the speed limit has been exceeded by means of a
buzzer. In order to store the speed limit, press button “A” on the remote control when the
vehicle is travelling at the desired speed. To deactivate the function, press button “A” on
the remote control once whilst the vehicle is moving.
8.8 •Trunk Release (truck opening)
If the Trunk Release function is activated, with the pressure of both radio control keys to
“A” and “B” one has the trunk opening. This is signalled by a 4 s flashing of the indicator
lights, and the automatic exclusion of the internal and door ultrasound devices, and the
additional modules, too, if they are connected. When the trunk is closed the system
automatically reactivates.
Disabled
Enabled
Disabled
Enabled
Disabled
Enabled

COMPLETE INSTRUCTIONS
G100-G300 55
G300
8.9 •Automatic anti - theft protection.
With this mode, the user of the vehicle must be recognised before the vehicle is started.
In order to be recognised it is necessary to enter the first 2 digits of the Pin code, or the
Driver Card signal must be recognised (if self-learned); within 25 s from switching on the
panel. The recognition is confirmed by flashing of the LED. This enables normal use of the
vehicle until the panel is next switched off. If the panel is switched off after being
recognised, there are 7 s within which to switch on the panel again without the need to
be recognised. If there is no recognition, the remote controls are no longer recognised
and after 4 min. a 4 min. cyclic alarm is generated. The alarm stops when you turn at the
OFF position the ignition key and after 25 s the alarm system and the engine immobiliser
will be armed again. In order to switch off the system in the theft protection mode, it is
necessary to enter the full Pin Code.
8.10 •Voluntary anti - theft protection.
In this mode the vehicle user voluntarily activates the function by pressing button “B” on
the remote control with the panel switched on.
The activated status is confirmed by fast flashing of the LED. After activation, if a door is
opened the remote controls are no longer recognised, the LED stops flashing and after 4
min. a 4 min. cyclic alarm is generated; to avoid this situation, the alarm sistem must be
recognised the driver card (if self-learned), or must be entred the frist two digits of the Pin
code.The alarm stops when you turn at the OFF position the ignition key and after 25 s the
alarm system and the engine immobiliser will be armed again. In order to switch off the
system in the theft protection mode, it is necessary to enter the full Pin Code. If a door must
be opened when the function is active (the LED flashes fast), it must firstly be deactivated
by pressing button “B” on the remote control again. The LED flashes once and then
switches off.
When the system goes in alarm, the siren will play for 30 s and the direction indicators will
flash for 4 min.; instead, if the loudspeaker or the horn have been connected, a visual and
acoustic signalling alarm will be emitted for 4 min.
8.11 • Speed limit signal.
If activated, the system signals that the speed limit has been exceeded by means of a
buzzer. In order to store the speed limit, press the button on the LED panel when the
vehicle is travelling at the desired speed. To deactivate the function, press the button on
the LED panel once whilst the vehicle is moving.
Disabled
Enabled
Disabled
Enabled
Disabled
Enabled

COMPLETE INSTRUCTIONS
G100-G300
56
Disabled
Enabled
G100 - G300
8.12 • Automatic anti - theft protection delay with odometer.
If the theft protection function is controlled by a movement sensor (page 5 line 6 active in
the programming tables for the G300; page 4 line 6 active in the programming tables for the
G100), at a speed other than 0, there is a delay of 4 min.; if the vehicle stops this
calculation is suspended. A cyclic sequence of alarms is generated after 4 min. which last
4 min.. Enter the full Pin Code at this point to be recognised.
8.13
•
Pager.
Negative command to control a Pager module.
8.14 •Anti-diversion block.
After the system has been disarmed by radiocontrol, if the ignition key is not turned on
within 40 s the block is automatically rearmed.
8.15 •Anti-diversion alarm.
After the system has been disarmed by radiocontrol, if the ignition is not turned on within
40 s the system is automatically rearmed. If a door or the boot are opened, the count -
down is cancelled.
8.16 •Buzzer.
The buzzer emits acoustic signals synchronized with the blinking of the direction
lamps when the system is armed/disarmed.
Disabled
Enabled
Disabled
Enabled
Disabled
Enabled
Disabled
Enabled
This manual suits for next models
1
Table of contents
Other Cobra Automotive Car Alarm manuals

Popular Car Alarm manuals by other brands


Directed Electronics
Directed Electronics Python 571XP installation guide

Hazard
Hazard CS201 Installation and operation instructions

Firstech
Firstech MAX It FT-DC2-AS Product guide

Brazel's RV Performance
Brazel's RV Performance UltraTrac UTF53V8R instructions

Python
Python 571XP owner's guide

Scion
Scion RS3200 PLUS owner's guide