Setting safety temperature
Notice! If using an external temperature sensor (Pt1000s) to measure the temperature of the liquid medium, user must connect the
external temperature sensor and probe into the liquid medium before activating the heating function. Do not remove the external
temperature sensor during the heating, otherwise the internal components will be damaged.
Do not set the safety temperature higher than the ignition point of the medium used. The safety temperature should be set at least
25 degrees lower than the ignition point of the medium.
!
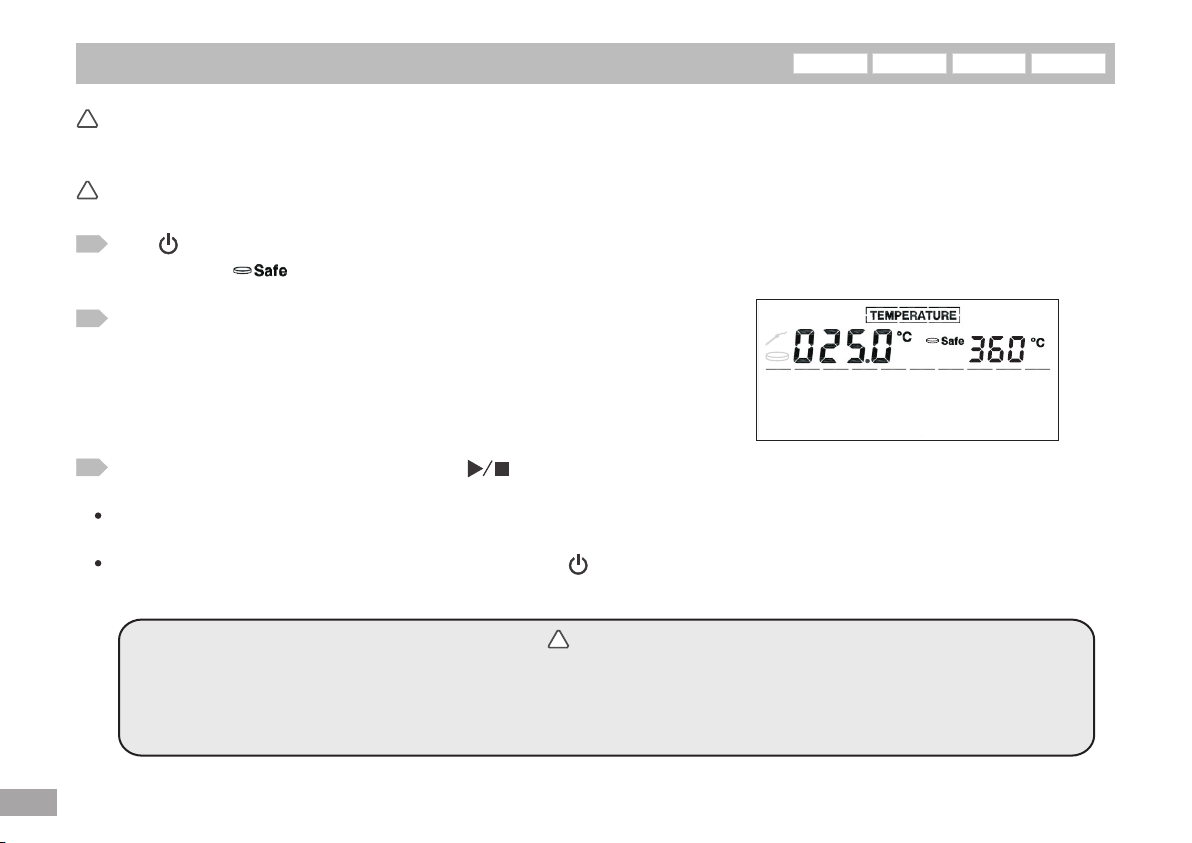
1
50°C ~360°C
When the safety temperature setting is switched on, then touch and move your
finger around the “Touch wheel” (clockwise+ / counterclockwise-) to adjust the
setting data of safety heating temperature with the adjustable increment of 1°C,
and total adjustable range is . After setting the safety temperature,
the heated top plate temperature will not exceed the setting safety temperature
to keep the liquid medium from damage;
2
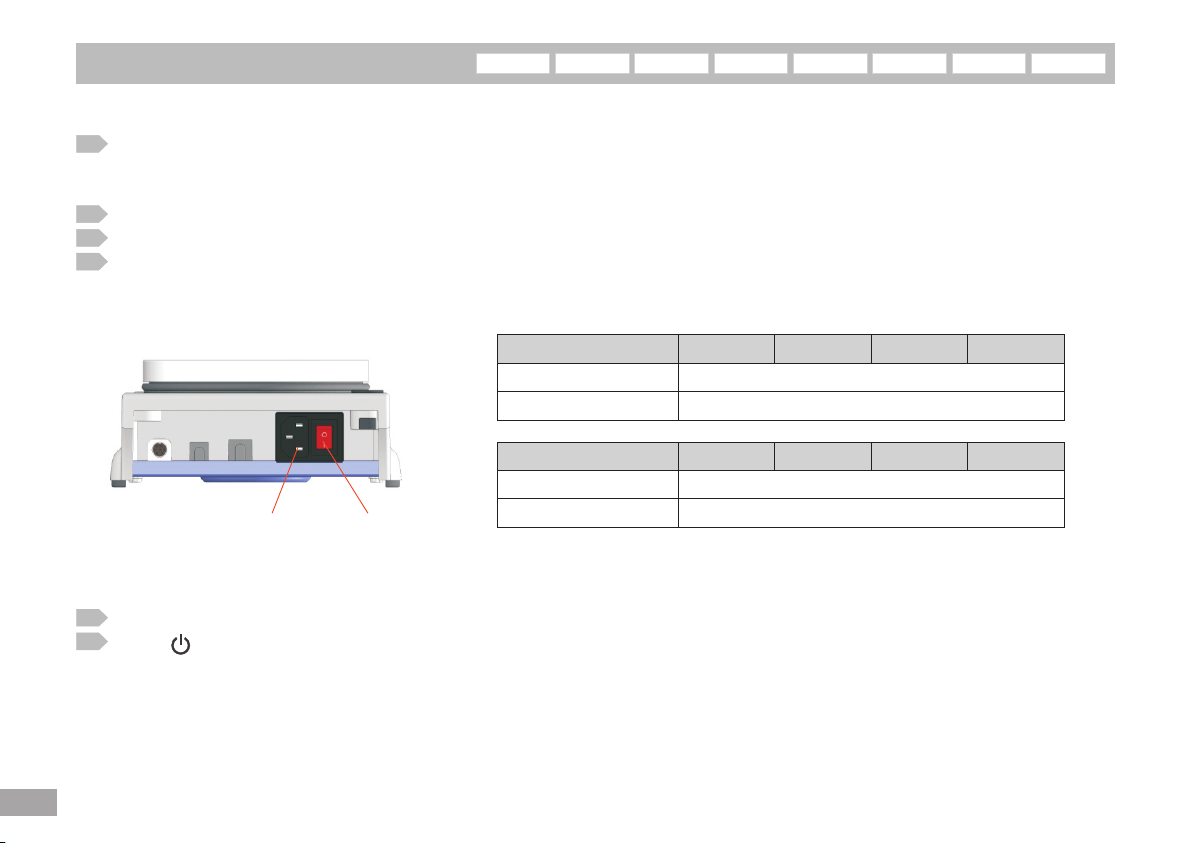
Press (Power on/off) until standby indicator goes off and the system enters into setting operation status. The LCD screen will be
lightened and (Plate safety temperature icon) will flash showing that the system is now in the setting area of plate safety
temperature;
!
3
After the safety temperature is finished, press (Start/Stop) or “Switch” key to record and save the safety temperature
setting and system will automatically switch to heating temperature setting area;
If the safety temperature is not been set in 15 second, the indicator on the LCD screen will be deemed to be the safety heating
temperature and the system will automatically switch to heating temperature setting area;
The safety temperature can only be set right after pressing button, and cannot be set again during operation. Once the safety
heating temperature is set, it cannot be adjusted again until next start up.
!
Notice
The setting of plate safety temperature is to make sure the sample liquid will not be damaged. However if the initial plate
temperature is too low, it will slow down the heating speed, therefore, if the plate temperature, considering the sample liquid ,
is allowed to be set higher than the safety temperature, please set the plate to the highest safety temperature 360°C, it will
help to accelerate the heating speed.
04661-45
04661-46
04661-41
04661-42
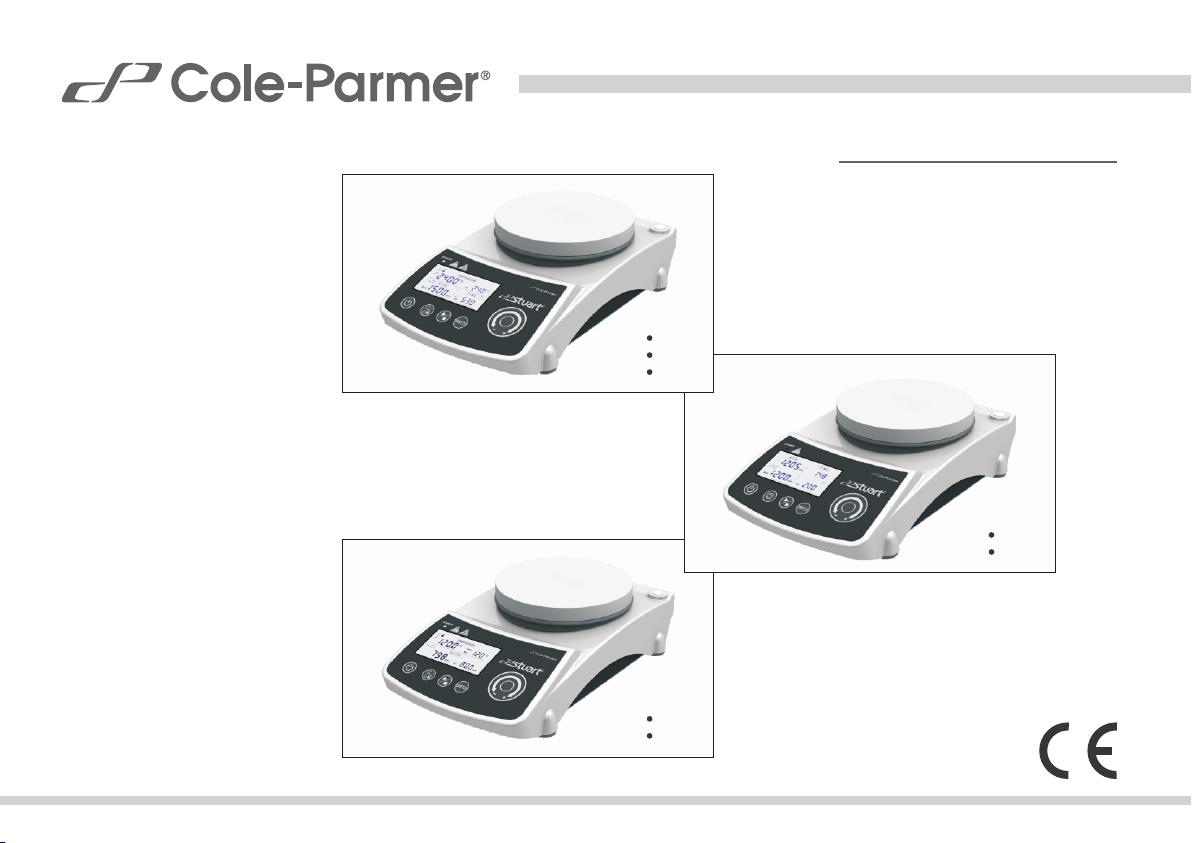
Model:
21217