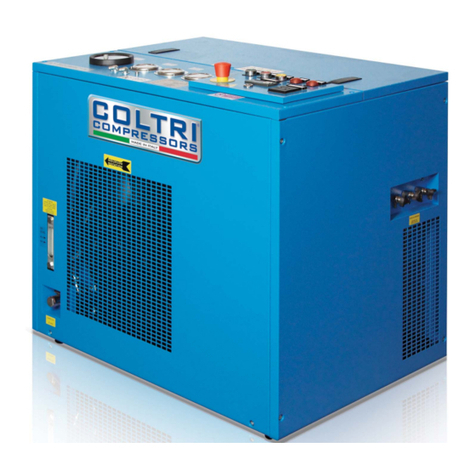
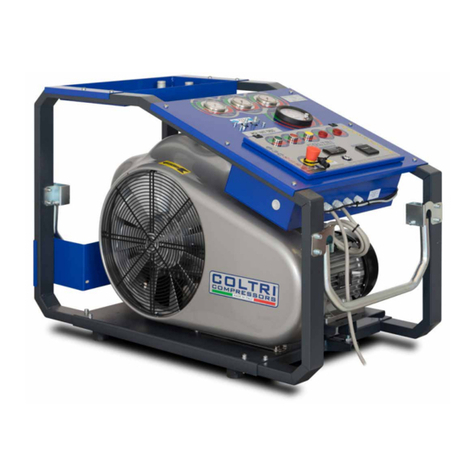
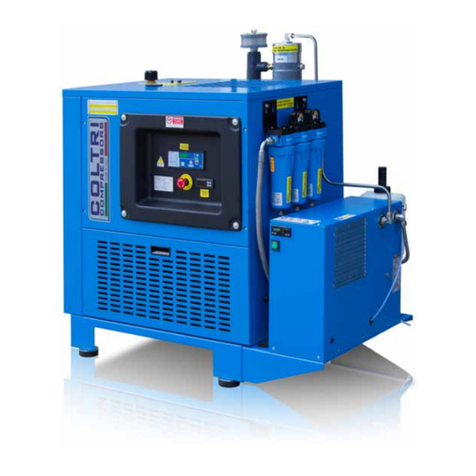
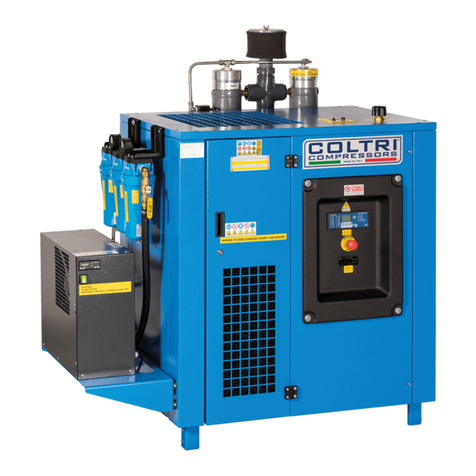
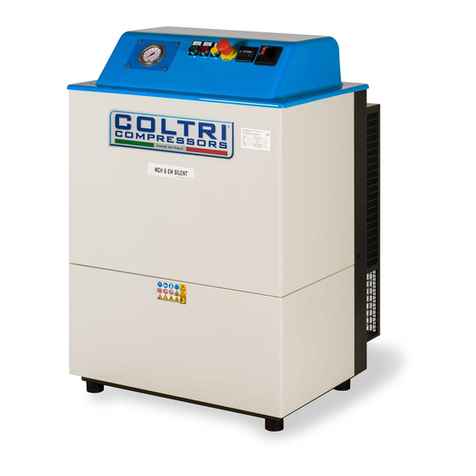
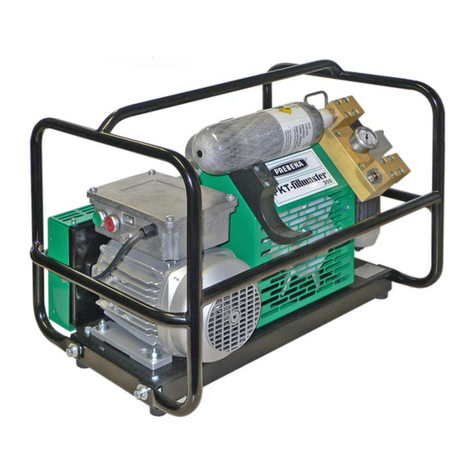
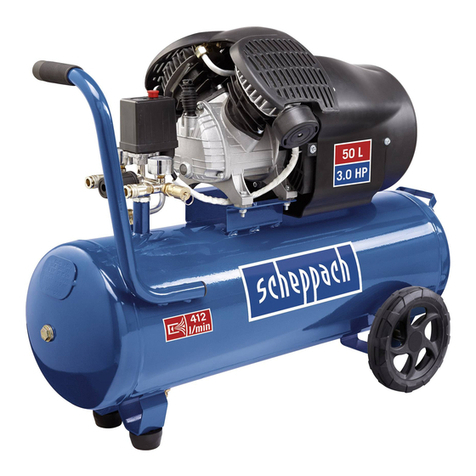
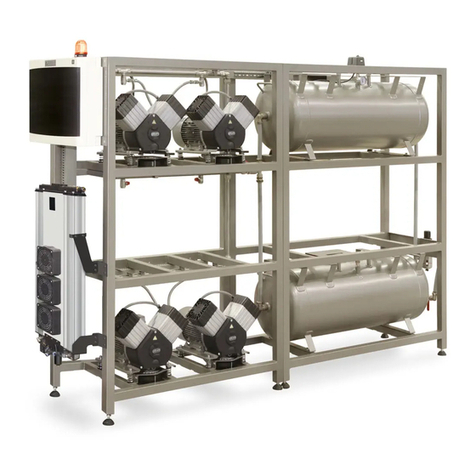
Coltri Compressors MCH-6 Series User manual

MA-MCH6-0014
MCH-6
Compressore ad alta pressione per aria respirabile e gas tecnici
High pressure compressors for pure breathing air and technical gases
Manuale montaggio automatismi:
Assembly manual of automatic controls:
PRESSOSTATO PER LO SPEGNIMENTO
AUTOMATICO
AUTOMATIC SHUT-OFF SWITCH
SCARICO CONDENSA AUTOMATICO
AUTOMATIC CONDENSATE DISCHARGE
CONTAORE DI FUNZIONAMENTO
WORKING HOUR METER


PRESSOSTATO PER LO SPEGNIMENTO AUTOMATICO - AUTOMATIC SHUT-OFF SWITCH pag. 3di 28
MA-MCH6-0014
PRECAUZIONE DI SICUREZZA:
Qualsiasi intervento di manomissione al compressore e/o a componenti (incluso l’utilizzo
di ricambi non originali) non autorizzato da AEROTECNICA COLTRI S.p.A. solleva la ditta
costruttrice da qualsiasi responsabilità civile o penale.
TUTTI GLI INTERVENTI DEVONO ESSERE ESEGUITI A COMPRESSORE FERMO, CON LE
ALIMENTAZIONI DISCONNESSE E CON IL CIRCUITO DI POMPAGGIO DEPRESSURIZZATO.
OGNI FONTE DI ENERGIA DEVE ESSERE DISSIPATA.
OPERARE IN COMPLETA SICUREZZA ED UTILIZZANDO GLI STRUMENTI, L’ABBIGLIAMENTO,
I GUANTI E QUALUNQUE ALTRO ACCORGIMENTO CHE PERMETTA, ALL’OPERATORE, DI
OPERARE ALL’INTERNO DELLE NORMATIVE DI SICUREZZA.
SAFETY PRECAUTIONS:
Any tampering with the compressor and/or the components (including the use of non
original spare parts) which is not authorized by AEROTECNICA COLTRI S.p.A. releases the
manufacturing company from any civil or criminal liability.
ALL WORK MUST ONLY BE PERFORMED WHEN THE COMPRESSOR IS OFF, ALL POWER
DISCONNECTED AND THE UNIT DEPRESSURIZED.
ALL POWER SOURCE MUST BE OFF. WORK SAFELY WITH TOOLS, CLOTHING AND GLOVES
AND WITH ANY OTHER PROTECTIVE EQUIPMENT WHICH HELPS PUT THE OPERATOR IN
COMPLIANCE WITH SAFETY STANDARDS.
PRESSOSTATO PER LO SPEGNIMENTO AUTOMATICO
AUTOMATIC SHUT-OFF SWITCH 4
SCARICO CONDENSA AUTOMATICO
AUTOMATIC CONDENSATE DISCHARGE 12
CONTAORE DI FUNZIONAMENTO
WORKING HOUR METER 24

pag. 4di 28 PRESSOSTATO PER LO SPEGNIMENTO AUTOMATICO - AUTOMATIC SHUT-OFF SWITCH
MA-MCH6-0014
1
Kit Pressostato per lo spegnimento automatico
Automatic shut-off switch kit
227mm
Svitare il tappo superiore
Unscrew the upper cap
3
Togliere il tappo superiore
Remove the upper cap
PRESSOSTATO PER LO SPEGNIMENTO AUTOMATICO
AUTOMATIC SHUT-OFF SWITCH

PRESSOSTATO PER LO SPEGNIMENTO AUTOMATICO - AUTOMATIC SHUT-OFF SWITCH pag. 5di 28
MA-MCH6-0014
4
Mettere il tappo superiore forato
Place the perforated upper cap
527mm
Avvitare il tappo superiore forato
Screw the perforated upper cap
6Loktite
243
Applicare Loktite 243 sul filetto del pressostato
Apply Loktite 234 on the pressure switch threads
7
Mettere il pressostato sul tappo superiore forato
Place the pressure switch on the perforated upper cap
817mm
Avvitare il pressostato sul tappo superiore forato
Screw the pressure switch on the perforated upper cap
9
Smontare il connettore
Disassemble the connector

pag. 6di 28 PRESSOSTATO PER LO SPEGNIMENTO AUTOMATICO - AUTOMATIC SHUT-OFF SWITCH
MA-MCH6-0014
12
Fissare i fili ai contatti
Connect the wire to the contact part
13
Montare il connettore
Assemble the connector
14 15
Togliere le 4 viti di fissaggio
Remove the 4 fixing screws
10
Preparare i fili elettrici per il collegamento
Prepare the electrical wires for the connection
11
Posizionare i fili sui contatti
Position the wire to the contact part

PRESSOSTATO PER LO SPEGNIMENTO AUTOMATICO - AUTOMATIC SHUT-OFF SWITCH pag. 7di 28
MA-MCH6-0014
18
Togliere il fermo condensatori e le spugne superiori
Remove the condensers lock and the upper pads
19
Spostare i condensatori e togliere le spugne inferiori
Move the condensers lock and remove the lower pads
20 Ø16
mm
Con un trapano realizzare un foro da Ø16 mm
Use a drill to make a hole Ø16 mm
21
Posizionare il passacavo
Place the cable bushing
16
Togliere il coperchio
Remove the cover
17
Togliere le 2 viti di fissaggio del fermo condensatori
Remove the 2 fixing screws condensers lock

pag. 8di 28 PRESSOSTATO PER LO SPEGNIMENTO AUTOMATICO - AUTOMATIC SHUT-OFF SWITCH
MA-MCH6-0014
24
Preparare i fili elettrici per il collegamento
Prepare the electrical wires for the connection
25
Togliere una delle viti di fissaggio della scatola elettrica
Remove one electrical boards fixing screw
26
Attorcigliare il filo di massa alla vite
Twist the grounded wire in to the screw
27
Mettere la vite di fissaggio della scatola elettrica
Place the electrical boards fixing screw
22
Passare il filo nel passacavo
Pass the cable in the cable bushing
23
Preparare il filo elettrico
Prepare the electrical wire

PRESSOSTATO PER LO SPEGNIMENTO AUTOMATICO - AUTOMATIC SHUT-OFF SWITCH pag. 9di 28
MA-MCH6-0014
30
Preparare il filo bianco relè
Prepare the electrical wires for the connection
31
Unire il filo bianco con quello marrone
Join the white wire with the brown
32
Mettere un morsetto sui fili marrone e bianco e fissarli
Place a clamp in the brown and withe wire and fixing
33
Mettere un connettore Faston F sul filo blu
Place the Faston F crimp connector in the blue wire
28
Staccare il filo bianco relè
Disconnect the white relay wire
29
Tagliare il filo bianco relè
Cut the white relay wire

pag. 10 di 28 PRESSOSTATO PER LO SPEGNIMENTO AUTOMATICO - AUTOMATIC SHUT-OFF SWITCH
MA-MCH6-0014
36
Schema di collegamento
Connection Diagram
37
Mettere le spugne inferiori e riposizionare i condensatori nella
propria sede
Place the lower pads and place the condensers back in their
original location
38
Mettere il fermo condensatori e le spugne superiori
Place the condensers lock and the upper pads
39
Mettere le 2 viti di fissaggio del fermo condensatori
Place the 2 fixing screws condensers lock
34
Collegare, con crimpatrice, il filo blu con un connettore Faston F
Connect the blue wire to a Faston F crimp connector with a crim-
ping tool
35
Posizionare il connettore del filo blu sulla sede dell’interruttore
Place the blue wire connector on the pin switch

PRESSOSTATO PER LO SPEGNIMENTO AUTOMATICO - AUTOMATIC SHUT-OFF SWITCH pag. 11 di 28
MA-MCH6-0014
40
Mettere il coperchio
Place the cover
41
Mettere le 4 viti di fissaggio
Place the 4 fixing screws
42
Montare il connettore sul pressostato
Assemble the connector in the pressure switch
43
Fissare il connettore
Set the connector
44
Pressostato per lo spegnimento automatico
Automatic shut-off switch
45
Schema elettrico
Wiring diagram

pag. 12 di 28 SCARICO CONDENSA AUTOMATICO - AUTOMATIC CONDENSATE DISCHARGE
MA-MCH6-0014
1
Kit Scarico condensa automatico
Automatic condensate discharge kit
217mm
Togliere il rubinetto scarico condensa dal separatore
Remove the condensate drain from the separator
3Loktite
243
Applicare Loktite 243 sul filetto del raccordo
Apply Loktite 234 on the fitting threads
SCARICO CONDENSA AUTOMATICO
AUTOMATIC CONDENSATE DISCHARGE

SCARICO CONDENSA AUTOMATICO AUTOMATICO - AUTOMATIC CONDENSATE DISCHARGE pag. 13 di 28
MA-MCH6-0014
612mm
Avvitare il raccordo sul separatore di condensa
Screw the fitting on the condensate separator
7
Assemblare il connettore filtro sinterizzato
Assemble the connector in-line filter
8
Inserire, nel connettore filtro, il filtro sinterizzato
Insert the in-line filter in the filter connector
9Loktite
243
Applicare Loktite 243 sul filetto del raccordo
Apply Loktite 234 on the fitting threads
412mm
Avvitare il raccordo sul raccordo a T
Screw the fitting on the “T” fitting
5Loktite
243
Applicare Loktite 243 sul filetto del raccordo
Apply Loktite 234 on the fitting threads

pag. 14 di 28 SCARICO CONDENSA AUTOMATICO - AUTOMATIC CONDENSATE DISCHARGE
MA-MCH6-0014
12 17mm
Avvitare il connettore filtro sul raccordo a T
Screw the filter connector on the “T” fitting
13 Loktite
243
Applicare Loktite 243 sul filetto del rubinetto scarico condensa
Apply Loktite 234 on the condensate drain
14 17mm
Avvitare il rubinetto scarico condensa sul raccordo a T
Screw the condensate drain on the “T” fitting
15 Loktite
243
Applicare Loktite 243 sul filetto del connettore filtro
Apply Loktite 234 on the filter connector
10 17mm
Avvitare il raccordo sul connettore filtro
Screw the fitting on the filter connector
11 Loktite
243
Applicare Loktite 243 sul filetto del raccordo
Apply Loktite 234 on the fitting

SCARICO CONDENSA AUTOMATICO AUTOMATICO - AUTOMATIC CONDENSATE DISCHARGE pag. 15 di 28
MA-MCH6-0014
18 Loktite
243
Applicare Loktite 243 sul filetto del raccordo a L
Apply Loktite 234 on the L fitting
19
Avvitare il raccordo a L sulla valvola solenoide alta pressione
Screw the L fitting on the high pressure solenoid valve
20
Mettere la bobina nel fusto valvola solenoide alta pressione
Place the coil into the high pressure solenoid valve body
21
Posizionare il dado di tenuta sulla bobina
Place the lock nut on the coil
16
Posizionare l’entrata IN della valvola solenoide alta pressione sul
connettore filtro
Place the entrance-IN of the high pressure solenoid valve to the fil-
ter connector
17
Avvitare la valvola solenoide alta pressione
Screw the high pressure solenoid valve

pag. 16 di 28 SCARICO CONDENSA AUTOMATICO - AUTOMATIC CONDENSATE DISCHARGE
MA-MCH6-0014
24
Posizionare il timer sul solenoide
Place the timer on the solenoid valve
25
Smontare il connettore
Disassemble the connector
26
Preparare il filo elettrico
Prepare the electrical wire
27
Preparare i fili elettrici per il collegamento
Prepare the electrical wires for the connection
22
Avvitare il dado di tenuta sulla bobina
Screw the lock nut on the coil
23
Prendere il timer e settarlo come raffigurato
Take the timer and set it as shown in the picture

SCARICO CONDENSA AUTOMATICO AUTOMATICO - AUTOMATIC CONDENSATE DISCHARGE pag. 17 di 28
MA-MCH6-0014
30
Montare il connettore
Assemble the connector
31
32
Posizionare il connettore sul timer
Place the connector on the timer
33
Fissare il connettore
Set the connector
28
Posizionare i fili sui contatti
Position the wire to the contact part
29
Fissare i fili ai contatti
Connect the wire to the contact part

pag. 18 di 28 SCARICO CONDENSA AUTOMATICO - AUTOMATIC CONDENSATE DISCHARGE
MA-MCH6-0014
36
Togliere il coperchio
Remove the cover
37
Togliere le 2 viti di fissaggio del fermo condensatori
Remove the 2 fixing screws condensers lock
38
Togliere il fermo condensatori e le spugne superiori
Remove the condensers lock and the upper pads
39
Spostare i condensatori e togliere le spugne inferiori
Move the condensers lock and remove the lower pads
34 35
Togliere le 4 viti di fissaggio
Remove the 4 fixing screws

SCARICO CONDENSA AUTOMATICO AUTOMATICO - AUTOMATIC CONDENSATE DISCHARGE pag. 19 di 28
MA-MCH6-0014
42
Passare il filo nel passacavo
Pass the cable in the cable bushing
43
Preparare il filo elettrico
Prepare the electrical wire
44
Preparare i fili elettrici per il collegamento
Prepare the electrical wires for the connection
45
Mettere un connettore Faston M/F sul filo marrone
Place the Faston M/F crimp connector in the brown wire
40 Ø16
mm
Con un trapano realizzare un foro da Ø16 mm
Use a drill to make a hole Ø16 mm
41
Posizionare il passacavo
Place the cable bushing

pag. 20 di 28 SCARICO CONDENSA AUTOMATICO - AUTOMATIC CONDENSATE DISCHARGE
MA-MCH6-0014
48
Collegare, con crimpatrice, il filo blu con un connettore Faston M/F
Connect the blue wire to a Faston M/F crimp connector with a
crimping tool
49
Togliere una delle viti di fissaggio della scatola elettrica
Remove one electrical boards fixing screw
50
Attorcigliare il filo di massa alla vite
Twist the grounded wire in to the screw
51
Mettere la vite di fissaggio della scatola elettrica
Place the electrical boards fixing screw
46
Collegare, con crimpatrice, il filo marrone con un connettore
Faston M/F
Connect the brown wire to a Faston M/F crimp connector with a
crimping tool
47
Mettere un connettore Faston M/F sul filo blu
Place the Faston M/F crimp connector in the blue wire
Other manuals for MCH-6 Series
1
Table of contents
Other Coltri Compressors Compressor manuals
Coltri Compressors
Coltri Compressors MCH-6 SILENT User manual

Coltri Compressors
Coltri Compressors LP-250 NITROX User manual

Coltri Compressors
Coltri Compressors TROPICAL MARK1 MCH-13/ET User manual

Coltri Compressors
Coltri Compressors ERGO MCH-16/EM User manual

Coltri Compressors
Coltri Compressors MCH-10-14 CNG User manual

Coltri Compressors
Coltri Compressors MCH-5 EVO CNG User manual
Coltri Compressors
Coltri Compressors COMPACT MCH-8-11/EM User manual
Coltri Compressors
Coltri Compressors LP-300 NITROX User manual