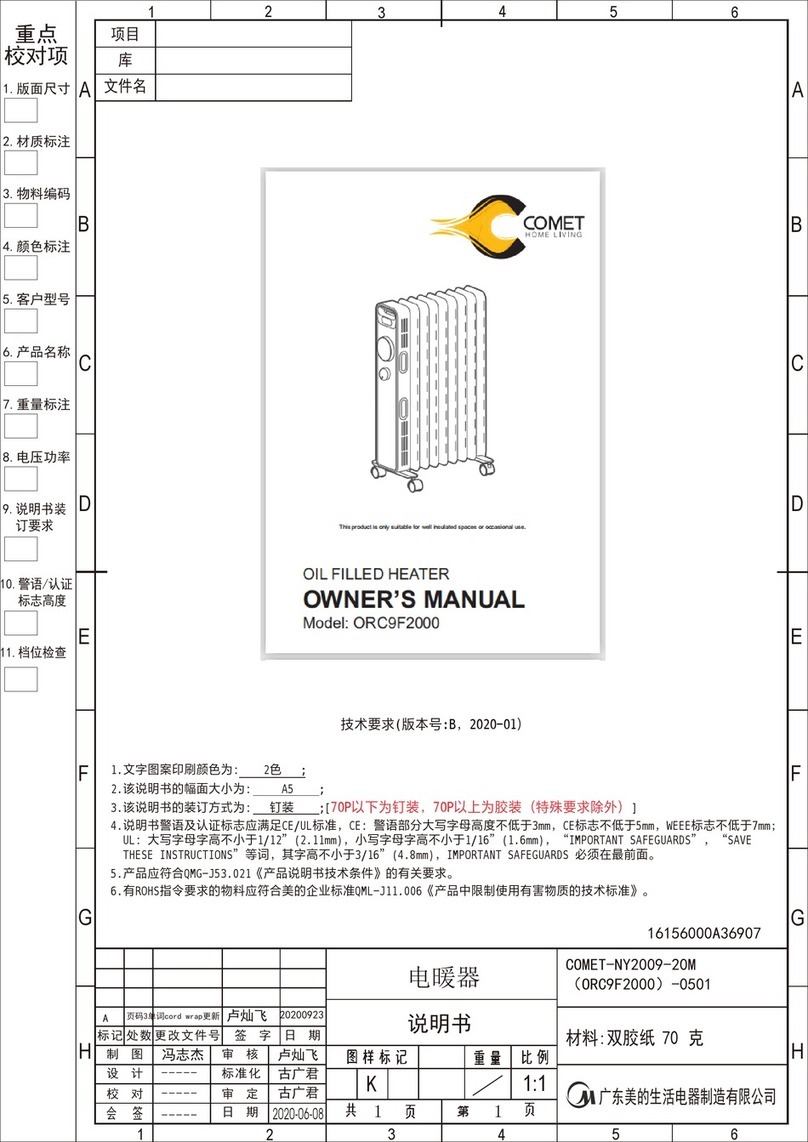
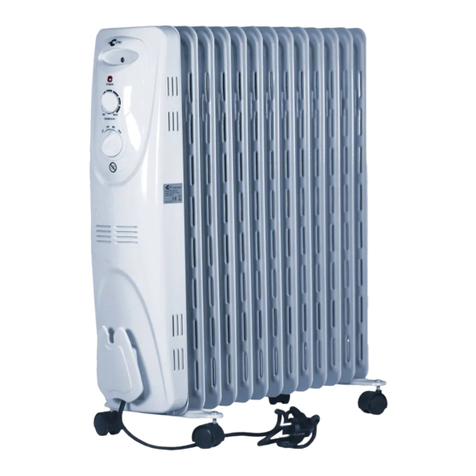
Comet IHC3L1200M User manual

1 1
1:1
K
项目
库
文件名
A
1246
35
1246
35
B
C
D
E
F
G
H
A
B
C
D
E
F
G
H
技术要求(版本号:B,2020-01)
2.该说明书的幅面大小为:145*210mm ,未注直线尺寸公差应符合GB/T1804-v;
4.说明书警语字高大于3mm
5.产品应符合QMG-J53.021《产品说明书技术条件》的有关要求。
6.有ROHS指令要求的物料应符合美的企业标准QML-J11.006《产品中限制使用有害物质的技术标准》。
1.文字图案印刷颜色为: 双色 ,印刷字体需清晰可见,文字不能粘到一起;
16161000A16335
COMET-NS12-13C1(IHC3L1200M)-0501
广东美的生活电器制造有限公司
会 签
材料:70g双胶纸
刘灿 李艳
古广君
古广君
2021-01-27
制 图
设 计
校 对
审 核
标准化
审 定
日 期
标记 处数 更改文件号 签 字 日 期
暖风机
说明书
重点
校对项
1.版面尺寸
2.材质标注
3.物料编码
4.颜色标注
5.客户型号
6.产品名称
7.重量标注
8.电压功率
-----
-----
-----
9.说明书装
订要求
10.警语/认证
标志高度
11.档位、
控制面板
一致性
3.该说明书的装订方式为: 钉装 ;[70P以下为钉装,70P以上为胶装(特殊要求除外)]

This product is only suitable for well insulated spaces or occasional use.
OWNER’S MANUAL
Model: IHC3L1200M
FAR INFRARED HEATER

1
SAFETY INSTRUCTION
1. Warning: In order to avoid overheating, do not cover the
heater.
2. If the supply cord is damaged, it must be replaced by the
manufacturer or its service agent or a similarly qualified
person in order to avoid a hazard.
3. This appliance can be used by children aged from 8 years
and above and persons with reduced physical, sensory or
mental capabilities or lack of experience and knowledge if
they have been given supervision or instruction concerning
use of the appliance in a safe way and understand the
hazards involved. Children shall not play with the appliance.
Cleaning and user maintenance shall not be made by
children without supervision.
4. The heater must not be located immediately below a
socket-outlet.
5. Do not use this heater in the immediate surroundings of a
bath, a shower or a swimming pool.
6. Children of less than 3 years should be kept away unless
continuously supervised.
Children aged from 3 years and less than 8 years shall only
switch on/off the appliance provided that it has been placed
or installed in its intended normal operating position and
they have been given supervision or instruction concerning
use of the appliance in a safe way and understand the
hazards involved. Children aged from 3 years and less than
8 years shall not plug in, regulate and clean the appliance
or perform user maintenance.
7. CAUTION — Some parts of this product can become
very hot and cause burns. Particular attention has to be
given where children and vulnerable people are present.

2
9.Do not use this heater with a programmer, timer, separate
remote-control system or any other device that switches the
heater on automatically, since a fire risk exists if the heater
is covered or positioned incorrectly.
10.This heater cannot achieve accurate temperature control of
the enviroment,and thus cannot be used as insulation device
for storage environment, items, animals and plants.
This heater is not equipped with a device to control the room
temperature. Do not use this heater in small rooms when
they are occupied by persons not capable of leaving the
room on their own, unless constant supervision is provided.
Warning
SAFETY INSTRUCTION
This marking indicates that this product should not
be disposed with other household wastes
throughout the EU. To prevent possible harm to the
environment or human health from
uncontrolled waste disposal, recycle it responsibly
to promote the sustainable reuse of material
resources. To return your used device, please use
the return and collection systems or contact the
retailer where the product was purchased. They can
take this product for environmental safe recycling.
8. Correct Disposal of this product

3
PART FIGURE
ASSEMBLY
Front enclosure
Power switch
Front grille
Top cover
Swing switch
Reflector
Rear enclosure
NO. Description
1
2
3
4
5
6
7
Base plate
Heating tube
8
9
1
2
3
4
5
6
7
8
9
Assemble the main body of the heater and the base plate as follows:
1. Remove the butterfly nuts from the bottom of the main unit.
2. Place the main unit on a flat surface with the heater elements uppermost.
3. Fit the base plate to the bottom of the main unit. Match the projections on
the main unit with the cut outs in the base plate.
4. Fit the butterfly nuts through the base plate and screw them firmly into the
bottom of the main unit.
5. Pass the mains cord through the cord guide channel and fit the guide
cover.
OPERATING INSTRUCTION
1. Insert the plug into a suitable socket.
2. Ensure that the unit is placed on a firm level surface. The unit may not
operate if it is placed on an uneven surface, as the tip-over switch may not
operate.
3. Press the Power switch to the ON position. The upper and centre elements
will operate. The remaining tube can be switched on by pressing the 1200W
switch for full power.
4. Press the Oscillation switch to activate the oscillating feature of the main
unit.
5. After use, turn off all the switches and remove the main plug from the wall
outlet.

4
1. Insert the plug into a suitable socket.
2. Ensure that the unit is placed on a firm level surface. The unit may not
operate if it is placed on an uneven surface, as the tip-over switch may not
operate.
3. Press the Power switch to the ON position. The upper and centre elements
will operate. The remaining tube can be switched on by pressing the 1200W
switch for full power.
OPERATING INSTRUCTION
4. Press the Oscillation switch to activate the oscillating feature of the main
unit.
5. After use, turn off all the switches and remove the main plug from the wall
outlet.
SAFETY CONTROL
Your heater is fitted with a safety device thermal fuse that Shuts off the heater
by thermal fuse in the event of overheating or malfunction and not operates
by some other accidental reason.
If overheating or malfunctions continue, return the heater to an Approved
Service Agent for examination.
The most common cause of overheating is deposits of dust or fluff entering
the heater, Ensure these deposits are removed regularly by unplugging the
unit and vacuum cleaning air vents and front grille.
Safety distance in a narrow place when in use and the surrounding objects
1m Above
Front FrontBlack
0.5m Above 0.5m Above 0.5m Above 0.5m Above
The push rod of the tip-over switch must be free to move and should
never be tampered with or jammed into position as this will disable the safety tip-
over protection circuit.
Warning

5
SAFETY CONTROL
Table for information requirements for electric local space heaters P
Model identifier(s):IHC3L1200M
Item Symbo
l
Value Unit Item Unit
Heat output Type of heat input, for electric local space heaters
only (select one)
Nominal heat
output
Pnom1.2 kW Manual heat charge control with
integrated thermostat
[no]
Minimum heat
output (indicative)
Pmin 0.4 kW Manual heat charge control with room
and/or outdoor temperature feedback
[no]
Maximum
continuous heat
output
Pmax 1.2 kW Electronic heat charge control with room
and/or outdoor temperature feedback
[no]
Auxiliary electricity consumption Fan assisted heat output [no]
At nominal heat
output
elmax 1.156 kW Type of heat output/room temperature control (select
one)
At minimum heat
output
elmin 0.395 kW Single stage heat output and no room
temperature control
[no]
In standby mode elSB N/A WTwo or more manual stages, no room
temperature control
[yes]
With mechanic thermostat room
temperature control
[no]
With electronic room temperature
control
[no]
Electronic room temperature control plus
day timer
[no]
Electronic room temperature control plus
week timer
[no]
Other control options (multiple selections possible)
Room temperature control, with
presence detection
[no]
Room temperature control, with open
window detection
[no]
With distance control option [no]
With adaptive start control [no]
With working time limitation [no]
With black bulb sensor [no]
Contact details: Ethiopia Electronics PLCRas Abeba Aregay Avenue
P.O.Box 2565 Addis Ababa, Ethiopia.
Remark:
For electric local space heaters, the measured seasonal space heating energy efficiencys cannot be
worse than the declared value at the nominal heat output of the unit.
The seasonal space heating energy efficiency of all local space heaters
except commercial local space heaters, s(%)
32

6
CLEANING AND MAINTENANCE INSTRUCTION
1. Light accumulated dust may be removed from the heater with a soft cloth.
Wipe the exterior surfaces of the heater occasionally with a cloth moistened
(not dripping wet) with a solution of mild detergent and water. Dry the case
thoroughly with a soft dry cloth before operating the heater.
2. No other user maintenance is required orrecommended. If service is
required, send your heater to the nearest authorized servicedepot.
3. Store heater in a clean and dry place whennot in use.
REMEMBER - portable electric heaters are designed for spot heating, or as
a supplementary heat source. They are not intended to be main sources of
heat during the normal heating season.
There may be trace of smoke or odour when unit is first operated. Do not be
on the heating coil during the manufacturing process. It will quickly
evaporate, and should not re-occur.
Note

Table of contents
Other Comet Heater manuals
Popular Heater manuals by other brands

solamagic
solamagic Heating Mod/Var Ramp RTS-HR1 Programming manual

Ducasa
Ducasa Richmond DPL 15 Installation and operation guide

Dimplex
Dimplex BN/60100 Series installation instructions

Laars
Laars H Series Installation

Empire Comfort Systems
Empire Comfort Systems DV-55E-3 Installation instructions and owner's manual

SHX
SHX SHX15HL2002 manual

Twin-Star International
Twin-Star International Infragen 13QH8007-C242 manual

Dimplex
Dimplex RCH5031CXW installation instructions

Infiniton
Infiniton HMK-20 manual

INNOLIVING
INNOLIVING INN-579 user manual

Vaillant
Vaillant auroTHERM VFK 145/2 H installation manual

Toyostove
Toyostove FF-51 Installation and operation instructions