NO
EN
A
User manual Tango VII 1e
NO
EN
Trouble shooting and FAQ
Tango VII won’t turn on!
Check that the power supply is inserted in the Tango VII and that the•
plug contact works.
I hear crackling!
For the best possible sound quality you must have the neck loop•
within the range of the Tango VII. (approx. 40 meters, free sight).
Ensure that Tango VII is configured correctly.•
If you use a headset ensure that the plug to the headset is properly•
connected.
I cannot hear anything in the neck loop!
Increase the volume on the neck loop or Tango VII.•
Ensure that the unit is paired up to the Tango VII.•
If you use a headset, ensure that the plug to the headset is properly•
connected.
Will Tango VII function the same with other Bluetooth equipment?
The Tango VII is made to work with most Bluetooth handsfree units.•
This depends if the Bluetooth unit is compatible with Bluetooth
version 1.1, 1.2 or 2.0, supporting the handsfree profile.
Storage and maintenance
Do not store the Tango VII in extreme temperatures•
over 45°C/113°F, in direct sunlight, or below -10°C/14°F).
Do not expose the Tango VII to rain or other liquids•
Clean the device with a dry cloth.•
Certification and safety approvals
CE
This product is CE marked accordingly to the provisions of the
R & TTE Directive (99/55/EC), COMMidt AS, declares that this product is in
compliance with the essential requirements and other relevant
provisions of Directive 1995/5/EC.
For further information, please consult: http://www.commidt.com
Bluetooth
The Bluetooth word® and logos are owned by the Bluetooth SIG, Inc. and any
use of such marks by COMMidt AS is under licence. Other trademarks and trade
names are those of their respective owners.
Electrical and electronic equipment (EEE) contains materials,
components and substances which can be dangerous and
detrimental to human health and the environment if waste
electrical and electronic equipment (WEEE) is not disposed of
correctly. Products marked with the “crossed-out waste bin”
symbol shown below are electrical and electronic equipment.
This symbol indicates that waste electrical and electronic
equipment must not be discarded along with unsorted household waste, but must
be collected separately. In the development and manufacture of your COMMidt
product, high-quality materials and components have been used which can
be recycled.When disposing of electrical and electronic equipment you should
therefore make use of a collection arrangement intended for this purpose, which
may involve either delivery at your local collection point or recycling station or
collection at your home. Further information should be obtained from your local
dealer.
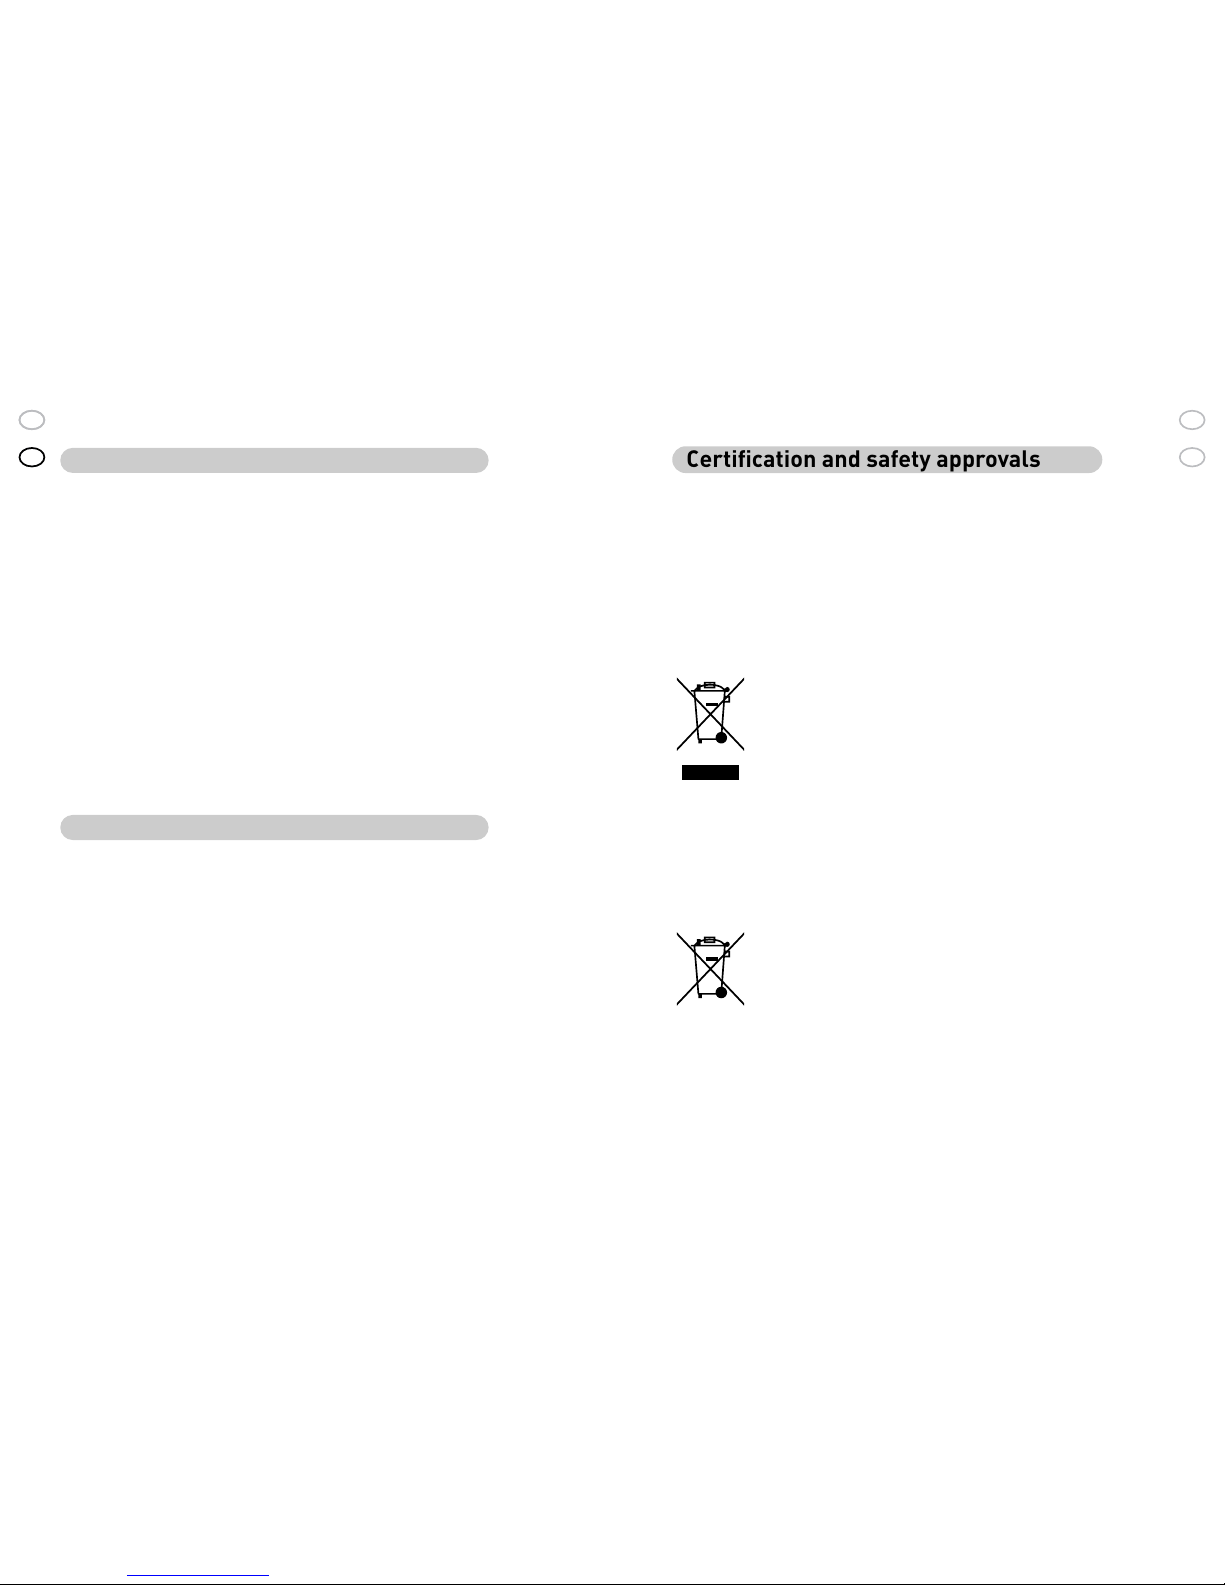
Batteries contain substances that may be harmful to human health
and the environment if not handled properly.
Batteries are labelled with a crossed dustbin as shown.
It symbolizes that waste batteries must not be disposed of as
unsorted municipal waste, but must be collected separately.
Some batteries are also labelled with the chemical symbol Hg (mercury), Cd
(cadmium) or Pb(lead). This is particularly harmful substances, and therefore it is
important that these batteries will be collected.
It is important that you hand your waste batteries to the collection systems which
are established. On this way you help to ensure that batteries are recycled in
accordance with the law and will not unduly impact the environment.
When disposing of waste batteries you must use a collection system established
for that purpose whether it be handed in at your local collection point or recycling
or collected directly from the household. Detailed information must be obtained
from the local authorities.
Removal of the battery:
Unscrew the screw on the rear of the unit1.
Remove the front cover2.
Unscrew the screw on the circuit board.3.
Remove the circuit board4.
Unplug the battery5.
Declaration of conformity
We COMMidt, Kirkegata 57-59, 7600 Levanger, Norway declare
under our own responsibility that the Bluetooth products to which this declaration
refers conforms withthe relevant standards or other standardised documents.
•93/42/EØF
•NS-EN12182
•ETSIEN301489-1V1.4.1(2002-08)
•ETSIEN301489-17V1.2.1(2002.08)
•EN300328V1.6.1(2004-11)
•EN61000-4-3,5.1
•EN61000-4-2,5.2
According the regulations in Radio Equipment and Telecommunications Terminal
Equipment (R&TTE) Directive 1999/5/EC
This device complies with Part 15 of the FCC Rules.
Operation is subject to the following two conditions:
(1) this device may not cause harmful interference, and
(2) this device must accept any interference received, including
interference that may cause undesired operation.
This device is a class 2 Bluetooth device (max 2 mW EIRP). Due to the low level
of transmit output power the device is not subject to the routine RF exposure
valuation as per Section 2.1093 of the FCC rules.
Levanger 2009-04-24
Roar Austvik
Managing Director, COMMidt
FCC
Dette produktet er designet
for å imøtekomme Federal
Communications Commission (FCC)
sin krav og reguleringer.
Your mobile device is also designed
to meet the requirements for
exposure to radio waves established
by the Federal Communications
Commission (USA) and Industry
Canada.
Information about this device model
can be found at www.fcc.gov/oet/
fccid by searching the equipment
COMMidt-logo
Logoen COMMidt® er beskyttet, og
all bruk av denne logo må avklares
med COMMidt.