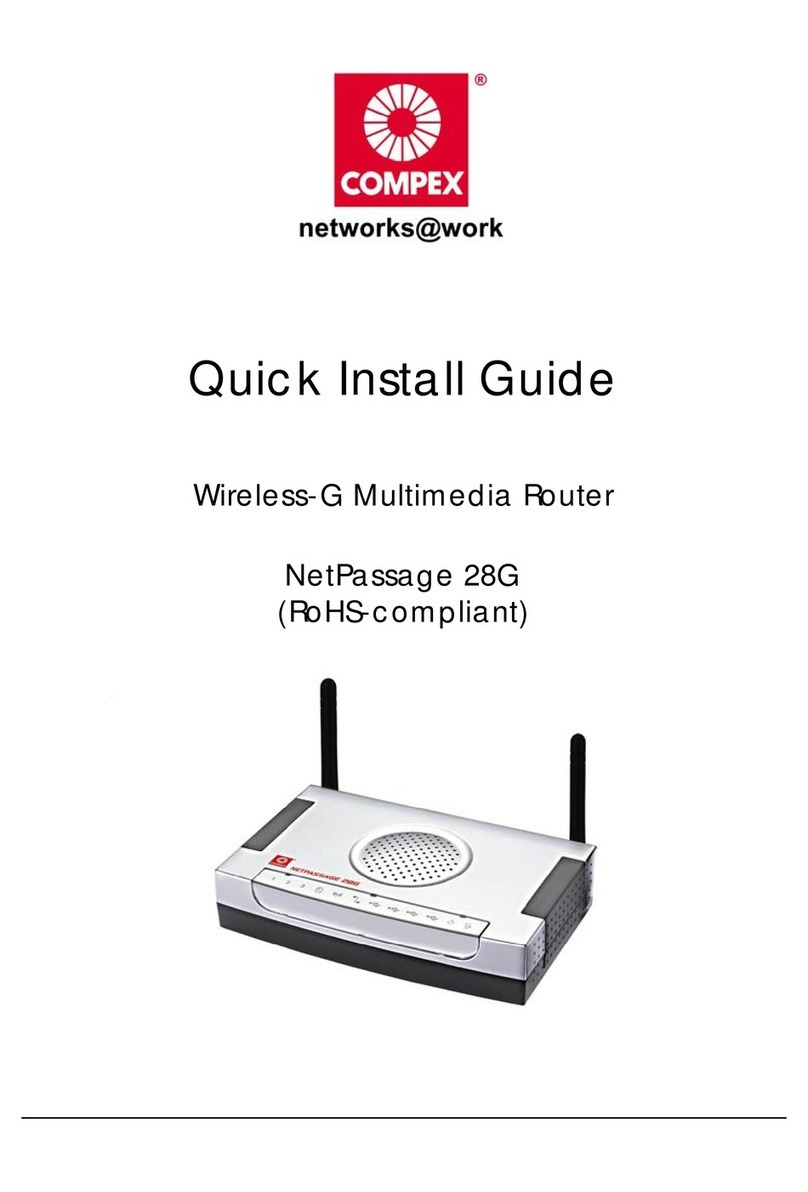
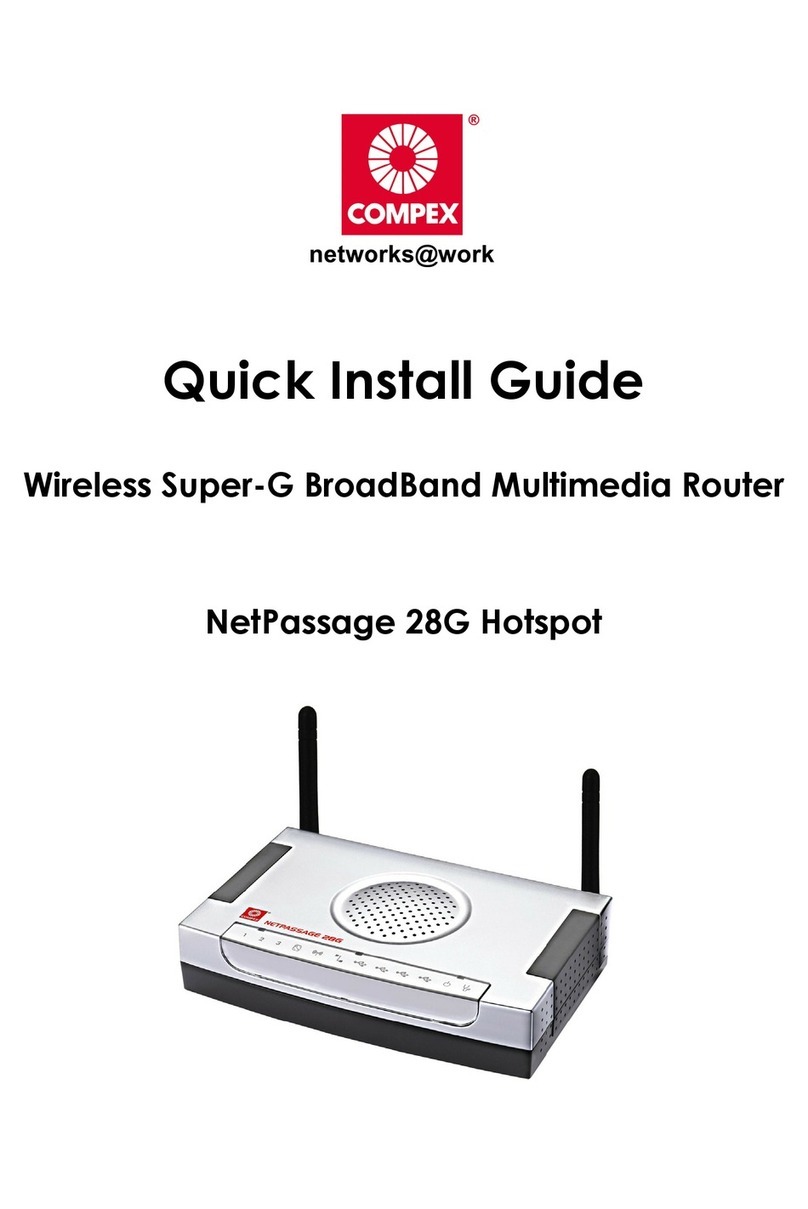
Compex NetPassage 28G User manual


i
© 2006 Compex Systems Pte Ltd
All Rights Reserved
This document contains information, which is protected by copyright. Reproduction,
adaptation or translation without prior permission is prohibited, except as allowed under
the copyright laws.
Trademark Information
Compex®, ReadyLINK®and MicroHub®are registered trademarks of Compex, Inc.
Microsoft Windows and the Windows logo are the trademarks of Microsoft Corp. NetWare
is the registered trademark of Novell Inc. All other brand and product names are
trademarks or registered trademarks of their respective owners.
Notice: Copyrights © 2006 by Compex, Inc. All rights reserved. Reproduction, adaptation,
or translation without prior permission of Compex, Inc. is prohibited, except as allowed
under the copyright laws.
Manual Revision by Daniel
Manual Number: U-0431-1.4c Version 1.4, November 2006
Disclaimer
Compex, Inc. provides this manual without warranty of any kind, expressed or implied,
including but not limited to the implied warranties of merchantability and fitness for a
particular purpose. Compex, Inc. may make improvements and/or changes to the
product and/or specifications of the product described in this manual, without prior
notice. Compex, Inc will not be liable for any technical inaccuracies or typographical
errors found in this guide. Changes are periodically made to the information contained
herein and will be incorporated into later versions of the manual. The information
contained is subject to change without prior notice.
Your Feedback
We value your feedback. If you find any errors in this user’s manual, or if you have
suggestions or comments, we would like to hear from you. Please contact us at:
Fax: (65) 62809947
Email: [email protected]
FCC NOTICE
This device has been tested and found to comply with the limits for a Class B digital
device, pursuant to Part 15 of the FCC Rules. These limits are designed to provide
reasonable protection against harmful interference in a residential installation. This device
generates, uses and can radiate radio frequency energy and, if not installed and used in
accordance with the instructions, may cause harmful interference to radio
communications. However, there is no guarantee that interference will not occur in a
particular installation. If this device does cause harmful interference to radio or television
reception, the user is encouraged to try to correct the interference by one or more of the
following measures:

ii
Reorient or relocate the receiving antenna.
Connect the computer into an outlet on a circuit different from that to which
the receiver is connected.
Increase the separation between the computer and receiver.
Consult the dealer or an experienced radio/TV technician for help.
Caution: Any changes or modifications not expressly approved by the grantee of this
device could void the user's authority to operate the equipment.
FCC Compliance Statement: This device complies with Part 15 of the FCC Rules.
Operation is subject to the following two conditions:
This device may not cause harmful interference, and
This device must accept any interference received, including interference that
may cause undesired operation.
Declaration of Conformity
Compex, Inc. declares that the product:
Product Name: Compex Wireless-G Broadband Multimedia Router
Model No.: NetPassage 28G conforms to the following Product Standards:
This device complies with the Electromagnetic Compatibility Directive (89/336/EEC)
issued by the Commission of the European Community. Compliance with this directive
implies conformity to the following European Norms (in brackets are the equivalent
international standards.)
Electromagnetic Interference (Conduction and Radiation): EN 55022 (CISPR 22)
Electromagnetic Immunity: EN 55024 (IEC61000-4-2, 3,4,5,6,8,11)
Low Voltage Directive: EN 60 950:1992+A1: 1993+A2: 1993+A3; 1995+A4; 1996+A11:
1997.
Therefore, this product is in conformity with the following regional standards: FCC Class
Bfollowing the provisions of FCC Part 15 directive; CE Mark following the provisions of
the EC directive.
Compex, Inc. also declares that:
The wireless card in this product complies with the R&TTE Directive (1999/5/EC) issued
by the Commission of the European Community. Compliance with this directive implies
conformity to the following
EMC Standards: FCC Part 15: Subpart B, Subpart C; CE: EN 300 328-2, EN 300 826 (EN
301 489-17)
Therefore, this product is in conformity with the following regional standards: FCC Class
Bfollowing the provisions of FCC Part 15 directive; CE Mark following the provisions of
the EC directive.
This Class B digital apparatus complies with Canadian ICES-003.

iii
About This Document
This document may become superseded, in which case you may find its latest version at:
http://www.compex.com.sg
The product described in this document, Compex Wireless-G Broadband Multimedia
Router Series, NetPassage 28G, is a licensed product of Compex Systems Pte Ltd. This
document contains instructions for installing, configuring and using Compex NetPassage
28G. It also gives an overview of the key applications and the networking concepts with
respect to the product.
This documentation is for both network administrators and end-users that possess some
basic knowledge of networking structures and protocols.
It makes the assumption that the host computer has already been installed with TCP/IP
and is ready to access Internet. Procedures for Microsoft Windows 98SE/ME/2000/XP
operating systems are included in this document. However, for other operating systems,
you may need to refer to your operating system’s documentation for networking
instructions.
Firmware
Please take note that this User’s Manual is written based on NetPassage 28G Firmware
Release 2.2

iv
Conventions
In this document, special conventions are used to help present the information clearly.
The Compex Wireless-G Broadband Multimedia Router NetPassage 28G is often referred
to as Compex NetPassage 28G or Router in this document. Here is a list of conventions
used within the manual:
This symbol signifies an important notice to be heeded. The user is
advised to read the instructions carefully before proceeding further.
This symbol represents a section meant for advanced users, or
specific features meant for exceptional non-standard applications.
The user is assumed to have relevant network knowledge to carry
out the necessary configuration or understand the information given.
This symbol signifies that the user may find additional networking
information from our unique Technology Primer documents found
within the Product CD. The documents explain particular network
concepts, Compex-exclusive features and provide illustrated
walkthroughs for common networking scenarios.
This symbol signifies an exclusive feature found on this Compex
product, or on Compex’s family of products.
!
e
X
p
er
t
e
X
p
er
t
Technology
Primer
exclusive!

v
Table of Contents
Chapter 1: Introduction................................................................................ 1
Chapter 2: Getting to Know Your Product .................................................. 3
Key Features Briefing................................................................................. 3
Basic features.......................................................................................... 3
Security Features .................................................................................... 5
Schematic Overview of the Router .......................................................... 7
Chapter 3: Let’s Get Going-Hardware Setup ............................................. 9
Power Up in 4 Steps: .................................................................................. 9
Network Application Examples.............................................................. 10
Chapter 4: Let’s Get Going-Software Setup.............................................. 12
Chapter 4: Let’s Get Going-Software Setup.............................................. 13
Preparing the PCs + Router..................................................................... 13
Part 1 - Configuring the PCs.................................................................... 13
Part 2 - Basic Setup for the Router.......................................................... 20
Part 3 - Advanced Setup for the Router................................................. 29
Chapter 5: Advanced Configuration........................................................ 32
Detailed Configuration of the Router..................................................... 32
CONFIGURATION: Wireless Setup........................................................ 34
Hardware setup for the Router................................................................ 36
Configuring your PC ................................................................................ 37
Configuration for the Router as Access Point........................................ 37
Configuration for the Router as Access Point Client............................. 39
CONFIGURATION: Wireless Setup: Security Mode ............................. 40
CONFIGURATION: Wireless Setup: WDS Configuration...................... 44
Steps to set up WDS in the Router........................................................ 46
CONFIGURATION: Wireless Setup: Wireless Pseudo VLAN ................ 48
Wireless Pseudo VLAN Per Node......................................................... 48
Steps to set up Wireless Pseudo VLAN Per Node on the Router ....... 49
Wireless Pseudo VLAN Per Group........................................................ 49
Steps to set up Wireless Pseudo VLAN Per Group on the Router...... 50
CONFIGURATION: LAN Setup: Advanced DHCP Server Options...... 52
Steps to configure Advanced DHCP Server Options in the Router... 53
CONFIGURATION: WAN Setup............................................................. 55
CONFIGURATION : Routing .................................................................. 62
Steps to configure Static Routing of the Router.................................. 63
CONFIGURATION: NAT.......................................................................... 64
Steps to configure Virtual Servers based on DMZ Host...................... 65
Steps to configure Virtual Servers based on Port Forwarding........... 66

vi
Steps to configure Virtual Servers based on IP Forwarding .............. 68
CONFIGURATION: Remote Management........................................... 70
Steps to set up Remote Management................................................ 70
CONFIGURATION : Parallel Broadband .............................................. 71
2 Steps to enable Parallel Broadband on the Router........................ 72
CONFIGURATION : Spanning Tree Protocol........................................ 72
CONFIGURATION : Spanning Tree Protocol........................................ 73
CONFIGURATION : Email Notification.................................................. 73
HOME USER FEATURES : Static Address Translation (SAT)................... 75
Steps to enable/disable Static Address Translation .......................... 75
HOME USER FEATURES : SMTP Redirection ........................................... 76
Steps to enable/disable SMTP Redirection......................................... 76
HOME USER FEATURES : DNS Redirection............................................. 77
Steps to enable/disable DNS Redirection.......................................... 79
HOME USER FEATURES : Dynamic DNS Setup ...................................... 79
Steps to enable/disable Dynamic DNS Setup.................................... 80
Steps to manage Dynamic DNS List (DDNS)....................................... 80
HOME USER FEATURES : UPnP Configuration........................................ 83
HOME USER FEATURES : NETBIOS Name Setup.................................... 86
HOME USER FEATURES: USB Storage Disk Sharing............................... 87
Advanced USB Disk Sharing Functions............................................... 88
Accessing your USB Hard disk via FTP Server..................................... 94
Accessing your USB Hard disk via Windows File Server.................... 95
Using Windows File Server to map to Network drive ......................... 97
HOME USER FEATURES : Webcam View............................................... 99
Setting Internet Explorer Security Settings.......................................... 99
HOME USER FEATURES : Webcam Setup............................................ 103
SECURITY CONFIGURATION : Packet Filtering................................... 104
Steps to configure Packet Filtering ................................................... 104
SECURITY CONFIGURATION: Multicast Filtering ................................ 107
SECURITY CONFIGURATION : URL Filtering......................................... 108
Steps to configure URL Filtering.......................................................... 108
SECURITY CONFIGURATION : Firewall................................................ 109
Steps to configure SPI Firewall........................................................... 109
SECURITY CONFIGURATION : Firewall Logs ....................................... 113
Steps to view Firewall Logs ................................................................ 113
SYSTEM TOOLS : System Identity ........................................................ 114
SYSTEM TOOLS : Set Router’s Clock ................................................... 114
Steps to synchronize the Router’s Clock .......................................... 114
SYSTEM TOOLS : Firmware Upgrade................................................... 115

vii
Steps to upgrade the router’s firmware............................................ 115
SYSTEM TOOLS : Save or Reset Settings............................................. 116
Steps to Save or Reset Settings on the Router................................. 116
SYSTEM TOOLS : Reboot Router.......................................................... 117
Steps to Reboot the Router ................................................................ 117
HELP : Get Technical Support............................................................. 118
Steps to access the Get Technical Support page on the Router.. 118
HELP : Memory Information................................................................ 118
Steps to access the Memory Information page on the Router ..... 118
HELP : About System........................................................................... 119
Steps to access the About System page on the Router................. 119
Chapter 6: Printer Server Setup Configuration........................................ 120
Adding a shared printer via LPR in Windows XP .............................. 120
Adding a shared printer via LPR in Windows 2000........................... 126
Adding a shared printer via LPR in Windows 98/ME........................ 132
Removing the shared printer from the router................................... 138
Chapter 7: Setting Up Special Printers..................................................... 139
Manual upload of printer firmware and driver................................. 139
Automatic upload of printer file........................................................ 142
Chapter 8: Configuring Network Applications....................................... 145
Scenario #1: View webcam locally.................................................. 145
I. Hardware Setup for Router #1 ........................................................ 146
II. TCP/IP Configuration for your PC............................................. 146
III. Configure your Router #1 ......................................................... 146
IV. Configure your Web browser settings..................................... 149
Scenario #2: View Webcam wirelessly............................................. 150
I. Hardware Setup for the Router....................................................... 150
II. Configure webcam station ...................................................... 150
III. Create users authorization to view webcam ......................... 152
Scenario #3: View Webcam Video from Internet............................ 155
Scenario #4: Accessing USB hard disk & printer via the Router...... 157
I. Configure your Router #1................................................................ 157
Appendix A: Troubleshooting.................................................................. 161
Solutions to Common Problems ........................................................... 161
Appendix B: Frequently Asked Questions .............................................. 165
Answers to Frequently Asked Questions.............................................. 165
Appendix C: NETBIOS Protocol Installation............................................. 166
Appendix D: Glossary of Terms................................................................ 168
Appendix E: List of Supported USB PC Webcams & Printers .................. 172
Appendix F: Technical Specifications..................................................... 173
viii
Appendix G: Technical Support Information.......................................... 176

Chapter 1 Introduction
1
Chapter 1: Introduction
hank you for purchasing the Wireless-G Broadband Multimedia Router! We are
committed to deliver, meet and even exceed your expectations of a high-
performance, feature-rich, user-friendly and cost-effective network router. We are
excited that you will soon be discovering more about a product, which we have proudly
developed.
This high-performance Wireless-G Broadband
Multimedia Router supports an external Cable/ADSL
modem for broadband Internet sharing among your
wired and wireless network users at the workplace
or at home. To simplify your wired network setup, the
router supports Auto MDI/MDI-X and will
accommodate either type of Ethernet cable to
make the right connection. Then on top of its
integrated 3-port 10/100Mbps Fast Ethernet switch,
the router adopts the 802.11g standard for its
wireless operation to deliver data rates of up to
54Mbps within the 2.4GHz band!
This means that you can now wirelessly access and
share digital movies, music, and picture files over
the network. Also, because the 802.11g standard is
backwards compatible with 802.11b devices, your
existing devices can still operate at speeds of up to
11Mbps in the same frequency range.
You will also be pleased to know that the router comes with 4 integrated USB2.0 ports that
support USB web cams, printers, hard disks and flash disks. This effectively extends the
functional capabilities of the router to include remote video surveillance, network printing
and network storage sharing.
To protect your data and privacy, the router supports WPA-PSK (Wi-Fi Pre-shared Key) and
64/128-bits WEP (Wired Equivalent Privacy) to encrypt all your wireless transmissions.
Additionally with the support of WDS (Wireless Distribution System), you can indefinitely
extend the range of your network infrastructure simply by connecting up several routers
wirelessly.
T
Advanced Features
Supports 54Mbps Wireless-G
802.11g 5X faster than 802.11b!
Keep snoopers away with
WPA-PSK and 64/128-bits WEP
Encryption!
Extend your wireless network
infrastructure with WDS
(Wireless Distribution System)!
Integrated USB Print Server,
Storage Server and PC Web
Camera support for network
printing, network storage and
remote wireless surveillance.
Read on to find out more about
these features!

Chapter 1 Introduction
2
The router also ships with exclusive features like Wireless Pseudo VLAN to ensure data
privacy between clients in a public access
wireless network and Parallel Broadband to
provide scalable bandwidth, load balancing and
fail-over redundancy capabilities.
By incorporating VPN client pass-through, built-in
DHCP server, URL and Packet Filtering with time-
based management, Virtual Servers (IP and Port
Forwarding), NAT firewall and SPI firewall, the
router lets you do more within your home or office
network. You can share a high-speed Internet
connection, speedily exchange files, and play
multi-player games with greater flexibility, speed
and security you ever thought possible before!
Exclusive!
Enhance your wireless network
privacy with Wireless Pseudo
VLAN!
Boost network performance and
reliability with Parallel
Broadband!
Quickly access your network
device’s administration setup
with uConfig!
Read on to find out more about
these features!

Chapter 2 Getting to Know Your Product
3
Chapter 2: Getting to Know Your Product
Key Features Briefing
Your router is endowed with a high-performance design and a rich feature set you should
familiarize yourself with. To maximize the potential of your purchase, we have highlighted
a list of features:
Basic features
hot
Compatible with IEEE 802.11g and IEEE 802.11b standards
Adopting the industry standard 802.11
g
standard, the router provides fast wireless access
within your office or home network. Since it is fully backward compatible with 802.11b, you
can safeguard your existing network investments.
S
tatic IP, Dynamic IP, PPP over Ethernet and PPTP WAN types
Whether you are
g
oin
g
to use your router for broadband Cable or ADSL modem
connection sharing, you will be up and about in no time using our fuss-free web based
configuration menu.
Built-in Dynamic Host Configuration Protocol (DHCP) Server
As a network administrator, you can easily mana
g
e your network’s IP address allocation
with the built-in DHCP server found on the router. Once set up, it will automatically and
dynamically allocate addresses from a pool, to devices or computers connected to the
network.
hot
Wireless Distribution System (WDS) Support
Usin
g
WDS, it is possible to wirelessly connect several routers, and in doin
g
so, extend the
network to locations where cabling is not possible or is inefficient to implement.
hot
A
uto MDI/MDI-X crossover support on all Ports
Forget the confusing past! We no longer need to use crossover cables for uplinking! The
router supports Auto MDI/MDI-X crossover on all its ports, auto-detectin
g
the inserted cable
type.

Chapter 2 Getting to Know Your Product
4
Domain Name System (DNS) Redirection
To avoid repetitive of DNS addresses for every PC in your network, the router supports DNS
redirection, which enables all future DNS connection requests from your PCs to be
automatically redirected by the router.
S
tatic Routing
By defining a Static Routing entry, you
set in place a definite Router IP address to which
data packets will be re-directed to a specific IP address or subnet.
Virtual Private Network (VPN) pass-through
The router is an advanced device that will recognize tunneled packets (IPSec, PPTP)
fo
r
VPN connections and allow them to pass through.
Learn more from our
NAT
De-Militarized Zone (DMZ) hosting
The router supports a form of Virtual Server hostin
g
known as DMZ so that you can operate
applications that require the opening of multiple TCP/IP ports.
Virtual Servers based on Port-forwarding, IP-forwarding
The router allows you to set up application servers for services like FTP file servers and HTTP
web servers based on IP-forwarding and Port-forwarding.
hot
Universal Plug and Play (UPnP)
UPnP allows you en
j
oy the benefits of NAT without elaborate confi
g
uration procedures.
Working alongside an UPnP-aware operating system like Windows XP, other UPnP-enabled
devices and applications can negotiate to open certain ports to traverse the NAT device.
hot
Dynamic DNS
The router supports Dynamic DNS, which automatically maintains the relationship between
a fixed name and a changing IP address, thus making
webhostin
g
feasible, with easie
r
control and flexibility.

Chapter 2 Getting to Know Your Product
5
Security Features
Understanding the need to protect your data and privacy, you will be glad to learn
about the security elements put in place to give you a peace of mind.
64/128-bit WEP encryption support for wireless security
The router uses a private key encryption known as Wired Equivalent Privacy protocol with
key lengths of either 64-bit or 128-bit, so that data communication in your wireless networ
k
can be protected.
Built-in “NAT” firewall
As the router handles the incomin
g
and out
g
oin
g
data packets transactin
g
between the
internal and external network, it can verify whether each incoming packet is a legitimate
response to a query from the internal network before lettin
g
it throu
g
h. NAT checkin
g
provides effective firewall protection because ro
g
ue packets from the WAN which are not
sent in response to a query from the internal LAN, will be automatically discarded.
S
tateful Packet Inspection (SPI) firewall
More than just a “NAT” firewall, there is a powerful Stateful Packet Inspection
(
SPI
)
firewall
in the router. Stateful inspection compares certain key parts of the data packets to a
database of trusted information. SPI Firewall is unlike the normal firewall that only checks
the headers of the packets, it also scrutinizes the contents of the packets, ensurin
g
the
integrity of the packets.
hot
Internet Access Policies: Time-based Management, URL filtering, Packet filtering
To complement the powerful firewall technologies incorporated into the router, you can
use the comprehensive set of security mana
g
ement features to re
g
ulate the types of
Internet access permitted. You may set up time-based access policies and bloc
k
objectionable websites from children, or even set up packet filterin
g
rules to control the
transmission of TCP, UDP packets for different ports.
WPA-PSK
With WPA-PSK, the router provides home and SOHO users with the highest level of security.

Chapter 2 Getting to Know Your Product
6
Wireless Pseudo VLAN
The exclusive Wireless Pseudo VLAN feature extends the security advanta
g
es of the
Ethernet based VLAN to wireless networks. This feature adds another layer of data privacy
and protection to the wireless network by isolating
individual users /
g
roups of users so that
they may not access another user’s /
g
roup’s PC. This is especially useful in a public
hotspot or in other public access deployments.
hot

Chapter 2 Getting to Know Your Product
7
Schematic Overview of the Router
Top View
Back View
13
12
11

Chapter 2 Getting to Know Your Product
8
Label Name Description
Steady GREEN LAN connection is established.
LAN Link/Act LEDs
1, 2,3 Flashing GREEN Data transmission at LAN connection.
WAN LED Steady GREEN WAN connection is established.
Wireless LAN
Link/Act LED Steady GREEN At least one wireless client is present.
Flashing GREEN Activity is detected in the wireless
network.
WAN Link/Act LED Flashing GREEN Data transmission at WAN connection.
USB LEDs 1,2,3,4 Steady GREEN USB device is detected.
Flashing GREEN Data transmission at respective USB port.
Power LED Steady BLUE The device is powered up.
Diagnostic LED Flashing GREEN It indicates that the firmware is
corrupted.
External Antennas Foldable, detachable 2dBi antennas
Reset Push button To reboot, press once.
To reset password, press and hold the
button for 5 – 7 seconds before releasing
it.
To restore factory default settings, press
and hold the button for 8 - 10 seconds
before releasing it.
If you start to press and hold the button
and decide not to perform any action,
simply hold the button for more than 12
seconds. No action will then be
performed.
5 VDC DC jack
WAN (RJ45 Port) WAN port connects to Cable/ADSL modem
LAN RJ45 Ports
1,2,3 Integrated LAN Switch Ports
USB Ports 1, 2,3,4 Integrated USB2.0 Ports
11
12
13

Chapter 3 Let’s Get Going – Hardware Setup
9
Chapter 3: Let’s Get Going-Hardware Setup
Power Up in 4 Steps:
In 4 simple steps, you shall have your router ready and functional. After which, you may
proceed to the software configuration to get ready to surf the Internet at high-speed!
Use an Ethernet cable to connect your Cable/ADSL modem to the socket
labeled WAN on the router.
To connect a computer with an Ethernet adapter to the wired network,
connect an Ethernet cable from that PC to any LAN ports on the router
(labeled 1-3).
Connect the USB devices (such as USB storage disk or USB printer) to the USB
ports of the router.
Next, plug in the power adapter that is supplied to the main electrical supply,
and connect the power plug to the DC jack on the router.
You may turn on the main power supply now. You are done with the hardware
setup!
2
4
1
4
2
1
3
3
3

Chapter 4 Let’s Get Going – Software Setup
10
Network Application Examples
Using its web-based configuration interface, you can easily set up your feature-rich router
for different network configuration and applications.
We have illustrated three application examples for the router below:
1. Broadband Internet Access Distribution to Fast Ethernet Network
2. Broadband Internet Access Distribution to Fast Ethernet & Wireless Network
3. Broadband Internet Access Distribution to Fast Ethernet & Wireless Network
using WDS
Broadband Internet Access
Distribution to Fast Ethernet Network
1
INTERNET
Connect Cable/ADSL
modem to WAN port
In this example, three computers are connected to the integrated 3-port 10/100Mbps Fast
Ethernet switch of the router. These computers are able to share a single broadband
Internet connection as well as their resources amongst themselves.
Connect computers
to the integrated 3-
port 10/100Mbps
switch

Chapter 4 Let’s Get Going – Software Setup
11
The next example involves using the Wireless Distribution System (WDS) feature. It serves to
wirelessly connect several routers, thus enabling the extension of your network to
locations where cabling is not possible or not cost-effective to implement.
Broadband Internet Access Distribution
To Fast Ethernet Network & Wireless Network
2
INTERNET
Connect Cable/ADSL
modem to WAN port
Wireless clients access the Internet
and the wired LAN via NetPassage
28G
Connect computers to the
integrated 3-port 10/100Mbps
switch to form wired LAN
This setup example is similar to the previous with the exception of the two additional
notebooks set up as wireless clients as illustrated above. Here, the router acts as an access
point, allowin
g
the wireless clients to access the wired network resources as well as to share
Internet access. Your wired network can thus be easily expanded to include wireless clients,
enabling them to share network resources and broadband Internet access.
Other manuals for NetPassage 28G
4
Table of contents
Other Compex Wireless Router manuals

Compex
Compex Wireless-G Internet Router NP25G 6C User manual

Compex
Compex NetPassage 28G User manual

Compex
Compex NetPassage 28G User manual

Compex
Compex NetPassage 28G Hotspot User manual

Compex
Compex NetPassage 28G Instruction Manual

Compex
Compex NetPassage 28G Hotspot User manual

Compex
Compex MRL21E User manual

Compex
Compex NP12N 6REU User manual

Compex
Compex NetPassage 27G User manual